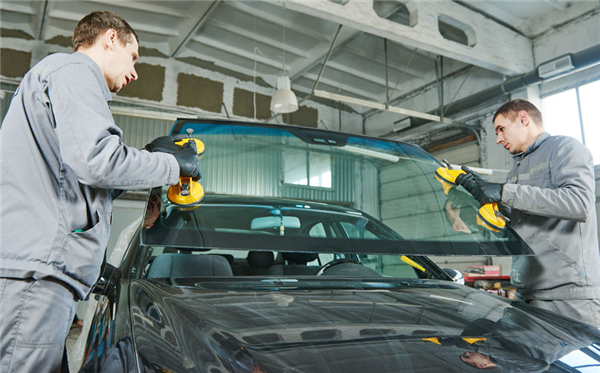
To replace a windshield, remove the exterior and interior components blocking access, cut the old urethane bond, lift out the damaged glass, prepare the pinch weld, dry-fit the replacement windshield, apply the specified primer and automotive urethane, set the new glass accurately, reinstall the removed parts, and keep the vehicle parked until the adhesive manufacturer’s safe-drive-away requirements are met.
For drivers in the United States, learning how to replace a windshield involves more than removing broken glass and sealing a new pane into the opening. Modern U.S.-market vehicles may have forward-facing cameras, rain sensors, heating elements, antennas, acoustic layers, head-up-display glass, special moldings, and other equipment integrated into or mounted around the windshield. The replacement glass therefore needs to match the vehicle’s year, make, model, body style, installed options, and sensor configuration.
Windshield replacement is also a safety-related repair. On most modern vehicles, the windshield is bonded to the body with automotive urethane and forms part of the vehicle’s structural glazing system. A poor bond, contaminated adhesive surface, damaged pinch weld, incorrect urethane, or premature driving can create leaks and may prevent the glass from performing as intended in a crash. A careful DIY installation is possible on some simpler vehicles, but a professional installation is the safer choice when the vehicle has advanced driver-assistance cameras, significant rust, damaged mounting surfaces, complicated trim, or a windshield that cannot be safely handled by two people.
The most important preparation step is confirming that the replacement windshield actually matches the vehicle. Two windshields that look identical from several feet away can have different brackets, camera openings, tint bands, heating elements, antenna connections, rain-sensor mounts, acoustic construction, or head-up-display compatibility. Use the vehicle identification information and the equipment on the original glass when ordering a replacement.
Check the vehicle’s service information before beginning. Removal procedures vary considerably. One vehicle may use a simple upper molding and detachable cowl, while another may require removal of A-pillar trim, camera covers, sensor modules, clips, weatherstrips, and specialized one-time-use moldings.
Plan to perform the work in a clean, dry, well-ventilated location that complies with the temperature and humidity limits specified for the adhesive system. Wind, rain, dirt, and airborne debris make contamination more likely. Cold or very hot conditions can also change how urethane applies and cures.
Windshield glass is large, awkward, and capable of causing serious cuts. Wear eye protection and cut-resistant gloves, protect the dashboard and painted surfaces, and have a second person available unless you are using professional glass-setting equipment.
Source: only1autoglass.com
Replacement windshield
Match the glass to the exact vehicle configuration, including cameras, sensors, heating, antennas, tint, acoustic glass, and head-up-display requirements.
Automotive windshield urethane
Use a urethane adhesive specifically approved for bonded automotive glass and compatible with the vehicle and primer system.
Primer and cleaner
Use only the cleaners, primers, activators, and preparation products required by the chosen adhesive manufacturer.
Glass removal tools
Depending on the vehicle, suitable tools may include a cold knife, cutting wire system, powered removal tool, scraper, utility knife, and trim-removal tools.
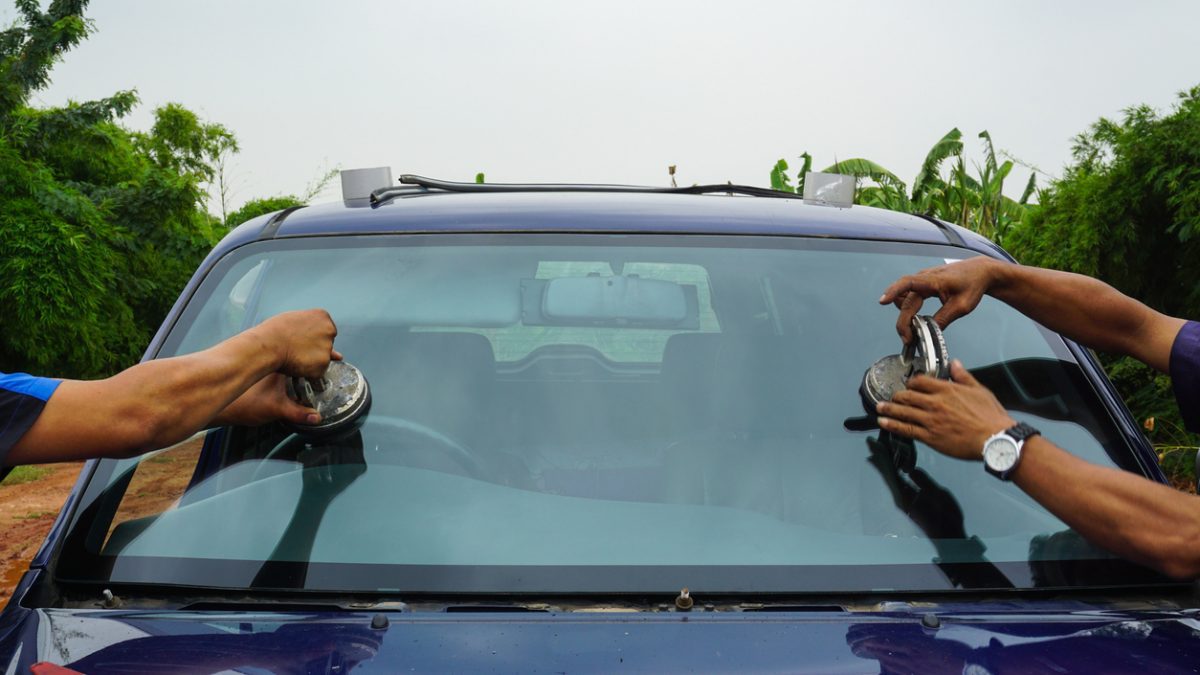
Glass suction cups
Quality suction handles make it easier for two people to lift and position the windshield without grabbing prepared bonding surfaces.
Urethane applicator
Use a caulking gun or powered applicator capable of producing a continuous bead with the profile required by the adhesive procedure.
Protective materials
Keep fender covers, dashboard protection, masking tape, gloves, eye protection, clean lint-free materials, and a suitable container for removed clips and fasteners nearby.
When DIY Windshield Replacement Is a Poor Choice
Consider professional replacement when the pinch weld is heavily rusted, bent, deeply scratched, or previously repaired poorly. The mounting surface must be structurally sound before new glass is bonded to it.
Professional service is also advisable when a forward-facing camera must be removed or recalibrated, the windshield contains complex electronics, the vehicle manufacturer specifies special positioning equipment, or you cannot confirm the correct adhesive and preparation procedure. Calibration requirements vary by vehicle, so windshield replacement and camera calibration should be treated as separate requirements rather than assuming one procedure fits every car.
ADAS cameras
Lane-keeping, forward-collision, automatic-emergency-braking, and related camera systems may require calibration after windshield replacement.
Serious corrosion
Rust, pitting, or perforation around the bonding flange should be repaired correctly before installing the glass.
Uncertain glass specification
Do not install glass when you cannot verify that its brackets, optical properties, dimensions, and equipment match the vehicle.
Limited handling help
A large windshield should not be balanced or lowered into place without adequate control.
Replacement Versus Repair
Not every damaged windshield needs replacement. Small chips and some short cracks can sometimes be repaired if they meet the repair provider’s criteria and are not in a location or condition that prevents a reliable repair. Replacement becomes more appropriate when damage is extensive, reaches an edge, involves multiple cracks, affects an important viewing area, or cannot be restored safely through resin repair.
How to Remove the Old Windshield
Removing the original windshield without damaging the vehicle is often the most demanding part of the job. The goal is to separate the glass from the urethane while protecting the painted pinch weld, dashboard, headliner, wiring, and nearby trim.
Before cutting anything, study how the moldings, cowl, wipers, mirror, sensors, and interior covers are attached. Take photos if necessary so clips, wiring routes, and component positions can be duplicated during reassembly.
Source: phoenixwindshieldrepairs.com
Step 1: Park and protect the vehicle
Park on a level surface, switch the ignition off, open the hood if required for cowl access, and protect the dashboard, fenders, hood edge, and interior surfaces.
Step 2: Mark the wiper positions
Mark where the wiper blades rest before removing the arms so they can be returned to the correct position.
Step 3: Remove obstructing components
Remove the wiper arms, cowl panel, external molding, rearview-mirror hardware, camera or sensor covers, and other parts specified by the vehicle procedure.
Step 4: Disconnect relevant electrical components
Carefully disconnect rain sensors, heated-glass connections, cameras, antennas, mirrors, or other equipment attached to the glass as required.
Step 5: Cut the urethane
Use an appropriate glass-removal tool to cut the bonded urethane around the windshield perimeter while keeping the blade or wire away from paint, wiring, trim, and the interior.
Step 6: Confirm the bond is fully separated
Check the entire perimeter before lifting. Forcing partially attached glass upward can bend the body flange or crack the windshield unexpectedly.
Step 7: Lift out the old glass
Attach suitable suction cups and have both people lift evenly. Move the windshield away from the opening without dragging its edge across painted surfaces.
Why Protecting the Pinch Weld Matters
The pinch weld is the body flange around the windshield opening where the urethane forms its bond. Cutting deeply into its paint can expose bare steel and create a future corrosion point. Corrosion can spread underneath the adhesive and weaken the bond, so removal tools should be controlled carefully.
If you expose bare metal, follow the adhesive and vehicle manufacturer’s approved repair and priming procedure. Do not simply cover serious damage with a thick layer of new urethane.
How to Handle Broken or Severely Cracked Glass
A severely fractured windshield may shed small glass fragments around its edges even though laminated construction often keeps much of the pane together. Wear protective equipment, cover interior surfaces, remove loose pieces carefully, and vacuum debris before continuing. Do not use bare hands to sweep broken glass.
Prepare the Windshield Opening and New Glass
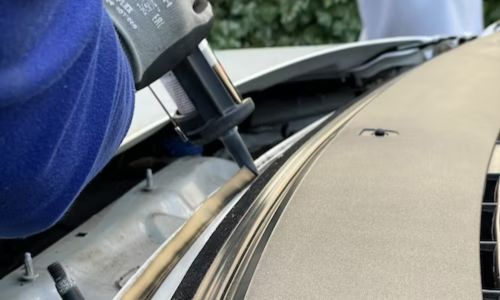
Surface preparation largely determines whether the new windshield develops a durable, watertight bond. The opening should be clean and structurally sound, but removing every trace of original urethane is not automatically the correct approach.
For many urethane-bonded installations, the accepted procedure is to trim sound existing urethane to a thin, even layer and bond compatible fresh urethane to that prepared surface. The exact remaining thickness and preparation method depend on the adhesive system and vehicle procedure. Avoid grinding or scraping the flange down to bare metal unless the approved repair procedure specifically requires it.
Source: glassfixitauto.com
Step 1: Remove loose contamination
Vacuum or clean away dirt, loose adhesive, glass fragments, leaves, and other material around the opening.
Step 2: Trim sound old urethane
Use a sharp scraper or knife to create an even bonding surface while avoiding unnecessary damage to the underlying paint.
Step 3: Inspect the entire flange
Look for scratches, bare metal, corrosion, dents, loose paint, previous repair material, and areas where the original bond has separated.
Step 4: Treat exposed areas correctly
Use the preparation and primer system specified for the chosen urethane. Extensive rust or damaged metal requires proper body repair rather than a cosmetic cover-up.
Step 5: Dry-fit the windshield
Set the glass in place without urethane to confirm clearance, molding position, setting blocks, sensor alignment, and an even gap around the opening.
Step 6: Mark the final position
Use removable tape or other approved reference marks across the glass and body so the windshield can be returned to the same alignment after adhesive is applied.
Step 7: Prepare the glass bonding area
Clean and prime the bonding surface only as directed by the glass and urethane system. Keep fingers, oils, silicone products, and unapproved cleaners away from prepared surfaces.
Do Not Touch Prepared Bonding Surfaces
Once the glass or flange has been cleaned and prepared, avoid touching the bond line with bare fingers. Skin oils and other contamination can interfere with adhesion. Hold the windshield using suction cups or areas outside the prepared bonding zone.
What to Do If You Find Rust
Minor scratches and severe corrosion are not the same problem. Small approved areas of exposed metal may be treatable through the adhesive manufacturer’s specified corrosion-protection procedure. Widespread rust, deep pitting, perforation, or a distorted flange should be repaired professionally before the windshield is installed.
Installing new glass over serious corrosion can hide the problem temporarily while leaving the adhesive bonded to a weak or unstable surface.
How to Install the New Windshield
Once the opening and replacement glass are prepared, the critical installation phase is creating an uninterrupted urethane bead and setting the windshield accurately before the adhesive’s working time expires.
Read the urethane instructions before opening the cartridge. Adhesive systems differ in primer requirements, application temperatures, open times, bead profiles, cure conditions, and safe-drive-away requirements. Do not combine cleaners, primers, and urethane products unless the manufacturer confirms that they are compatible.
Source: miracleagc.com
Step 1: Prepare the urethane cartridge
Confirm that the product is within its usable date and has been stored according to its instructions. Prepare the nozzle to produce the specified bead profile.
Step 2: Apply a continuous bead
Apply urethane around the complete bonding perimeter without gaps. Maintain the nozzle orientation and bead shape specified by the adhesive procedure.
Step 3: Join the bead correctly
Where the beginning and end meet, form a continuous joint instead of leaving a low spot that could become a leak path.
Step 4: Lift the new windshield
Use clean suction handles and a second person. Keep hands away from prepared surfaces and avoid contacting the adhesive accidentally.
Step 5: Align the reference marks
Position the windshield over the opening and line it up with the marks created during the dry fit before lowering it onto the urethane.
Step 6: Lower the glass once
Set the windshield steadily into its final position. Avoid sliding it around excessively because movement can distort the urethane bead and contaminate the bond.
Step 7: Seat the glass as specified
Apply only the controlled pressure required by the applicable installation procedure. Excessive pushing can flatten the bead too far, create uneven gaps, or stress the glass.
Step 8: Secure the position
Use approved retention tape or positioning methods if needed to keep the glass from shifting while the urethane begins curing.
Step 9: Reinstall removed components
Reinstall moldings, trim, cowl parts, wipers, mirror hardware, electrical connectors, sensors, and covers according to the vehicle procedure.
Why the Urethane Bead Must Stay Continuous
The urethane is both an adhesive and a weather seal. A gap, folded bead, contaminated section, or poorly joined seam can create a path for water or air and may reduce the effective bonded area. Trying to correct a bad bead after the windshield has been fully seated is difficult, which is why careful application matters before the glass goes into place.
Do Not Use Household Silicone or General-Purpose Caulk
A windshield should be bonded with an automotive glazing adhesive designed for this application. Household silicone, construction adhesive, and ordinary caulk are not appropriate substitutes for a specified automotive urethane system.
Keep the Doors and Windows in Mind
Follow the adhesive and vehicle instructions regarding door operation and window position during the initial cure period. Slamming a door can produce a pressure change inside the cabin, so minimizing unnecessary disturbance while the urethane is developing strength is sensible.
Curing, Leak Checks, ADAS Calibration, and Final Inspection
Installation is not finished when the windshield is sitting in the opening. The urethane needs sufficient time and suitable conditions to develop the strength required by its manufacturer before the vehicle is driven.
There is no single universal waiting period for every windshield adhesive. Cure performance can depend on the specific urethane, temperature, humidity, glass configuration, airbags, and other installation conditions. Use the safe-drive-away information for the exact adhesive rather than relying on a generic rule such as waiting one hour.
After the required initial cure period, inspect the perimeter, trim, cowl, wipers, mirror, sensors, and electrical connections. A successful installation should have consistent glass positioning, properly seated trim, no visible adhesive gaps, no wind noise attributable to the installation, and no water intrusion.
Source: autoglassestimator.com
Confirm safe-drive-away requirements
Do not operate the vehicle on public roads until the exact adhesive system’s required conditions and waiting period have been satisfied.
Inspect the glass position
Verify that the windshield has not slipped and that the gaps and moldings appear consistent with the original installation.
Check the wipers
Make sure the wiper arms return to their marked positions, sweep normally, and do not contact moldings or painted surfaces.
Check electrical features
Confirm operation of relevant heating, rain sensing, mirror connections, antennas, cameras, and other windshield-mounted equipment.
Arrange ADAS calibration when required
A vehicle with a forward-facing camera may require static calibration, dynamic calibration, or both after the glass or camera position changes.
Test carefully for leaks
After the adhesive has reached the stage allowed by its instructions, check for water intrusion using a gentle controlled water test rather than immediately directing a high-pressure washer at the windshield edge.
How to Know the Windshield Replacement Was Successful
The windshield should remain centered and flush in the opening, trim should sit correctly, wipers and sensors should operate normally, and the cabin should remain dry during a controlled water test. While driving after the approved cure period, there should be no unusual wind whistle caused by a gap or displaced molding.
If the vehicle has camera-based driver-assistance systems, successful glass installation does not by itself confirm that those systems are correctly aimed. Complete any manufacturer-required calibration and verify that no related warnings remain.
What to Do If the New Windshield Leaks
First identify the actual entry point. Water appearing near the dashboard does not always mean the visible location is where the seal failed because water can travel along trim or body seams.
Do not smear household silicone around the exterior molding as a shortcut. A leak related to the bonded urethane may require removal and proper rebonding of the glass. If you cannot identify and correct the bonding defect using the approved adhesive procedure, have an auto-glass professional inspect it.
What to Do If the Glass Sits Too High or Too Low
Incorrect glass height can result from the wrong windshield, incorrect setting blocks, an improper urethane bead, misplaced moldings, or poor positioning. Do not force trim into place to disguise a major alignment problem. If the adhesive is already curing and the windshield position is clearly incorrect, the safest correction may be removal and reinstallation with fresh materials.
Common Windshield Replacement Mistakes
Most preventable problems come from rushing preparation or treating the urethane as ordinary sealant. Correct fit, clean surfaces, corrosion protection, bead shape, glass placement, and cure conditions all matter.
Ordering the wrong windshield
A pane may physically fit while having incompatible camera brackets, sensor mounts, heating, antennas, tint, acoustics, or optical properties.
Damaging the painted flange
Aggressive cutting or scraping can expose steel and create future corrosion beneath the adhesive.
Contaminating the bond
Fingerprints, dirt, silicone products, grease, and unsuitable cleaners can interfere with proper preparation.
Leaving gaps in the urethane
An incomplete bead can allow water and air leakage and reduce the available bonded area.
Moving the windshield repeatedly
Sliding freshly set glass can distort the bead and spread adhesive onto unintended areas.
Driving too soon
The adhesive may not yet have developed the strength required for the installation.
Ignoring calibration
Replacing glass around a forward-facing camera may change its relationship to the road and require manufacturer-specified calibration.
DIY Versus Professional Windshield Replacement
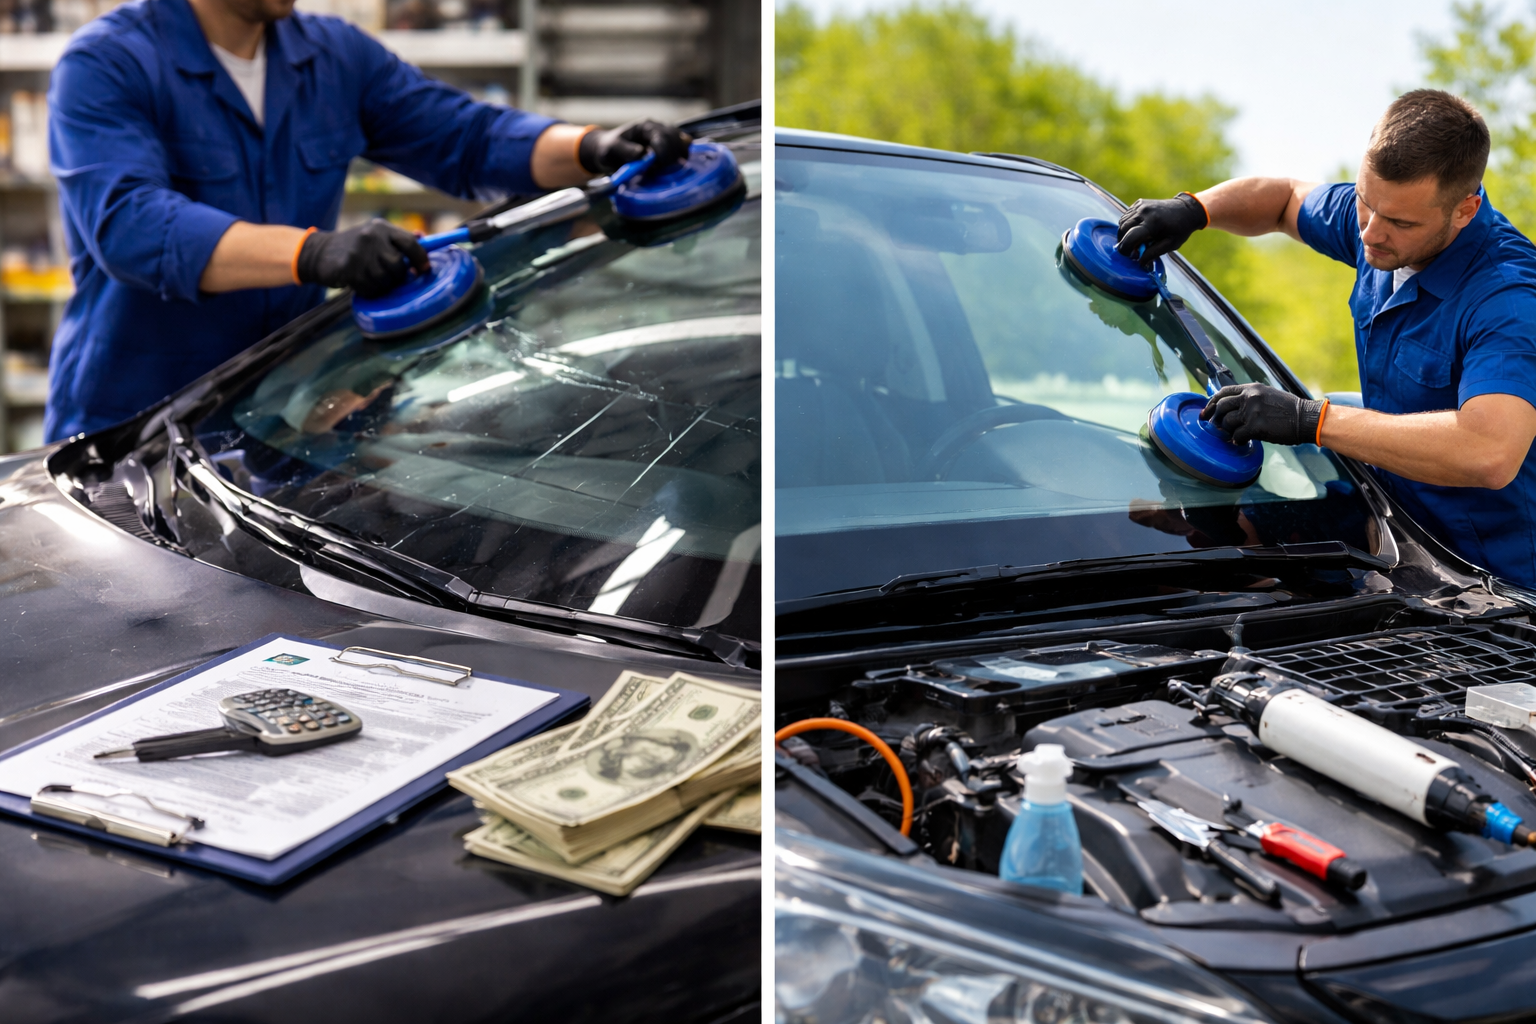
DIY replacement makes the most sense when the vehicle is relatively simple, the correct glass and procedures are available, the body flange is undamaged, and the installer already has suitable removal, bonding, and glass-handling equipment. The value of doing the job yourself falls quickly if specialized tools, calibration, rust repair, or expensive moldings must also be purchased.
Professional installation becomes more attractive when safety systems are integrated into the windshield or when a mistake could require buying another piece of glass. Insurance coverage also varies across U.S. policies and states, so checking comprehensive coverage, deductibles, and glass provisions before purchasing parts can prevent unnecessary expense.
Simpler older vehicle
DIY may be practical when the glass has limited integrated equipment and the installation procedure is straightforward.
Modern camera-equipped vehicle
Professional replacement and required calibration can reduce uncertainty around glass specification, camera positioning, and system setup.
Rust or previous body damage
Repair the mounting surface before bonding a new windshield.
No proper urethane tools
The cost and learning curve of acquiring suitable tools may outweigh the savings from DIY work.
Your Next Action After Replacing the Windshield
Record the adhesive used, installation date, replacement glass information, and any calibration performed. Keep this information with the vehicle’s service records. Over the next several drives, pay attention to water entry, unusual wind noise, loose trim, warning lights, camera-system messages, or changes in wiper operation.
If any safety-system warning appears, the glass shifts, a substantial leak develops, or the windshield appears poorly bonded, stop treating the problem as a cosmetic issue and have the installation inspected.
Frequently Asked Questions
Q
Can I replace a windshield myself?
You can replace a windshield yourself on some vehicles if you have the correct glass, tools, automotive urethane system, vehicle-specific procedures, suitable working conditions, and enough help to handle the glass safely. It is not comparable to replacing a bolt-on body panel because the quality of the adhesive bond matters to the finished installation.
Vehicles with forward-facing cameras, complex sensor systems, severe corrosion, difficult trim, or specialized installation requirements are generally better candidates for professional service.
Q
How long should I wait before driving after replacing a windshield?
Use the safe-drive-away instructions for the exact urethane product and installation conditions. There is no reliable universal waiting period that applies to every adhesive.
Temperature, humidity, adhesive chemistry, vehicle configuration, and other conditions can affect the requirement. Do not shorten the specified period simply because the adhesive feels firm at the surface.
Q
Do I need to replace the windshield molding?
It depends on the vehicle and molding design. Some moldings can be removed and reused if they remain undamaged, while others are bonded, easily distorted, or intended for replacement after removal. Confirm the vehicle-specific procedure before starting so a required molding or clip does not leave the car unfinished.
Q
Does a windshield camera need calibration after replacement?
Many camera-equipped vehicles require a calibration procedure after windshield replacement, camera removal, or another change that can affect camera alignment. The requirement and method depend on the vehicle.
Some systems use static targets, some use a controlled road-driving procedure, and others require more than one calibration method. Check the manufacturer procedure for the exact vehicle rather than assuming the system will automatically correct itself.
Q
Can I use silicone to install or seal a windshield?
Household silicone should not replace the automotive urethane adhesive specified for a bonded windshield. If a newly installed windshield leaks, adding silicone around the molding can also hide the actual bonding defect without correcting it.
Use an approved automotive glazing system and follow its surface-preparation and cure instructions.
Q
Should all the old windshield urethane be removed?
Not necessarily. Many bonded-glass procedures call for trimming properly adhered original urethane to a thin, clean layer and bonding compatible fresh urethane to it. Removing everything down to painted or bare metal can unnecessarily damage the corrosion protection.
The correct procedure depends on the existing material, condition of the bond, vehicle requirements, and the new adhesive system.
Q
How can I tell whether I ordered the correct windshield?
Compare the replacement with the original before installation. Check overall shape and dimensions as well as the ceramic border, mirror mount, sensor and camera brackets, rain-sensor area, heating connections, antenna features, acoustic markings, tint band, and head-up-display compatibility where applicable.
Dry-fitting the glass before applying urethane provides another chance to identify a fit problem without wasting adhesive or creating a difficult removal.
✦ Wrapping Up
Conclusion
Knowing how to replace a windshield means understanding the entire bonding process, not simply swapping one piece of glass for another. A sound replacement begins with the correct windshield and vehicle-specific information, followed by careful removal, protection of the pinch weld, controlled surface preparation, correct automotive urethane application, accurate glass placement, and adequate curing.
For many U.S. vehicles, the most important decision is whether the job should remain a DIY project at all. A straightforward windshield on an older vehicle may be manageable for an experienced home mechanic with appropriate tools. Camera-equipped vehicles, significant corrosion, complicated electronics, uncertain glass specifications, and damaged bonding surfaces add risks that can justify professional installation and calibration.
💡 Key Takeaway
Before removing the old windshield, verify the replacement glass, obtain the vehicle-specific installation procedure, confirm the complete compatible urethane and primer system, determine whether ADAS calibration is required, and arrange a second person or suitable glass-setting equipment for safe handling.
Learn how to fold a round windshield sun shade correctly without bending the frame. Follow these simple steps, avoid common mistakes, and store it neatly.
Learn how to fold a pop up windshield sun shade safely and quickly. Follow simple steps, avoid common mistakes, and store your car sun shade without damaging its frame.
Learn how to fold a collapsible windshield sun shade using the simple figure-eight method, plus tips for storage, troubleshooting, and different shade designs.
Learn how to install a windshield sun shade correctly in your car. Follow simple steps for folding, roll-up, and umbrella-style shades, plus fit, safety, storage, and troubleshooting tips.