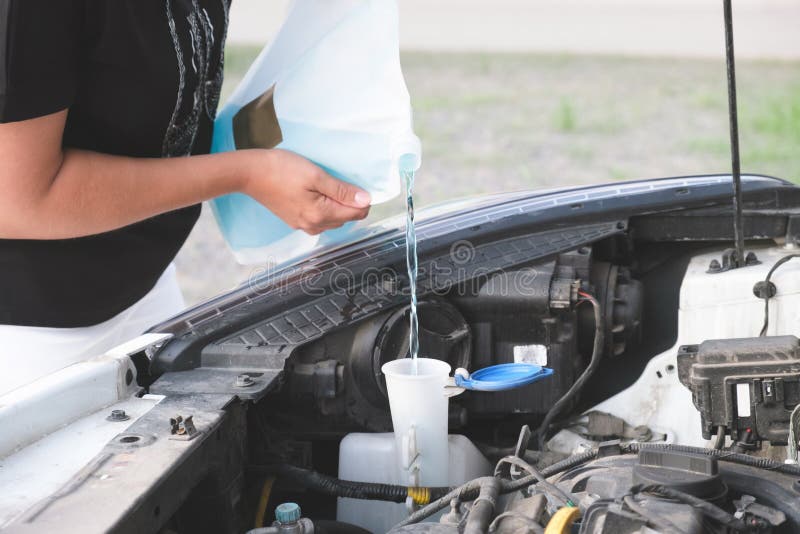
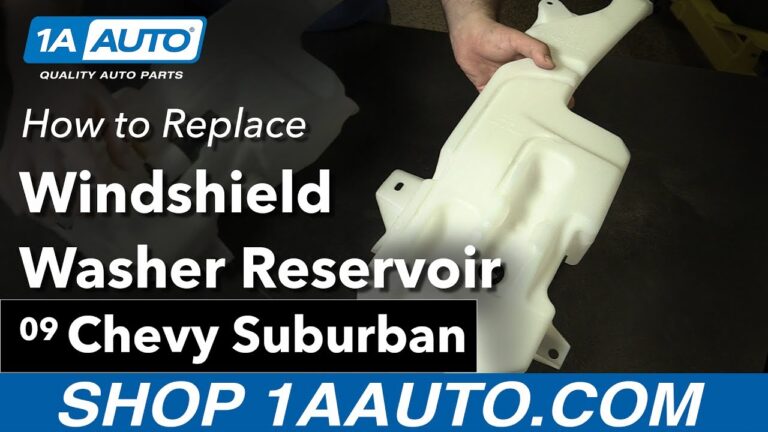
To clean a windshield washer reservoir, drain the old fluid, rinse the tank with clean lukewarm water, remove sediment or sludge, flush it until the water runs clear, reconnect anything you disconnected, and refill it with fresh automotive windshield washer fluid.
For drivers across the United States, a working windshield washer system is more than a convenience. Road salt in northern states, dust in dry regions, pollen in spring, insects during highway driving, and everyday road grime can quickly reduce windshield visibility. If fresh washer fluid produces weak spray, has an unusual odor, contains visible particles, or repeatedly clogs the nozzles, contamination inside the reservoir may be contributing to the problem.
Cleaning the reservoir is usually a manageable maintenance task, but the exact access method differs by vehicle. Some reservoirs can be drained through an accessible pump or hose, while others sit behind a fender liner, bumper panel, battery, or other components. The safest approach is to begin with a simple drain and flush without removing the tank. Remove the reservoir only when heavy contamination cannot be cleared in place or when your vehicle’s service procedure requires removal.
This guide explains how to clean windshield washer reservoir components safely, how to recognize contamination, what supplies to use, what chemicals to avoid, how to flush the system, and what to check if cleaning does not restore normal washer operation.
Why Does a Windshield Washer Reservoir Need Cleaning?
A windshield washer reservoir normally requires very little maintenance beyond keeping it filled with the correct fluid. Cleaning becomes useful when dirt, sediment, incompatible fluid mixtures, biological-looking residue, or other contamination collects inside the tank.
The reservoir stores washer fluid before an electric pump sends it through small hoses and spray nozzles. Because some passages in this system are narrow, material that seems minor inside the tank can eventually restrict a pump inlet screen, hose, connector, or nozzle.
An excessively dirty reservoir can therefore create symptoms that resemble a failing washer pump. Cleaning is particularly reasonable when you can see particles in the tank, the fluid has become unusually cloudy, or the system repeatedly develops restrictions after nozzle cleaning.
Not every weak washer spray means the reservoir is dirty. Low fluid level, frozen fluid, damaged hoses, clogged nozzles, electrical faults, and a worn pump can produce similar symptoms. Inspecting the fluid and reservoir before disassembling the system helps avoid unnecessary repairs.
Source: storage.googleapis.com
Visible sediment
Particles or residue collecting at the bottom of the tank are a strong reason to drain and flush the reservoir.
Cloudy or unusual fluid
Fresh commercial washer fluid should not normally contain floating debris or thick deposits.
Repeated nozzle clogging
Recurring restrictions may mean contamination is being carried from the reservoir into the hoses and spray jets.
Sludge near the pump inlet
Residue around a pump screen or grommet can restrict fluid flow and reduce spray pressure.
Unknown old fluid
Cleaning can be worthwhile after buying a used vehicle when the tank contains questionable fluid, sediment, or an incompatible mixture.
What Causes Sludge or Buildup in the Reservoir?
Contamination can enter when the reservoir cap is left open, dirty funnels are used, unsuitable liquids are added, or different products create deposits after being mixed. Water with significant mineral content can also leave residue as it evaporates.
Some manufacturers have documented washer-system strainers becoming restricted by algae-like or gel-like material. Whatever the appearance, treat unexplained deposits as contamination rather than assuming that replacing the pump is automatically necessary.
What You Need Before Cleaning the Washer Reservoir
Gathering a few basic supplies makes the job cleaner and reduces the chance of introducing new debris. You usually do not need specialized equipment for a basic drain and flush.
Check the owner’s manual before disconnecting hoses, pumps, electrical connectors, fender liners, batteries, or other components. Reservoir placement varies considerably between cars, SUVs, pickup trucks, hybrids, and electric vehicles.
Source: storage.googleapis.com
Protective gloves
Gloves help limit skin contact with old washer fluid and accumulated grime.
Drain container
Use a clean bucket, drain pan, or suitable container to collect old fluid instead of releasing it onto pavement or into a storm drain.
Siphon or fluid extractor
A small hand-operated extractor can empty many reservoirs without removing the tank.
Lukewarm clean water
Use it for flushing loose residue. Avoid very hot water because excessive heat can damage or distort plastic components.
Clean funnel
A dedicated funnel reduces spills and prevents dirt from entering the reservoir during refilling.
Flashlight
A flashlight helps reveal sediment, staining, floating debris, damaged components, and fluid remaining at the bottom.
Fresh washer fluid
Use automotive windshield washer fluid suitable for your vehicle and expected temperatures.
Should You Remove the Reservoir?
Do not remove the tank automatically. If contamination is light and the reservoir can be emptied through its filler opening or an easily accessible drain connection, an in-place flush is usually simpler.
Reservoir removal becomes more useful when thick deposits cannot be flushed out, the pump screen requires access, the tank contains objects that cannot pass through the filler neck, or the reservoir itself needs inspection for cracks. On some vehicles, reservoir removal requires removing a wheel-well liner, battery tray, bumper component, or other parts, so the model-specific service procedure matters.
How to Clean Windshield Washer Reservoir Step by Step
The safest general method is to empty the contaminated fluid, inspect the tank, rinse it repeatedly, and refill it only after the rinse water is clear. Work with the vehicle parked on a level surface, allow hot underhood components to cool, and keep the ignition off while disconnecting washer-system components.
Source: storage.googleapis.com
Step 1: Locate the washer reservoir
Open the hood and identify the windshield washer reservoir by its cap, which commonly carries a windshield and spray symbol. Do not confuse it with the coolant expansion tank, brake fluid reservoir, or another underhood container.
Step 2: Clean around the filler cap
Wipe dust and grit from the cap and surrounding area before opening it. This simple step prevents loose dirt from falling into the reservoir.
Step 3: Inspect the fluid
Use a flashlight to look for sediment, floating particles, cloudy fluid, thick residue, unusual discoloration, or objects inside the tank.
Step 4: Drain the old washer fluid
Extract the fluid through the filler opening with a suitable hand pump or siphon when possible. If your vehicle provides safe access to the lowest washer hose or pump connection, draining there may remove more material. Follow the vehicle-specific procedure before disconnecting anything.
Step 5: Add a small amount of lukewarm clean water
Add enough water to rinse the tank rather than immediately filling it completely. Gently agitate an accessible removable reservoir, or allow the water to move through the bottom of an installed tank.
Step 6: Drain the rinse water
Collect the dirty rinse water and examine it for sediment. Repeat the rinse as needed until the discharged water looks clear and free of obvious debris.
Step 7: Inspect the pump screen if accessible
Some washer pumps use a small screen or strainer where fluid enters the pump. If your vehicle has an accessible serviceable screen and it is coated with residue, clean or replace it according to the manufacturer’s procedure.
Step 8: Reconnect the system
Reinstall hoses, pumps, grommets, electrical connectors, caps, or reservoir fasteners exactly as required. Check that connections are fully seated and that rubber seals have not been pinched.
Step 9: Refill with fresh washer fluid
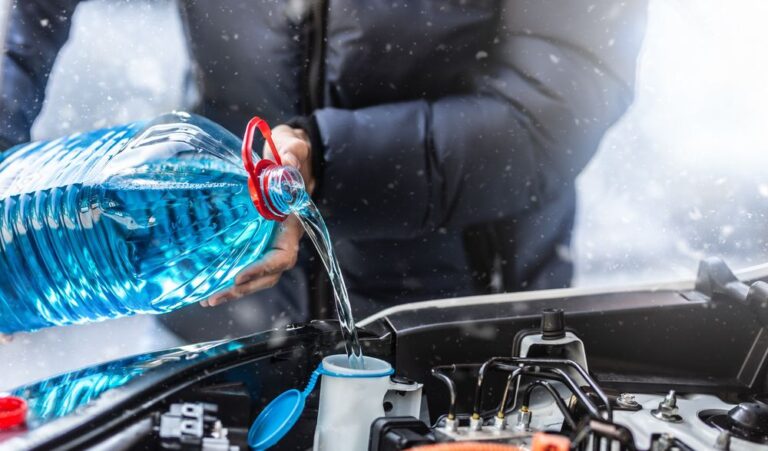
Add the correct automotive windshield washer fluid with a clean funnel. Use a winter-rated product where freezing temperatures are expected rather than relying on plain water.
Step 10: Test the washers
Operate the system in short bursts and confirm that both the fluid delivery and spray pattern are normal. Watch under the hood and beneath the vehicle for leaks.
How Many Times Should You Rinse the Tank?
There is no universal number because contamination levels vary. Continue until the drained water no longer contains obvious particles, flakes, slime, or discoloration. A lightly contaminated tank may need only a few rinses, while a neglected reservoir may require removal for proper cleaning.
Signs the Cleaning Worked
A successful cleaning leaves the visible portion of the reservoir free of loose debris, produces clear rinse water, and allows fresh washer fluid to reach the windshield without immediately becoming contaminated. Normal spray from the nozzles is another positive sign, provided the rest of the washer system is functioning correctly.
How to Clean a Heavily Contaminated or Sludgy Reservoir
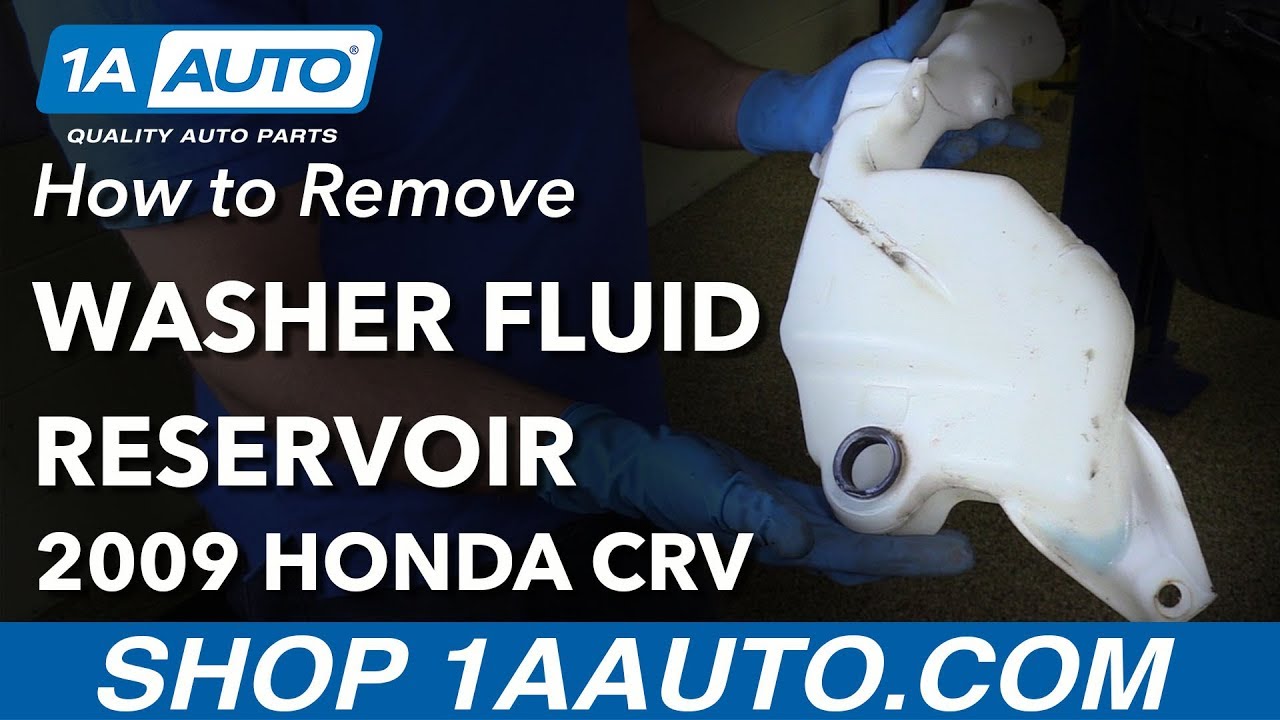
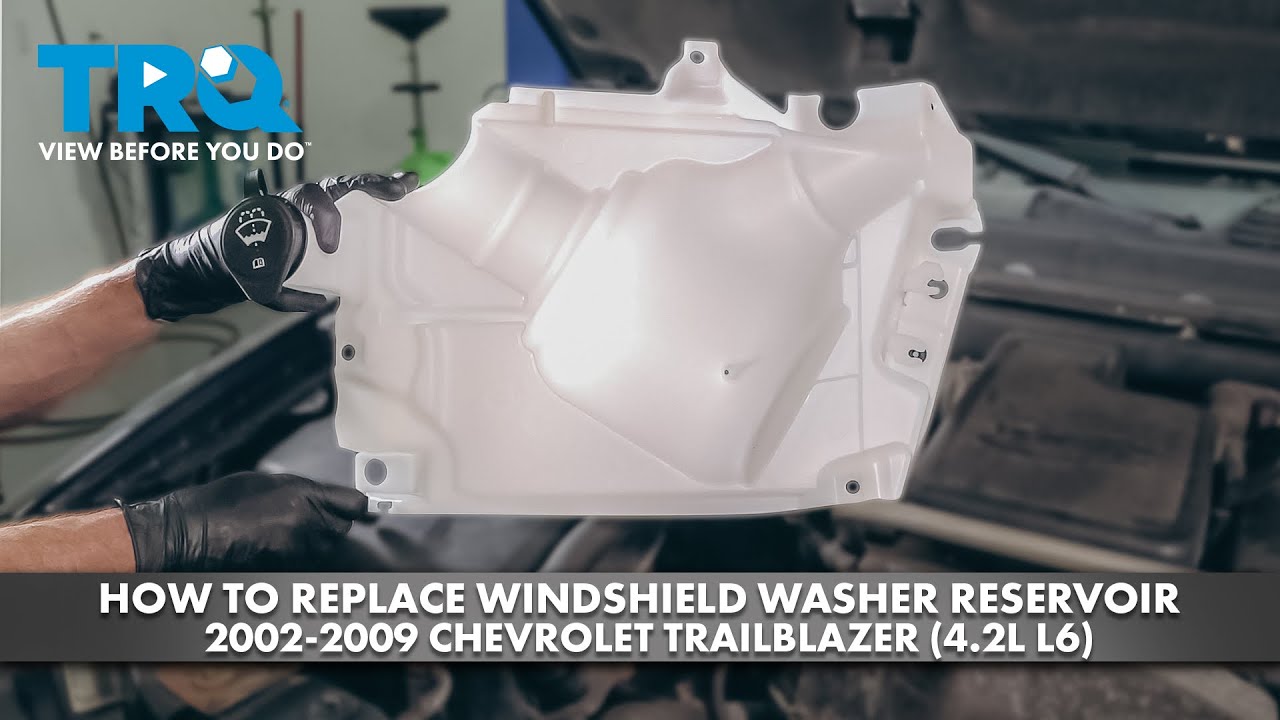
Heavy sludge changes the job. If repeated water flushing cannot remove deposits, the reservoir may need to come out so it can be cleaned and inspected away from pumps, electrical connectors, painted body panels, and other underhood components.
Before removing the reservoir, consult service information for your exact year, make, and model. Access varies widely. Disconnecting a pump, level sensor, or hose carelessly can damage a plastic fitting or create a leak that did not exist before.
Once a removable tank is safely out of the vehicle, rinse loose material from it with lukewarm water. A small amount of mild soap may help clean an oily film from a standalone plastic reservoir, but every trace should be rinsed away before the tank goes back into service. Do not leave foaming detergent inside the washer system.
If contamination has hardened into areas that cannot be reached or rinsed, replacement can be more sensible than introducing strong chemicals that could attack plastic, seals, hoses, paint, or the washer pump.
Source: hitchesguide.com
Inspect the pump grommet
Look for cracking, swelling, hardening, or damage that could cause a leak after reassembly.
Check the pump inlet
Remove visible debris according to the manufacturer’s procedure instead of forcing contamination deeper into the pump.
Examine the reservoir
A cracked, brittle, badly distorted, or leaking tank should generally be repaired correctly or replaced rather than repeatedly cleaned.
Flush before reinstallation
Make sure no cleaning residue, loose sediment, or soap remains inside the reservoir.
Can You Use Vinegar in a Windshield Washer Reservoir?
Vinegar is frequently suggested online for mineral residue, but using homemade chemicals inside an installed washer system can introduce compatibility uncertainty with pumps, seals, coatings, hoses, and fluid formulations. For routine cleaning, start with water flushing and the vehicle manufacturer’s service recommendations.
If a removed plastic tank has stubborn mineral scale, any cleaner should be compatible with the reservoir material and should be completely rinsed away before reinstallation. When compatibility is unknown, replacement or professional cleaning is the lower-risk choice.
What Not to Put in a Windshield Washer Reservoir
A washer reservoir, pump, hoses, seals, windshield, paint, and surrounding components are not designed for arbitrary household chemicals. A substance that removes sludge quickly can still create a more expensive problem if it damages the pump, plastic tank, rubber parts, vehicle finish, or glass coatings.
Avoid experimenting with aggressive cleaners simply because a clogged reservoir is difficult to clean. Mechanical draining, repeated water flushing, screen service, reservoir removal, or component replacement are safer troubleshooting paths.
Source: exybwflzx.blob.core.windows.net
Drain cleaner
Caustic drain-cleaning chemicals are not appropriate washer-system cleaners and may damage vehicle materials or create a hazardous spill.
Gasoline or petroleum solvents
These are unsafe, flammable, and unsuitable for washer-system plastics, seals, paint, and hoses.
Bleach
Do not treat the reservoir like a household container. Bleach introduces material-compatibility, paint, and handling concerns.
Boiling water
Extremely hot water can deform plastic components and creates an unnecessary burn hazard.
Household glass cleaner
A household window product is not automatically formulated for an automotive washer pump, reservoir, hoses, paint, temperature range, or vehicle specification.
Dish soap as washer fluid
Detergent can create excessive foam and is not a substitute for properly formulated automotive washer fluid.
Is Plain Water Safe in the Reservoir?
Clean water is useful as a temporary flushing liquid during maintenance, but it is not the best permanent washer-fluid replacement for most U.S. drivers. Plain water lacks the cleaning, evaporation, and freeze-protection characteristics of automotive washer fluid.
Freezing is especially important. Water left in the reservoir, pump, or hoses can freeze and expand during cold weather. After flushing, drain the system thoroughly and refill it with washer fluid suitable for the temperatures expected in your area.
What to Do If the Washer Still Does Not Work After Cleaning
If the reservoir is clean but washer performance remains poor, stop concentrating on the tank and diagnose the rest of the system. A clean reservoir cannot compensate for a blocked nozzle, pinched hose, frozen line, clogged pump screen, leaking connection, electrical fault, or failed pump.
Start with simple observations. Fill the reservoir properly, close the cap, switch the ignition to the required position, and activate the washers briefly. Listen for the electric pump and watch for fluid leaks.
Source: hitchesguide.com
Pump can be heard but no fluid sprays
Check for an empty reservoir, clogged pump inlet screen, disconnected hose, blocked hose, frozen fluid, or obstructed nozzles.
One nozzle sprays poorly
The restriction may be at that nozzle or its branch hose rather than inside the reservoir.
No pump sound
Possible causes include an electrical problem, fuse issue where applicable, wiring fault, switch problem, connector problem, or failed pump.
Fluid leaks under the vehicle
Inspect the reservoir, pump grommet, hose connections, and washer lines for leakage.
Fluid quickly becomes dirty again
Look for contamination remaining in the tank, filler neck, cap, hoses, pump strainer, funnel, or fluid supply.
Pump runs but spray is weak
Restrictions, leakage, incorrect hose routing, pump wear, or clogged nozzles can reduce pressure.
Do Not Run the Pump Dry for Long
Use only brief washer tests when the reservoir is empty or when flow is blocked. Washer pumps depend on fluid during normal operation, and repeatedly operating a dry or severely restricted pump can shorten its life.
When Should a Mechanic Inspect the System?
Professional diagnosis makes sense when reservoir removal requires extensive body or electrical disassembly, when fluid leaks near electrical components, when pump access is difficult, or when the system remains inoperative after basic checks.
A technician can test electrical power and ground, inspect pump pressure and flow, trace hidden hoses, service difficult screens, and determine whether the reservoir, pump, or another component actually needs replacement.
How to Keep the Washer Reservoir Clean Afterward
Preventing contamination is easier than repeatedly dismantling the washer system. Most problems can be reduced by keeping the filler area clean, using clean equipment, and filling the reservoir only with appropriate automotive washer fluid.
The cap deserves attention because it helps keep outside debris from entering the reservoir. Make sure it closes correctly and replace it if it is damaged or missing.
For U.S. drivers who experience freezing winters, changing to appropriately rated winter washer fluid before temperatures fall can also prevent frozen fluid from creating what appears to be a clog.
Clean the cap before opening
Wipe loose dust, sand, leaves, and road grime away so they do not fall into the filler neck.
Use a clean funnel
Do not use a funnel that previously handled engine oil, coolant, fuel, or dirty shop liquids unless it has been thoroughly cleaned and is suitable for the task.
Avoid questionable mixtures
Use washer fluid that meets the vehicle manufacturer’s recommendations instead of mixing miscellaneous household products.
Choose fluid for the climate
In freezing regions, check the product’s temperature rating and select washer fluid appropriate for expected winter conditions.
Investigate recurring sludge
Repeated contamination suggests an underlying source that should be identified rather than simply flushed over and over.
How Often Should You Clean the Windshield Washer Reservoir?
There is no routine mileage interval that requires every washer reservoir to be cleaned. A healthy tank filled with proper fluid may go years without needing an internal flush.
Clean it when there is evidence of contamination, such as visible sediment, sludge, unusual fluid condition, a dirty pump screen, or repeated clogging. Routine inspection when refilling is generally more useful than cleaning an otherwise clean reservoir on a fixed schedule.
Frequently Asked Questions
Q
Can I clean a windshield washer reservoir without removing it?
Yes. Many reservoirs can be cleaned in place by extracting the old fluid, adding a small amount of lukewarm clean water, draining it, and repeating the process until the rinse water is clear. Removal is more appropriate when heavy deposits cannot be flushed out or the pump screen requires access.
Q
Can I use dish soap to clean a windshield washer reservoir?
Do not add dish soap as a substitute for washer fluid. If a removable standalone reservoir has oily residue, a very small amount of mild soap may be used during off-vehicle cleaning, but it must be rinsed out completely before the reservoir is reinstalled. For routine in-place flushing, clean lukewarm water is the simpler option.
Q
Why is there black or slimy material in my washer reservoir?
Dark or slimy material can result from contamination, degraded fluid mixtures, debris, or algae-like deposits. Drain the reservoir, flush it thoroughly, and inspect the pump inlet screen if your vehicle has an accessible serviceable screen. If the material returns, investigate the fluid source and other contaminated washer-system components.
Q
Can a dirty windshield washer reservoir damage the pump?
Contamination can restrict a pump inlet or strainer and reduce fluid flow. Operating a pump when it cannot receive enough fluid may increase the risk of pump damage. If the system stops spraying, avoid holding the washer control continuously while diagnosing the restriction.
Q
What should I refill the reservoir with after cleaning?
Refill it with fresh automotive windshield washer fluid appropriate for your vehicle and climate. Drivers in parts of the United States that experience freezing weather should use fluid with suitable freeze protection rather than leaving plain water in the system.
Q
Why does my washer fluid still spray weakly after I cleaned the tank?
Weak spray after reservoir cleaning points toward another problem such as a restricted pump screen, clogged nozzle, kinked hose, leak, frozen line, or worn washer pump. Check these components systematically instead of repeatedly cleaning an already clean tank.
✦ Wrapping Up
Conclusion
Learning how to clean windshield washer reservoir components is useful when old fluid contains sediment, sludge, debris, or other contamination. The basic process is straightforward: drain the old fluid, inspect the tank, flush it with clean lukewarm water, clear an accessible pump screen when required, reconnect the system, and refill it with proper automotive washer fluid.
Avoid harsh household chemicals and do not assume every weak washer spray is caused by a dirty reservoir. If cleaning does not restore normal operation, inspect the pump inlet, hoses, nozzles, electrical system, and fluid lines. For U.S. drivers in cold climates, finish the job with properly rated winter washer fluid so leftover water does not freeze inside the system.
💡 Key Takeaway
Inspect the reservoir first, drain contaminated fluid instead of diluting it, flush until the water is clear, refill with climate-appropriate automotive washer fluid, and troubleshoot the pump, strainer, hoses, and nozzles if normal spray does not return.
Learn how to fold a round windshield sun shade correctly without bending the frame. Follow these simple steps, avoid common mistakes, and store it neatly.