To remove a rear windshield, first protect the vehicle and yourself, remove the surrounding trim and accessories, disconnect the rear defroster and antenna connections, cut through the urethane adhesive around the glass, and lift the rear glass away with suction cups and a helper.
For drivers in the United States, learning how to remove rear windshield glass can be useful when replacing shattered back glass, repairing rust around the window opening, restoring an older vehicle, or preparing a car or truck for replacement glass. Most modern US-market cars, SUVs, and pickups use a rear window that is bonded to the body with automotive urethane. That makes removal very different from simply taking out a bolted panel. The adhesive must be cut around nearly the entire perimeter while the glass, body paint, electrical connections, interior trim, and surrounding molding are protected.
Rear glass removal also deserves more caution than its simple appearance suggests. Most rear windshields are tempered safety glass, which can suddenly break into many small pieces if an edge or corner is damaged. The glass may also contain an electric defroster grid, radio antenna, embedded connectors, molding, locating pins, or vehicle-specific clips. The method below explains the common procedure for bonded rear glass while pointing out situations where your vehicle’s service information should take priority.
Before starting, determine how the rear window is attached. A bonded rear windshield normally sits close to the body opening and is secured with a continuous bead of urethane. Some older vehicles use a rubber gasket instead, while pickup sliders, hatch glass, removable hardtops, and specialty vehicles can use frames, fasteners, hinges, or combinations of several attachment methods.
The procedure in this guide focuses on fixed rear glass bonded with urethane, which is common on modern passenger vehicles. If you see bolts, retaining nuts, hinges, a thick removable rubber gasket, or a framed sliding assembly, consult the service information for that specific year, make, model, and body style before cutting anything.
Also decide whether you need to save the existing glass. Removing intact bonded rear glass without breaking it requires considerably more care because tempered glass is especially vulnerable around its edges. If the glass is already cracked or shattered, the priority changes to controlling loose fragments and preventing damage to the interior and painted window opening.
Source: storage.googleapis.com
Bonded glass
Usually secured around the perimeter with automotive urethane and removed by cutting through the adhesive.
Gasket-mounted glass
Uses a rubber weatherstrip or locking gasket and requires a different removal technique.
Framed or movable rear glass
May use bolts, sliders, hinges, tracks, latches, or mounting hardware instead of a conventional bonded-glass procedure.
Why Rear Windshield Glass Needs Careful Handling
Rear windshields are commonly made from tempered safety glass. Unlike a laminated front windshield, tempered glass is designed to fragment into many relatively small pieces when it fails. That behavior can reduce the danger associated with large sharp shards, but flying glass can still injure your eyes and skin.
The edges deserve particular protection. A tool that presses against an exposed edge, excessive twisting during lifting, or a hard impact against the body opening can cause otherwise intact rear glass to break unexpectedly.
Tools and Supplies You Need
Having the correct tools before you begin makes rear windshield removal safer and reduces the temptation to pry against the glass or painted body. The exact tools depend on access to the urethane and whether you intend to reuse the glass.
A cutting-wire system is especially useful because the wire can be passed through the adhesive and worked around the window. A cold knife or specialized powered auto-glass cutout tool may also be appropriate, although incorrect blade positioning can scratch the pinchweld, damage trim, or break reusable glass.
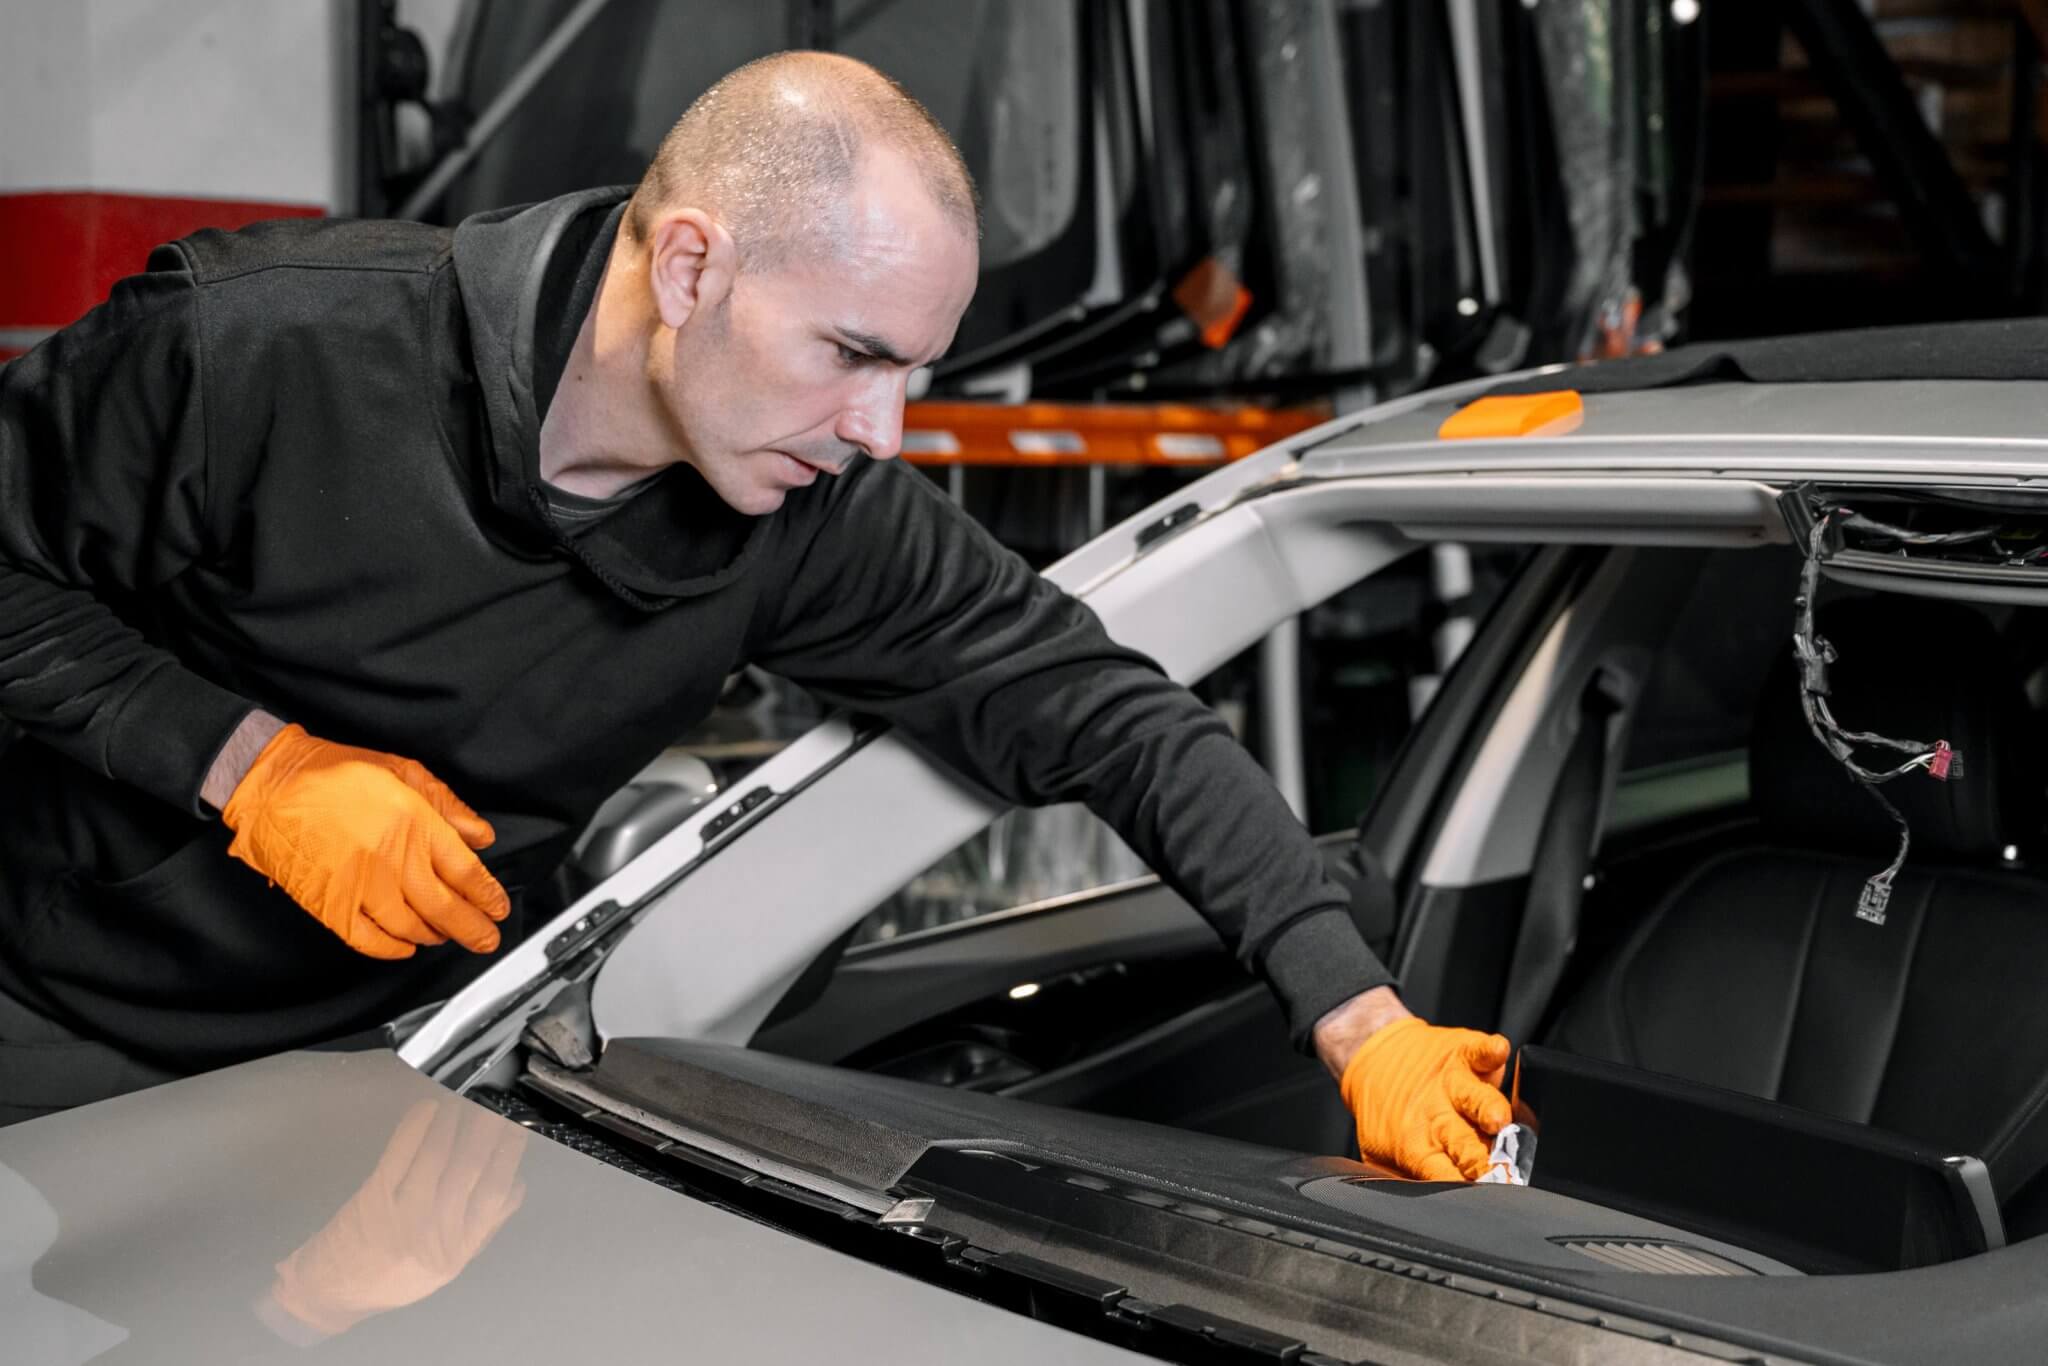
Source: storage.googleapis.com
Safety glasses
Protect your eyes from glass particles, broken clips, and debris.
Cut-resistant gloves
Protect your hands while handling trim, blades, wire, and glass.
Long sleeves and closed shoes
Reduce exposed skin if the tempered glass breaks.
Plastic trim-removal tools
Help release interior trim and molding with less risk of cosmetic damage.
Auto-glass cutting wire and handles
Allow the urethane bead to be separated from the glass and body.
Wire insertion or feeder tool
Helps pass cutting wire through the urethane bead.
Suction-cup glass handles
Provide a controlled grip when the window becomes free.
Painter’s tape
Can protect painted surfaces and temporarily help stabilize the glass.
Moving blankets or padded stand
Provide a safe place to put an intact removed window.
Vacuum
Useful when damaged tempered glass has fragmented inside the vehicle.
Should You Use a Cold Knife or Cutting Wire?
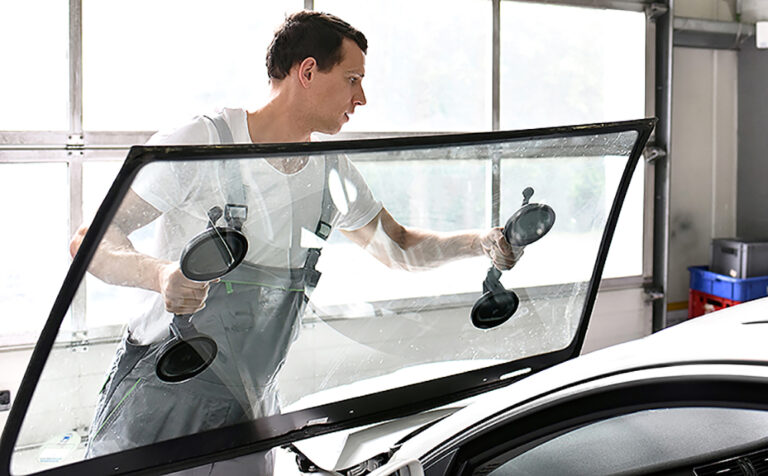
Cutting wire is often a practical choice for DIY removal because it can follow the urethane bead while keeping much of the cutting force within the adhesive. It works particularly well with two people, one controlling each side of the wire.
A cold knife can work quickly where there is enough clearance, but it requires careful blade control. Powered cutout tools are effective in experienced hands but can cause expensive damage quickly if the blade reaches painted metal, interior trim, wiring, or the glass edge. If the rear glass must be saved, check the manufacturer’s service procedure because some manuals specify particular removal tools.
How to Remove Rear Windshield Step by Step
Work indoors or in a dry, well-lit area when possible. Give yourself room behind the vehicle, protect nearby painted panels, and have a helper available before you begin cutting the final section of adhesive.
The following sequence covers a typical urethane-bonded rear window. Vehicle-specific trim, electrical connectors, retaining clips, molding, antennas, cameras, spoilers, and wipers can change the order, so stop when your vehicle differs from the expected layout rather than forcing a component.
Source: youtube.com
Step 1: Park and secure the vehicle
Park on a flat surface, switch off the ignition, set the parking brake, open a door or lower a side window for convenient access, and remove items from the cargo or rear-seat area.
Step 2: Protect the interior and body
Cover the rear seats, cargo floor, trunk opening, deck lid, hatch, and adjacent paint. If the rear glass is broken, contain loose fragments before removing trim.
Step 3: Remove obstructing exterior components
Depending on the vehicle, remove a rear wiper arm, spoiler trim, garnish, molding, or other component that blocks access to the glass perimeter.
Step 4: Remove interior trim around the glass
Use plastic trim tools to release the rear pillar trim, upper trim, package-tray trim, or headliner edge only as much as required to expose the back side of the glass and urethane.
Step 5: Disconnect electrical connections
Carefully disconnect rear defroster terminals, antenna leads, grounds, and any other wiring attached to the glass. Pull on the connector body rather than the thin conductive tab or printed grid.
Step 6: Identify clips and locating hardware
Look for glass stops, spacers, retaining tabs, locating pins, clips, or molding retainers. Do not assume the urethane is the only thing holding the rear windshield.
Step 7: Pass cutting wire through the urethane
Choose an accessible point and use a proper feeder or insertion tool to pass auto-glass cutting wire through the adhesive without contacting vulnerable glass edges or scratching painted metal.
Step 8: Cut the urethane around the perimeter
Attach the handles and work slowly around the rear glass. Keep the wire aimed through the adhesive rather than dragging it against the glass or pinchweld. Reposition frequently so the cutting angle remains controlled.
Step 9: Secure the glass before the final cut
Attach clean suction cups to sound glass and have a helper support the exterior. Finish cutting the remaining urethane only after the window cannot fall unexpectedly.
Step 10: Lift the rear windshield away
Once the adhesive is fully separated, lift the glass straight away from the body opening with your helper. Do not twist it through the opening or lever one corner against the vehicle.
Step 11: Place the glass safely
Move reusable glass to a padded glass stand or another stable protected location. Avoid placing tempered rear glass directly on a hard edge or concrete surface.
How to Cut the Urethane Without Damaging the Car
The goal is to separate the urethane while disturbing the painted pinchweld as little as possible. Keep cutting tools within the adhesive bead and maintain a shallow, controlled angle. If you feel the tool dragging against metal, stop and reposition it.
Corners usually require extra patience because access becomes tighter and the adhesive path changes direction. Avoid using the glass itself as a fulcrum. A pry bar or screwdriver pressed against a tempered-glass edge can turn a manageable job into a shower of broken glass.
Use controlled force
More force does not automatically make cutting faster and can increase the chance of broken glass or scratched paint.
Protect the pinchweld
Scratches that expose metal must be treated correctly before replacement glass is installed because corrosion can undermine the bonding area.
Watch the wire path
Keep cutting wire away from defroster leads, antennas, headliner material, interior trim, and wiring.
How to Disconnect the Rear Defroster Without Damage
Rear-window defroster connections require a gentle approach because the conductive tabs and printed grid are attached directly to the glass. Depending on the vehicle, there may also be an antenna connection or ground lead near the edge.
Expose the connection before pulling on it. Support the tab or connector area and separate the plug according to its locking design. Never yank on the wire. Damaging a bonded tab can create another repair even when the glass itself remains intact.
If a connector will not release, inspect it closely for a locking tang or clip. Taking a clear photo before disassembly is useful for routing the wiring correctly during installation.
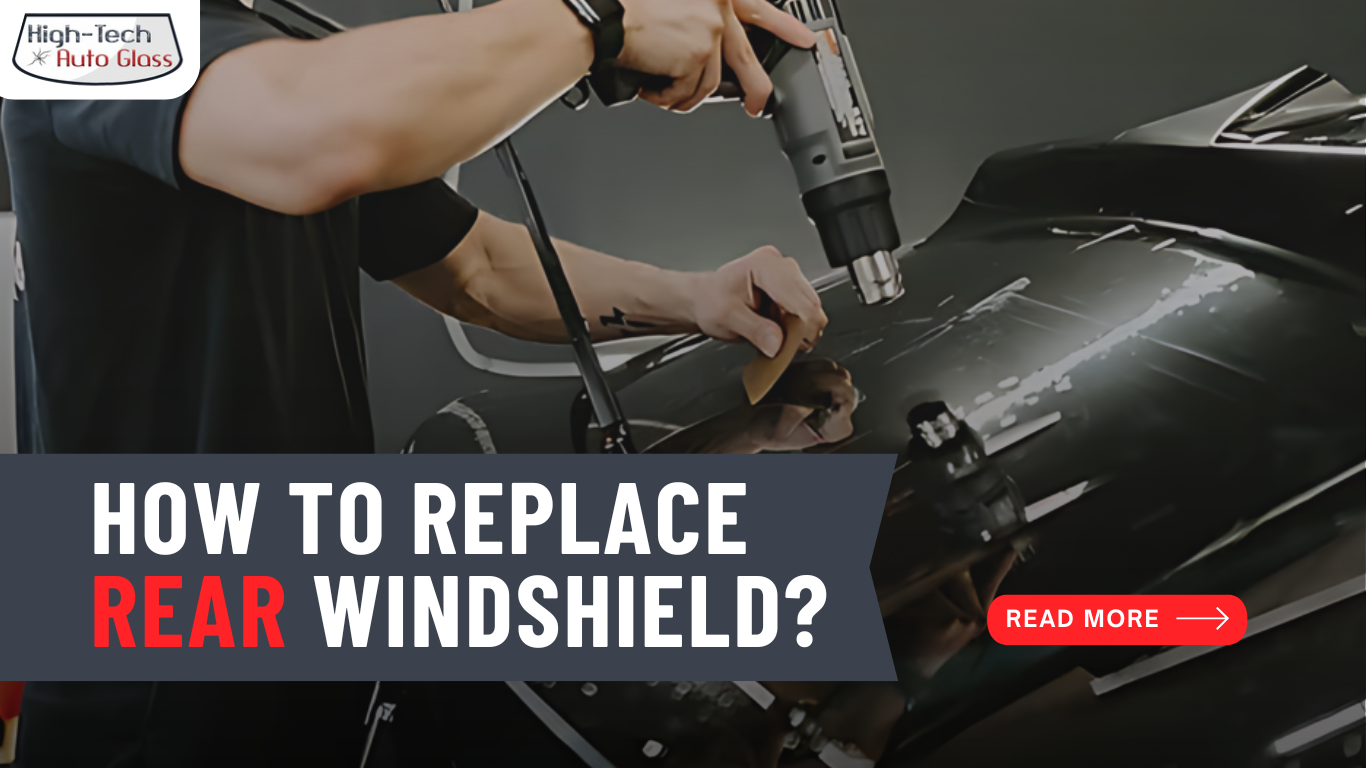
Source: hightech-autoglass.com
Do not pull the wire
Grip the connector itself and release its lock if one is present.
Protect the printed grid
Avoid scraping tools, adhesive tape, or trim edges across the conductive defroster lines.
Label multiple connections
If the glass has separate antenna, ground, and heater connections, label them before removal.
How to Remove a Broken or Shattered Rear Windshield
A shattered rear windshield changes the job because the pane may no longer behave as one rigid piece. Tempered glass can remain loosely held together for a time and then collapse when trim or adhesive is disturbed.
Wear eye protection, cut-resistant gloves, long sleeves, long pants, and closed shoes. Cover seats and interior openings before touching the damaged glass. Remove loose pieces carefully rather than pushing the entire broken pane inward.
Vacuum the interior, package shelf, cargo area, window channel, and accessible body opening as the work progresses. Small tempered-glass fragments can hide beneath trim and carpet. Do not use your bare hand to sweep fragments from a seat or weatherstrip.
When the remaining perimeter is exposed, cut the urethane or remove the remaining bonded fragments using the same basic principle as intact-glass removal. The difference is that every section must be controlled so loose pieces cannot fall into the cabin or onto painted bodywork.
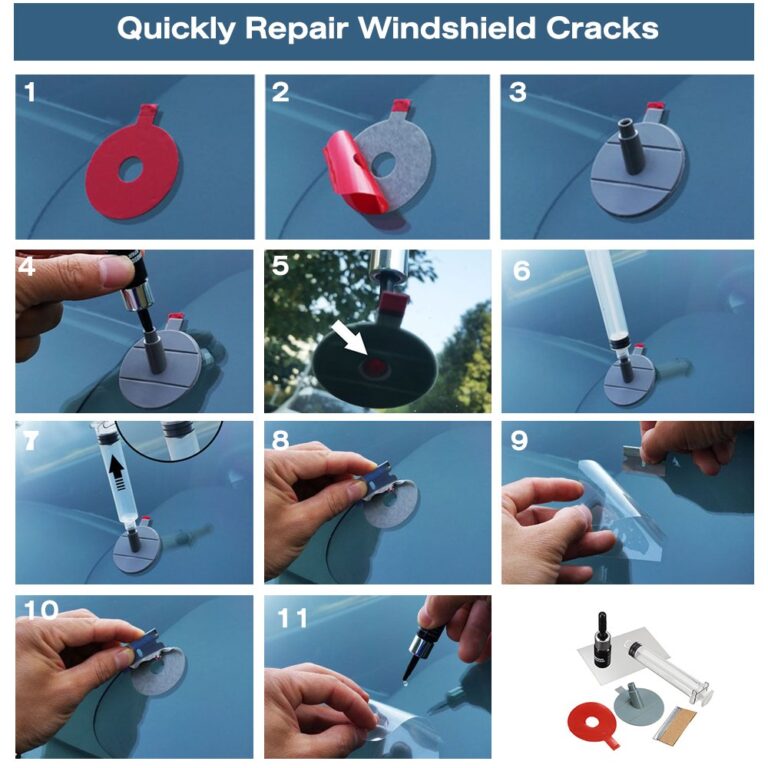
Source: carglassfix.com
Stabilize before disturbing
Prevent loose sections from falling unexpectedly while trim and connectors are being removed.
Vacuum repeatedly
Clean visible fragments at several stages instead of waiting until the end.
Inspect hidden areas
Check beneath rear seats, cargo-floor panels, trim edges, package trays, and weatherstripping for remaining fragments.
Use professional help when necessary
If broken glass is packed tightly into inaccessible trim or the opening has collision damage, professional removal can reduce the risk of injury and additional vehicle damage.
What to Do After the Rear Windshield Is Removed
Once the rear windshield is out, inspect the entire window opening before preparing it for new glass. Look for scratched paint, rust, bent metal, damaged clips, loose molding retainers, old adhesive contamination, and cut wiring.
If replacement glass will be installed, do not automatically scrape the window opening down to bare metal. Auto-glass installation procedures commonly retain a controlled layer of sound existing urethane, but the correct preparation method depends on the adhesive system and vehicle procedure. Follow the instructions for the replacement urethane and any vehicle-specific repair requirements.
Any exposed metal created during removal needs proper treatment before bonding new glass. Simply covering a deep scratch with fresh urethane is not a reliable corrosion repair. Significant rust, collision deformation, or a damaged bonding flange should be corrected before installation.
If the vehicle must remain without rear glass temporarily, keep it indoors or use a secure weatherproof covering that will not damage paint. Do not consider a temporary plastic sheet equivalent to properly installed automotive glass.
Source: storage.googleapis.com
Check the pinchweld
Look for scratches, bare metal, rust, dents, and adhesive areas that separated abnormally.
Check electrical components
Inspect defroster and antenna leads for damage before they disappear behind replacement trim.
Save reusable parts
Keep intact clips, spacers, locating blocks, molding, and fasteners organized if they are specified for reuse.
Follow the adhesive system
Use the primer, surface preparation, bead dimensions, curing requirements, and handling instructions specified for the replacement adhesive and vehicle.
Common Rear Windshield Removal Mistakes
Most avoidable problems occur when the glass is forced before the adhesive is completely cut, when hidden electrical connections are overlooked, or when metal tools are allowed to scrape the bonding surface. Working slowly is usually faster than repairing paint, wiring, trim, or reusable glass afterward.
Another common mistake is assuming every rear windshield comes out the same way. Different vehicles can use locating pins, bonded molding, stops, brackets, antennas, clips, high-mounted brake-light components, rear wiper hardware, spoilers, and interior panels around the opening.
Prying against the glass
Concentrated pressure on an edge or corner can break tempered glass suddenly.
Cutting before disconnecting wiring
Defroster, antenna, and other electrical leads can be torn or sliced.
Pulling the glass out too early
A small uncut section of urethane can hold tremendous resistance and cause the glass to flex or break.
Scratching painted metal
Cutting too deeply can expose the steel pinchweld and create a future corrosion problem.
Working alone during final removal
A helper makes it easier to support the glass as the final adhesive section releases.
Ignoring vehicle-specific hardware
Hidden clips, stops, pins, trim, and fasteners can prevent removal even after most of the urethane has been cut.
How to Tell When the Rear Windshield Is Ready to Lift Out
The rear windshield is ready to remove only when the adhesive has been separated around the entire required perimeter and all electrical or mechanical attachments have been released. The window should not require aggressive prying.
With suction handles attached and a helper supporting the glass, apply only light controlled movement. If one area remains firmly anchored, stop. Inspect that location for uncut urethane, a locating clip, molding, a retaining tab, or hidden hardware.
An intact window that can be lifted evenly away from the opening without twisting is a good sign that the removal stage is complete. Resistance concentrated in one point is a reason to investigate, not a reason to pull harder.
Good sign
The glass separates evenly from the opening with light controlled movement.
Warning sign
One corner or edge remains rigidly attached while the rest of the glass moves.
Correct response
Stop pulling, support the glass, locate the remaining attachment, and cut or release it correctly.
When to Have a Professional Remove the Rear Windshield
DIY rear windshield removal is reasonable only when you can identify the attachment method, reach the adhesive safely, protect the glass and body, and control the window when it releases. A professional auto-glass technician is the better route when those conditions are not present.
Professional help is particularly useful when you need to preserve expensive original glass, the rear window incorporates unfamiliar electronics, the body opening has corrosion or collision damage, or the glass sits under trim that requires extensive disassembly.
If removal is part of a complete replacement, remember that successful installation also depends on correct glass preparation, adhesive selection, primer use where specified, bead geometry, positioning, leak prevention, electrical reconnection, and the adhesive manufacturer’s safe handling or drive-away requirements. Removing the old glass is only one part of that job.
Use professional help for severe breakage
Loose glass throughout an inaccessible hatch, headliner, or trim cavity increases injury and cleanup risks.
Use professional help for valuable reusable glass
Preserving intact tempered rear glass can require specialized tools and technique.
Use professional help for rust or body damage
A compromised bonding flange should be repaired correctly before replacement glass is bonded.
Use professional help when the attachment method is unclear
Guessing at hidden clips, wiring, or structural trim can create unnecessary damage.
Frequently Asked Questions
Q
Can you remove a rear windshield without breaking it?
Yes, intact bonded rear glass can sometimes be removed without breaking it, but there is no guarantee. The urethane must be cut completely while avoiding pressure on the edges and corners. Using cutting wire, suction-cup handles, and a helper improves control. Vehicle-specific service information should be followed when preserving reusable glass is important.
Q
Can I remove a rear windshield by myself?
One person may be able to cut the adhesive, but having a second person for the final cutting and lifting stage is much safer and easier. Rear glass is large, awkward, and vulnerable to twisting. Once the final section of adhesive releases, a helper can prevent the window from dropping against the body or ground.
Q
What tool cuts the glue around a rear windshield?
Auto-glass cutting wire with proper handles is a common option for separating cured urethane. Cold knives and specialized powered cutout tools are also used. The best tool depends on access, the vehicle design, and whether the glass needs to be preserved.
Q
Is a rear windshield glued in?
Many modern fixed rear windshields are bonded to the vehicle body with automotive urethane adhesive. However, some vehicles use rubber gaskets, frames, bolts, hinges, sliders, or other retention systems. Confirm the attachment method before beginning.
Q
Can I push the rear windshield out from inside the car?
Do not try to force a bonded rear windshield out before the urethane and any mechanical retainers are completely released. Pushing hard against tempered glass can break it. After the adhesive is fully cut, gentle controlled pressure may help separate the glass while a helper supports it from outside.
Q
What should I do if the rear windshield will not come out after cutting the adhesive?
Stop pulling and inspect the area that remains firmly attached. There may be an uncut section of urethane, a thick adhesive corner, a clip, retaining tab, locating pin, molding component, or other vehicle-specific hardware. Releasing the actual obstruction is safer than applying more force to the glass.
✦ Wrapping Up
Conclusion
Learning how to remove rear windshield glass is mainly a matter of careful preparation and controlled adhesive cutting. For a typical bonded rear window, protect the vehicle, remove obstructing trim and accessories, disconnect defroster and antenna connections, identify hidden retainers, cut through the urethane around the perimeter, secure the glass with suction handles, and lift it away with a helper.
The most important rule is not to force the rear glass. Tempered glass can fail suddenly, and aggressive cutting or prying can also damage paint, the pinchweld, electrical connections, or surrounding trim. If something remains attached, find the reason before continuing.
💡 Key Takeaway
Before starting, identify exactly how your vehicle’s rear glass is retained and gather proper safety equipment, auto-glass cutting tools, suction handles, and a helper. If the attachment method, electrical connections, or glass condition makes safe removal uncertain, use a qualified auto-glass technician.
Learn how to fold a collapsible windshield sun shade using the simple figure-eight method, plus tips for storage, troubleshooting, and different shade designs.
Learn how to fold a pop up windshield sun shade safely and quickly. Follow simple steps, avoid common mistakes, and store your car sun shade without damaging its frame.