To replace a rear windshield, remove the damaged glass and trim, disconnect electrical connections, prepare the pinch weld, dry-fit the replacement glass, apply the correct automotive urethane, set and align the new glass, reconnect the defroster or antenna, and allow the adhesive to cure for the time specified by its manufacturer.
For drivers in the United States, a shattered rear windshield is more than an inconvenience. It can expose the cabin to rain, road debris, theft, and exhaust or wind noise, while also disabling the rear defroster, antenna, camera, or other equipment built into the glass on some vehicles. Rear glass is commonly tempered rather than laminated like a typical front windshield, so when it fails it may break into many small pieces instead of remaining together as one cracked sheet.
Learning how to replace rear windshield glass is possible for an experienced DIYer, but this is not a casual trim-removal job. Correct glass fitment, surface preparation, urethane selection, bead shape, positioning, and curing all matter. A poor bond can cause water leaks, wind noise, corrosion, or glass retention problems. Vehicle designs also vary widely across cars, SUVs, pickup trucks, hatchbacks, and liftgates sold in the U.S., so the vehicle manufacturer’s service information and the adhesive manufacturer’s instructions should take priority over any general procedure.
This guide explains the complete replacement sequence, including tools, safety preparation, removal of shattered glass, treatment of the pinch weld, installation of urethane-bonded glass, defroster connections, leak testing, common mistakes, and situations where using a professional auto glass technician is the safer choice.
The first step is confirming that you have the correct replacement glass and the materials required by your vehicle’s installation procedure. Rear glass is highly vehicle-specific. Two trims of the same model may use different glass because one includes an antenna, factory tint, embedded defroster connections, a rear wiper opening, a camera bracket, or different perimeter molding.
Use the VIN when ordering if the supplier offers VIN-based fitment. Inspect the new panel before removing the old one. Compare its overall dimensions, curvature, edge shape, electrical tabs, frit band, holes, brackets, molding, and connectors. Discovering a mismatch after the old glass has been removed can leave the vehicle unusable and exposed to weather.
Automotive urethane systems are designed as systems. Depending on the product and vehicle, the installation may require glass cleaner, activator, glass primer, pinch-weld primer, or other preparation products. Do not assume that every urethane uses the same procedure. Read the current technical instructions supplied with the exact adhesive you purchased.
Source: storage.googleapis.com
Replacement rear glass
Verify year, make, model, body style, tint, defroster, antenna, wiper, camera, molding, and connector compatibility.
Personal protective equipment
Use safety glasses or goggles, cut-resistant gloves, long sleeves, work pants, and closed-toe shoes.
Glass handling equipment
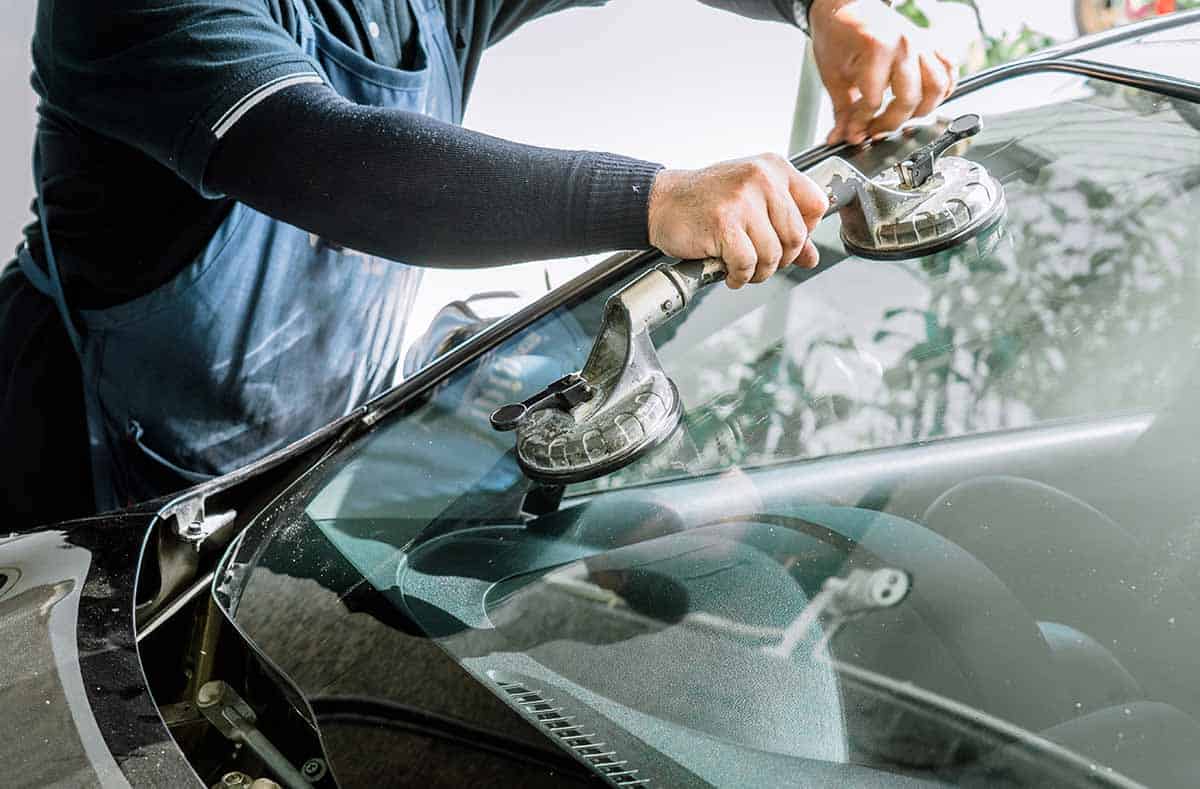
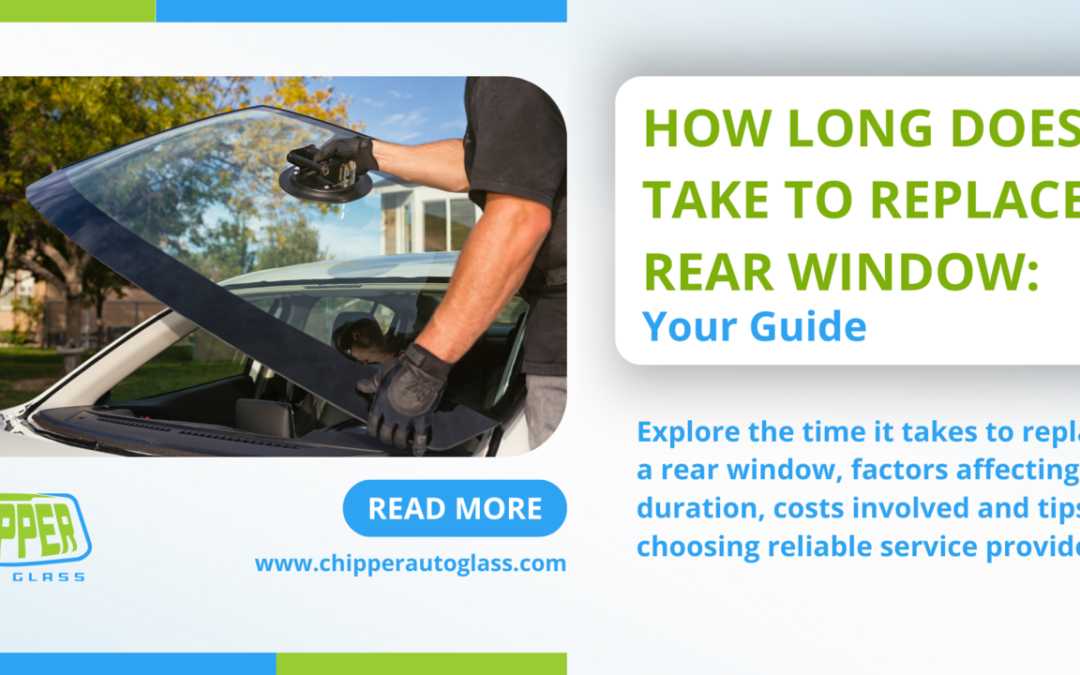
Quality suction cups make a large rear glass panel easier to control and align. A helper is strongly recommended.
Removal tools
Depending on the vehicle, you may need trim tools, sockets, screwdrivers, a utility or glass knife, cut-out wire, and suitable handles.
Bonding materials
Use vehicle-glass urethane and the compatible cleaners, primers, or activators specified by the adhesive and vehicle procedures.
Cleanup equipment
A shop vacuum, brushes, tape, protective covers, and containers for broken glass help keep fragments out of the cabin.
Know When a DIY Replacement Is a Poor Choice
Professional installation is usually the better option when the pinch weld is heavily rusted, the body opening is bent, electrical tabs are damaged, the glass contains complicated electronic equipment, or you lack a safe way to handle and position the panel. Significant rust, pitting, or damaged sheet metal can require body repair before glass installation.
A professional is also a sensible choice when you cannot identify the required adhesive system or cure time. The cost of correcting a leaking or poorly bonded installation can exceed the savings from performing the initial replacement yourself.
Stop for structural damage
Bent sheet metal or severe corrosion around the glass opening needs proper repair before bonding new glass.
Stop for uncertain electronics
Get model-specific information if the glass incorporates unfamiliar antennas, cameras, sensors, or proprietary connectors.
How to Replace Rear Windshield Glass Step by Step
The following sequence covers a typical urethane-bonded rear window. Your vehicle may use different moldings, clips, electrical connectors, fasteners, or installation dimensions. Check model-specific service information before cutting or applying adhesive.
Source: youtube.com
Step 1: Park and prepare the vehicle
Work on level ground in a clean, dry, well-ventilated area protected from rain, dust, and strong wind. Lower a side window before final installation so closing a door does not suddenly pressurize the cabin against fresh urethane.
Step 2: Protect the interior and paint
Cover the rear seats, cargo floor, trunk, painted panels, and nearby trim. Remove loose belongings. If the glass is shattered, vacuum accessible fragments before working around the opening.
Step 3: Remove interior trim as required
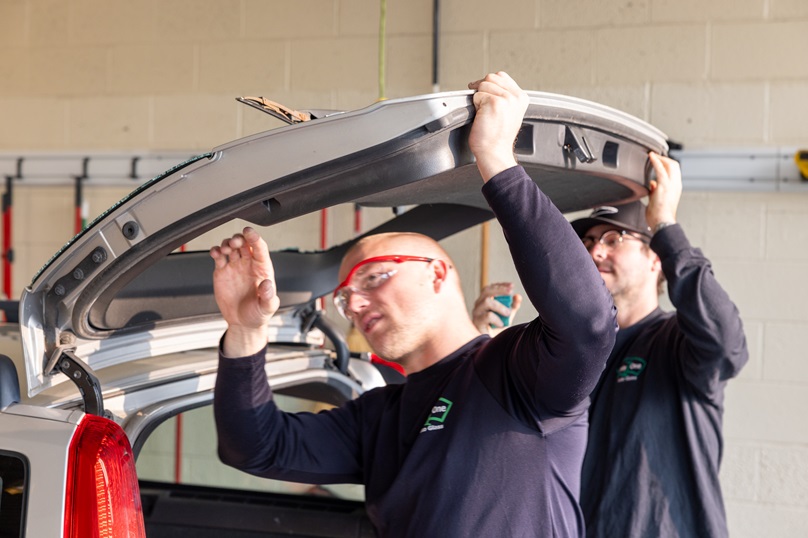
Carefully remove the garnish moldings, hatch trim, parcel shelf components, weatherstrip sections, or other pieces that block access to the glass edge. Use plastic trim tools where possible to reduce cosmetic damage.
Step 4: Disconnect electrical equipment
Disconnect the rear defroster terminals, antenna leads, camera connections, or other wiring attached to the glass. Pull on the connector body rather than the delicate conductive tab whenever possible.
Step 5: Remove loose broken glass
Wear full eye and hand protection. Carefully remove loose pieces and vacuum the cabin, trunk, cargo channels, weatherstrip areas, and trim cavities. Tempered glass fragments can remain hidden well after the main panel is removed.
Step 6: Cut through the existing urethane
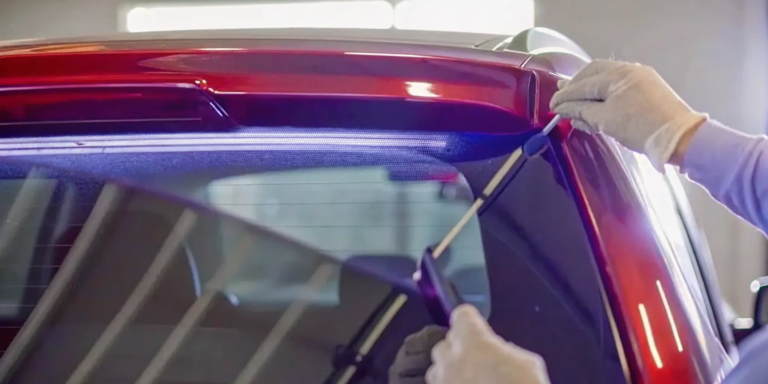
Use the appropriate automotive glass cut-out method to separate the old urethane around the perimeter. Work slowly to avoid cutting wiring, scratching painted metal, damaging headliner material, or gouging the pinch weld.
Step 7: Lift out the old rear glass
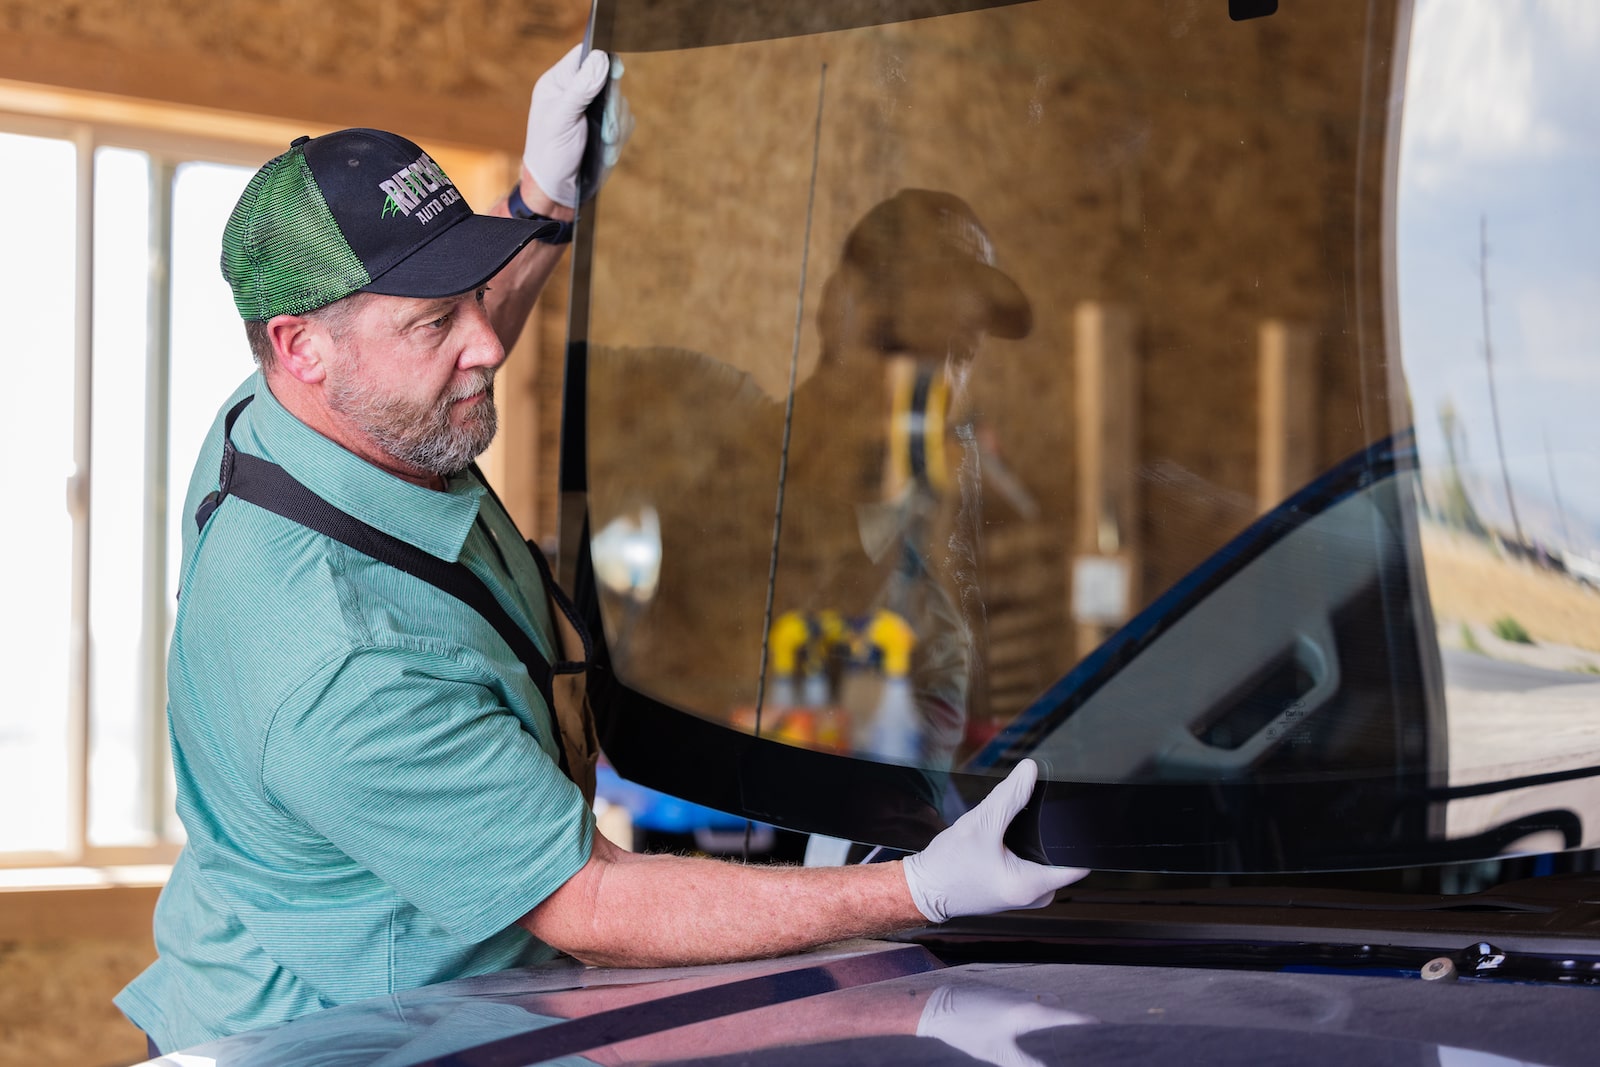
Once the bond is completely separated, lift the panel away with suction cups and preferably a second person. Do not force a partially bonded corner because the glass can break suddenly or bend the body flange.
Removing a Rear Window That Is Already Shattered
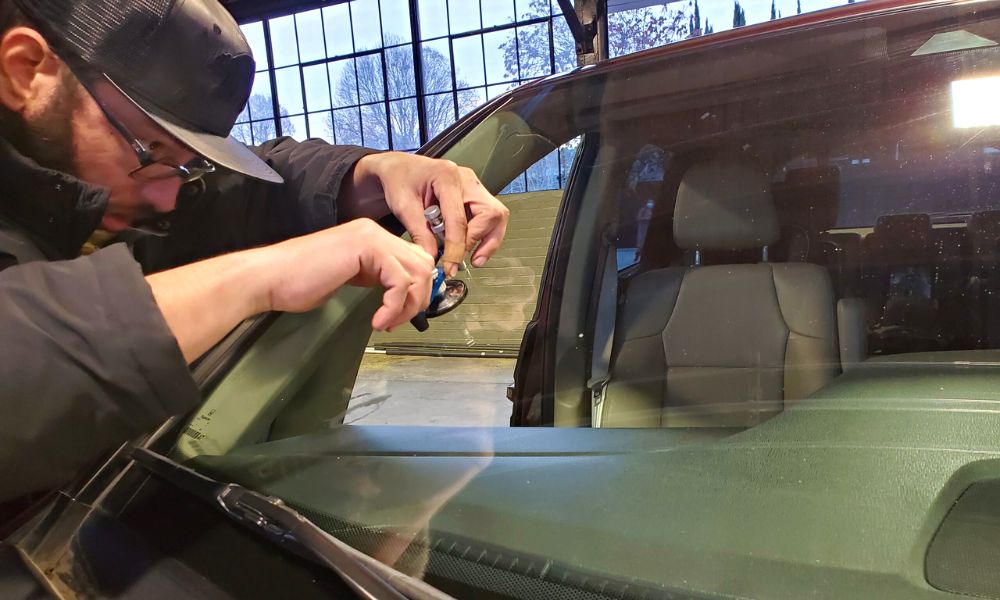
A shattered rear windshield can look easier to remove because much of the glass has already fallen out, but thousands of fragments may remain bonded to the urethane. Do not grab the remaining perimeter with bare hands. Remove loose material carefully and cut the remaining urethane and attached glass away in a controlled manner.
Inspect seat creases, child-seat anchor areas, cargo compartments, speaker grilles, spare-tire wells, hatch trim, and vents for fragments. A bright flashlight can help reveal glass that is difficult to see against carpeting.
Avoid compressed-air cleanup inside the cabin
Blowing shattered glass can drive fragments deeper into vents, trim gaps, upholstery, and electrical components.
Vacuum repeatedly
Multiple cleanup passes are often needed because tiny pieces move out of trim and carpet as the vehicle is worked on.
Prepare the Pinch Weld Correctly
Surface preparation is one of the most important parts of rear windshield replacement. The pinch weld is the body flange surrounding the opening where the glass is bonded. Once the old panel has been removed, inspect the entire flange for old adhesive, loose material, paint damage, rust, high spots, or deformation.
Many vehicle procedures call for trimming the sound original urethane to a thin, even layer rather than scraping every trace away. Published service procedures commonly describe an approximately 1 to 2 millimeter residual layer for certain vehicles, but the exact requirement should come from the service information for the vehicle and the adhesive system being used.
Avoid touching prepared bonding surfaces with bare fingers. Skin oil, dirt, moisture, silicone products, wax, and cleaning residue can interfere with adhesion.
Source: glassfixitauto.com
Trim instead of gouging
Use a suitable blade to make the remaining sound urethane uniform while avoiding unnecessary contact with painted metal.
Clean debris
Remove dust, loose urethane, broken glass, and contamination before applying any primers or adhesive.
Treat scratches promptly
If cutting exposes metal, follow the approved primer or repair process for your urethane and vehicle.
Repair corrosion
Do not bond over active rust. Severe corrosion, pitting, perforation, or damaged sheet metal should be professionally repaired.
Why You Should Not Remove All Old Urethane Automatically
Scraping aggressively down to painted or bare metal creates unnecessary damage and increases the chance of future corrosion. When the original urethane is sound and the specified procedure permits it, a thin trimmed layer can provide the base for the new bead.
However, contaminated, loose, poorly bonded, or incorrectly applied material requires a different repair approach. The goal is not simply to leave old adhesive; it is to create the bonding surface specified by the manufacturer.
Dry-Fit and Prepare the New Rear Windshield
Before opening the urethane cartridge, place the replacement glass into the opening without adhesive. A dry fit confirms that the panel is actually correct and shows where it needs to sit when the adhesive is wet.
Use suction cups and a helper to position the panel. Check that the perimeter gap is consistent, moldings fit correctly, electrical connectors reach their terminals, and any locator blocks or stops contact the glass as intended. Apply removable alignment tape or non-staining reference marks to the body and glass if needed.
Lift the panel back out and place it on a stable padded stand. Clean and prepare the bonding area on the glass according to the adhesive manufacturer’s instructions. Some systems use glass primer or activator while others use a different preparation process. Do not substitute ordinary cleaners or assume primer is always required.
Source: mach1services.com
Check the frit band
The dark ceramic area around the glass perimeter is commonly part of the bonding zone and should be clean and undamaged.
Confirm connectors
Make sure defroster and antenna terminals are located where the vehicle wiring can reach them without tension.
Inspect molding
Install or position any required perimeter molding, clips, or encapsulated components according to the glass and vehicle design.
Keep surfaces clean
Once the bonding area is prepared, avoid touching it or placing the glass on a dirty surface.
Check the Rear Defroster Before Installation
If the replacement panel has an electric rear defroster, inspect the conductive grid and terminal tabs before installation. A damaged terminal may be much easier to address while the glass is on a stand than after it has been bonded into the vehicle.
Do not scrape the printed defroster grid with abrasive tools. The thin conductive traces can be damaged by aggressive cleaning or careless handling.
Apply Automotive Urethane and Install the New Glass
Use only automotive glass urethane that is appropriate for the vehicle and installation. Check its expiration date, storage requirements, application temperature, primer compatibility, working time, and safe-drive-away or curing instructions before starting.
Prepare the nozzle to create the bead profile specified by the adhesive or vehicle procedure. A consistent triangular bead is common in bonded automotive glass work because it helps maintain the required adhesive height as the glass is pressed into place.
Apply one continuous bead around the opening in the specified location. Avoid gaps, skipped areas, excessive starts and stops, or a poorly joined bead. The glass needs to be placed within the adhesive’s stated working time.
Source: fity.club
Step 1: Apply required primer
Treat glass and any approved areas of the pinch weld exactly as specified and observe the stated flash or drying time.
Step 2: Apply a continuous urethane bead
Keep the bead height and shape consistent and join the beginning and end without leaving a leak path.
Step 3: Lift the glass into position
Using suction cups and a helper, align the glass with the reference marks and lower it directly onto the adhesive without sliding it excessively.
Step 4: Seat the panel evenly
Apply only the pressure required by the installation procedure so the glass reaches its intended position without flattening or displacing the urethane excessively.
Step 5: Secure the glass if required
Use the specified molding, setting blocks, stops, or temporary glass tape to hold alignment while the urethane cures.
Do Not Use Household Silicone as a Substitute
Household silicone, bathroom sealant, and ordinary construction caulk are not substitutes for an automotive glazing urethane system specified for bonded vehicle glass. The adhesive must provide the appropriate retention, environmental resistance, and compatibility with the vehicle’s bonding surfaces.
Using the wrong material can also complicate future professional replacement because silicone contamination can interfere with automotive adhesive preparation.
Reconnect Components and Let the Urethane Cure
After the rear glass is positioned, do not immediately treat the vehicle as ready for normal use. The urethane must develop sufficient strength first. Cure and safe-drive-away times vary by adhesive formulation and environmental conditions, so use the instructions for the exact product rather than relying on a universal waiting period.
Reconnect the rear defroster, antenna, camera, wiper wiring, or other components when the applicable service procedure allows. Reinstall interior trim carefully so clips, screws, wiring, or headliner edges do not disturb the glass.
Keep doors, windows, and hatch operation gentle during the early curing period. If the adhesive instructions or vehicle procedure require a side window to remain partially open or temporary tape to remain in place, follow those directions.
Source: carglassfix.com
Respect cure time
Do not drive or aggressively operate doors and the hatch until the adhesive has reached the condition specified by its manufacturer.
Do not pull installation tape early
Temporary tape may help prevent the glass or molding from shifting while the urethane develops strength.
Inspect trim
Confirm interior and exterior moldings sit properly without creating pressure points against the glass.
Restore electrical connections
Make sure terminals are fully seated without bending or stressing the conductive tabs.
How Long Before You Can Drive After Rear Windshield Replacement
There is no safe universal number for every installation. Some automotive urethanes reach their stated safe-drive-away condition relatively quickly, while others need longer depending on temperature, humidity, airbag configuration, adhesive chemistry, and the vehicle manufacturer’s requirements.
The correct answer is the safe-drive-away or cure time printed in the current technical instructions for the exact urethane used. If that information is missing, do not guess.
Test the Installation for Leaks and Proper Operation
Once the urethane has cured enough for inspection according to its instructions, check the installation before considering the job complete. Examine the glass from inside and outside. The panel should sit evenly, the molding should follow the opening correctly, and there should be no obvious gaps in the bond or trim.
Test the rear defroster and any antenna, wiper, camera, brake-light, or electrical features associated with the glass. A nonworking defroster after replacement may indicate an unplugged connector, damaged terminal, broken grid, fuse problem, or wiring fault.
Perform a controlled water test only after the adhesive has cured sufficiently. Use a gentle stream of water over the upper and side edges instead of immediately directing a pressure washer at the glass. Have a helper inspect the inside for moisture.
Check for water intrusion
Look around the headliner, C-pillars, parcel shelf, hatch trim, trunk, and cargo area for moisture.
Listen for wind noise
After the vehicle is cleared for driving, unusual whistling may indicate a molding, alignment, or sealing problem.
Test the defroster
Verify that the electrical system operates normally without loose terminals or obvious breaks in the heating grid.
Watch for shifting
The glass should remain correctly centered and flush instead of settling toward one edge.
What to Do If the New Rear Windshield Leaks
First identify the actual leak path. Water appearing near the glass can sometimes travel from a roof seam, hatch seal, roof accessory, body seam, or spoiler rather than through the urethane bond itself.
If the leak is confirmed at the newly bonded glass, do not smear household silicone around the exterior as a quick fix. The repair should preserve the integrity of the automotive glazing system. Depending on the location and installation defect, proper correction may require professional urethane repair or removal and reinstallation of the glass.
Common Rear Windshield Replacement Mistakes
Most DIY problems happen because the glass installation is treated like ordinary household glazing. Automotive back glass requires careful bonding-surface preparation and precise handling. Avoiding several common mistakes greatly improves the likelihood of a dry, durable installation.
Ordering the wrong rear glass
Similar-looking panels can differ in tint, defroster layout, antenna design, holes, trim, brackets, connectors, or body style.
Damaging the pinch weld during removal
Deep scratches expose metal and can create future corrosion or bonding problems.
Bonding over rust
Corroded metal is not a suitable foundation for a dependable glass bond.
Contaminating prepared surfaces
Oil from fingers, dust, wax, silicone, water, or incorrect cleaners can reduce adhesive performance.
Mixing incompatible products
Primer, activator, and urethane products should be used as the adhesive system specifies.
Creating gaps in the urethane bead
A discontinuity can become a direct path for water and air.
Setting the glass too late
Urethane has a limited working time. Waiting too long after application can compromise proper wetting and bonding.
Driving before adequate cure
Vehicle movement, body flex, door pressure, and vibration can affect a bond that has not developed sufficient strength.
Forgetting electrical connections
Defroster and antenna problems are common if terminals are damaged, left disconnected, or hidden behind reinstalled trim.
Signs the Rear Windshield Replacement Was Successful
A successful installation is not judged only by whether the glass stays in the opening. The rear window should be correctly centered and supported, the bond should remain dry, trim should fit naturally, and all features attached to the glass should operate as intended.
After the approved curing period and initial road use, inspect the area again. Early identification of a leak, loose molding, electrical problem, or abnormal wind noise can prevent water damage or corrosion.
Even positioning
The glass sits consistently in the body opening without obvious high or low corners.
Dry cabin
Water testing and normal rain produce no moisture around the rear glass or interior trim.
Normal road noise
There is no new whistle, flutter, or excessive wind noise around the rear window.
Working electrical equipment
The rear defroster and other glass-mounted equipment operate normally.
Stable molding
Exterior and interior trim remain properly seated after normal vehicle use.
Frequently Asked Questions
Q
Can I replace a rear windshield myself?
Yes, a skilled DIYer can replace some rear windshields, especially when vehicle-specific instructions and the correct automotive glazing materials are available. The difficult parts are removing the old bond without damaging the body, preparing the pinch weld correctly, applying a continuous urethane bead, and positioning a large glass panel before the adhesive’s working time expires.
If there is significant rust, body damage, complicated electronics, uncertain adhesive requirements, or no safe way to handle the glass, professional replacement is the safer option.
Q
Is rear windshield glass the same as a front windshield?
Usually not. Front windshields in modern passenger vehicles are generally laminated safety glass, which uses a plastic interlayer to help hold broken glass together. Rear windows are commonly tempered safety glass, which is designed to break into many small pieces when it fails.
There are vehicle-specific exceptions, including some rear windows made with laminated glass, so identify the actual glass specified for your vehicle rather than assuming its construction.
Q
Can you repair a cracked rear windshield instead of replacing it?
A typical tempered rear windshield generally needs replacement once it cracks or shatters because damage can cause the entire panel to lose integrity. This differs from certain small chips in a laminated front windshield, which may sometimes be repairable.
If your vehicle uses laminated rear glass, have the damage evaluated according to the glass type, crack location, size, and manufacturer requirements.
Q
What adhesive should I use for a rear windshield?
Use an automotive glass urethane system approved for bonded vehicle glazing and compatible with the vehicle and preparation products. Do not substitute household silicone, bathroom caulk, or general-purpose construction adhesive.
Follow the exact urethane manufacturer’s directions for primer use, application temperature, working time, bead configuration, curing conditions, and safe-drive-away time.
Q
How long does a rear windshield replacement take?
The hands-on work may take a few hours depending on the vehicle, damage, trim removal, glass cleanup, corrosion, and technician experience, but installation time and adhesive cure time are separate issues. A shattered window that has filled the cabin and hatch with glass can take substantially longer to clean than an intact panel.
Do not determine when the car can be driven from the installation time alone. Use the safe-drive-away instructions for the specific urethane.
Q
Why is my rear defroster not working after replacement?
Common causes include disconnected electrical terminals, a loose connection, damage to a glass-mounted terminal, a broken conductive grid line, a blown fuse, or another electrical fault. Start by checking the connections disturbed during glass replacement.
Avoid probing or scraping the printed heating elements carelessly because they can be damaged. If the terminals and fuse are correct but the defroster remains inoperative, further electrical diagnosis may be required.
✦ Wrapping Up
Conclusion
Knowing how to replace rear windshield glass involves much more than removing one panel and gluing another in place. A dependable replacement requires the correct vehicle-specific glass, safe cleanup, careful urethane removal, a sound and corrosion-free pinch weld, compatible surface preparation products, a continuous automotive urethane bead, accurate glass positioning, and sufficient curing time.
For U.S. vehicle owners with the right tools and repair experience, the job can be manageable on a straightforward vehicle. The safest approach is to check the service procedure for the exact year, make, model, and body style before beginning and then follow the technical instructions for the exact urethane being used. If the body opening is damaged, rusted, electronically complex, or difficult to access, an experienced auto glass technician can prevent an installation problem from becoming a water leak, electrical fault, or body corrosion issue.
💡 Key Takeaway
Before removing the old rear windshield, verify the replacement glass by VIN or exact vehicle configuration, obtain the correct automotive urethane system, review its cure requirements, and make sure you have a helper and the protective equipment needed to handle the glass safely.
Learn how to install a windshield sun shade correctly in your car. Follow simple steps for folding, roll-up, and umbrella-style shades, plus fit, safety, storage, and troubleshooting tips.
Learn how to fold a round windshield sun shade correctly without bending the frame. Follow these simple steps, avoid common mistakes, and store it neatly.