How to Read OBD1 Codes Ford: Complete Diagnostic Guide
How to read OBD1 codes Ford vehicles can be done without a traditional scanner by using Ford’s built-in diagnostic system and retrieving codes through the Self-Test Output (STO) connector and Self-Test Input (STI) connector. Older Ford vehicles can display trouble codes through the Check Engine Light or an analog code reader by running specific diagnostic tests.
The complete details are explained below. In this article, you will learn how Ford OBD1 systems work, where to find the diagnostic connectors, how to perform KOEO and KOER tests, how to read Ford flash codes, and what to do after identifying a trouble code.
How to Read OBD1 Codes Ford Vehicles
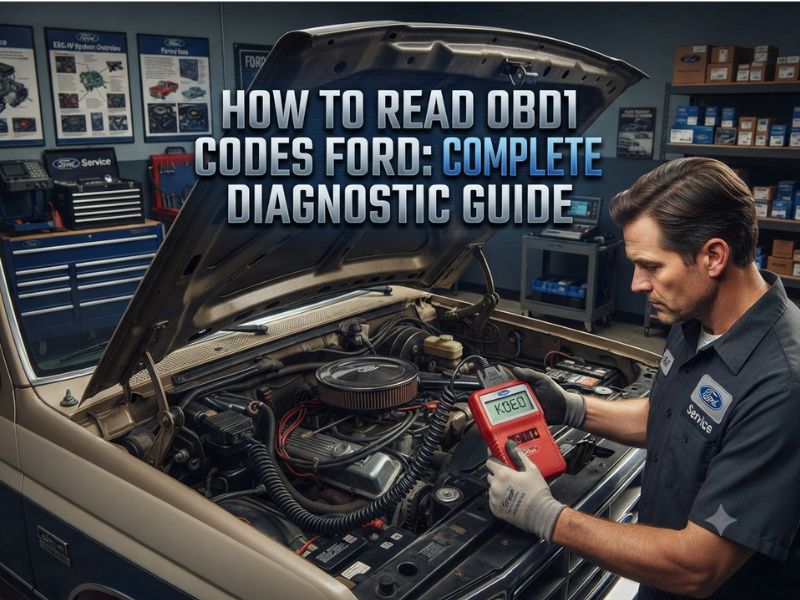
Ford OBD1 systems use a diagnostic method called the EEC-IV self-test system.
Unlike modern OBD2 vehicles that require a scanner connected to a standardized 16-pin port, many older Ford vehicles allow you to retrieve trouble codes manually.
The process involves:
- Locate the Ford self-test connectors.
- Connect the diagnostic terminals correctly.
- Perform the Key On Engine Off (KOEO) test.
- Perform the Key On Engine Running (KOER) test if needed.
- Count the Check Engine Light flashes or read the output code.
- Match the code with a Ford diagnostic chart.
Ford used the EEC-IV OBD1 system mainly from the early 1980s through 1995 before switching to OBD2.
The exact testing procedure depends on the vehicle year, engine, and computer system.
What Is Ford OBD1?
Ford OBD1 is an early electronic engine diagnostic system used before OBD2 became mandatory.
Ford’s system is commonly known as EEC-IV (Electronic Engine Control IV).
The engine computer monitors different sensors and systems to maintain fuel efficiency, emissions control, and engine performance.
When the computer detects an abnormal condition, it stores a diagnostic trouble code and may turn on the Check Engine Light.
Ford OBD1 can detect issues involving:
- Oxygen sensors
- Mass airflow sensors
- Throttle position sensors
- Engine coolant temperature sensors
- Fuel injectors
- Ignition systems
- EGR systems
- Vehicle speed sensors
Unlike OBD2 systems, Ford OBD1 codes are usually retrieved through self-tests rather than a standard scan tool.
Which Ford Vehicles Use OBD1?
Ford OBD1 systems were commonly used on vehicles produced before 1996.
Common Ford OBD1 vehicles include:
- Ford F-150 (older models)
- Ford Bronco
- Ford Mustang
- Ford Ranger
- Ford Explorer
- Ford Taurus
- Ford Crown Victoria
- Ford Escort
- Mercury models from the same period
However, some late 1995 vehicles may already have OBD2 systems.
Always confirm your vehicle’s diagnostic system before attempting an OBD1 procedure.
Where Is the Ford OBD1 Diagnostic Connector Located?
Ford OBD1 vehicles usually have two diagnostic connectors under the hood.
The connectors are commonly located:
- Near the passenger-side firewall
- Near the power distribution box
- Near the fender area
- Close to the engine compartment wiring harness
The main connectors are:
Self-Test Output (STO)
This is the larger connector where diagnostic signals are received.
Self-Test Input (STI)
This is a smaller single-wire connector used to activate the test mode.
The STO connector is usually a rectangular plastic plug with several terminals.
Ford OBD1 KOEO Test Explained
The KOEO (Key On Engine Off) test is the most common Ford OBD1 diagnostic test.
During this test, the engine is off while the ignition is switched on.
The computer checks stored problems and displays diagnostic codes.
The KOEO test can identify issues such as:
- Stored sensor faults
- Electrical problems
- Memory codes
- System failures
The KOEO test is usually performed before the KOER test.
How to Perform Ford OBD1 KOEO Test
Follow these steps:
Step 1: Warm Up the Vehicle
For the best results, drive the vehicle until it reaches normal operating temperature.
Turn the engine off before starting the test.
Step 2: Locate the Test Connectors
Find the STO and STI connectors under the hood.
Step 3: Connect the STI Terminal
Connect the STI connector to the signal return ground terminal using a jumper wire.
This activates the diagnostic mode.
Step 4: Turn Ignition ON
Turn the ignition key to the ON position.
Do not start the engine.
The Check Engine Light should begin flashing.
Step 5: Record the Codes
Count the flashes carefully.
Ford OBD1 systems usually display two-digit or three-digit codes depending on the vehicle computer.
Write down every code shown.
How to Perform Ford OBD1 KOER Test
The KOER (Key On Engine Running) test checks the vehicle while the engine is operating.
This allows the computer to monitor real-time engine conditions.
The KOER test can identify problems that only appear while the engine is running.
Examples include:
- Sensor response issues
- Idle problems
- Engine performance problems
- Airflow problems
To perform KOER:
- Complete the KOEO test first.
- Start the engine when instructed.
- Activate the KOER test.
- Allow the engine computer to run its checks.
- Record the flashing codes.
Some Ford vehicles require specific actions during KOER testing, such as turning the steering wheel or pressing the brake pedal.
Always follow the correct procedure for the specific model.
How Ford OBD1 Flash Codes Work
Ford OBD1 codes are displayed through a sequence of Check Engine Light flashes.
The flashes represent numbers.
For example:
Code 11
The light flashes:
- One flash
- Pause
- One flash
This indicates code 11.
Code 41
The light flashes:
- Four flashes
- Pause
- One flash
This indicates code 41.
A longer pause separates different codes.
The computer may repeat the sequence so you can confirm the numbers.
Write down all codes before turning off the ignition.
Common Ford OBD1 Codes
Ford OBD1 codes vary depending on the engine and computer system, but common examples include:
Code 11
System pass code. No faults detected.
Code 12
Idle speed control problem.
Code 13
Idle tracking problem.
Code 21
Engine coolant temperature sensor issue.
Code 23
Throttle position sensor out of range.
Code 41
Oxygen sensor lean condition.
Code 42
Oxygen sensor rich condition.
Code 67
Clutch switch or neutral safety switch issue.
Always confirm code meanings using a Ford service manual because definitions may differ between engines.
Ford OBD1 KOEO vs KOER Codes
Ford OBD1 uses two main diagnostic tests.
KOEO Codes
These are stored memory codes found when:
- Engine is off
- Ignition is on
They usually indicate problems detected previously.
KOER Codes
These are running codes found when:
- Engine is running
- Computer monitors live operation
They help identify problems that occur during actual engine operation.
Performing both tests provides a more complete diagnosis.
Can You Read Ford OBD1 Codes Without a Scanner?
Yes, Ford OBD1 vehicles can often be diagnosed without a modern scanner.
You need:
- Access to the self-test connectors
- A jumper wire
- Ability to count flashes
- A Ford code reference
Some owners use an analog Ford code reader because it makes counting easier, but it is not always required.
However, retrieving the code is only the first step.
A trouble code does not always mean the named sensor has failed.
For example, an oxygen sensor code may be caused by:
- Vacuum leaks
- Exhaust leaks
- Fuel pressure problems
- Wiring issues
- Sensor failure
Proper testing is still necessary.
How to Clear Ford OBD1 Codes
After repairing the problem, Ford OBD1 codes can usually be cleared by disconnecting battery power.
General steps:
- Turn the ignition off.
- Disconnect the negative battery cable.
- Wait several minutes.
- Reconnect the battery.
- Drive the vehicle and check whether the code returns.
Removing battery power may also reset:
- Fuel adjustments
- Idle learning
- Radio settings
- Clock settings
Some Ford vehicles may require a relearn procedure after resetting the computer.
Ford OBD1 vs OBD2 Differences
Ford OBD1 and OBD2 systems are different diagnostic platforms.
Ford OBD1
- Used mainly before 1996
- Uses EEC-IV system
- Requires self-test connectors
- Flash codes possible
- Manufacturer-specific
Ford OBD2
- Used mainly from 1996 onward
- Uses 16-pin connector
- Requires OBD2 scanner
- Standardized communication
- More detailed information
A normal OBD2 scanner will not usually communicate with Ford OBD1 vehicles without special adapters.
Common Mistakes When Reading Ford OBD1 Codes
Many people make mistakes during Ford OBD1 diagnosis.
Connecting the Wrong Terminals
The engine compartment contains many connectors. Only use the correct STO and STI connectors.
Ignoring Code 11
Code 11 usually indicates the system passed the test.
It does not mean there is a fault.
Replacing Parts Without Testing
A trouble code identifies a detected condition, not always the failed component.
Always test related circuits before replacing expensive parts.
Skipping KOER Testing
Some problems only appear while the engine is running.
Performing both tests gives better diagnostic information.
What If Ford OBD1 Codes Do Not Appear?
If the Check Engine Light does not flash codes, check:
- Correct diagnostic connectors
- Ignition position
- Battery voltage
- ECU power supply
- Check engine light operation
A failed warning bulb or incorrect jumper connection can prevent code display.
If the computer does not respond, additional electrical testing may be required.
Can a Modern Scanner Read Ford OBD1 Codes?
Some professional scan tools support Ford OBD1 with special adapters.
However, a standard OBD2 scanner cannot normally communicate with Ford EEC-IV systems.
The connector, communication method, and diagnostic protocol are different.
If you own an older Ford, confirm that the diagnostic tool supports Ford EEC-IV before purchasing.
Final Thoughts
So, how to read OBD1 codes Ford vehicles is done by using the EEC-IV self-test system, the STO and STI connectors, and counting the Check Engine Light flash patterns.
Locate the Ford diagnostic connectors, perform the KOEO or KOER test, record the displayed codes, and use a Ford-specific code chart to identify possible problems.
Ford OBD1 diagnostics are simpler than modern systems, but the trouble code is only the beginning. Proper testing of sensors, wiring, and related components is still required to find the real cause of the problem.