How to Use Obd2 Scanner with Push Button Start: Essential Guide
When you first encounter a vehicle with a push-button start, it’s natural to wonder if it changes anything about routine maintenance or diagnostic procedures. Many drivers assume that the absence of a traditional key ignition might complicate things, especially when it comes to using tools like an OBD2 scanner. The truth is, while the starting mechanism is different, the underlying diagnostic port and communication protocols remain largely the same.
I’ve seen this confusion arise frequently, with people hesitant to plug in their scanner for fear of damaging something or getting an incorrect reading. The good news is that connecting an OBD2 scanner to a push-button start vehicle is remarkably similar to doing so with a keyed ignition. The primary difference lies in how you power up the vehicle’s electrical system to allow the scanner to communicate.
This article will demystify the process, guiding you through each step to confidently use an OBD2 scanner with a push-button start vehicle. I’ll explain the critical “key on, engine off” (KOEO) state and how to achieve it, ensuring you get accurate diagnostic information without any unnecessary hassle. By the end, you’ll understand exactly how to use obd2 scanner with push button start, empowering you to diagnose issues or check trouble codes with ease.
How to Use Obd2 Scanner with Push Button Start
Before diving into the scanning process, it’s helpful to understand how your push-button start system operates. Unlike a traditional keyed ignition where turning the key physically engages different electrical circuits, a push-button system relies on electronic signals. The button itself is essentially a momentary switch that sends a signal to the vehicle’s computer, which then controls the various stages of ignition.
Most push-button start vehicles have at least three distinct ignition states, similar to a keyed ignition’s ACC, ON, and START positions:
- OFF/LOCK: Everything is off, and the steering wheel may be locked.
- ACC (Accessory): Powers accessories like the radio, windows, and sometimes the dashboard display, but not the engine or primary vehicle systems.
- ON (Ignition On, Engine Off – KOEO): This is the crucial state for OBD2 scanning. All vehicle systems are powered, the dashboard warning lights illuminate, and the fuel pump may prime, but the engine is not running.
- START: Engages the starter motor to crank and start the engine.
The key to successful OBD2 scanning is to reach the “ON” state without starting the engine. This provides power to the vehicle’s Engine Control Unit (ECU) and other modules, allowing the scanner to communicate and retrieve diagnostic trouble codes (DTCs) and live data.
Locating the OBD2 Port
Regardless of your vehicle’s starting mechanism, the OBD2 port (On-Board Diagnostics, Second Generation) is standardized. It’s a 16-pin trapezoidal connector, typically located within easy reach of the driver. I usually find it under the dashboard, often below the steering column, near the center console, or sometimes to the left of the driver’s feet. If you’re having trouble locating it, consult your vehicle’s owner’s manual; it will have a diagram showing the exact position.
Preparing Your Vehicle for OBD2 Scanning
Proper preparation ensures a smooth and accurate diagnostic session. This involves more than just plugging in the scanner; it’s about setting the vehicle in the correct state for communication.
Ensuring the Vehicle is Off and Safe
Always start with the vehicle completely off. Make sure the parking brake is engaged, and the transmission is in Park (P) for automatics or Neutral (N) for manuals. This is a basic safety precaution, but it also ensures you begin from a known state before attempting to power up the vehicle’s electronics.
Achieving the “Key On, Engine Off” (KOEO) State
This is the most critical step for push-button start vehicles when using an OBD2 scanner. The goal is to power up the vehicle’s computer systems without actually starting the engine. Here’s how you typically achieve the KOEO state:
- Do NOT press the brake pedal: This is crucial. If you press the brake pedal while pressing the start button, the engine will likely start.
- Press the start button once: This usually puts the vehicle into the “ACC” (Accessory) mode. You’ll likely see some dashboard lights illuminate, and the radio might turn on.
- Press the start button a second time (without pressing the brake): This should put the vehicle into the “ON” or “KOEO” state. You’ll typically see all the dashboard warning lights illuminate (check engine, ABS, airbag, etc.) as the vehicle performs its self-check. The fuel pump might prime with a soft whirring sound. The engine should NOT be running.
- Verify the KOEO state: Look at your dashboard. All warning lights should be on, but the tachometer should read zero, indicating the engine is off. If the engine starts, simply turn the vehicle off and try again, ensuring you don’t press the brake pedal.
Some vehicles might require a slightly different sequence, such as holding the start button for a few seconds without the brake pedal, or pressing it three times. If the standard two-press method doesn’t work, refer to your vehicle’s owner’s manual for the specific procedure to enter “Ignition On” mode without starting the engine. I find that the owner’s manual is an invaluable resource for these specific operational details.
Connecting and Using Your OBD2 Scanner
Once your vehicle is in the KOEO state, the process of connecting and operating the scanner is straightforward.
Plugging in the Scanner
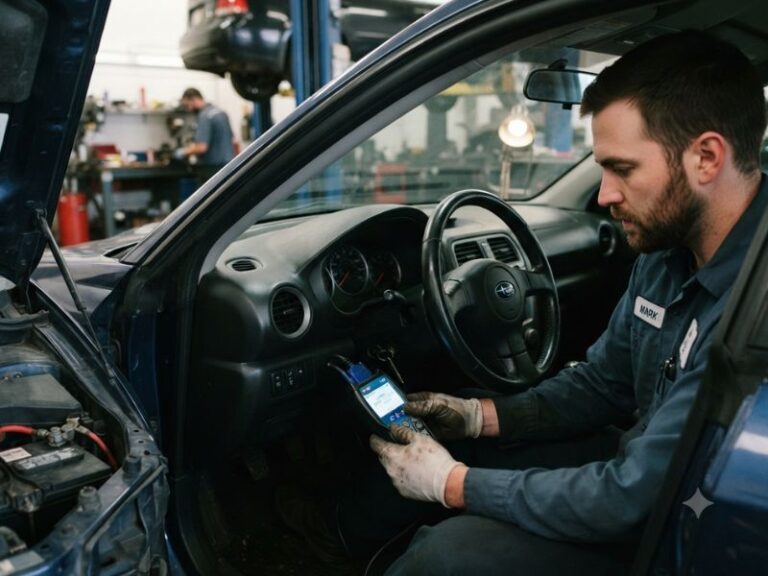
Locate your OBD2 port and firmly plug the scanner’s connector into it. You should feel a distinct click or resistance as it seats properly. Most scanners will power on automatically once connected, drawing power directly from the vehicle’s OBD2 port.
Navigating the Scanner Menu
Each OBD2 scanner has a slightly different interface, but the core functions are generally the same. After powering on, the scanner will usually attempt to establish communication with the vehicle’s ECU. This might take a few moments. Once connected, you’ll typically see options such as:
- Read Codes: Retrieves stored, pending, and permanent diagnostic trouble codes (DTCs).
- Erase Codes: Clears DTCs and turns off the Check Engine Light (CEL). Use this cautiously, as it erases valuable diagnostic history.
- Live Data: Displays real-time sensor readings (e.g., engine RPM, coolant temperature, oxygen sensor voltage).
- Freeze Frame Data: Records a snapshot of sensor data at the moment a DTC was set, providing context for the fault.
- I/M Readiness: Checks the status of various emissions monitors, useful for emissions testing.
I usually start by selecting “Read Codes” to see if any DTCs are present. If there are codes, the scanner will display them, often with a brief description. You can then research these codes further to understand the potential issue.
Interpreting Diagnostic Trouble Codes (DTCs)
DTCs are standardized codes that indicate a specific problem area. They typically start with a letter followed by four numbers:
- P (Powertrain): Engine, transmission, and associated systems.
- B (Body): Airbags, power steering, central locking, etc.
- C (Chassis): ABS, traction control, suspension.
- U (Network Communication): Problems with communication between vehicle modules.
For example, a common code like P0420 often indicates an issue with the catalytic converter system. While the scanner provides the code, it’s important to remember that a code points to a symptom, not always the root cause. For instance, a P0420 might be caused by a failing oxygen sensor rather than the converter itself. Always research the specific DTCs your scanner retrieves to understand their common causes and diagnostic steps.
Using Live Data for Deeper Diagnostics
Live data is where an OBD2 scanner truly shines for advanced diagnostics. While codes tell you what is wrong, live data can help you understand why. For example, if you have a misfire code (P030x), looking at live data for fuel trims, oxygen sensor readings, or individual cylinder misfire counts can help pinpoint the problem. I often use live data to monitor sensor values in real-time while the engine is running (if safe to do so) or even during a test drive, which can reveal intermittent issues.
Remember, when viewing live data, the engine should be running if you want to see dynamic values like RPM, speed, or active fuel trims. However, for static checks like battery voltage or certain sensor readings, the KOEO state is sufficient.
Post-Scan Procedures and Best Practices
Once you’ve finished scanning and interpreting the data, there are a few final steps and best practices to follow.
Disconnecting the Scanner
After you’ve retrieved all the necessary information, safely disconnect the scanner. Most scanners will prompt you to exit or simply power down when unplugged. Gently pull the connector straight out from the OBD2 port. Avoid yanking it at an angle, which could damage the pins.
Turning Off the Vehicle
Once the scanner is disconnected, press the push-button start again (without the brake pedal) until the vehicle is completely off. All dashboard lights should extinguish, and the vehicle should be in its “OFF/LOCK” state.
When to Clear Codes (and When Not To)
Your OBD2 scanner will likely have an option to “Erase Codes” or “Clear DTCs.” While tempting to immediately clear a Check Engine Light, I advise caution. Clearing codes erases the diagnostic history stored in the ECU, which can be valuable for a mechanic. It also resets the vehicle’s emissions monitors, meaning they will need to complete their drive cycles again before they show “Ready.”
I generally recommend clearing codes only after you have:
- Thoroughly diagnosed the issue.
- Performed a repair.
- Are testing to see if the repair was successful (i.e., if the code returns).
Clearing a code without addressing the underlying problem will almost certainly result in the code returning, and you’ll be back to square one.
Documenting Your Findings
It’s a good habit to write down any DTCs you find, along with the freeze frame data if your scanner provides it. This documentation can be incredibly useful for tracking intermittent issues or providing information to a professional mechanic if you decide to seek further assistance. I often take a photo of the scanner screen with my phone for quick reference.
Common Challenges and Troubleshooting
Even with a clear understanding of the process, you might encounter a few hiccups. Here are some common challenges and how to address them:
Scanner Not Powering On
If your scanner doesn’t power on when plugged in, first check the connection. Ensure it’s firmly seated in the OBD2 port. If it still doesn’t power on, verify that the vehicle is in the KOEO state (dashboard lights on). If the vehicle’s electrical system isn’t fully active, the port might not be supplying power. Finally, check the scanner’s cable for any visible damage. Some scanners also have an internal battery that might need charging, but most draw power from the vehicle.
“Link Error” or “No Communication” Message
This is a common message when the scanner can’t establish a connection with the vehicle’s ECU. Here’s what to check:
- KOEO State: Double-check that the vehicle is in the correct “ON” state without the engine running. This is the most frequent cause for push-button start vehicles.
- Loose Connection: Unplug and firmly re-plug the scanner into the OBD2 port.
- Vehicle Battery: A severely discharged vehicle battery can sometimes prevent proper communication. Ensure your battery has sufficient charge.
- Blown Fuse: The OBD2 port itself is powered by a fuse. Consult your vehicle’s owner’s manual for the fuse box diagram and check the fuse labeled “DLC” (Data Link Connector), “OBD,” or “Cigar Lighter” (sometimes they share a fuse).
- Scanner Compatibility: While rare, some older scanners might have compatibility issues with very new vehicle models, or vice-versa. Ensure your scanner is up-to-date and compatible with your vehicle’s year, make, and model.
Engine Starting Accidentally
If the engine keeps starting when you try to achieve KOEO, you’re likely pressing the brake pedal. Remember, the key is to press the start button WITHOUT touching the brake pedal. Practice this a few times if necessary until you can reliably get into the KOEO state.
Choosing the Right OBD2 Scanner
The market offers a wide range of OBD2 scanners, from basic code readers to advanced professional diagnostic tools. Your choice will depend on your needs and budget.
Basic Code Readers
These are typically handheld devices that can read and clear generic DTCs, display I/M readiness status, and sometimes basic live data. They are excellent for quick checks and for identifying why a Check Engine Light is on. They are usually very affordable and user-friendly.
Mid-Range Scanners
These offer more advanced features, such as enhanced manufacturer-specific codes (beyond the generic P0xxx codes), more extensive live data streams, graphing capabilities, and sometimes basic bi-directional controls (e.g., commanding certain components to turn on/off). These are great for the serious DIYer who wants more diagnostic power.
Professional Diagnostic Tools
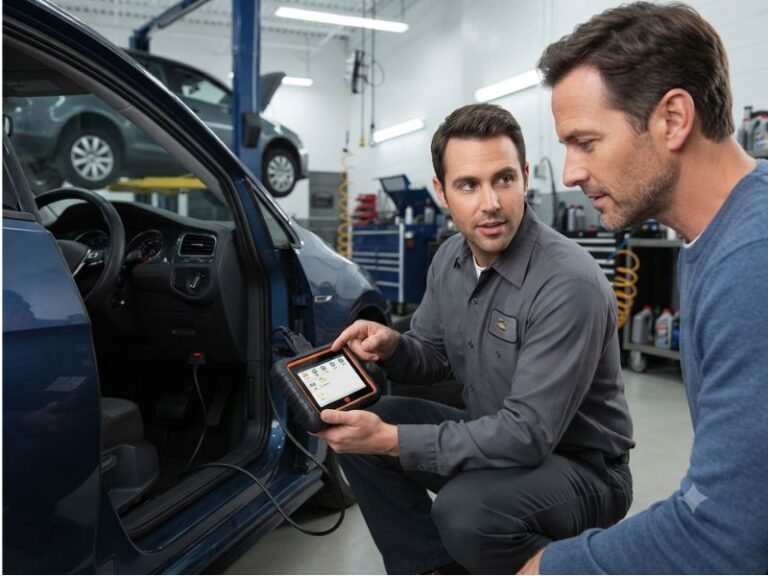
These are high-end, often tablet-based systems used by mechanics. They offer comprehensive bi-directional controls, module coding, programming, advanced graphing, and access to virtually all vehicle systems. They are significantly more expensive and often require subscriptions for software updates.
Bluetooth OBD2 Adapters (and Apps)
These small adapters plug into your OBD2 port and communicate wirelessly via Bluetooth (or Wi-Fi) with your smartphone or tablet. You then use a dedicated app (many are free, some have premium features) to perform the scanning. This can be a very convenient and cost-effective option, offering many features found in mid-range scanners, depending on the app. Popular apps include Torque (Android), Car Scanner ELM OBD2 (iOS/Android), and OBD Fusion (iOS/Android).
When choosing, consider what you primarily need it for. If it’s just to read and clear basic codes, a simple code reader or a Bluetooth adapter with a free app is often sufficient. If you want to dive deeper into diagnostics, a mid-range scanner or a feature-rich app might be a better investment. I personally find the Bluetooth adapters combined with a good app to be a fantastic balance of capability and convenience for most home mechanics.
Conclusion
Diagnosing vehicle issues with an OBD2 scanner, even on modern cars with push-button start systems, is a skill that any car owner can master. The key differentiator is simply knowing how to properly engage the vehicle’s electrical system into the “Ignition On, Engine Off” (KOEO) state without starting the engine. By following the steps I’ve outlined—ensuring the vehicle is off, carefully achieving KOEO by pressing the start button without the brake, and then connecting your scanner—you can confidently retrieve diagnostic information.
Understanding how to use obd2 scanner with push button start not only saves you time and potential diagnostic fees but also empowers you to better understand your vehicle’s health. Whether you’re checking a persistent Check Engine Light, monitoring performance data, or simply ensuring your emissions monitors are ready for inspection, the process is straightforward once you know the proper sequence. With this knowledge, you’re well-equipped to tackle basic diagnostics and make informed decisions about your vehicle’s maintenance.