To repair a windshield washer reservoir, first locate the actual leak, remove and clean the reservoir if necessary, then repair a small accessible crack with a plastic-compatible tank repair material or replace a leaking pump grommet, hose, or fitting. Replace the reservoir instead of patching it when the plastic is brittle, badly split, deformed, or damaged around a mounting point.
For drivers in the United States, a working windshield washer system is more than a convenience during a messy commute. Road salt in northern states, dust and insects in warmer regions, pollen, mud, and highway spray can quickly leave a windshield difficult to see through. When washer fluid suddenly disappears from the tank or forms a puddle under the front of the vehicle, the reservoir is one possible cause, but it is not the only one.
The most effective repair begins with diagnosis. Washer fluid can escape through a cracked plastic reservoir, a deteriorated pump grommet, a loose hose, a damaged filler neck, or the washer pump itself. This guide explains how to identify the source, decide whether repair or replacement makes more sense, patch a repairable reservoir correctly, and confirm that the entire washer system works before the vehicle goes back on the road.
How to Tell Whether the Windshield Washer Reservoir Is Actually Leaking
Start by confirming where the washer fluid is escaping. A reservoir can appear to be leaking even when fluid is actually running down its outside from a cracked hose, loose pump connection, deteriorated rubber grommet, or damaged filler neck.
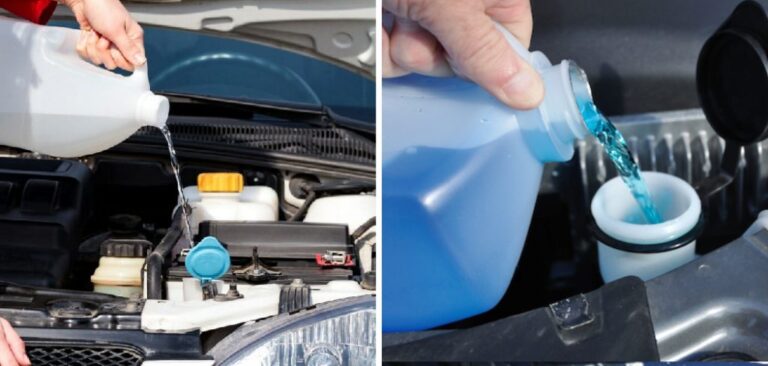
Park the vehicle on a level surface with the engine off and cool. Open the hood and identify the washer-fluid filler cap. The reservoir itself may be visible from the engine bay, but on many cars, crossovers, SUVs, and trucks the majority of the tank sits behind a fender liner or front bumper area.
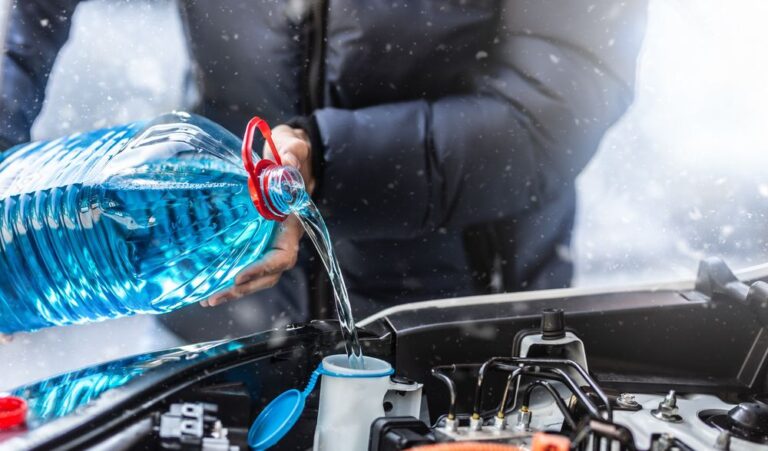
Add a modest amount of the correct windshield washer fluid while watching the reservoir and the ground underneath. If fluid begins dripping before the washer is operated, look for the highest wet point. Fluid appearing around the pump connection suggests a grommet, pump housing, or fitting problem. Fluid emerging directly through the tank wall points toward a crack or puncture.
Avoid assuming that a rapidly emptying reservoir automatically has a cracked tank. Correctly locating the highest point of visible leakage prevents unnecessary tank removal and avoids covering a replaceable seal with adhesive.
Source: youtube.com
Leak from the tank wall
A visible crack, puncture, or seam failure can allow fluid to escape directly through the plastic.
Leak around the washer pump
A hardened or damaged rubber grommet between the pump and reservoir can leak while the tank itself remains intact.
Leak from a hose or connector
A split hose or loose fitting may drip onto the reservoir and imitate a tank leak.
Leak near the filler neck
Cracked necks, loose neck-to-tank joints, or overfilling can leave fluid around the upper reservoir.
A Simple Leak Test
Dry the outside of the reservoir and nearby components as thoroughly as possible. Add washer fluid gradually and inspect with a flashlight. If access is poor, removing the wheel-well liner or another trim panel may be necessary according to the vehicle’s service procedure. Never crawl under a vehicle supported only by a jack.
Once the tank holds fluid without leaking, operate the washer briefly. A leak that appears only when the pump runs is more likely to involve a hose, connection, or pump than a simple crack below the fluid level.
Sign of success
You can identify one specific point where fluid first appears rather than simply seeing a wet area underneath the vehicle.
What You Need Before Repairing a Washer Reservoir
Gather the tools and materials before removing anything. The exact fasteners vary by vehicle, so the socket sizes, clips, screwdrivers, and access procedure should match your model.
For the actual tank repair, choose a plastic repair material that explicitly states compatibility with the type of plastic being repaired and with the liquid it will contact. Washer reservoirs are commonly made from flexible automotive plastics, and some low-surface-energy plastics can be difficult for ordinary household adhesives to bond reliably.
Because reservoir composition and repair products vary, the repair material manufacturer’s preparation and curing instructions take priority over a generic procedure. If the product does not identify suitable plastics or chemical resistance, it is a poor choice for a permanent reservoir repair.
Source: hitchesguide.com
Basic hand tools
Sockets, ratchet, screwdrivers, trim-clip tools, and pliers as required by the vehicle.
Cleaning supplies
Soap, water, clean lint-free cloths, and a cleaner approved for the chosen repair product.
Surface-preparation material
Appropriate sandpaper or abrasive recommended by the repair-product manufacturer.
Plastic-compatible repair material
Use a tank repair compound, plastic repair adhesive, or plastic-welding method specifically appropriate for the reservoir material.
Safety equipment
Wear safety glasses and chemical-resistant gloves when handling washer fluid, solvents, adhesives, or damaged plastic.
Do Not Use Random Adhesive Just Because It Sticks to Plastic
An adhesive that initially feels hard may still fail after repeated vibration, temperature changes, flexing, and prolonged contact with washer fluid. The label or technical instructions should specifically support the intended plastic and service conditions.
Also avoid using a strong solvent simply because it cleans aggressively. Some solvents can attack particular plastics. Follow the repair-material manufacturer’s surface-cleaning directions rather than improvising.
How to Repair Windshield Washer Reservoir Step by Step
A small crack in otherwise healthy plastic is the best candidate for repair. The following sequence covers the general process, but reservoir removal and repair-product instructions vary by vehicle and material.
Do not work on a hot engine, and keep ignition sources away from automotive chemicals. If removal requires lifting the vehicle, use correctly rated jack stands on a stable surface and follow the manufacturer’s lifting points.
Source: storage.googleapis.com
Step 1: Empty the reservoir
Drain or siphon the remaining washer fluid into a suitable clean container if it will be reused. Catch spills rather than allowing fluid to run onto the ground.
Step 2: Disconnect electrical and fluid connections
Disconnect the washer-pump electrical connector and carefully detach the washer hose. Some vehicles may have more than one pump.
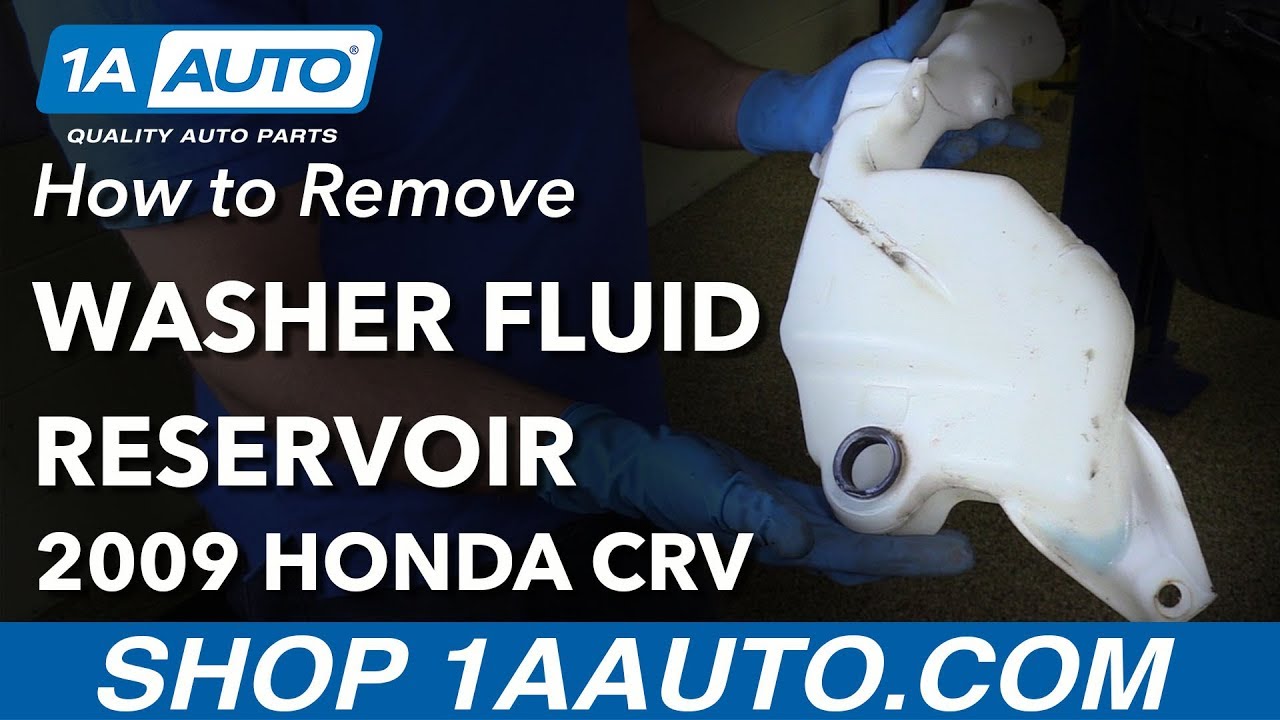
Step 3: Remove the reservoir if necessary
Remove the mounting bolts, clips, fender-liner fasteners, or other components required for access. Support the reservoir as its final fastener is removed.
Step 4: Clean and dry the tank
Wash away washer-fluid residue, dirt, grease, and road grime. A successful adhesive repair requires a completely dry repair area unless the chosen product specifies otherwise.
Step 5: Mark the entire crack
Inspect beyond the obvious wet point. Hairline cracks can extend farther than they initially appear.
Step 6: Prepare the plastic surface
Abrade the specified area using the grit recommended for the repair system. Remove sanding debris and perform the final cleaning exactly as directed by the product manufacturer.
Step 7: Apply the repair
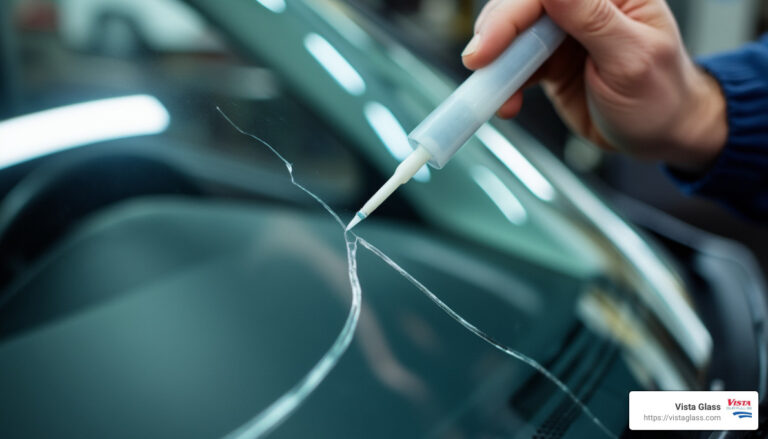
Mix and apply the plastic repair material according to its instructions. Cover the complete damaged region with adequate overlap onto sound plastic.
Step 8: Allow full curing
Do not refill the tank simply because the surface feels hard. Observe the manufacturer’s complete cure time, temperature limits, and handling instructions.
Step 9: Test before complete reassembly
Add a small quantity of washer fluid and inspect the repaired area. If possible, test the tank where a minor leak can be seen easily before reinstalling all trim.
Step 10: Reinstall and test the washer system
Reconnect the pump, hoses, wiring, and reservoir mounts. Fill to the proper level and operate the washers while checking the repaired area and all disturbed connections.
Why Surface Preparation Matters
A patch can fail even when the repair compound itself is strong if washer-fluid residue, road film, grease, moisture, or loose plastic remains between the repair material and reservoir. Cleaning and surface preparation therefore matter as much as the adhesive.
Roughening the specified bonding area can improve mechanical attachment for repair systems that require abrasion, but excessive grinding can thin the reservoir wall. Prepare only as aggressively as the chosen system instructs.
How to Know the Repair Worked
A successful repair remains dry after the reservoir has been partially filled, fully filled, and the washer pump has been operated. Inspect again after a short drive because vibration can expose a connection that looked dry while stationary.
If fluid reappears, determine whether it comes through the original crack, around the edge of the patch, or from another component before applying more material.
When the Leak Comes From the Pump Grommet Instead of the Tank
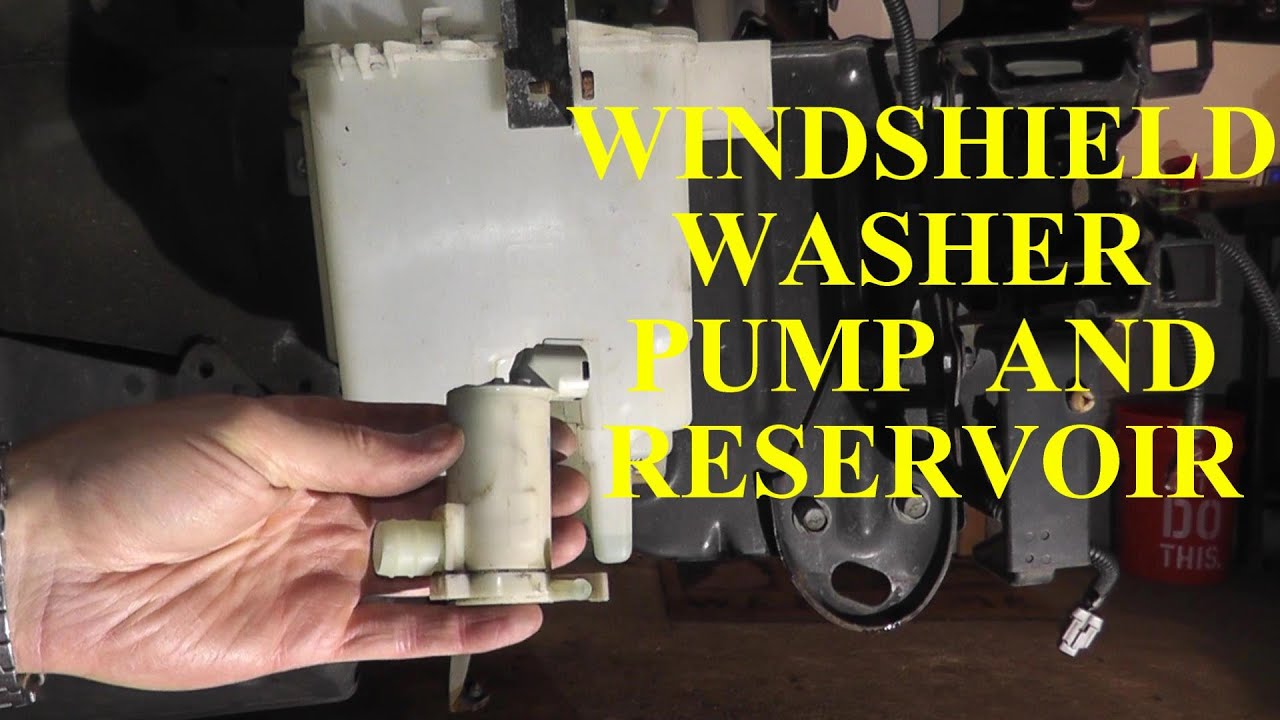
A wet area around the washer pump does not automatically mean the reservoir is cracked. The pump commonly fits into an opening in the tank through a rubber sealing grommet. As that rubber ages, it can harden, shrink, split, or lose its seal.
If the tank surrounding the opening is intact, replacing the grommet is usually more appropriate than coating the connection with adhesive. Drain the reservoir, disconnect the pump wiring and outlet hose, remove the pump carefully, and inspect both the grommet and the pump body.
Install the correct replacement seal for the specific vehicle or pump arrangement. The sealing surfaces should be clean and undamaged. Reinstall the pump without forcing or cocking it at an angle, then add a small amount of fluid and check the joint before filling the tank completely.
Source: storage.googleapis.com
Replace the grommet when
The rubber is cracked, hardened, loose, deformed, or visibly leaking while the surrounding tank is sound.
Inspect the pump when
Fluid appears to come through the pump housing rather than from the seal around it.
Inspect the tank opening when
A new grommet still cannot seal or the plastic around the pump port is cracked or distorted.
When You Should Replace the Reservoir Instead of Repairing It
Not every windshield washer reservoir deserves a patch. Replacement is generally the more dependable solution when the reservoir has extensive physical damage or the surrounding plastic can no longer support a repair.
Damage near a mounting ear deserves particular attention because that area experiences vibration and mechanical load. A rigid patch across weak, aging plastic may simply shift the stress to the edge of the repair.
Replacement is also sensible when a previous patch has failed repeatedly. Continually adding more material without identifying why the repair failed can hide the real leak and make later service more difficult.
Source: youtube.com
Large or branching cracks
Multiple cracks indicate broader damage that may not be reliably contained by a localized patch.
Brittle or chalky plastic
A tank that cracks easily when lightly flexed may be deteriorated beyond a dependable localized repair.
Broken mounting area
Damage around mounting tabs or load-bearing points can continue growing as the vehicle vibrates.
Deformed pump opening
A distorted pump port may not seal correctly even with a new grommet.
Repeated repair failure
A patch that repeatedly separates or leaks suggests poor material compatibility, hidden damage, or a tank better replaced.
Repair Versus Replacement Decision Table
Use the condition of the reservoir rather than repair cost alone when deciding what to do.
Small isolated crack in solid plastic
Repair may be reasonable if a compatible repair system is available and the area can be prepared correctly.
Leaking pump grommet with sound tank
Replace the grommet or defective pump component rather than patching the tank.
Large split or multiple cracks
Replacement is generally the more dependable approach.
Crack at mounting point
Replacement is preferable because the area experiences repeated mechanical stress.
Aged and brittle reservoir
Replace the tank because additional cracks may develop even if the current one is sealed.
Common Windshield Washer Reservoir Repair Mistakes
Most failed repairs are caused by incorrect diagnosis, poor preparation, unsuitable repair material, insufficient curing time, or damage that should have led to replacement from the beginning.
Take the extra time to identify the leak before removing the tank. What looks like a crack repair can turn into an unnecessary job when the actual problem is a five-minute hose or seal replacement.
Source: hitchesguide.com
Patching over a dirty or wet tank
Contamination and moisture can prevent the repair material from bonding properly.
Using an adhesive without checking plastic compatibility
Some reservoir plastics are difficult to bond, and a generic adhesive may peel away after temperature cycling or fluid exposure.
Ignoring a leaking pump seal
Coating the pump area with sealant can conceal a simple replaceable grommet problem.
Refilling before full cure
A repair that feels firm may not yet have reached its required chemical resistance or final strength.
Trying to save severely damaged plastic
Large cracks, weak mounting points, and brittle tanks often produce recurring leaks.
Using plain water in freezing weather
Water can freeze and expand. In regions with freezing temperatures, use washer fluid appropriate for the expected conditions and follow the vehicle manufacturer’s guidance.
What to Do If the Repair Still Leaks
Drain the tank and inspect the repair rather than immediately applying another layer. Look for fluid emerging from the edge of the patch, an extension of the original crack, a nearby second crack, the pump grommet, or a hose connection.
If the same crack repeatedly opens, replacement usually becomes the more practical option. Continuing to build up adhesive over a structurally weak reservoir rarely addresses the reason the plastic keeps moving or splitting.
How to Test the Washer System After the Repair
Do not consider the job complete until the reservoir holds fluid and the washers operate normally. Start with a partial fill so that a failed repair does not release an entire tank of fluid.
Inspect the repaired area, pump grommet, hoses, filler neck, and any connection disturbed during removal. If everything remains dry, fill the reservoir to its normal level and let it sit while you complete the rest of the inspection.
Operate the windshield washers for several short cycles. Confirm that fluid reaches the windshield with a normal spray pattern and that no new leakage appears while the pump is operating. If the pump runs but the nozzles do not spray, check for a disconnected or kinked hose before assuming the reservoir repair failed.
Inspect the area again after a drive. Vehicle movement, road vibration, and normal temperature changes can reveal a marginal hose connection or poorly supported tank that remained dry during a stationary test.
Source: storage.googleapis.com
Reservoir remains dry externally
No fluid should appear through the repaired section or around the pump opening.
Fluid level remains stable
A noticeable unexplained drop after sitting indicates that a leak remains.
Pump operates normally
The pump should run without leaking from its housing or connection.
Nozzles spray correctly
A strong, properly directed spray confirms that the system was reconnected and fluid is reaching the windshield.
Frequently Asked Questions
Q
Can a cracked windshield washer reservoir be repaired?
Yes, some small cracks can be repaired when the surrounding plastic is still strong and a repair system compatible with that plastic is available. The surface must be properly cleaned, dried, and prepared, and the repair must cure completely before fluid is added.
A badly split, brittle, deformed, or structurally damaged reservoir is generally a better candidate for replacement.
Q
Can I repair a windshield washer reservoir without removing it?
Sometimes, but only when the damaged area is fully accessible and can be cleaned, dried, prepared, repaired, and inspected correctly. Removal usually makes a dependable repair easier because washer reservoirs are often hidden behind other components and fluid can remain around the crack.
Do not sacrifice proper surface preparation simply to avoid tank removal.
Q
Why is washer fluid leaking near the bottom of the reservoir?
A low leak can come from a crack in the tank, but the washer pump and its sealing grommet are also commonly located near the bottom. Inspect the highest wet point carefully. If the fluid begins around the pump opening, the grommet or pump may be responsible rather than the reservoir wall.
Q
How long should a washer reservoir repair cure?
There is no universal curing time because repair compounds differ. Use the complete cure time printed in the specific product instructions rather than relying on a generic number. Temperature can also affect curing.
Do not assume the repair is ready simply because the surface feels hard to the touch.
Q
Why did my washer reservoir crack?
Possible causes include collision or road-debris damage, stress around mounting points, aging plastic, previous repair damage, or freezing liquid. Plain water is particularly unsuitable in freezing conditions because it expands as it freezes.
If a reservoir has cracked without an obvious impact, inspect its mounts and surrounding components before installing or repairing a tank so that an unresolved fitment or support problem does not damage it again.
Q
Is it safe to drive with a leaking windshield washer reservoir?
The vehicle may still move normally, but losing washer-fluid capability can become a visibility problem when road spray, salt, dust, insects, or grime covers the windshield. Repair the leak promptly and avoid relying on a washer system that cannot retain fluid.
If visibility becomes inadequate while driving, stop in a safe location rather than continuing with an obscured windshield.
✦ Wrapping Up
Conclusion
Knowing how to repair windshield washer reservoir damage starts with identifying the real source of the leak. A small isolated crack in healthy plastic may be repairable with the correct plastic-compatible system, careful cleaning, proper surface preparation, and complete curing. A leaking grommet, hose, or washer pump should be repaired at that component rather than covered with adhesive.
When the reservoir is brittle, extensively cracked, distorted, damaged around its mounts, or repeatedly leaking after previous repairs, replacement is generally the more dependable solution. After either repair or replacement, refill gradually, inspect every connection, operate the washer system, and verify that the fluid level stays stable.
💡 Key Takeaway
Locate the highest point of the leak first. Repair only a small crack in sound plastic with a compatible repair system; replace defective seals or hoses individually, and replace the complete reservoir when the tank itself is structurally compromised.