To repair a small windshield chip, clean and dry the damaged area, remove loose glass, center a windshield repair tool over the impact point, inject repair resin into the break, remove trapped air, cure the resin with UV light or sunlight as directed, and scrape away excess cured resin.
For U.S. drivers, a small rock chip is one of the most common types of windshield damage caused by highway debris, gravel, construction traffic, and rocks thrown by other vehicles. Repairing a suitable chip soon after it appears can keep contamination out of the break and may reduce the chance that vibration or temperature changes will turn it into a longer crack. A basic do-it-yourself windshield repair kit can work well for certain small bullseye, half-moon, star, and combination breaks, but not every damaged windshield should be repaired at home.
The condition and location of the damage matter as much as its apparent size. A chip near the windshield edge, damage that has already developed a long crack, multiple impact points, damage that reaches deeper layers, or a break that significantly interferes with the driver’s view deserves professional evaluation. Modern vehicles may also have cameras, sensors, heating elements, antennas, or head-up-display technology associated with the windshield, making correct glass service particularly important. This guide explains how to repair windshield chip damage step by step, how to decide whether DIY repair makes sense, what successful repair should look like, and when replacement or professional auto-glass service is the safer choice.
A windshield repair is designed primarily to stabilize the damaged area and improve its appearance. It should not be expected to make every chip completely invisible. A faint mark, shadow, or small impact pit may remain even after a technically successful repair.
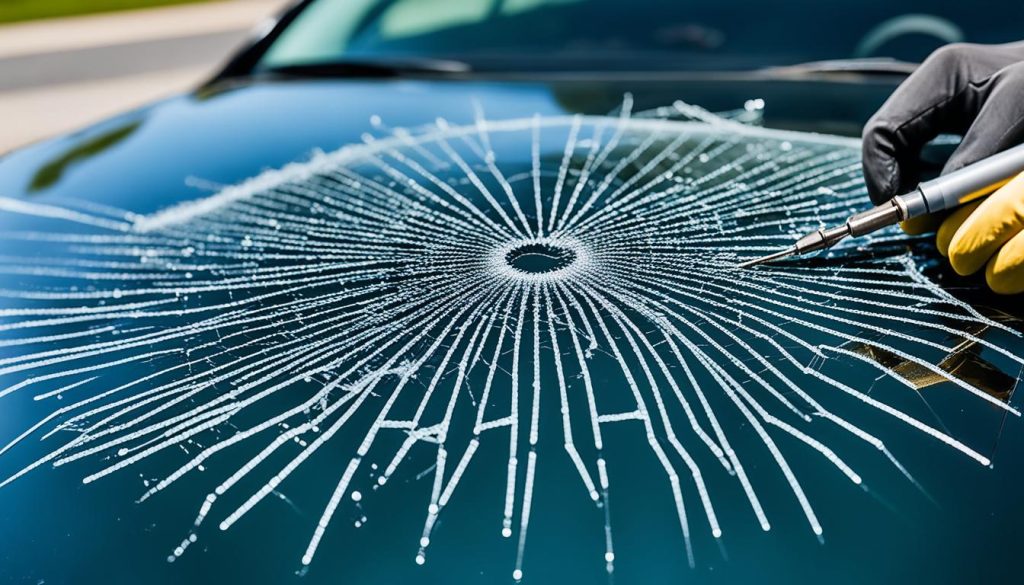
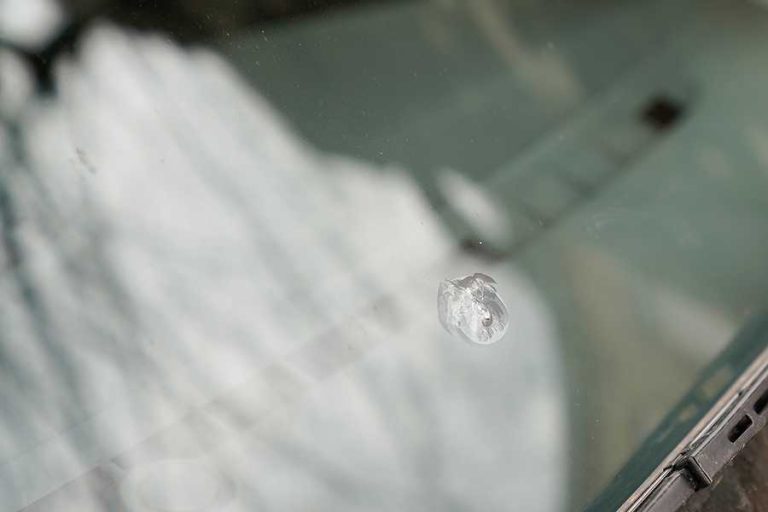
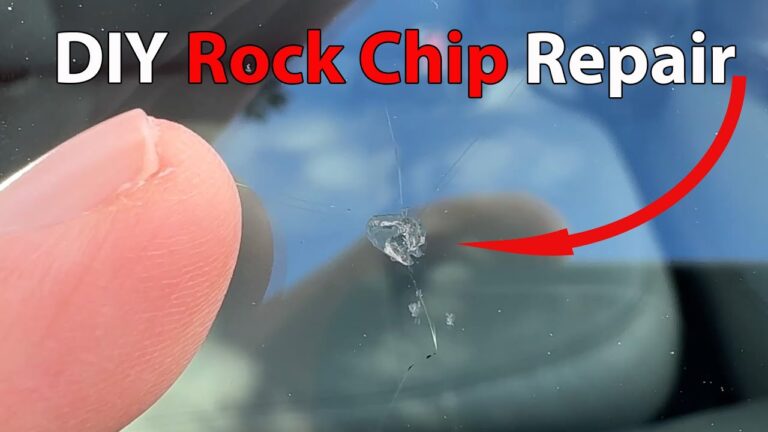
You can repair some small windshield chips yourself when the damage is localized, relatively clean, accessible from the exterior, and limited to the laminated windshield rather than extending into a serious crack. Common repairable-looking patterns include bullseye breaks, partial bullseyes, small stars, and some combination breaks.
The word chip is a general term. Auto-glass professionals distinguish between different break patterns because the shape, number of crack legs, depth, contamination, and location affect whether resin can adequately penetrate the damage. A small surface pit that does not extend into a break is also different from a true stone impact.
Do not rely on a single universal size limit. Repair kits, auto-glass companies, insurers, and industry repair procedures may use different criteria depending on the type and location of damage. Your repair kit’s stated maximum dimensions should therefore be treated as a limit for that particular system, not permission to repair every chip below that size.
Source: titanautoglass.net
Good DIY candidate
A fresh, small chip with a visible impact point, no significant spreading crack, and enough clear space around it to mount the repair tool.
Questionable candidate
A star break with several long legs, old contaminated damage, or a chip close enough to the edge that windshield stress may affect the repair.
Professional evaluation recommended
Damage that seriously interferes with the driver’s view, reaches an edge, contains a substantial crack, involves multiple damaged areas, or appears to extend beyond the outer glass layer.
What Does Windshield Chip Repair Actually Do?
Windshield chip repair removes or displaces air within the damaged cavity and replaces that space with clear repair resin. After the resin penetrates the break, ultraviolet light cures it into a hardened material. The process can improve optical appearance, smooth the surface, and help stabilize the damaged area.
Repair does not recreate untouched factory glass. Even a properly filled chip may leave a slight visual scar because the original impact changed the glass structure.
What You Need Before Repairing a Windshield Chip
Start with a windshield repair kit designed specifically for laminated automotive glass. The exact parts vary, but most systems use clear resin and a device that seals over the impact point so pressure, vacuum, or both can help move resin through the break.
Read the complete kit instructions before opening the resin. Resin begins reacting when exposed to ultraviolet light, so preparation matters. Many kits instruct users to perform the injection stage in shade and cure the resin only after the break has been properly filled.
Check the windshield temperature as well. Resin behavior changes when glass is extremely hot or cold, and rapid temperature changes can worsen existing damage. Some commonly sold repair systems specify a working glass temperature around 50°F to 75°F, but your kit’s stated range takes priority.
Source: storage.googleapis.com
Windshield repair kit
Use a complete kit containing resin and the manufacturer’s specified injector, bridge, pedestal, seal, or syringe system.
Cleaning supplies
Have a clean lint-free cloth available for the surrounding glass. Avoid flooding the actual break with ordinary glass cleaner.
Small probe or supplied pin
Use only as directed to remove visibly loose glass from the impact pit.
Razor blade
Many kits include a razor for removing cured surface resin. Handle it carefully and keep it nearly parallel to the glass.
Protective gloves and eye protection
They help protect your skin and eyes while handling resin, loose glass, and sharp blades.
Keep the Chip Dry and Clean
A fresh chip is easier to work with when dirt and water have not entered the internal cracks. If you cannot repair it immediately, keeping the area dry and avoiding unnecessary handling is preferable to repeatedly cleaning or probing the break.
Do not force water, detergent, wax, silicone products, or other chemicals into the damage. Contamination can interfere with resin penetration and may remain visible after repair.
How to Repair Windshield Chip Damage Step by Step
The following sequence describes the general process used by many consumer windshield repair kits. Your kit may use a bridge injector, adhesive pedestal, syringe, pressure chamber, or another design, so follow its supplied instructions whenever its sequence differs.
Park the vehicle somewhere safe and level. During the resin-injection stage, shade is usually preferable because premature ultraviolet exposure can harden the resin before it has filled the break.
Source: livinggreenandfrugally.com
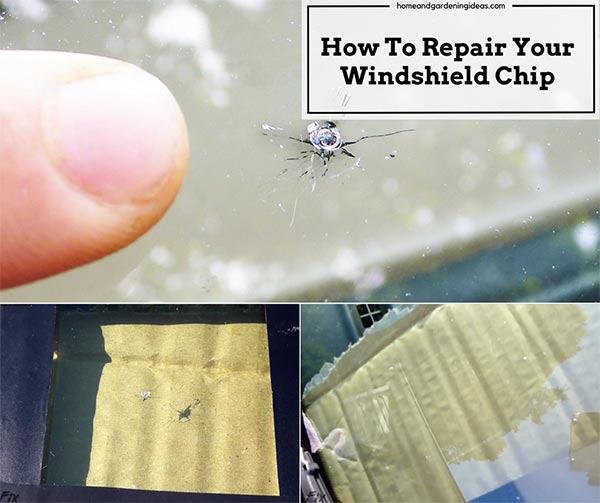
Step 1: Inspect the chip
Look at the damage from both outside and inside the vehicle. Confirm that you are dealing with a small localized break rather than a long crack, edge crack, or more severe glass failure.
Step 2: Clean around the damage
Wipe dirt from the surrounding windshield. Remove visibly loose glass from the impact pit with the pin or probe supplied by the kit, but do not aggressively enlarge the hole.
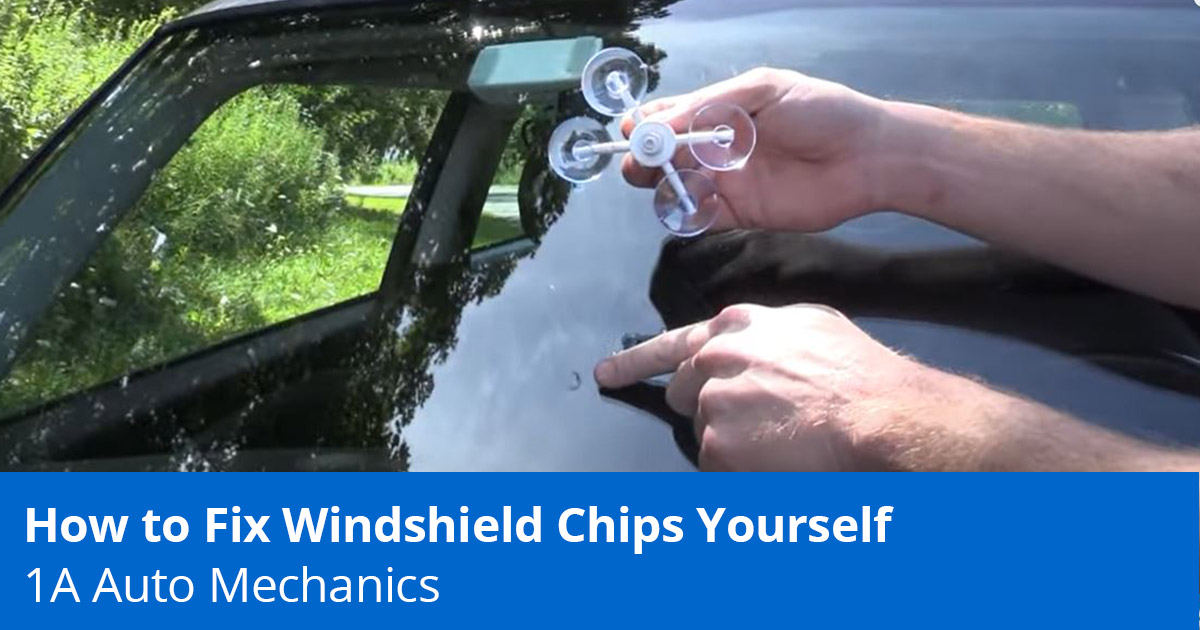
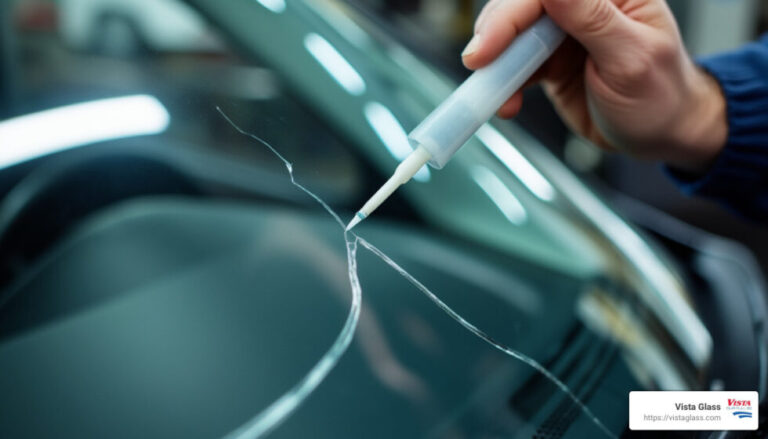
Step 3: Position the repair tool
Center the injector opening, adhesive seal, or pedestal precisely over the impact point. A poor seal or an off-center injector can prevent the resin from entering the break correctly.
Step 4: Add the repair resin
Dispense the amount specified by the kit. More resin is not automatically better. Excess resin can make the process messier without improving penetration.
Step 5: Apply vacuum or pressure
Operate the syringe or injector according to the instructions. This stage is intended to remove trapped air and encourage resin to move through the small fractures surrounding the impact point.
Step 6: Check resin penetration
View the chip from inside the vehicle at an angle. Dark portions often indicate remaining air or unfilled areas. Continue the kit’s prescribed pressure or vacuum cycle if instructed.
Step 7: Remove the injector
Once the break has been filled as well as the system allows, carefully remove the bridge, pedestal, seal, or syringe assembly without disturbing the repair.
Step 8: Fill the surface pit
Place the specified drop of finishing resin over the impact pit and cover it with the supplied curing film or strip.
Step 9: Cure the resin
Expose the repair to sunlight or the specified UV source for the full curing time required by the kit. Cloudy conditions may require substantially longer curing than bright sunlight.
Step 10: Finish the surface
After the resin is fully cured, remove the curing strip and carefully scrape excess hardened resin from the surface with the supplied razor blade until the repair feels smooth.
How to Check the Chip While Injecting Resin
Looking through the windshield from the opposite side can make resin movement easier to see. A chip that originally looked dark may become lighter as air leaves and resin fills the voids. Fine crack legs may also become less visible.
Do not repeatedly push hard on the damaged glass with your fingers or repair tool. Excessive force can extend a crack rather than improve resin flow.
How Do You Know If the Windshield Chip Repair Worked?
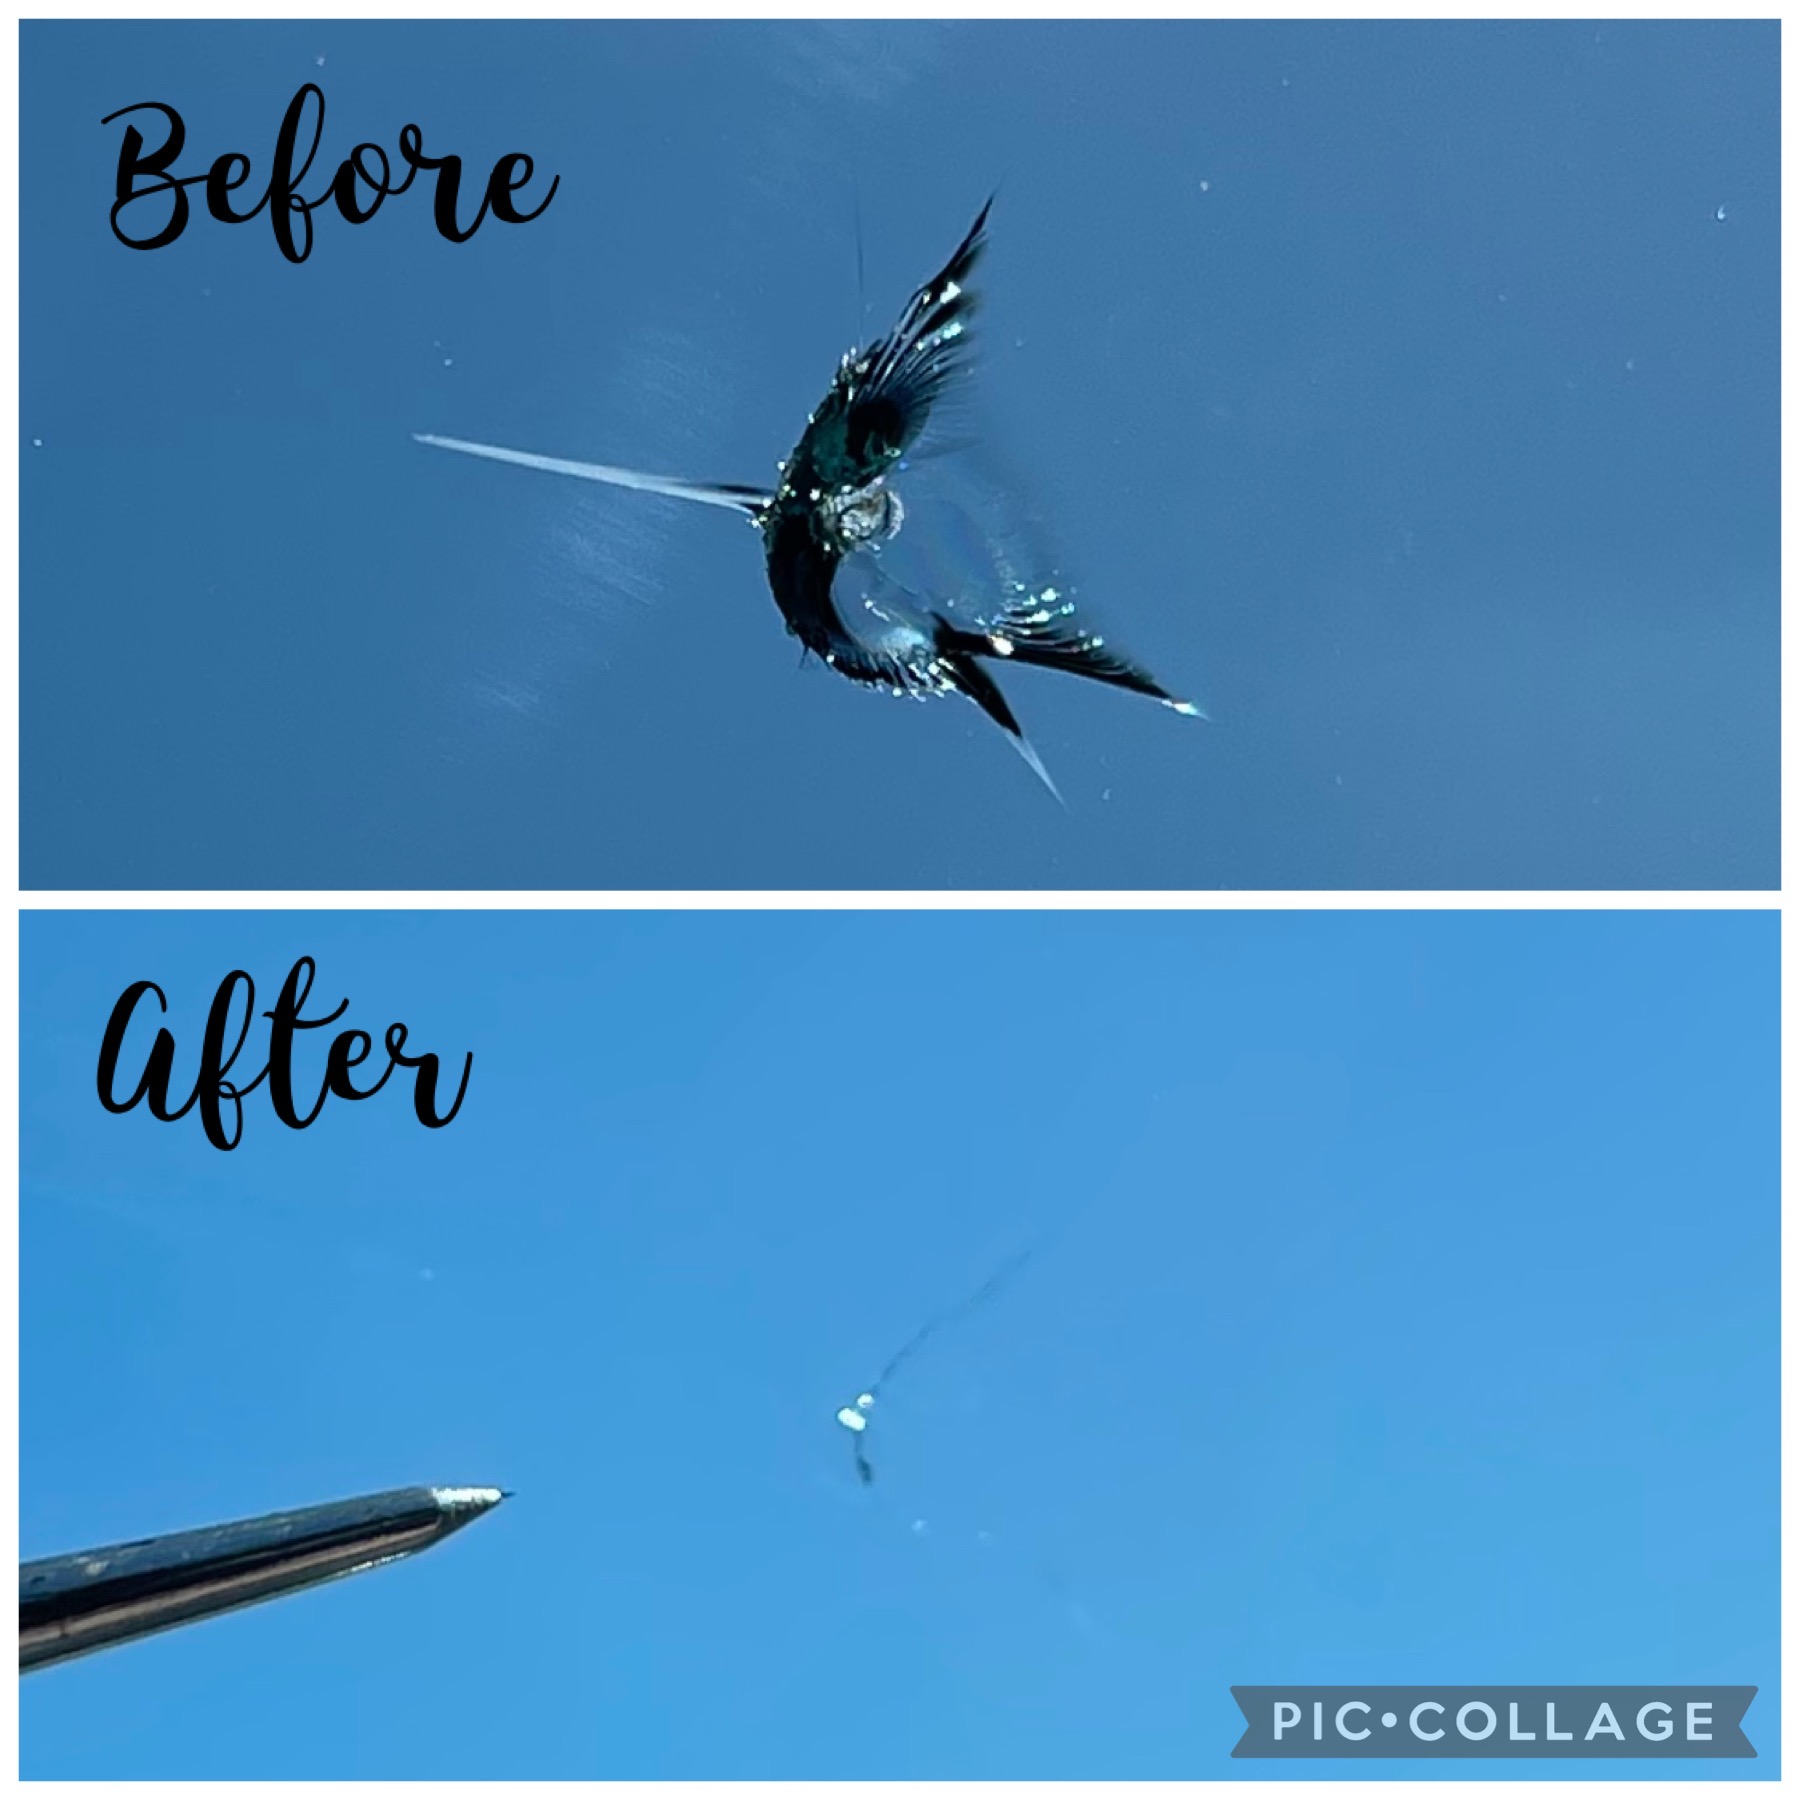
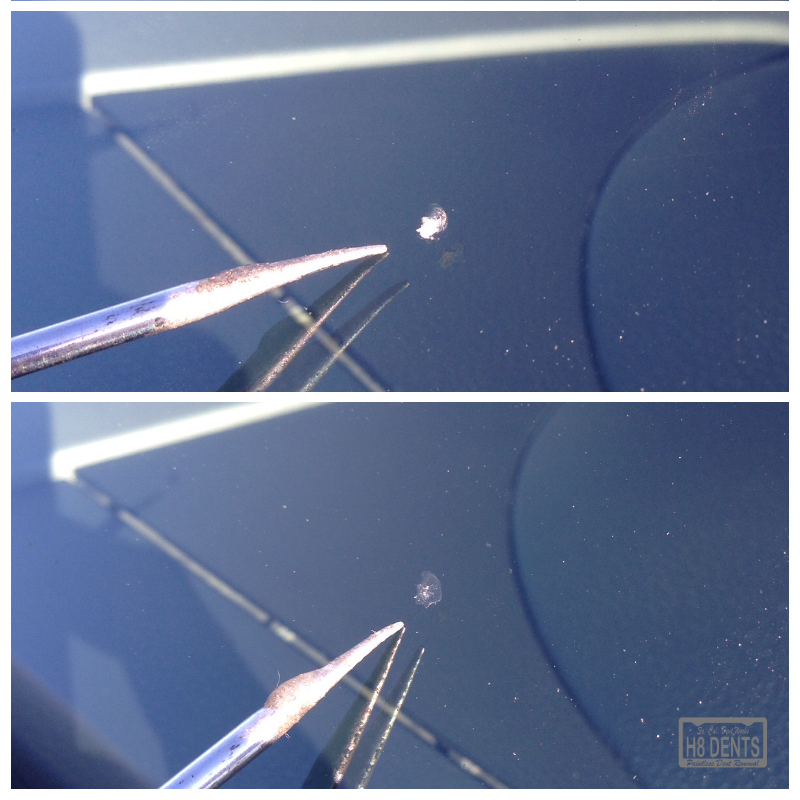
A successful windshield chip repair should leave the damaged area filled and stable, with fewer obvious dark voids and a smooth exterior surface. The repair may become much less noticeable, but complete invisibility is not a reasonable requirement.
Inspect the repair from both sides after curing. The surface pit should be sealed, the cured resin should not remain sticky, and obvious air pockets should be reduced. Small cosmetic lines or a faint shadow may remain because resin cannot reverse the physical changes already made to the glass.
If a crack continues growing after the repair, the chip was not fully stabilized or the damage was unsuitable for the repair method. Stop treating it as a cosmetic problem and have the windshield evaluated by a professional.
Source: fleetio.com
Positive sign
The filled break appears clearer, feels smooth at the surface, and does not continue spreading.
Possible incomplete fill
A substantial dark area remains inside the break or obvious air pockets are still visible.
Repair failure
A crack grows beyond the original damage during or after the procedure.
Should the Chip Completely Disappear?
No. Windshield repair is primarily a structural stabilization and optical-improvement process. The original impact point or fine remnants of a crack pattern can remain visible.
Trying to make a repaired chip completely invisible by repeatedly drilling, scraping, pressing, or adding resin can make matters worse. Once the break is filled, cured, smooth, and stable, additional DIY manipulation usually offers little benefit.
When Should You Not Repair a Windshield Chip Yourself?
Skip DIY repair when the location, depth, extent, or complexity of the damage makes the result uncertain. Windshields are part of a vehicle’s safety glazing system, so an inexpensive repair kit is not a substitute for professional evaluation when the glass has significant damage.
Edge damage deserves particular caution because stresses are different near the perimeter of the windshield. Damage that has extended into a substantial crack also becomes harder to fill reliably with a simple consumer kit.
Visibility matters as well. A repaired chip can leave a blemish, so damage directly in a critical portion of the driver’s viewing area may require a different decision than an identical chip elsewhere.
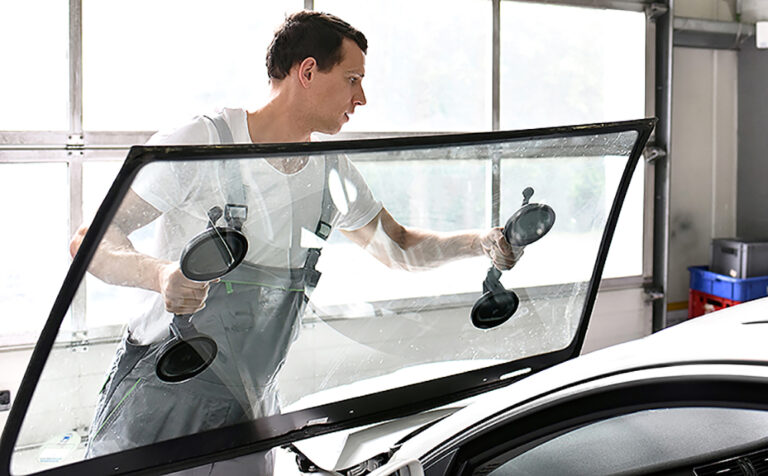
If windshield replacement becomes necessary on a vehicle equipped with a forward-facing camera or other advanced driver-assistance equipment, the vehicle may require camera recalibration according to the manufacturer’s service requirements. That work belongs with properly equipped professionals.
Source: miracleagc.com
Crack reaches the windshield edge
Edge involvement can indicate a more serious condition and should be professionally assessed.
Damage is rapidly spreading
A growing crack is evidence that the glass remains unstable.
Multiple impact areas are present
Several chips or overlapping breaks can make a straightforward DIY repair inappropriate.
Damage appears deep or complex
If the inner layer, multiple glass layers, or surrounding glass appears damaged, stop and seek professional service.
Critical driver visibility is affected
Professional assessment is appropriate when the damage or likely repair blemish could interfere with safe visibility.
Repair Versus Replacement Decision
Repair generally preserves the original windshield and its existing factory-installed bond when the damage is suitable. Replacement becomes necessary when the glass cannot be safely or effectively repaired.
The decision should consider break type, length, depth, location, contamination, windshield technology, previous repairs, and the specific vehicle. This is why simple rules such as anything smaller than a certain object can always be repaired are unreliable.
Common Windshield Chip Repair Mistakes
Most DIY problems come from poor preparation, incorrect tool placement, premature curing, or attempting to repair damage that was not a good candidate in the first place. Taking a few extra minutes before opening the resin can improve the result more than trying to correct mistakes later.
Waiting too long
An exposed break can collect dirt and moisture, making it harder for clear resin to fill the damaged area cleanly.
Repairing in strong sunlight too early
UV-sensitive resin may begin curing before it has penetrated the chip.
Working on extremely hot or cold glass
Temperature affects both the windshield and the resin. Follow the repair kit’s stated working range.
Using household glue
Ordinary super glue, epoxy, nail polish, and similar products are not substitutes for automotive windshield repair resin.
Misaligning the injector
The repair tool needs to be centered over the impact point so resin can enter the break.
Using too much pressure
Pressing aggressively on damaged glass can cause crack legs to lengthen.
Scraping uncured resin
Wait until curing is complete before removing excess resin from the finished surface.
Expecting invisible glass
A remaining cosmetic mark does not necessarily mean that a properly stabilized repair failed.
What If the Resin Does Not Fill the Entire Chip?
First check whether the injector is properly centered and sealed and whether your kit calls for another vacuum or pressure cycle. Temperature can also affect resin flow.
If the chip remains substantially unfilled after following the manufacturer’s procedure, stop rather than repeatedly forcing the tool against the glass. A professional windshield repair technician may have equipment capable of handling damage that a simple consumer injector cannot.
What to Do After Repairing a Windshield Chip
Once the resin has fully cured and excess material has been removed, clean the surrounding windshield and inspect the repair from several angles. Make sure the surface is smooth enough that it will not interfere with the windshield wiper.
Continue watching the area during normal driving. If a crack begins extending from the repair, arrange professional inspection promptly. Large swings in temperature can stress windshield glass, so avoid deliberately shocking a damaged or recently repaired windshield with extremely hot water, ice-cold water, or concentrated heating.
U.S. drivers with comprehensive auto insurance should also check their policy before paying for professional repair or replacement. Glass coverage varies by insurer, state, deductible, and policy terms. Some insurers waive the deductible for qualifying windshield repairs, while replacement can be handled differently. Verify your own coverage rather than assuming glass service is free.
Inspect the repair
Look for spreading cracks, obvious unfilled voids, or loose surface resin.
Check wiper contact
The repaired surface should be smooth enough that the wiper blade passes over it normally.
Monitor over time
A stable repair should not develop a growing crack from the original impact point.
Review insurance
For professional service, check comprehensive glass coverage, deductibles, and state-specific policy terms before authorizing work when practical.
Can a Previously Repaired Chip Be Repaired Again?
Sometimes a professional can improve or stabilize an incomplete previous repair, but the answer depends on what resin is already inside the damage and whether accessible voids remain. A previously repaired area is not equivalent to a fresh, uncontaminated chip.
If a repaired area begins cracking again, professional inspection is preferable to simply adding another layer of consumer resin over the surface.
Windshield Chip Repair Decision Guide
Use this decision guide as a screening tool rather than a substitute for an in-person glass inspection. The more conditions in the professional-service column that apply, the less suitable the damage is for a first-time DIY repair.
Small fresh localized chip
DIY repair may be reasonable if the damage is within your kit’s stated limits and away from problematic locations.
Small chip with short crack legs
Check the repair kit’s supported damage types carefully. Some systems accommodate star or combination breaks better than others.
Dirty or moisture-filled old chip
Professional service is worth considering because contamination can reduce the quality and appearance of the finished repair.
Chip near an edge
Professional inspection is the better approach because edge stresses can affect repair suitability.
Long or spreading crack
Do not treat it as an ordinary chip repair. Arrange professional assessment.
Damage affecting critical driver visibility
Have an auto-glass professional evaluate whether repair or replacement is appropriate.
Windshield requiring replacement on an ADAS-equipped vehicle
Confirm whether manufacturer procedures require camera or sensor recalibration after the new windshield is installed.
Frequently Asked Questions
Q
How soon should I repair a windshield chip?
Repair a suitable chip as soon as reasonably practical. Fresh damage is generally easier to repair because less water, road grime, and other contamination has entered the break. Prompt attention can also reduce the time the damaged area is exposed to vibration and temperature cycling.
Q
Can I use super glue to repair a windshield chip?
Do not substitute ordinary super glue for a windshield repair resin system. Dedicated automotive repair resin is designed to flow into laminated-glass damage and cure as part of a specific repair procedure. Household adhesives can contaminate the break and make later professional repair more difficult.
Q
Can I repair a windshield chip in cold weather?
Possibly, but only when the windshield can be brought into the temperature range specified by your repair system. Do not rapidly heat frozen or very cold glass. A sudden temperature difference across an already damaged windshield can increase stress and potentially extend the crack.
Q
Will a windshield repair kit stop a crack from spreading?
A properly completed repair is intended to stabilize suitable damage by replacing air in the break with cured resin. However, no DIY kit can guarantee that every damaged windshield will stop cracking. Location, break type, contamination, existing crack length, installation stresses, and repair quality all affect the outcome.
Q
Does car insurance cover windshield chip repair in the United States?
Comprehensive coverage commonly includes qualifying windshield and glass damage, but the amount you pay depends on the insurer, state, deductible, optional glass coverage, and policy language. Some insurers waive deductibles for repairable windshield damage under qualifying policies. Check your own policy or contact your insurer before assuming that repair or replacement will be covered without cost.
✦ Wrapping Up
Conclusion
Learning how to repair windshield chip damage is useful for U.S. drivers because a fresh, localized rock chip can sometimes be stabilized with a simple resin repair before it develops into a much larger problem. The basic process is to inspect the break, keep it clean and dry, center the repair tool accurately, remove trapped air, inject resin, cure it fully, and finish the surface smoothly.
The most important decision comes before the repair begins. A DIY kit is appropriate only when the damage falls within the kit’s stated limits and does not have warning signs such as significant edge involvement, a long or spreading crack, complex deep damage, or serious interference with driver visibility. When there is doubt, professional auto-glass evaluation is more appropriate than experimenting on safety glazing.
💡 Key Takeaway
Inspect the chip now while it is still clean. If it is small, localized, and clearly within your repair kit’s instructions, repair it promptly. If it is spreading, near an edge, complex, or affecting safe visibility, protect the area from contamination and arrange professional auto-glass service instead.
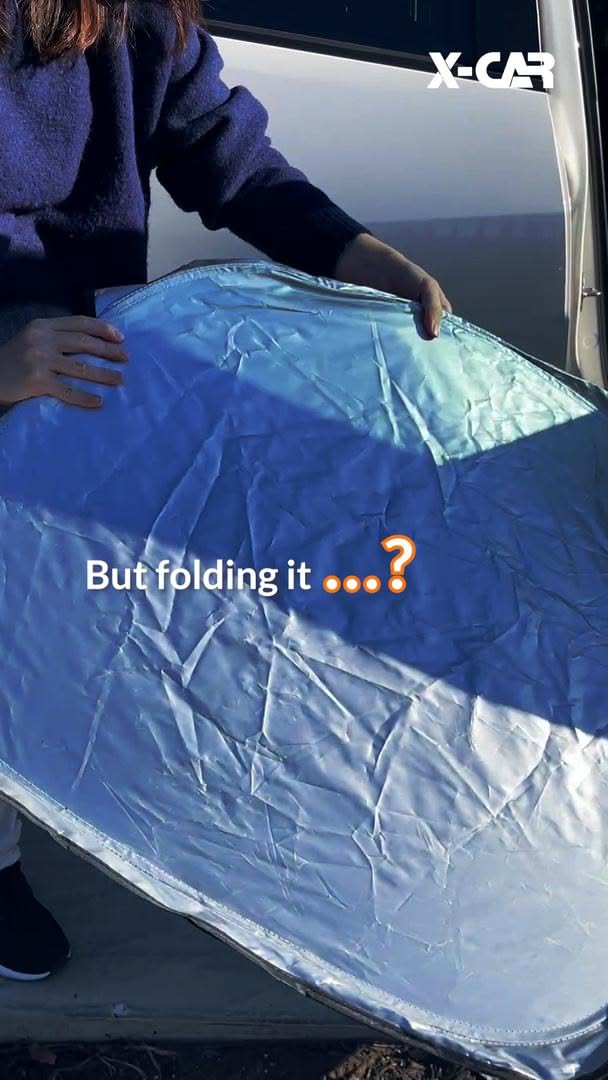
Learn how to fold a pop up windshield sun shade safely and quickly. Follow simple steps, avoid common mistakes, and store your car sun shade without damaging its frame.