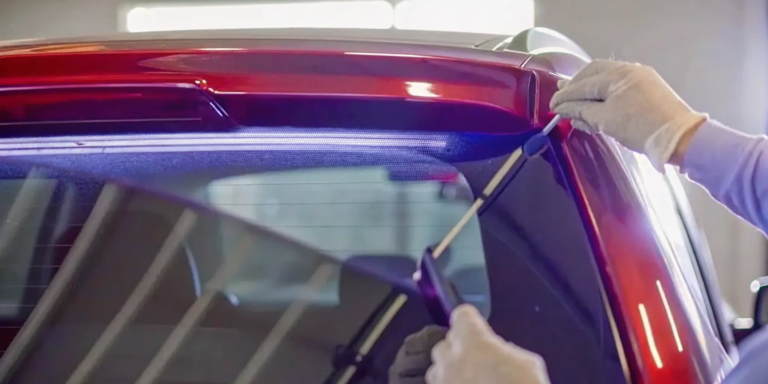
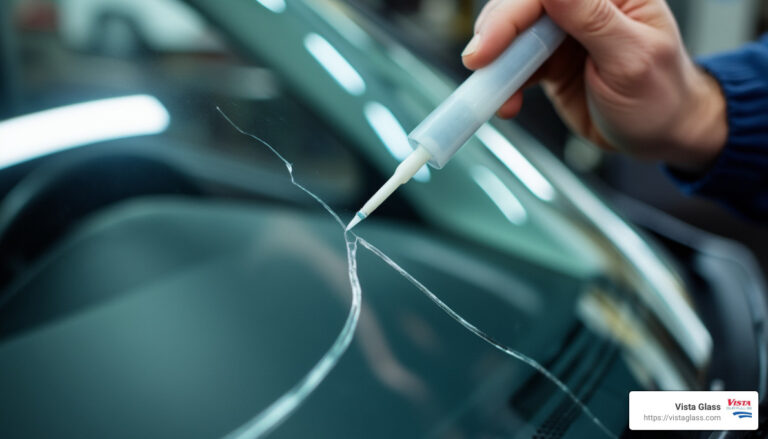
To reseal a windshield, first confirm that water is entering around the windshield perimeter rather than through a roof drain, body seam, or damaged molding. Clean and dry the affected area, remove loose or failed sealant when appropriate, prepare the surface according to the sealant manufacturer’s instructions, and apply an automotive windshield-compatible urethane or approved leak-sealing product. If the bonded windshield has separated from the body, shows corrosion underneath, moves in its opening, or requires removal, professional auto-glass service is the safer choice.
For drivers in the United States, a leaking windshield is more than an annoyance during a rainstorm. Water can reach carpeting, electrical connectors, dashboard components, headliners, and other areas that were never designed to stay wet. Conditions also vary widely across the country: intense summer heat in Arizona, freezing winters in the Midwest, frequent rainfall in the Pacific Northwest, and hurricane-season downpours along the Gulf Coast can all expose a weak windshield seal.
The important part is identifying what kind of seal has failed before applying anything. Most modern U.S. passenger vehicles use a bonded windshield installed with structural polyurethane urethane rather than a simple removable rubber gasket. That bond contributes to windshield retention, so smearing household silicone around the glass is not a substitute for repairing a failed structural bond. This guide explains how to locate a leak, when a limited DIY reseal may be reasonable, how to prepare and seal the area correctly, how long to let the material cure, and when the windshield should instead be removed and professionally reinstalled.
Resealing a windshield means restoring a watertight seal where the windshield assembly meets the vehicle body. The exact repair depends on how the windshield was installed and why it is leaking.
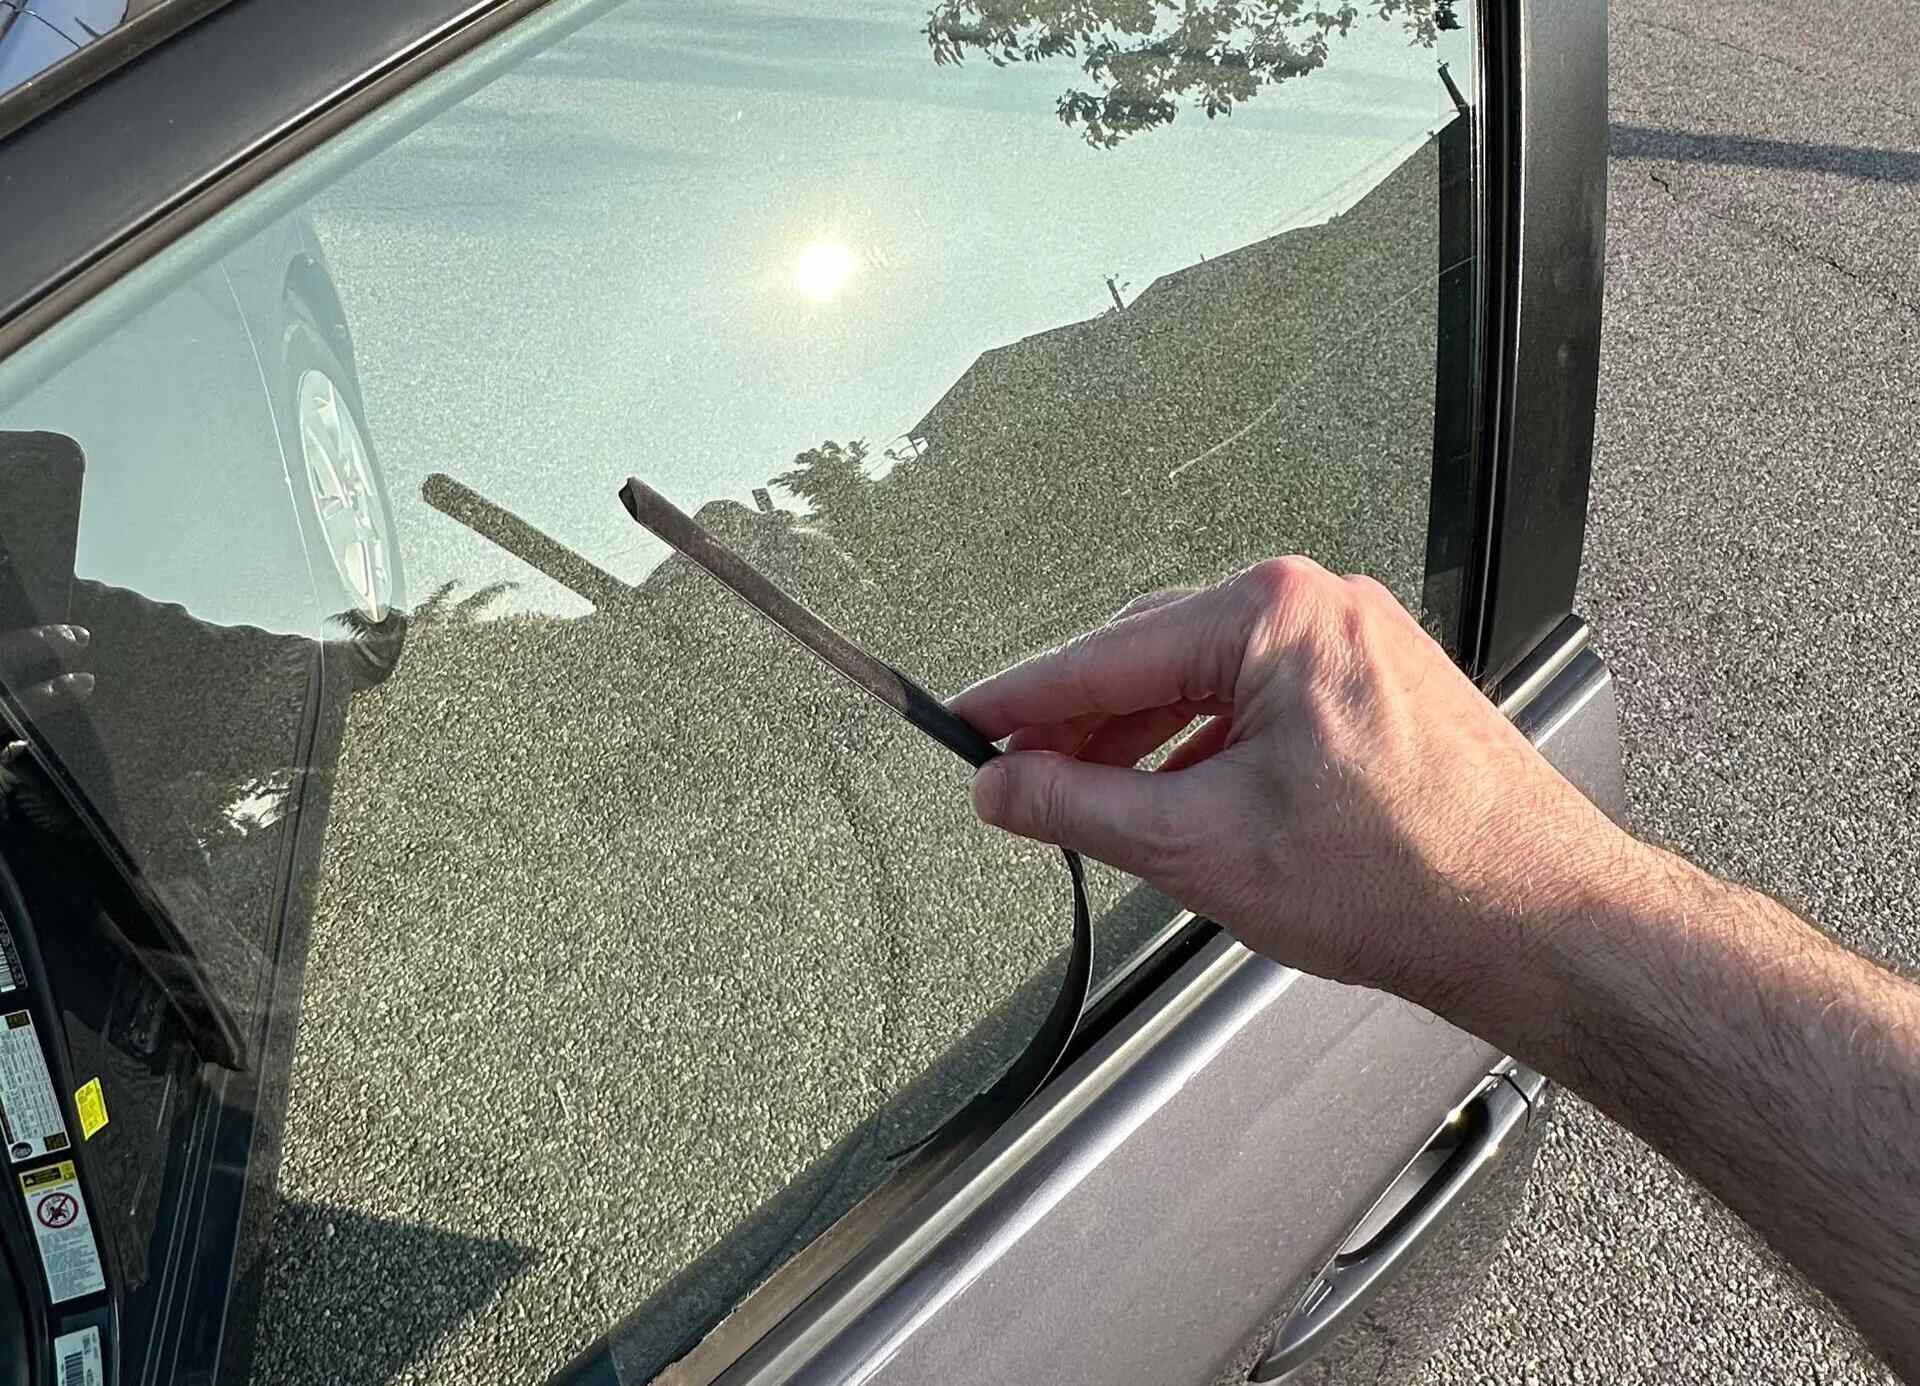
On many modern vehicles, the windshield is bonded to a painted metal flange called the pinch weld with automotive polyurethane adhesive. Decorative molding may cover the outer edge, but that molding is not necessarily what keeps water out. Older vehicles and some specialty applications may instead use rubber gasket systems.
A minor leak at a small accessible point can sometimes be repaired with a compatible flowable or automotive glass sealing product. A windshield with widespread adhesive separation is different. In that situation, adding material around the exterior may hide the symptom without restoring the underlying bond.
This distinction matters because automotive windshield adhesive is part of the installed glass system. Professional-grade replacement urethanes have manufacturer-specific preparation procedures and minimum drive-away times. Those times vary by product, temperature, humidity, vehicle configuration, and installation method.
Source: replacemywindshield.com
Localized perimeter leak
A small isolated leak with firmly seated glass and no corrosion may be suitable for a carefully performed external sealing repair.
Failed structural bond
Separation between the bonded windshield and body generally calls for removal, preparation, and reinstallation rather than simply covering the gap.
Rubber-gasket windshield
Older gasket-mounted windshields use different materials and repair techniques, so urethane instructions for bonded glass may not apply.
Resealing Is Not the Same as Replacing a Windshield
Resealing deals primarily with leakage or a limited sealing defect. Replacement involves removing the windshield and installing glass with the specified bonding system. Replacement may be necessary when the windshield is cracked beyond repair, the adhesive bond has failed extensively, the mounting surface is badly corroded, or the glass cannot be sealed reliably in place.
How to Tell Whether the Windshield Is Actually Leaking
Find the source before you apply any sealant. Water appearing near the dashboard or A-pillar does not automatically mean the windshield bond has failed. Water can travel behind trim and appear several inches or even several feet away from the original entry point.
Start by inspecting the windshield perimeter from outside the vehicle. Look for lifted molding, gaps, deteriorated sealant, visible rust, previous repair material, or areas where the glass appears unevenly seated. Inside, check for damp A-pillar trim, water tracks, wet carpet, staining around the headliner, or moisture behind the dashboard edge.
A controlled water test is more useful than blasting the windshield with a pressure washer. Have one person sit inside while another gently runs water over one small section of the windshield perimeter at a time. Start low and move upward gradually. This makes it easier to isolate the point where water enters.
Avoid directing high-pressure water at the seal. Excess pressure can force water past areas that would not leak during normal rain and may create a misleading diagnosis.
Source: storage.googleapis.com
Check the A-pillars
Water tracks around either side of the windshield can point toward an upper corner or side-edge leak.
Inspect the headliner
Moisture above the windshield may come from the windshield, roof seam, sunroof drain, roof accessory, or antenna.
Check the cowl
Water entering near the bottom of the dashboard can originate around the windshield, cowl drains, HVAC air intake, or nearby body seams.
Look for corrosion
Rust around the windshield flange can undermine adhesion and normally requires more than an exterior sealant patch.
Simple Controlled Water Test
Dry the interior first so new moisture is easy to identify. Run a gentle stream of water over a small lower section for a short period, inspect inside, and then move to the next section. Continue around the sides and top. Testing one zone at a time is slower than soaking the whole windshield but provides much better diagnostic information.
Leaks That Can Be Mistaken for a Windshield Leak
Sunroof drain problems, clogged cowl drains, damaged door weatherstripping, roof-rack mounting points, firewall seams, antenna seals, and body-seam failures can all allow water into the passenger compartment. Repairing the windshield will not solve a leak coming from one of these locations.
What You Need to Reseal a Windshield
The exact materials depend on the type of leak and the adhesive system already on the vehicle. For a small non-structural perimeter leak, you may need only cleaning supplies, masking materials, trim tools, and an automotive glass sealing product. Work involving the bonded urethane bead requires more specialized products and more careful surface preparation.
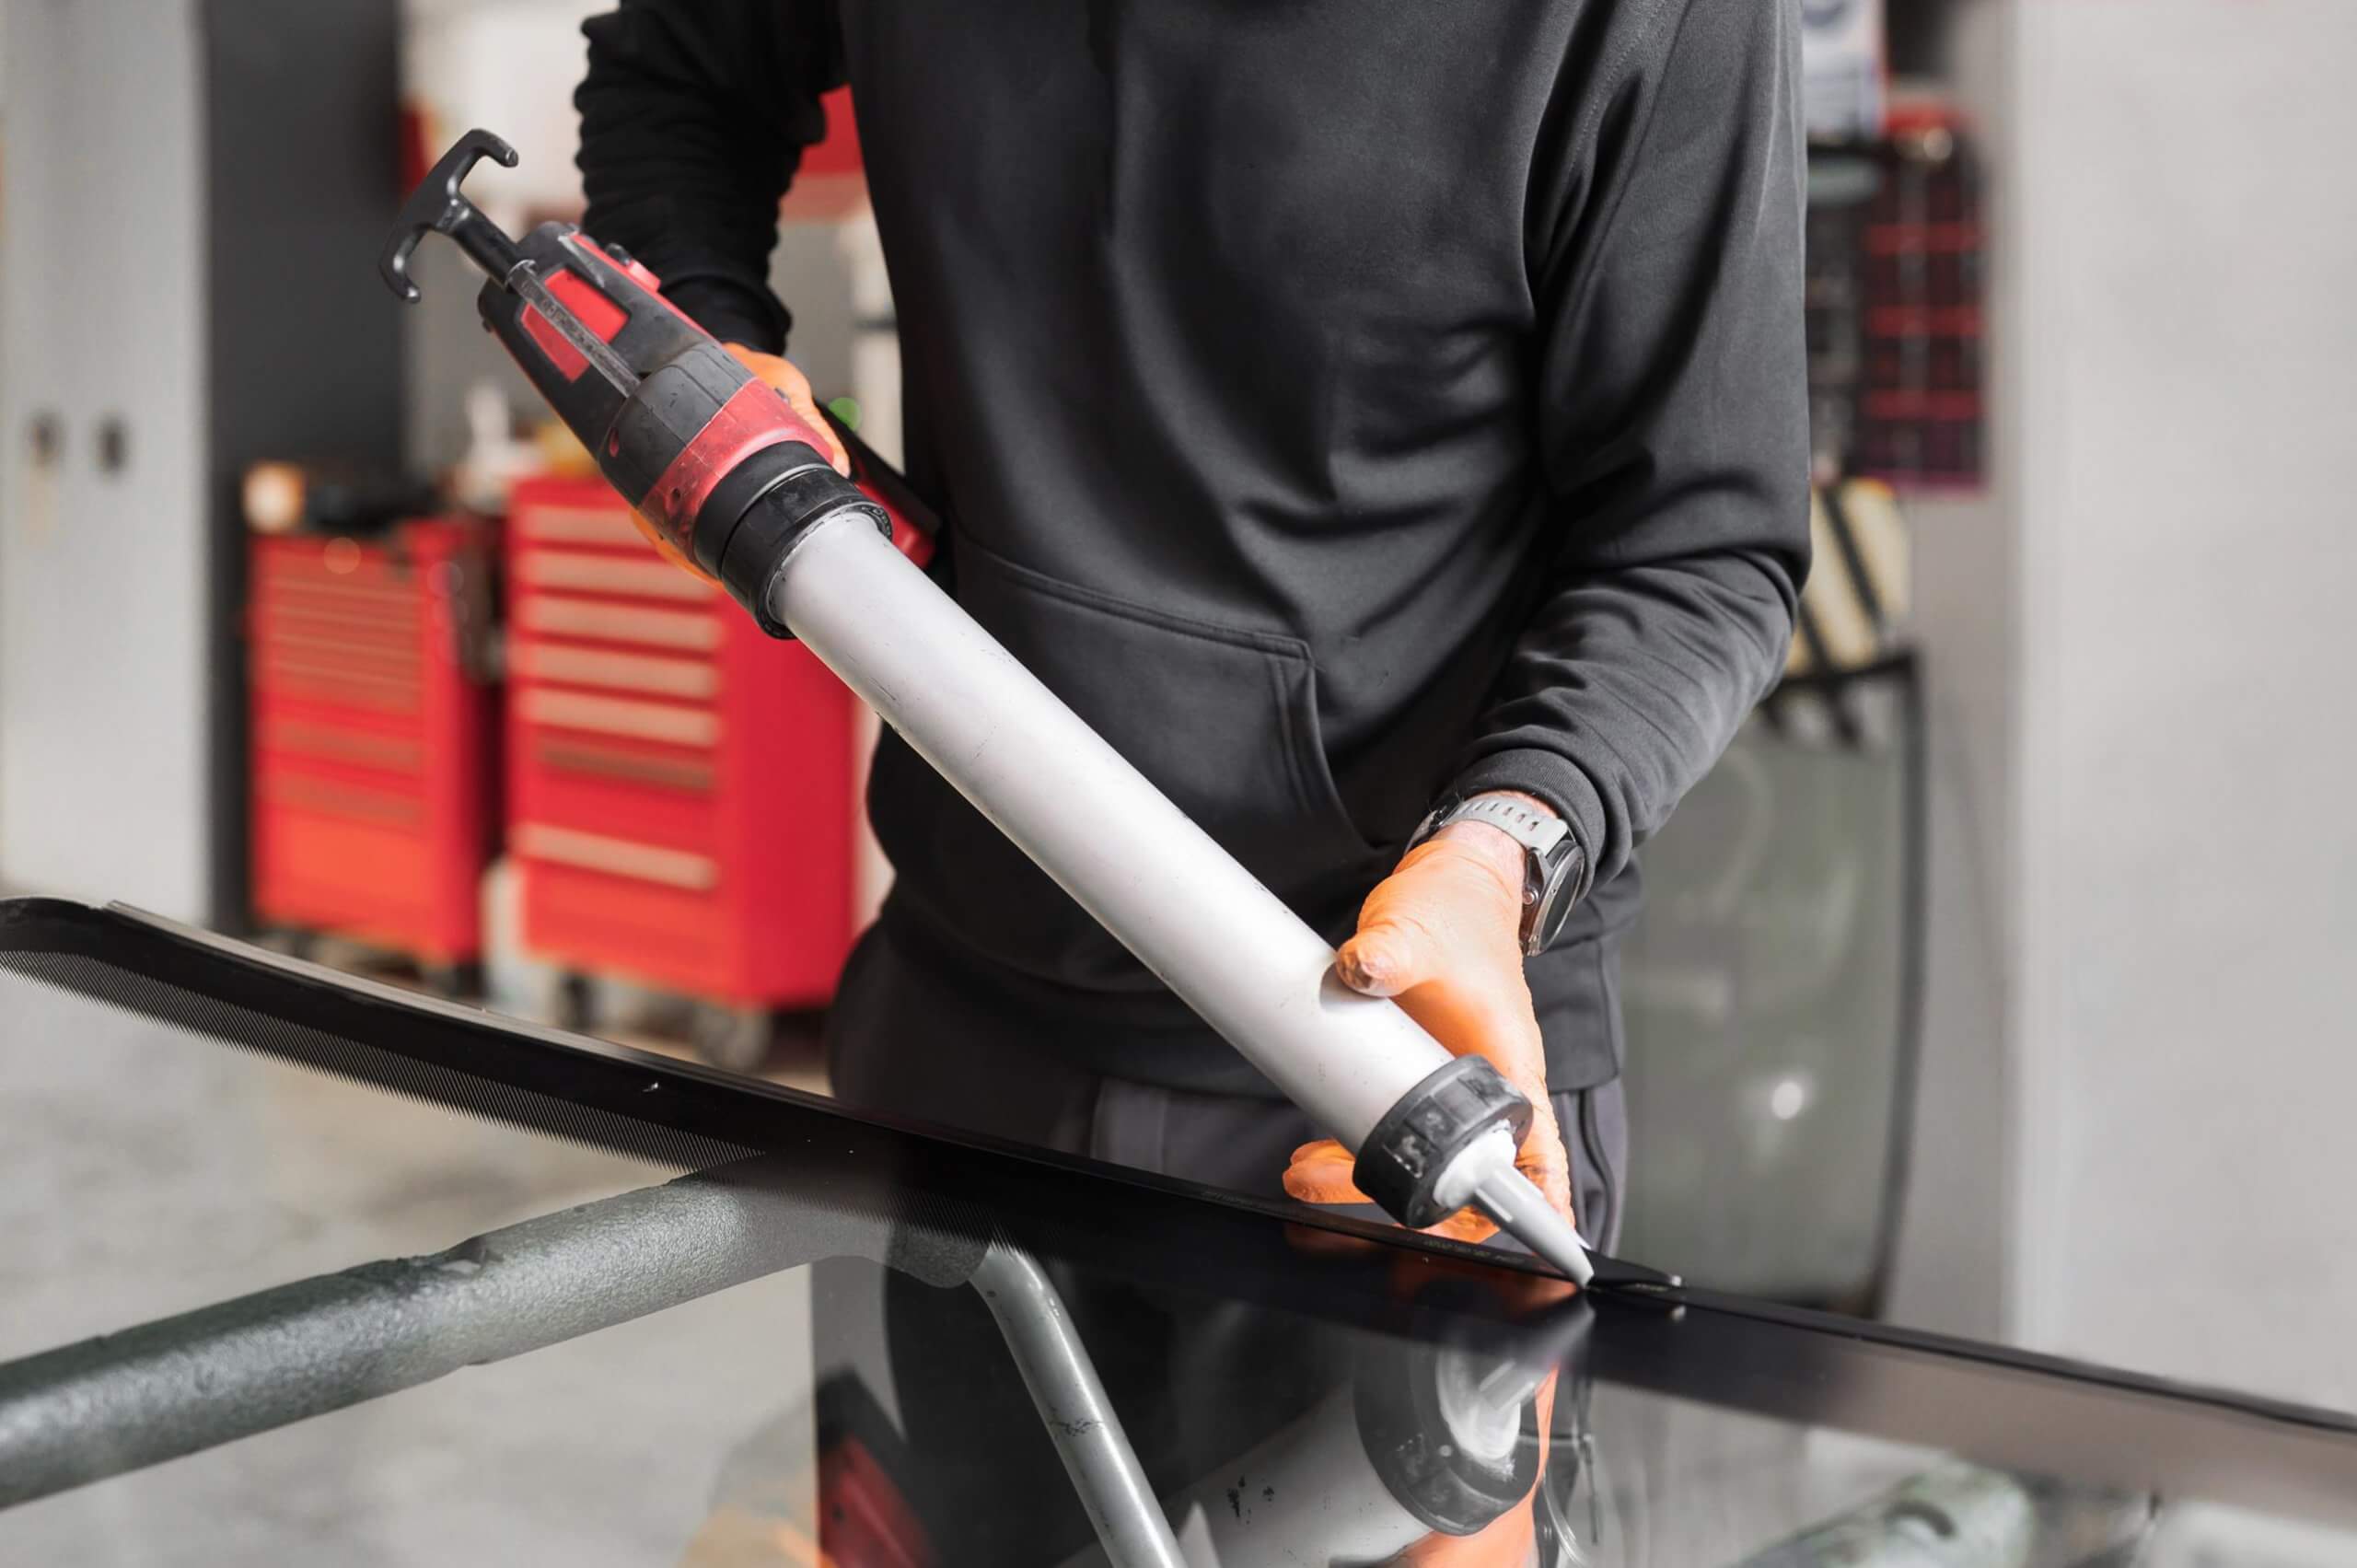
Choose products intended for automotive glass. Windshield-grade polyurethane adhesive is different from common household caulk. Some professional urethanes also require a specific activator or primer on certain surfaces, while other systems are designed to be primerless on glass. Follow the technical instructions for the exact product rather than mixing procedures from different adhesive systems.
Wear nitrile gloves and eye protection when handling cleaners, primers, and urethane. Work in a well-ventilated location and consult the product safety information before use.
Source: storage.googleapis.com
Automotive glass sealant
Use a product specifically intended for automotive windshield or auto-glass applications and appropriate for the repair type.
Cleaning materials
Use lint-free towels and a cleaner compatible with the adhesive manufacturer’s preparation procedure.
Plastic trim tools
These can help lift or move removable molding without unnecessarily scratching painted surfaces.
Applicator
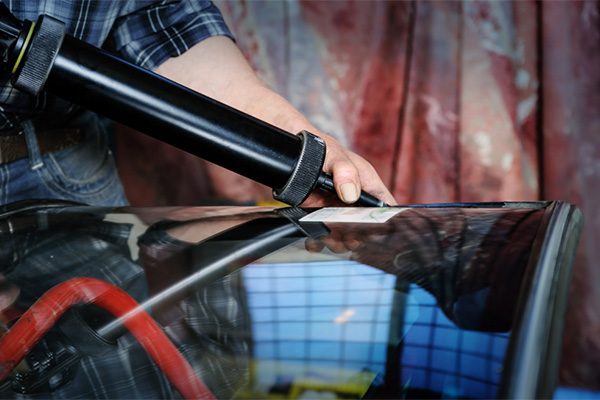
Some sealants require a standard or powered cartridge gun capable of producing a controlled continuous bead.
Painter’s tape
Tape can protect adjacent surfaces and help keep trim positioned while the repair material cures when permitted by the procedure.
Personal protection
Nitrile gloves, eye protection, and adequate ventilation reduce exposure to uncured adhesives, primers, and cleaning chemicals.
Should You Use Silicone Around a Windshield?
Do not treat ordinary household silicone as a substitute for structural automotive windshield adhesive. Silicone residue can also complicate later bonding work because contamination can interfere with adhesion. If a temporary or supplemental sealing product is appropriate, use one specifically intended for automotive glass and follow its instructions.
How to Reseal a Windshield Step by Step
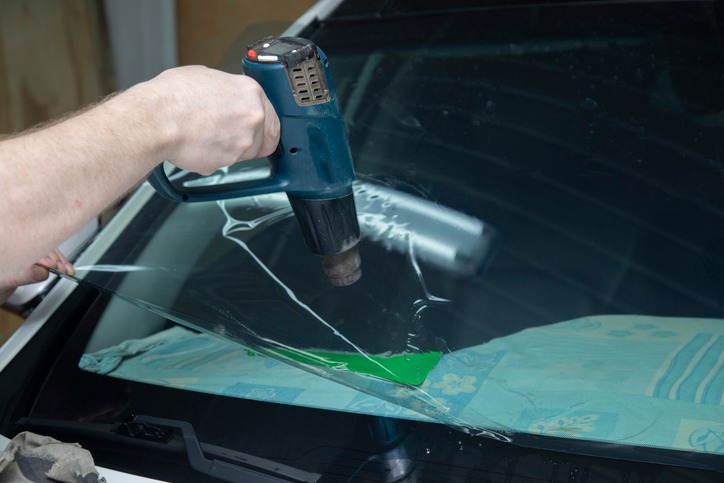
For a small confirmed perimeter leak where the glass remains securely bonded, the basic process is to expose the leaking area, clean it thoroughly, prepare it according to the chosen sealant’s instructions, apply a continuous seal, allow it to cure, and retest for water intrusion.
Do not proceed with a simple external reseal if you can move the windshield by pressing on it, if a large section of the bond appears separated, or if substantial rust is visible under the glass. Those conditions can require removal of the windshield and restoration of the bonding surface.
Source: hightech-autoglass.com
Step 1: Park in a suitable work area
Park on level ground in a dry, ventilated location. Work within the sealant manufacturer’s specified temperature and humidity limits.
Step 2: Confirm the exact leak location
Use a controlled water test and interior inspection to isolate the smallest practical repair area.
Step 3: Access the windshield edge
Carefully move removable exterior molding only when the vehicle design allows it. Avoid damaging clips, painted surfaces, sensors, wiring, or the glass edge.
Step 4: Remove loose contamination
Remove dirt, debris, and loose failed material that prevents the new sealing product from contacting a sound surface. Do not aggressively cut into intact structural urethane.
Step 5: Clean and dry the area
Follow the adhesive manufacturer’s cleaning procedure. The bonding area generally needs to be dry and free of oils, wax, silicone contamination, and incompatible cleaners.
Step 6: Deal with exposed metal correctly
Small scratches or exposed areas may require an approved primer system. Significant rust, pitting, or perforation should be repaired properly before the windshield is bonded.
Step 7: Apply the sealant
Apply the compatible automotive product continuously through the identified leak path. Avoid leaving skips, air pockets, or disconnected sections.
Step 8: Restore the molding
Reposition molding or trim according to the vehicle design without disturbing the new material.
Step 9: Allow the material to cure
Observe the exact curing and minimum drive-away instructions for the product being used. Do not assume every windshield adhesive is ready after the same number of hours.
Step 10: Test the repair
Once the product permits water exposure, perform another gentle controlled water test and inspect the interior for moisture.
How Much Sealant Should You Apply?
Use enough material to create a continuous seal across the confirmed leak path without covering large areas unnecessarily. More sealant does not compensate for dirty surfaces, corrosion, poor preparation, or a separated structural bond. If a large portion of the windshield requires external caulk to stop leaking, removal and proper reinstallation is usually the more reliable repair strategy.
Do You Need to Remove the Old Urethane?
Not automatically. Professional auto-glass procedures often preserve a thin layer of sound existing urethane during replacement rather than scraping everything to bare painted metal. The appropriate procedure depends on the adhesive system and condition of the old bond. Cutting or grinding indiscriminately can damage paint and create a future corrosion problem.
How Long Should a Resealed Windshield Cure?
There is no single cure time that applies to every windshield adhesive. Automotive polyurethane products have different minimum drive-away times, and the required interval can change with temperature, humidity, adhesive type, and installation conditions.
Current professional automotive-glass urethanes illustrate how much the timing can vary. Depending on the specific product and approved conditions, published minimum drive-away times can range from roughly 30 minutes to several hours. That does not mean every product is safe to drive after 30 minutes.
Read the product data sheet and follow the minimum drive-away time for the exact adhesive you used. Minimum drive-away time is also different from complete chemical cure. A windshield may reach the manufacturer’s specified drive-away condition before the urethane is fully cured throughout.
Moisture-curing polyurethane generally reacts with atmospheric moisture. Cooler conditions can slow curing, and product instructions may establish minimum application temperatures or other environmental limits.
Source: storage.googleapis.com
Follow the product label
The manufacturer’s stated drive-away and curing instructions take priority over generic online advice.
Consider weather conditions
Temperature and humidity can influence polyurethane curing and may change the applicable drive-away time.
Avoid premature disturbance
Do not wash, aggressively flex trim, or otherwise disturb the repaired area before the product permits it.
What Is Minimum Drive-Away Time?
Minimum drive-away time is the adhesive manufacturer’s specified interval before a vehicle can be returned to service under the conditions covered by that adhesive’s testing and instructions. Because the windshield bonding system has safety implications, do not shorten this period simply because the adhesive feels dry at the surface.
How to Know Whether the Windshield Reseal Worked
A successful reseal should stop water at the original entry point without creating new gaps, loose molding, or visible separation. Wait until the sealant manufacturer permits water exposure before performing the final test.
Repeat the same controlled water test used during diagnosis. Testing under similar conditions makes the before-and-after result easier to interpret. Check the A-pillars, headliner, dashboard edges, firewall area, and carpet rather than looking only at the visible glass edge.
Dry carpeting deserves special attention because padding can retain substantial moisture even when the upper surface feels only slightly damp. Remaining moisture from the original leak can otherwise make it appear that the repair failed.
Source: storage.googleapis.com
No new water tracks
The interior remains dry while water is applied gradually around the repaired windshield section.
Seal remains continuous
The repaired area shows no obvious cracks, gaps, lifting, or separation after curing.
Trim remains secure
Exterior molding sits normally and does not lift or move because of excess or poorly placed sealant.
No recurring moisture
Carpet, headliner, and pillar trim remain dry during subsequent rain or vehicle washing.
What If the Windshield Still Leaks?
If the same area still leaks, stop adding layer after layer of sealant. Recheck the source and look for a hidden gap, corroded pinch weld, failed adhesive bond, damaged molding system, roof leak, cowl leak, or body seam. Persistent leakage after a reasonable localized repair is a strong reason to have an auto-glass technician perform a leak diagnosis.
When You Should Not Reseal the Windshield Yourself
A DIY surface reseal is not appropriate for every windshield leak. The job becomes more complicated when the original structural adhesive has failed or when the mounting surface needs body repair.
The windshield may contribute to vehicle occupant protection as part of the installed glazing system, so a loose or improperly bonded windshield is different from a minor cosmetic seal problem. Professional automotive replacement adhesives are tested as systems and have defined surface preparation and drive-away procedures.
Vehicles with windshield-mounted cameras, rain sensors, heating elements, antennas, head-up display components, or advanced driver-assistance systems can also add complexity. Removing and reinstalling the windshield may require additional procedures, including inspection or calibration depending on the vehicle.
Source: motoroomph.com
The windshield moves
Visible or detectable movement can indicate loss of adhesion and warrants professional inspection.
Leakage extends across a large area
Multiple leaking sections can indicate a broader installation or bonding problem.
Rust is visible around the glass
Severe rust, pitting, or perforation needs proper metal repair before reliable bonding can be restored.
The windshield was recently replaced
Contact the installer first because the leak may be related to installation and could be covered by the shop’s workmanship policy.
ADAS equipment is involved
Windshield removal on vehicles with forward-facing cameras or related sensors may require vehicle-specific calibration procedures.
The glass is cracked or damaged at the edge
Edge damage can weaken laminated windshield glass and may make replacement more appropriate than leak sealing.
When Professional Removal and Reinstallation Makes More Sense
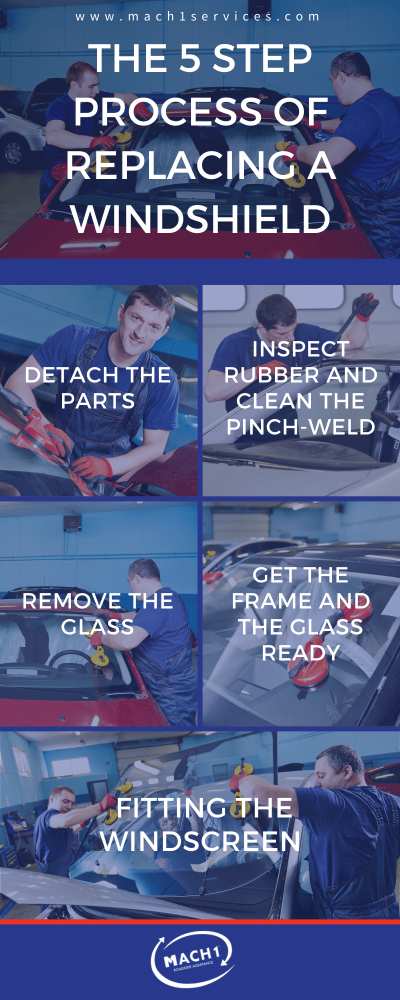
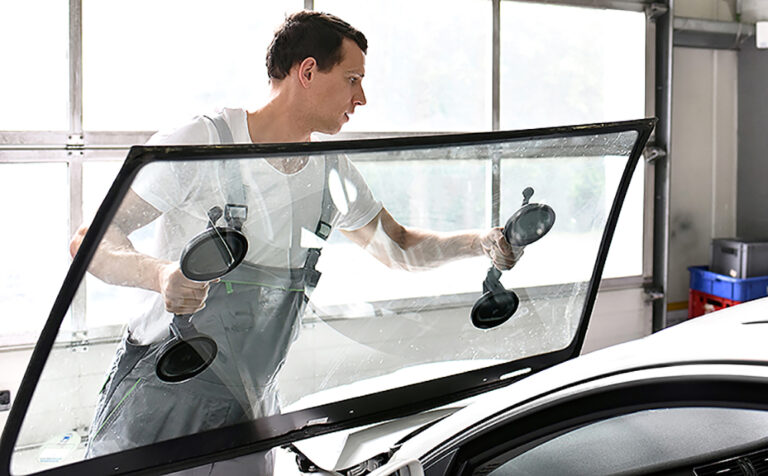
Professional removal is generally the better approach when the existing urethane bond is failing extensively, corrosion is hidden beneath the windshield, the glass has been installed incorrectly, or repeated surface sealing has not stopped the leak. Removing the glass gives the technician access to the complete bonding surface so damaged material and corrosion can be addressed before the windshield is bonded again.
Common Windshield Resealing Mistakes to Avoid
Most unsuccessful resealing attempts come from incorrect diagnosis, poor surface preparation, incompatible materials, or trying to cover a structural problem with surface sealant. Avoiding those mistakes is more valuable than simply applying a larger bead.
Another common problem is assuming decorative windshield molding is the primary waterproof barrier. On a bonded windshield, water may pass behind the molding and reach a defect in the urethane farther underneath. Filling the visible molding channel may therefore fail to reach the actual leak.
Do not repeatedly apply different products over one another without checking compatibility. Contamination from silicone, oil, wax, certain cleaners, or unrelated sealants can make future professional bonding more difficult.
Sealing before finding the leak
Randomly covering the windshield perimeter can hide the real problem and complicate diagnosis.
Applying sealant to a wet surface
Unless the product specifically permits it, moisture can interfere with preparation and adhesion.
Using household caulk
General-purpose household products are not substitutes for automotive structural glass adhesives.
Ignoring rust
Adhesive placed over deteriorating metal does not correct the damaged bonding surface.
Driving too soon
The surface may appear dry before the adhesive has reached the manufacturer’s minimum drive-away condition.
Using high-pressure water for leak testing
Excessive pressure can create an unrealistic leak and make diagnosis less reliable.
Adding more sealant after every failed test
Repeated layers can mask widespread adhesive failure that requires removal and proper reinstallation.
Frequently Asked Questions
Q
Can you reseal a windshield without removing it?
Yes, some small localized perimeter leaks can be sealed without removing the windshield if the glass remains securely bonded and there is no serious corrosion or widespread adhesive failure. A failed structural bond usually requires removal and proper reinstallation.
Q
What is the best sealant for a leaking windshield?
Use a sealant specifically approved for automotive glass and appropriate for the repair being performed. Structural bonding normally requires automotive windshield polyurethane. Small supplemental leak repairs may use a compatible automotive glass sealer. Follow the manufacturer’s instructions because surface preparation and primer requirements vary.
Q
Can I use silicone to reseal my windshield?
Ordinary household silicone should not be used as a replacement for structural windshield urethane. It can also contaminate surfaces and complicate later adhesive work. Use an automotive glass product designed for the specific type of repair.
Q
How long after resealing a windshield can I drive?
Use the minimum drive-away time specified for the exact adhesive, vehicle, and environmental conditions. Professional windshield urethanes can have minimum drive-away times ranging from roughly 30 minutes to several hours depending on the product and conditions, so there is no universal waiting period.
Q
Why does my windshield still leak after I sealed it?
The repair may have missed the actual entry point, the surface may have been contaminated, corrosion may be present, or the windshield bond may have failed more extensively than expected. The water could also originate from a sunroof drain, cowl, roof seam, antenna, door seal, or another body opening.
Q
Can a leaking windshield cause electrical problems?
It can. Water entering around a windshield may travel behind interior trim and reach connectors, modules, wiring, switches, or dashboard electronics depending on vehicle design. Persistent leaks should therefore be repaired and the interior dried rather than treated only as a carpet problem.
Q
Should a windshield be resealed if it moves when pushed?
A windshield that visibly moves or appears separated from its bonding surface should be inspected by an auto-glass professional. Adding exterior sealant is not an appropriate substitute for restoring a compromised structural adhesive bond.
✦ Wrapping Up
How to Reseal a Windshield Correctly
Learning how to reseal a windshield starts with diagnosis rather than sealant. Verify that the windshield is the source, isolate the leak, inspect for corrosion or adhesive separation, and determine whether the problem is genuinely small enough for an in-place repair. If it is, careful cleaning, correct surface preparation, a compatible automotive glass product, and full compliance with the manufacturer’s cure instructions give the repair its best chance of succeeding.
Do not use a bead of household silicone to hide widespread bond failure. If the windshield moves, leaks along multiple edges, has significant rust underneath, or continues leaking after a careful localized repair, have an experienced auto-glass technician inspect it. A proper removal and reinstallation may cost more than a simple reseal, but it addresses the underlying bond rather than repeatedly covering the symptom.
💡 Key Takeaway
Start with a controlled water test. If you find one small perimeter leak and the windshield is firmly bonded with no significant corrosion, use a compatible automotive glass sealing system and follow its preparation and curing instructions exactly. If you find movement, rust, widespread separation, or an uncertain leak source, arrange a professional auto-glass inspection instead.
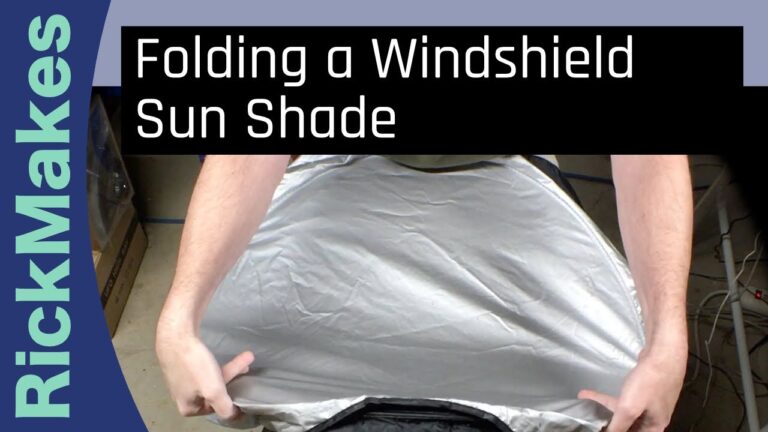
Learn how to fold a collapsible windshield sun shade using the simple figure-eight method, plus tips for storage, troubleshooting, and different shade designs.