To install a rear windshield, remove the damaged glass and trim, prepare the pinchweld, dry-fit the replacement glass, apply the adhesive system specified for the vehicle, position the glass accurately, reconnect the defroster, and allow the urethane to reach its specified safe drive-away time before driving.
For drivers in the United States, replacing rear automotive glass is more than a matter of fitting a piece of glass into an opening. Modern bonded back glass commonly uses automotive polyurethane adhesive, and the installation method can vary by vehicle manufacturer, glass design, molding arrangement, defroster connections, antennas, cameras, and other equipment. The safest approach is to identify the exact vehicle procedure and use an adhesive system that is approved for automotive stationary glass.
A careful DIY installer can understand the basic process, but rear windshield installation leaves little room for contamination, damaged paint, an uneven urethane bead, or incorrect positioning. Broken tempered glass also creates thousands of sharp fragments. If the pinchweld is rusty, the opening is distorted, the replacement glass does not match, or the vehicle requires specialized calibration or bonding procedures, professional auto-glass installation is the safer choice.
Successful installation starts before the old glass is removed. Confirm the part number or application of the new rear windshield and compare its shape, ceramic frit border, electrical terminals, antenna connections, holes, brackets, and moldings with the original. Rear glass that physically fits an opening may still be incorrect if its electrical or mounting configuration differs.
You should also determine how the glass is retained. Many modern U.S. passenger vehicles use polyurethane-bonded stationary rear glass. Older vehicles may use a rubber gasket and locking strip, while some hatchbacks, SUVs, pickup trucks, convertibles, or specialty vehicles use hinges, bolts, clips, sliders, or other hardware. The procedure below primarily covers bonded stationary rear glass.
Check the instructions for the selected automotive urethane before opening it. Adhesive systems have specific requirements for primer, glass preparation, bead dimensions, application temperature, storage, expiration date, humidity, and curing time. Mixing products from unrelated adhesive systems without documented compatibility can compromise the bond.
Source: storage.googleapis.com
Replacement rear glass
Use glass intended for the exact vehicle application and verify defroster, antenna, molding, bracket, and connector compatibility.
Automotive glass urethane
Use a polyurethane or equivalent retention system suitable for automotive stationary glass and the specific installation.
Compatible primer and cleaner
Follow the urethane manufacturer’s complete preparation system rather than substituting household solvents.
Urethane applicator
A suitable manual, pneumatic, or powered caulking gun is needed to produce a continuous bead.
Glass removal tools
Depending on the vehicle, these may include cutting wire, fiber line, a cold knife, utility blades, trim tools, or vehicle-specific equipment.
Suction cups
Quality glass-handling suction cups make positioning safer and reduce contact with prepared bonding surfaces.
Personal protection
Wear safety glasses, cut-resistant gloves, long sleeves, closed footwear, and any additional protective equipment specified for the adhesive and primer.
Check the Vehicle Procedure Before Cutting Anything
Look up the service information for the exact vehicle whenever possible. The manual may specify which trim panels must be removed, where electrical connectors are located, how deeply cutting tools may be inserted, the required adhesive bead profile, and whether certain clips or moldings must be replaced rather than reused.
This matters because wiring, antennas, airbags, interior trim, painted flanges, and other components can sit close to the glass edge. A cutting tool inserted too deeply can damage parts that are not visible from outside the vehicle.
How to Remove the Old Rear Windshield Safely
Protect the interior before disturbing broken glass. Fold the rear seats when appropriate, cover upholstery and cargo areas, and remove loose objects from the trunk or hatch. Vacuum accessible fragments rather than brushing them across painted surfaces or upholstery.
Disconnect rear-window electrical terminals only after identifying them correctly. Heated rear glass usually has delicate terminals bonded to the glass. Pulling on the wire instead of the connector can damage the terminal. Some vehicles also route radio, navigation, alarm, antenna, or other circuits through the rear glass.
Remove the interior trim, exterior molding, clips, weatherstrips, and other components required to expose the adhesive edge. The exact sequence is vehicle-specific. Keep reusable clips organized and replace damaged one-time-use parts.
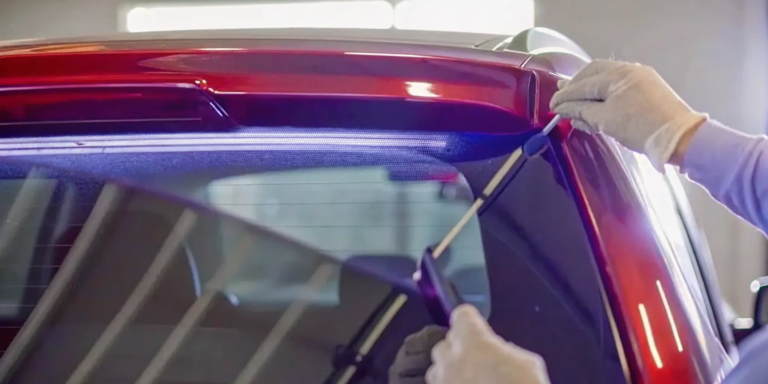
For bonded glass, cut through the urethane around the perimeter while protecting the painted pinchweld. Support the glass as the final sections of adhesive are cut so it cannot suddenly fall inward or outward. Whenever practical, use a second person and suction cups to lift the old glass away from the opening.
If the rear glass has shattered, remove loose fragments methodically. Tempered rear glass can break into many small pieces that remain in trim cavities, the package shelf, hatch panels, trunk channels, and weatherstripping. Vacuum these locations thoroughly.
Source: storage.googleapis.com
Protect the vehicle
Cover seats, painted panels, and the cargo area before cutting adhesive or handling broken glass.
Disconnect electrical equipment
Separate defroster and antenna connectors according to the vehicle procedure without pulling on bonded terminals.
Remove surrounding trim
Take off only the moldings and interior pieces required for safe access to the glass and adhesive.
Cut the existing bond
Use an appropriate glass-removal method while keeping cutting tools away from painted metal and hidden components.
Lift the glass
Have an assistant stabilize large glass and use suction handles when possible.
Vacuum remaining glass
Inspect trim cavities, the package shelf, trunk or hatch area, seals, and floor for hidden fragments.
What If the Rear Windshield Is Completely Shattered?
Do not simply knock the remaining glass into the cabin. Remove loose pieces while wearing eye and hand protection, contain fragments as they come free, and vacuum repeatedly. Glass can remain lodged inside trim for a long time and may later work loose while driving.
If fragments remain bonded around the edge, remove them without gouging the pinchweld. Damage to the painted flange can expose steel and create a future corrosion problem underneath the replacement glass.
Prepare the Pinchweld and Replacement Glass
Surface preparation is one of the most important parts of rear windshield installation. A perfectly positioned piece of glass can still leak or lose adhesion if the bonding surfaces are contaminated, rusty, damaged, or prepared with incompatible chemicals.
On many polyurethane-bonded installations, sound original urethane is close-cut rather than completely removed. Published automotive procedures commonly leave a thin base of existing adhesive, often around 1 to 2 millimeters where applicable, because fresh compatible urethane can bond effectively to properly prepared existing urethane. Follow the exact vehicle and adhesive-system instructions rather than treating this measurement as universal.
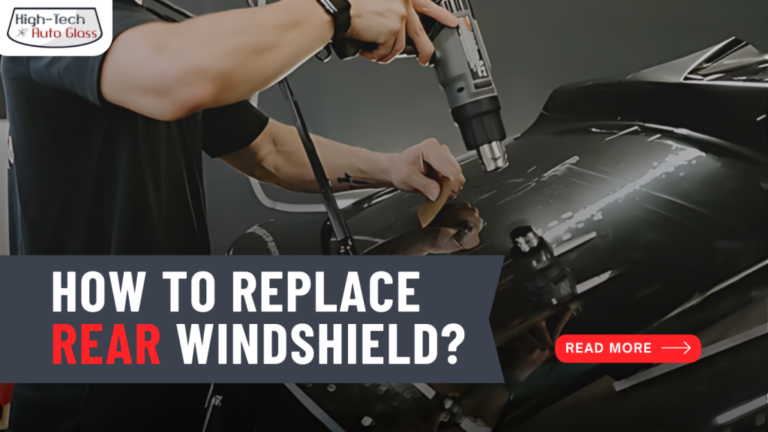
Keep the cutting blade as parallel as practical to the flange while trimming old urethane. The objective is a relatively smooth and consistent bonding surface without scraping through the factory coating.
Inspect the entire pinchweld for scratches, exposed metal, loose adhesive, corrosion, cracked paint, previous repair material, and deformation. Bare metal normally requires treatment with the primer system specified by the adhesive manufacturer. Significant corrosion or damaged bodywork should be repaired correctly before glass installation.
Clean the replacement glass as instructed by the adhesive manufacturer. Avoid touching the prepared bonding area afterward. Skin oils, silicone, wax, cleaning residue, grease, dust, and moisture can interfere with adhesion.
Source: storage.googleapis.com
Trim sound old urethane
Close-cut the existing bead according to the applicable procedure instead of automatically stripping the flange to bare metal.
Inspect the pinchweld
Look for rust, scratches, loose material, previous repair damage, or distorted metal before proceeding.
Treat exposed metal
Use the compatible primer procedure specified for the adhesive system and allow the required drying time.
Prepare the glass
Clean and prime the bonding area exactly as required for that glass and adhesive combination.
Prevent contamination
Once prepared, keep fingers, dirty gloves, silicone products, and inappropriate cleaners away from bonding surfaces.
Why You Should Not Remove Every Trace of Old Urethane
Completely scraping an undamaged flange can remove protective paint and primer, creating unnecessary bare-metal areas. Many automotive glass procedures instead call for close-cutting sound urethane to a thin, uniform layer.
There are exceptions. Loose adhesive, contamination, severe corrosion, previous incorrect installation, body repair, or an incompatible adhesive may require a different preparation method. Follow the vehicle service procedure and the adhesive manufacturer’s instructions when these conditions exist.
Dry-Fit and Mark the Rear Windshield Position
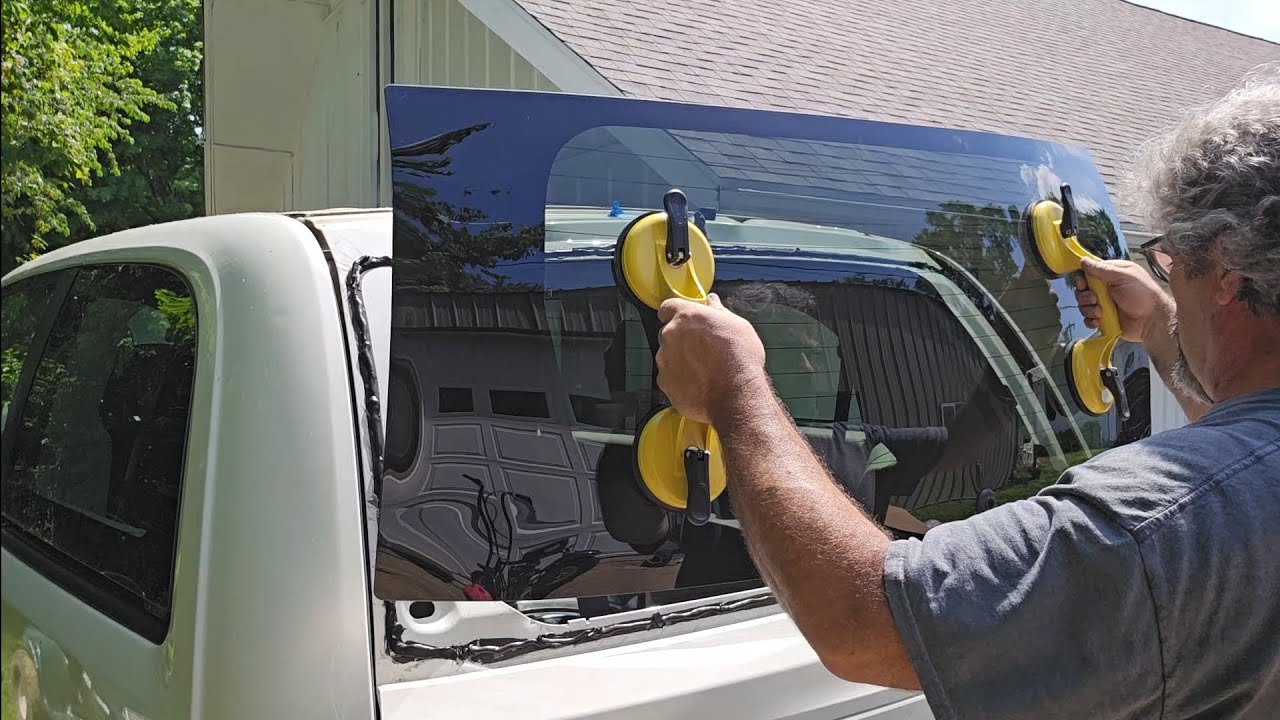
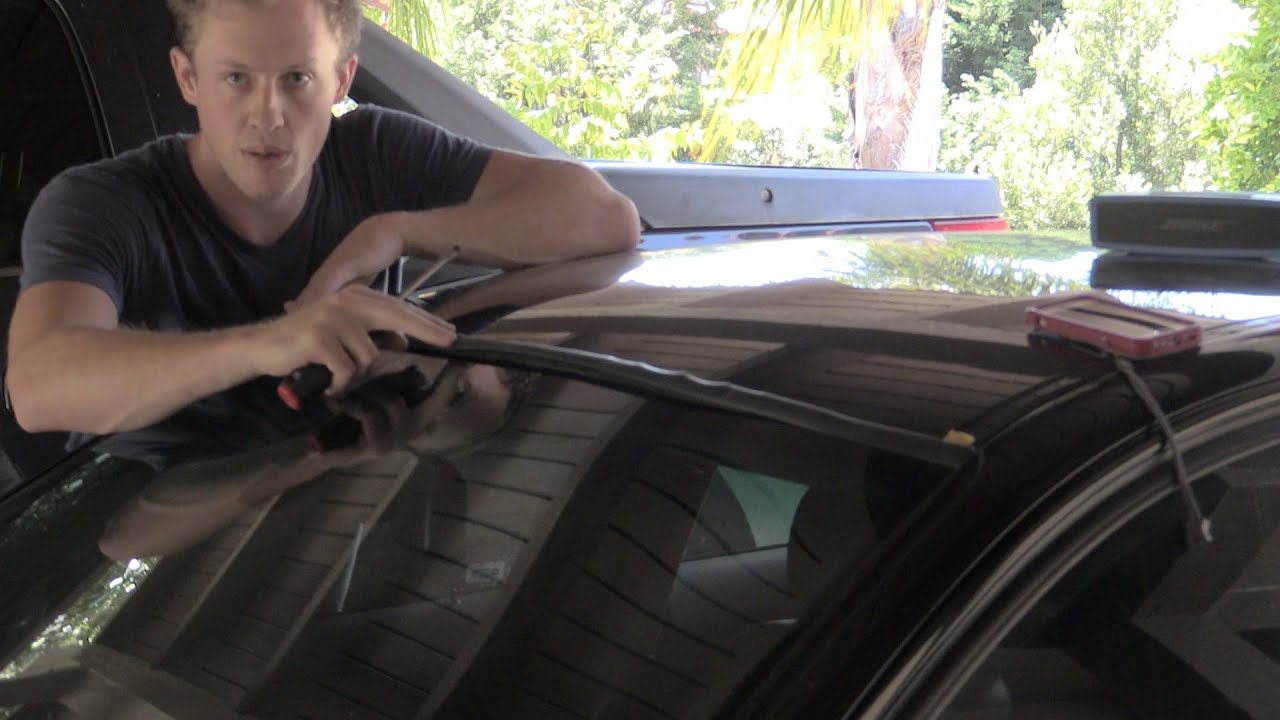
Dry-fitting confirms the replacement glass is correct and gives you alignment references before adhesive makes repositioning difficult. With an assistant and suitable suction cups, lower the clean glass gently into the opening without fresh urethane.
Check the gap around the perimeter, molding position, locating blocks, clips, brackets, electrical terminal locations, and the way the glass sits relative to the body. The glass should not be forced into an opening that appears too small or uneven.
Once the position is correct, place alignment marks using a method that will not contaminate the bonding surfaces. Installers often use pieces of masking tape across the body-to-glass boundary and cut the tape at the glass edge. The matching tape halves then provide visual references during final placement.
Lift the glass away and place it on a clean padded stand with the bonding side protected. Do not put freshly prepared glass directly on concrete, metal, dirty blankets, or abrasive surfaces.
Source: youtube.com
Confirm fit
Make sure the glass sits naturally in the opening and matches the intended perimeter gap.
Check equipment
Verify that connectors, brackets, moldings, clips, antennas, and locating features match the vehicle.
Make alignment references
Use clean external reference marks or masking tape so the glass can be positioned accurately on the first attempt.
Remove the glass again
Set it on a clean padded support without touching or contaminating the prepared bonding surface.
What a Correct Dry Fit Should Look Like
The rear glass should be centered according to the vehicle’s locating features, with a consistent appearance around its edge and enough clearance for required moldings. Electrical leads should reach their terminals without tension.
Stop if the glass rocks dramatically, contacts metal where it should not, leaves an abnormal gap, or requires force to fit. Recheck the part number and inspect the opening for collision damage or old adhesive buildup.
How to Install Rear Windshield With Automotive Urethane
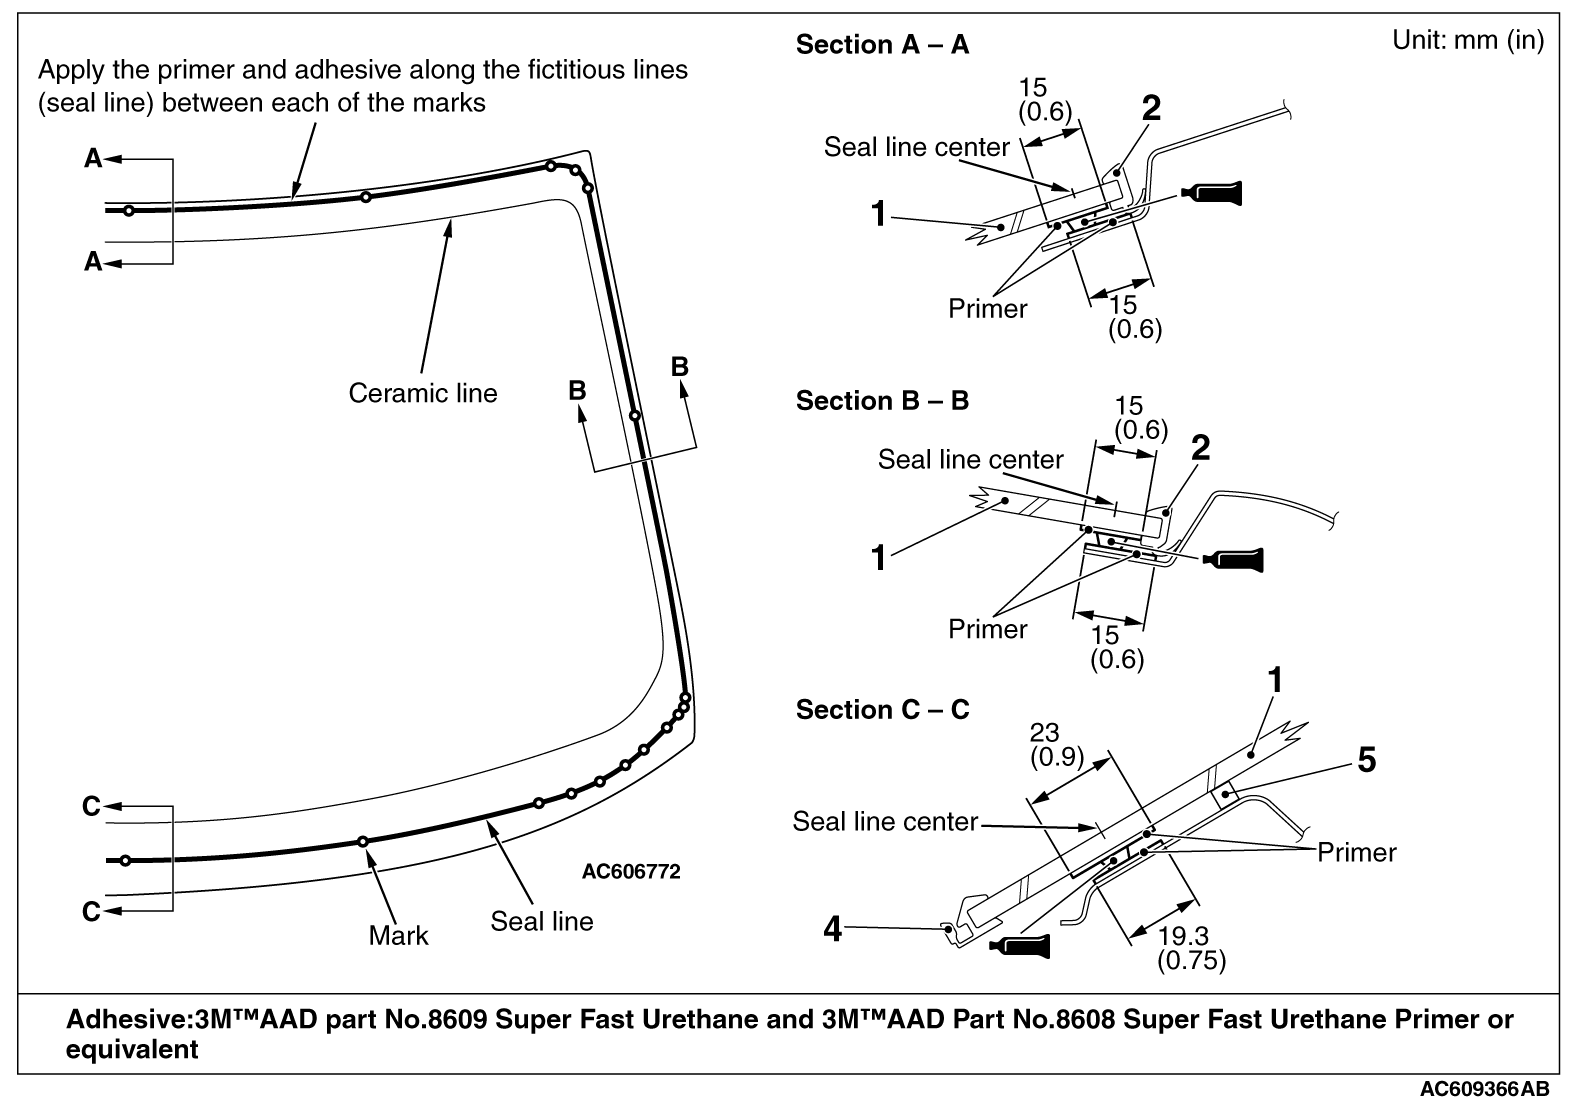
After preparation and dry fitting, the central installation task is creating a continuous adhesive bead and setting the glass into it without gaps or excessive movement. Work within the primer and urethane manufacturer’s specified application windows.
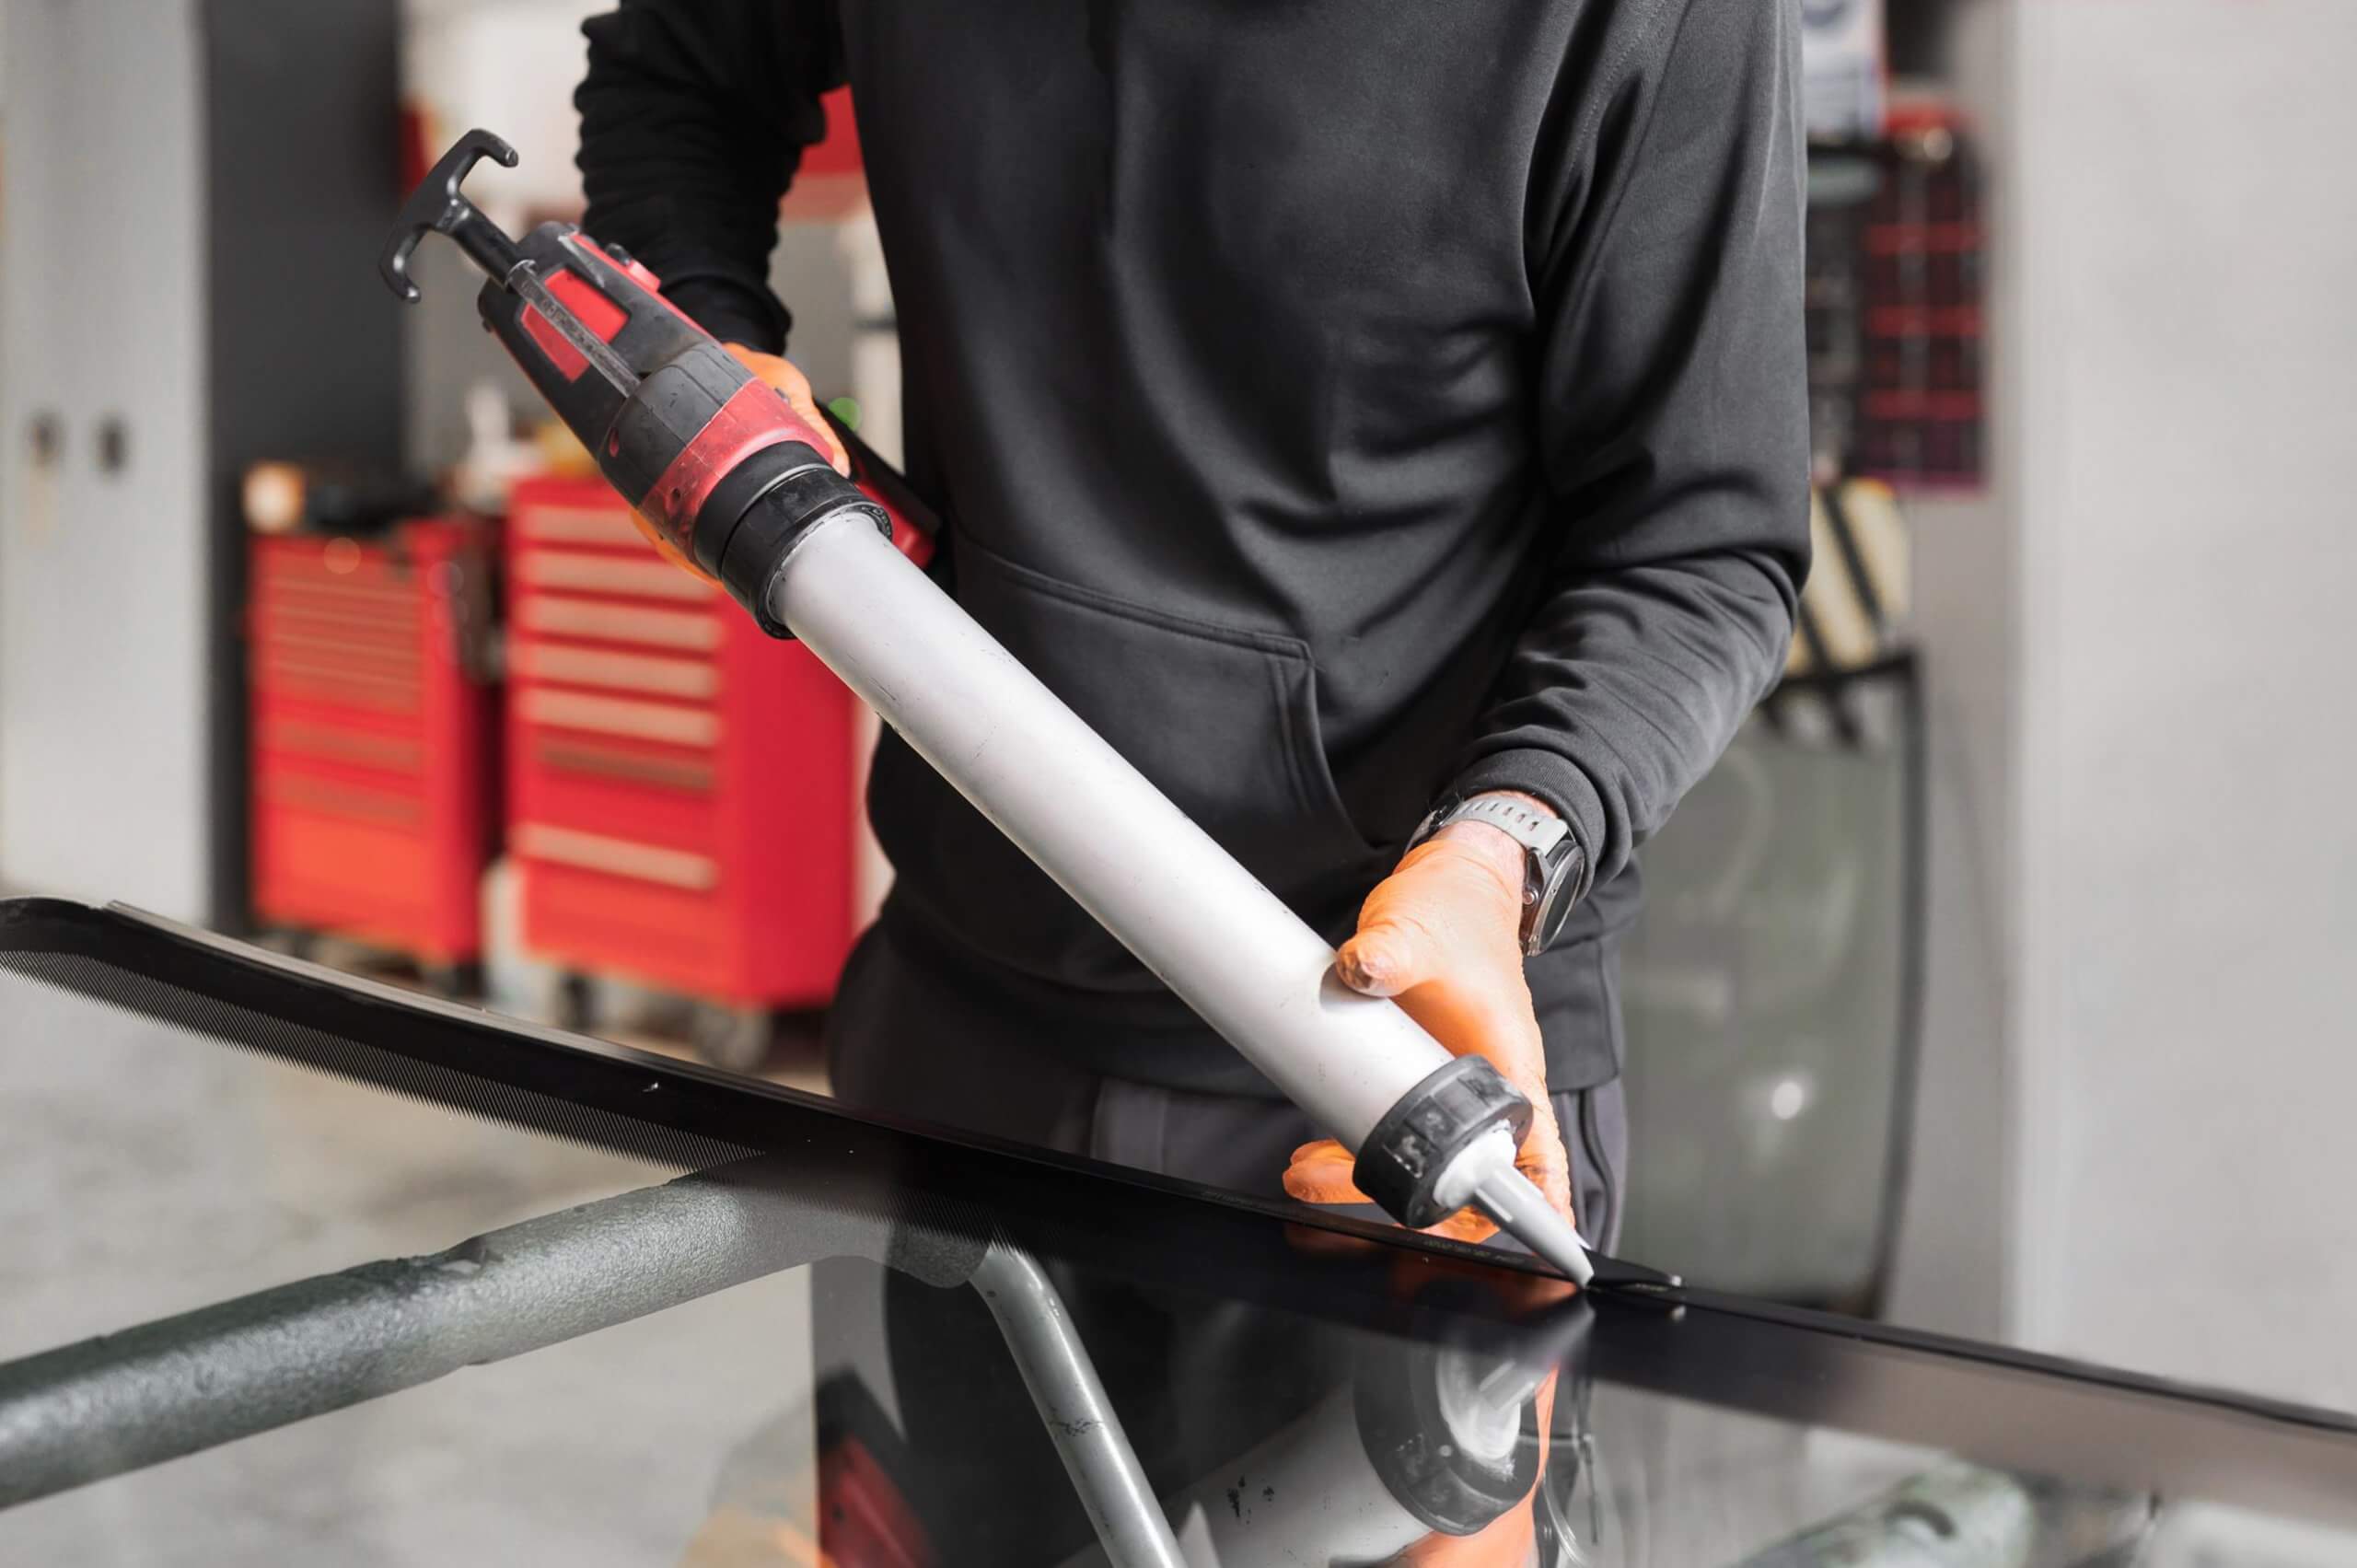
Check the urethane expiration date and required temperature before use. Prepare the cartridge and nozzle according to the manufacturer’s directions. The nozzle is normally cut to create the bead profile required for the installation. Bead size is not universal, so match the original configuration or applicable service information rather than guessing.
Apply one continuous bead around the complete bonding path. Hold the applicator consistently so the urethane remains uniform through straight sections and corners. Avoid unnecessary starts and stops. Where a bead must join itself, make the connection continuous so it does not leave a leak path.
With an assistant, lift the glass using suction cups and align it with the marks made during dry fitting. Lower it straight into position. Avoid sliding the glass excessively through the wet urethane because this can disturb the bead and contaminate the bond.
Press only as required by the vehicle and adhesive procedure to seat the glass to the correct height. Excessive force can flatten the urethane bead too far, alter glass height, create uneven gaps, or squeeze adhesive into unwanted areas.
Secure the glass temporarily if the applicable procedure calls for retention tape or supports. Reinstall moldings and clips as specified, but do not use decorative trim to force incorrectly positioned glass into place.
Source: hightech-autoglass.com
Step 1
Verify primer drying time, urethane expiration date, application temperature, and other adhesive-system requirements.
Step 2
Prepare the urethane nozzle to produce the bead shape and dimensions required for the vehicle.
Step 3
Apply a continuous urethane bead around the entire bonding surface without gaps.
Step 4
Lift the rear glass with an assistant and align it to the dry-fit reference marks.
Step 5
Lower the glass evenly into the adhesive and seat it according to the specified installation height.
Step 6
Install required moldings, clips, spacers, or temporary retention materials without disturbing the glass.
Avoid Touching the Prepared Bonding Surface
Once the glass and pinchweld have been prepared, treat the bonding path as a controlled surface. Do not touch it with bare hands or dirty gloves, and do not wipe it with an unapproved solvent.
If contamination occurs, consult the adhesive system instructions for the proper corrective preparation rather than simply adding more primer or urethane over the contaminated area.
Do Not Guess the Urethane Bead Size
Too little adhesive can leave voids, poor contact, or an incorrect glass height. Too much can create excessive squeeze-out and positioning problems. A properly shaped bead should provide continuous contact when the glass is seated.
OEM instructions and adhesive manufacturer procedures take priority over generic bead measurements because body openings and glass designs differ substantially among vehicles.
Reconnect the Defroster and Inspect the Installation
After the glass is positioned and the installation procedure permits handling of the connectors, reconnect the rear defroster and other electrical equipment that was disconnected. Support the connector while attaching it so the terminal bonded to the glass is not twisted or peeled away.
Reinstall interior trim carefully and verify that no electrical wire has been trapped between panels. Check exterior moldings for even seating and make sure clips are fully engaged.
Inspect the urethane from accessible areas for obvious gaps, skipped sections, or places where the glass did not contact the adhesive. Do not smear household silicone around the perimeter as a substitute for correcting a defective automotive glass bond.
Test the rear defroster using the vehicle’s normal controls after the installation procedure allows it. You should also check any glass-integrated antenna, camera, lighting, or other electrical equipment applicable to the vehicle.
Source: storage.googleapis.com
Reconnect terminals carefully
Support defroster and antenna connectors to avoid damaging tabs bonded to the glass.
Reinstall trim
Fit interior panels, clips, seals, and moldings without shifting the newly installed glass.
Inspect the adhesive path
Look for obvious voids, missed areas, excessive displacement, or improper glass height.
Check electrical functions
Verify the defroster and other glass-integrated systems after connection.
How to Check for Water Leaks
A controlled water test can help reveal a sealing problem after the adhesive has reached the stage at which the manufacturer permits testing. Use a gentle flow of water over the exterior perimeter while someone checks inside for moisture.
Do not immediately attack a new installation with a pressure washer. High-pressure water aimed directly at a fresh adhesive or molding edge can interfere with an installation that has not fully cured.
If water appears inside, identify the actual entry point. Do not assume the leak is directly above the wet interior area because water can travel along trim, metal channels, or wiring before becoming visible.
Wait for the Required Safe Drive-Away Time
Do not drive immediately simply because the glass appears secure. Automotive urethane needs time to develop sufficient strength, and the required minimum drive-away time varies with the specific adhesive, temperature, humidity, vehicle conditions, and installation system.
There is no responsible universal rule such as waiting exactly one hour for every rear windshield installation. Some fast-curing products may permit relatively short times under specified conditions, while other products or environmental conditions require longer. Use the written safe drive-away information for the exact adhesive.
Keep the vehicle stationary for at least the specified minimum period. If the adhesive instructions include additional restrictions during the initial cure, follow those as well. Do not substitute a generic internet recommendation for the urethane manufacturer’s requirements.
Source: fity.club
Record the adhesive used
Keep the product name or part number so its curing and safe drive-away requirements can be checked.
Consider conditions
Temperature and humidity can affect moisture-curing polyurethane systems, so follow the conditions stated by the manufacturer.
Keep the vehicle stationary
Do not drive until the specified minimum safe drive-away time has elapsed.
Follow post-installation restrictions
Observe any additional instructions regarding washing, tape removal, door operation, or other activities.
Signs the Rear Windshield Installation Was Successful
A successful installation has correctly centered glass, properly seated trim, intact electrical connections, no visible adhesive gaps, no wind or water leak symptoms, and a functioning rear defroster or other integrated equipment.
After the adhesive has cured sufficiently and the vehicle returns to normal use, continue watching for moisture around the rear package shelf, headliner, hatch trim, trunk, or cargo area. A musty odor, fogging near the glass edge, damp trim, or water after rain can indicate a leak that needs investigation.
Common Rear Windshield Installation Mistakes
Most installation problems come from preparation, compatibility, positioning, or curing rather than from the simple act of placing glass into the opening. Avoiding these mistakes improves the chances of a durable, watertight installation.
Buying the wrong rear glass
Two pieces of glass can look similar while having different connectors, antenna elements, brackets, frit patterns, holes, or dimensions.
Damaging the pinchweld
Deep scratches through protective coatings can expose metal and contribute to corrosion under the new glass.
Using general-purpose sealant
Household silicone or ordinary construction adhesive is not a substitute for the documented automotive glass retention system.
Contaminating bonding surfaces
Fingerprints, oil, silicone, dust, moisture, and incompatible cleaners can interfere with adhesive performance.
Skipping the dry fit
Discovering a fit or alignment problem after the urethane has been applied makes correction far more difficult.
Leaving a gap in the urethane bead
An interrupted bead can create a leak path or incomplete bonding.
Sliding the glass excessively
Major repositioning after contact with wet urethane can disturb the intended bead profile.
Driving too soon
The glass may look finished before the urethane has reached the strength required by its safe drive-away specification.
Ignoring rust
Bonding over corrosion without proper repair can undermine the long-term installation and allow the corrosion to continue.
When to Have a Professional Install the Rear Glass
Professional installation is appropriate when the pinchweld has significant rust or collision damage, the rear glass is large or difficult to handle, the correct adhesive procedure is unknown, electrical terminals require repair, special moldings or hardware are involved, or the vehicle manufacturer calls for specialized equipment.
It is also sensible to stop when you cannot verify glass compatibility or when removal could affect airbags, cameras, antennas, roof trim, convertible-top components, or other safety-related systems. Correcting a poorly bonded window can cost considerably more than getting the installation right the first time.
How Rear Windshield Installation Varies by Vehicle
The basic bonded-glass method does not apply to every vehicle. Before treating any generic guide as the final procedure, determine which retention design your vehicle uses.
A conventional bonded rear windshield is attached to a prepared flange with automotive urethane. A gasket-mounted rear window is installed into a rubber weatherstrip and may use a cord or rope method. Pickup-truck sliding rear windows may use a framed assembly. Hatch glass may include hinges, struts, latches, wiper hardware, electrical connectors, or bolt-on mounting points.
Some modern rear glass incorporates antennas, defroster grids, embedded electrical circuits, spoilers, brake-light components, or other hardware. These features can change both removal and installation.
Bonded stationary glass
Common on modern passenger vehicles and generally installed with an approved automotive urethane system.
Gasket-mounted glass
Common on some older vehicles and specialty applications; installation may use a rubber gasket rather than a urethane bond.
Hatch-mounted glass
May combine adhesive with hinges, brackets, wipers, electrical connections, or other hardware.
Sliding pickup rear window
Often uses a complete framed assembly with a procedure that differs substantially from stationary bonded glass.
Frequently Asked Questions
Q
Can I install a rear windshield myself?
It is possible to replace some bonded rear windows as a DIY project when you have the correct glass, vehicle-specific information, proper removal equipment, an approved automotive adhesive system, protective equipment, and at least one capable helper.
However, incorrect preparation or bonding can cause leaks, corrosion, loose glass, damaged trim, or electrical problems. If you cannot verify the required procedure, a qualified auto-glass technician is the safer option.
Q
What adhesive should I use for a rear windshield?
For a vehicle originally designed with bonded stationary glass, use an automotive glass polyurethane or equivalent retention system that meets the applicable vehicle and adhesive manufacturer’s requirements. Use its specified cleaner and primer system as directed.
Do not replace automotive glass urethane with ordinary silicone, household caulk, construction adhesive, or an unspecified general-purpose sealant.
Q
How long does rear windshield urethane take to cure?
There is no single cure time for every installation. The minimum safe drive-away time depends on the exact urethane formulation and conditions such as temperature and humidity. Full cure and minimum drive-away strength are also not necessarily the same thing.
Check the written instructions for the specific adhesive and keep the vehicle stationary until at least the specified minimum drive-away time has passed.
Q
Do I need primer before installing rear windshield glass?
Primer requirements depend on the adhesive system, glass surface, existing urethane, and condition of the pinchweld. Bare-metal scratches commonly require treatment, while sound existing urethane may have a different preparation procedure.
Use the primer only where and how the urethane manufacturer or vehicle procedure directs. Applying primer everywhere without understanding the system is not automatically better.
Q
Why does my newly installed rear windshield leak?
Possible causes include a gap in the urethane bead, contamination, incorrect glass position, insufficient adhesive contact, damaged molding, corrosion, an improperly prepared pinchweld, or water entering from a nearby body seam rather than the glass itself.
Locate the true entry point before adding sealant. A defective bonded-glass installation should be corrected with materials compatible with the original retention system rather than covered with household silicone.
Q
Can a rear defroster be damaged during windshield replacement?
Yes. Rear defroster grids and their bonded electrical terminals can be damaged by scraping, pulling on connectors, careless glass handling, or broken wiring. Disconnect and reconnect the terminals carefully and avoid using tools on the conductive grid unless the applicable repair procedure specifically allows it.
Test the defroster after installation so a disconnected wire or damaged terminal can be identified before trim work is considered complete.
Q
Should I remove all old urethane from the car?
Not automatically. Many bonded-glass replacement procedures call for trimming sound existing urethane to a thin layer rather than scraping an undamaged pinchweld completely clean.
Loose material, contamination, corrosion, previous poor repairs, or incompatible adhesive may require additional removal and repair. Follow the exact vehicle and adhesive-system instructions for the condition you find.
✦ Wrapping Up
Conclusion
Learning how to install rear windshield glass correctly means understanding the entire bonding process, not simply placing new glass in the opening. Confirm the correct replacement glass, protect the vehicle, remove the old window without damaging the pinchweld, prepare all bonding surfaces carefully, dry-fit the glass, apply a continuous automotive urethane bead, position the glass accurately, and reconnect the defroster and related equipment.
The final step is just as important as the installation itself: respect the adhesive manufacturer’s safe drive-away time. If you encounter severe rust, damaged metal, uncertain adhesive requirements, incompatible glass, difficult electrical equipment, or a vehicle-specific procedure you cannot complete correctly, have a qualified auto-glass professional finish the job.
💡 Key Takeaway
Before starting, obtain the exact vehicle glass procedure and adhesive instructions, verify the replacement glass and electrical connections, and do not drive until the specified safe drive-away time has elapsed.
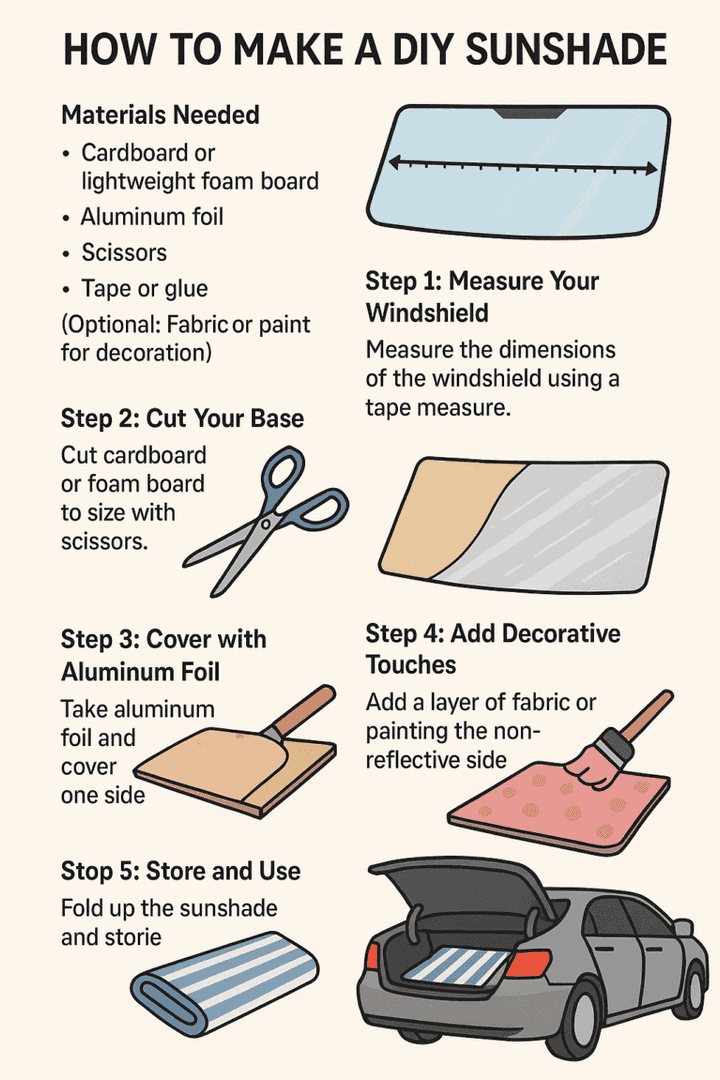
Learn how to install a windshield sun shade correctly in your car. Follow simple steps for folding, roll-up, and umbrella-style shades, plus fit, safety, storage, and troubleshooting tips.