How to Hook Up OBD Code Reader: A Complete Step-by-Step Guide
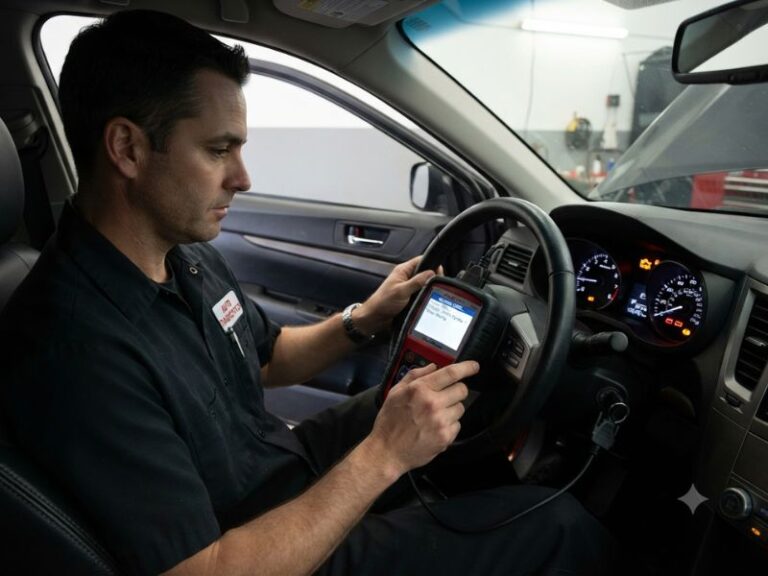
Learning how to hook up OBD code reader equipment is usually simple. Turn the vehicle off, locate the 16-pin OBD2 port under the driver’s side dashboard, insert the reader’s connector, and switch the ignition to the ON position. The code reader should then power up and communicate with the vehicle’s computer.
The complete process is explained below. You will learn where to find the diagnostic port, how to connect wired and Bluetooth readers, which ignition position to use, how to retrieve trouble codes, and what to check when the code reader does not connect.
How to Hook Up OBD Code Reader Correctly
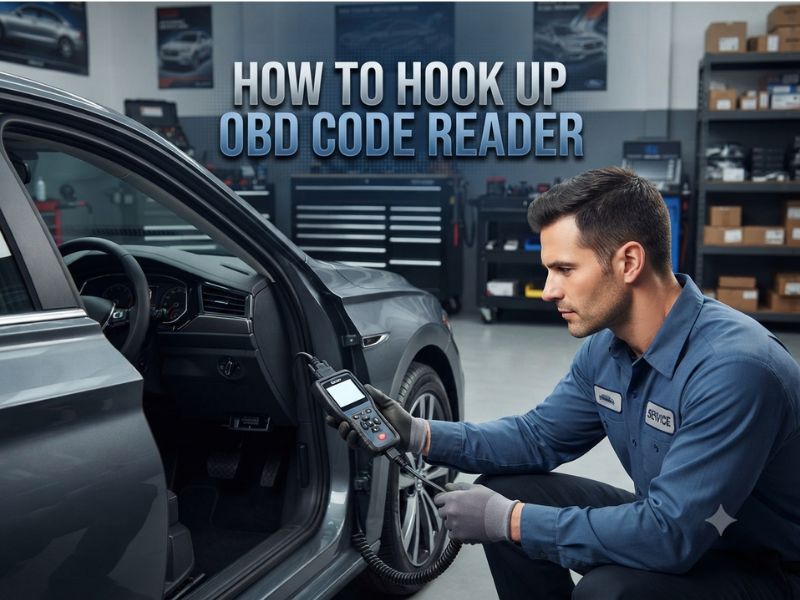
Most modern OBD code readers connect to a standardized OBD2 diagnostic port, also known as the Data Link Connector or DLC.
The basic connection process is:
- Park the vehicle safely.
- Turn off the engine and accessories.
- Locate the OBD2 port.
- Insert the code reader’s connector.
- Turn the ignition to the ON position.
- Allow the reader to communicate with the vehicle.
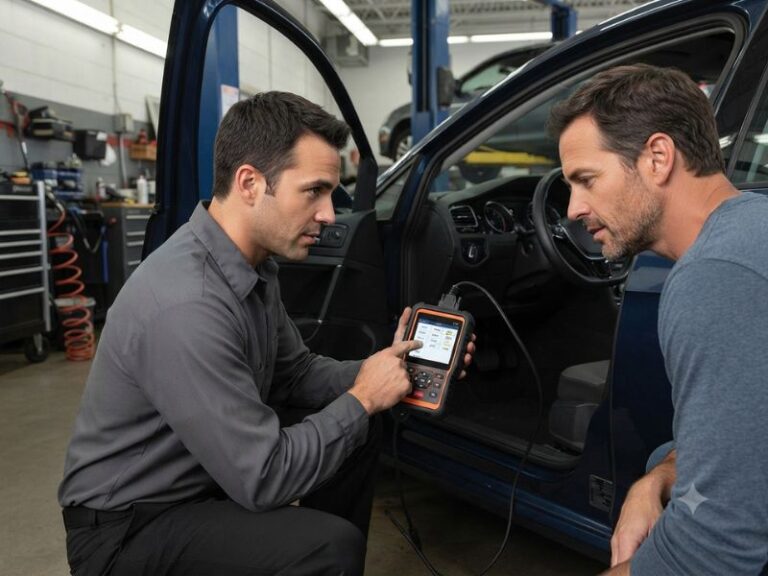
- Select the option to read diagnostic codes.
You normally do not need tools, batteries, or additional power cables. Most wired readers receive power directly from the vehicle’s diagnostic connector.
Bluetooth and Wi-Fi readers connect to the same port, but they require a compatible smartphone app to display diagnostic information.
What You Need Before Connecting the Reader
Before beginning, make sure the code reader is compatible with your vehicle.
Most standard OBD2 readers can retrieve engine and emissions-related codes from compatible cars, SUVs, vans, and light trucks. However, access to other systems may require a more advanced scan tool.
A basic reader may access:
- Check engine codes
- Stored diagnostic trouble codes
- Pending codes
- Permanent codes
- Freeze-frame information
- Emissions readiness monitors
An advanced scanner may also access:
- Transmission codes
- ABS faults
- Airbag faults
- Body control modules
- Electronic parking brake systems
- Manufacturer-specific information
Confirm that your reader supports the system you want to diagnose. A basic engine code reader may not retrieve an ABS or airbag code even though it connects successfully.
Where Is the OBD2 Port Located?
The OBD2 port is usually located inside the passenger compartment on the driver’s side.
Start by looking underneath the steering wheel. The port may be mounted below the dashboard, above the brake pedal, near the hood-release handle, or beside the interior fuse panel.
Common locations include:
- Directly below the steering column
- Under the left side of the dashboard
- Above the brake or accelerator pedal
- Behind a removable lower-dash cover
- Near the center console
- Beside the driver-side fuse box
The connector has a trapezoid-shaped opening with up to 16 terminal positions. It is normally black, gray, or white plastic.
Some manufacturers place the port behind a small plastic access door. You should not need to remove major dashboard panels to reach it.
When you cannot find the port, check the owner’s manual or look up the location using the vehicle’s exact year, make, and model.
Step 1: Park the Vehicle Safely
Park the vehicle on a level surface and apply the parking brake.
Place an automatic transmission in Park. For a manual transmission, place it in Neutral and secure the vehicle properly.
Turn off unnecessary electrical accessories such as:
- Headlights
- Climate control
- Radio
- Heated seats
- Phone chargers
Turning off accessories helps maintain stable battery voltage while the scanner communicates with the vehicle.
You can usually retrieve stored codes without starting the engine.
Step 2: Turn the Ignition Off
Begin with the ignition switched off unless the code reader’s instructions specify another procedure.
Connecting the reader while the ignition is off gives you time to align the connector correctly and reduces the chance of an interrupted connection.
Many professional scanners can be connected while the engine is running. However, connecting the device first and then switching the ignition on is usually the easiest procedure for beginners.
Never connect or disconnect diagnostic equipment while driving.
Step 3: Inspect the OBD2 Port
Before inserting the reader, briefly inspect the diagnostic port.
Look for:
- Bent terminals
- Dirt or debris
- Corrosion
- Broken plastic
- Loose mounting
- Aftermarket devices already connected
If another device is connected, such as an insurance monitor, performance tuner, tracking unit, or Bluetooth adapter, remove it before connecting your code reader.
Do not insert metal tools into the port. The connector contains power, ground, and communication circuits. Shorting the wrong terminals can blow a fuse or damage electronic components.
Step 4: Plug In the OBD Code Reader
Align the scanner’s plug with the shape of the diagnostic port.
The trapezoid design normally allows the connector to fit in only one direction. Push it in gently but firmly until it is fully seated.
Do not force the plug. When it does not fit easily, remove it and check the orientation.
A loose connector can cause intermittent communication, a blank screen, or a “No Link” message.
Most wired readers should power on immediately after being connected. Some readers may remain inactive until the ignition is switched on.
Step 5: Turn the Ignition to the ON Position
After connecting the reader, turn the ignition to the ON position without starting the engine.
On a traditional key-operated vehicle, turn the key until the dashboard warning lights illuminate. Do not turn it far enough to crank the engine.
For a push-button vehicle, the procedure varies. You usually press the start button without pressing the brake or clutch pedal until the instrument panel enters ignition-on mode.
Some vehicles require pressing the button twice. Follow the owner’s manual because push-button ignition sequences vary between manufacturers.
The dashboard warning lights should illuminate, and the code reader should begin communicating with the engine control module.
Step 6: Allow the Reader to Connect
Wait while the code reader establishes communication.
Depending on the device, it may automatically detect the vehicle’s communication protocol. Some advanced scanners may ask you to enter:
- Vehicle identification number
- Model year
- Manufacturer
- Model
- Engine size
Enter the correct information. Choosing the wrong vehicle profile may prevent access to manufacturer-specific systems.
A successful connection may display messages such as:
- Linking
- Communicating
- Protocol detected
- Vehicle identified
- Connection successful
Do not disconnect the reader while it is communicating.
Step 7: Select Read Codes
Open the diagnostic menu and choose Read Codes, Scan, Diagnostics, or a similar option.
The reader may separate codes into different categories.
Stored Codes
Stored codes are faults that have met the computer’s requirements for recording a confirmed problem. These codes commonly cause the Check Engine Light to turn on.
Pending Codes
Pending codes indicate that the computer detected a problem but has not yet confirmed it over enough operating cycles.
A pending code may become stored if the problem happens again.
Permanent Codes
Permanent codes are emissions-related faults that cannot usually be erased simply by selecting “Clear Codes.” The vehicle’s computer removes them after confirming that the fault has been repaired and the required monitoring conditions have been completed.
Manufacturer-Specific Codes
Generic powertrain codes normally begin with P0. Manufacturer-specific codes may begin with P1 or use other system-specific formats.
Your reader’s capabilities determine which codes it can access.
Step 8: Record the Codes Before Clearing Them
Write down or photograph every code before erasing anything.
Also record:
- Whether the code is stored or pending
- Freeze-frame data
- Vehicle mileage
- Engine temperature
- Engine speed
- Fuel-trim readings
- Readiness monitor status
Freeze-frame data records selected operating conditions from the moment the computer detected a fault. This information can be extremely useful for finding intermittent problems.
Do not immediately purchase the part named in the code description. A diagnostic code identifies a detected circuit or operating condition, not necessarily the failed component.
For example, an oxygen sensor code may be caused by an exhaust leak, damaged wiring, incorrect fuel pressure, a vacuum leak, or a failing sensor.
How to Connect a Bluetooth OBD Code Reader
A Bluetooth OBD reader connects to the same 16-pin port as a wired device.
First, turn the ignition off and plug the adapter into the OBD2 connector. Turn the ignition to ON, then open the diagnostic app on your smartphone or tablet.
Depending on the device, you may need to pair it through the phone’s Bluetooth settings. Other adapters connect directly through the app.
Select the correct adapter inside the app and allow it to detect the vehicle protocol.
Once connected, the app may provide:
- Trouble-code reading
- Code definitions
- Live data
- Dashboard gauges
- Emissions readiness status
- Trip information
Use a reputable adapter and app. Very cheap Bluetooth devices may have unstable connections, limited protocol support, or inaccurate data.
Do not operate the phone or diagnostic app while driving. Have a passenger monitor the data or secure the device before conducting any road test.
How to Connect a Wi-Fi OBD Reader
A Wi-Fi reader also plugs into the OBD2 port but creates a local wireless network.
After inserting the adapter and switching the ignition on, open the Wi-Fi settings on your phone. Connect to the network created by the adapter, then open the compatible diagnostic app.
Your phone may temporarily lose normal internet access while connected to the adapter’s Wi-Fi network. That does not necessarily indicate a problem.
Follow the adapter manufacturer’s instructions for any required IP address, password, or app configuration.
Does the Engine Need to Be Running?
The engine normally does not need to be running to retrieve stored codes.
Use the ignition-on, engine-off position for:
- Reading stored codes
- Reading pending codes
- Checking readiness monitors
- Viewing basic vehicle information
- Clearing codes after repairs
The engine may need to run when viewing live data such as:
- Engine speed
- Fuel trims
- Oxygen sensor activity
- Coolant temperature
- Mass airflow
- Ignition timing
Some diagnostic tests also require the engine to be at normal operating temperature.
Follow the scanner’s instructions before starting the engine. Keep scanner cables away from pedals, steering components, cooling fans, and other moving parts.
Why Is the Code Reader Not Turning On?
A wired code reader normally receives power from the OBD2 port. If its screen remains blank, check whether the connector is fully inserted.
Other possible causes include:
- Blown diagnostic-port fuse
- Weak or dead vehicle battery
- Damaged OBD2 connector
- Bent power or ground terminals
- Faulty reader cable
- Defective code reader
On some vehicles, the diagnostic port shares a fuse with the cigarette lighter or accessory power outlet. However, fuse arrangements differ, so check the correct fuse diagram before replacing anything.
Never install a higher-amperage fuse than the manufacturer specifies.
Testing the reader on another compatible vehicle can help separate a reader problem from a vehicle-side power problem.
Why Does the Reader Say No Link?
A “No Link,” “Unable to Connect,” or “Communication Error” message means the reader has power but cannot communicate with the vehicle’s computer.
Check that the ignition is fully in the ON position. Dashboard warning lights should be illuminated.
Then disconnect the reader, turn the ignition off, reconnect it, and repeat the process.
Other possible causes include:
- Unsupported vehicle
- Incorrect scanner settings
- Low battery voltage
- Damaged communication wiring
- Faulty control module
- Incompatible adapter
- Aftermarket electronic interference
A basic reader may also connect to the engine computer but fail to communicate with ABS, airbags, or other modules because it does not support them.
Can You Hook an OBD2 Reader to an OBD1 Vehicle?
A standard OBD2 reader cannot normally connect directly to an OBD1 vehicle.
OBD1 systems use manufacturer-specific connectors, protocols, code definitions, and testing procedures. GM, Ford, Toyota, Honda, and other manufacturers used different diagnostic designs.
Some professional scanners support older vehicles through special cables and adapters. However, a physical adapter alone may not be enough. The scanner must also support the vehicle’s communication protocol.
Confirm the exact diagnostic system before purchasing an adapter.
Should You Clear the Codes?
Clear codes only after recording the diagnostic information and repairing or inspecting the suspected problem.
Clearing codes can erase:
- Stored and pending codes
- Freeze-frame data
- Fuel-trim memory
- Readiness monitor results
- Useful diagnostic evidence
After codes are cleared, the Check Engine Light may turn off temporarily even though the fault remains. If the problem continues, the code will usually return after the computer detects it again.
Clearing emissions codes also resets readiness monitors. The vehicle may need to complete several drive cycles before an emissions inspection can be performed.
Can You Leave the Reader Plugged In?
A basic handheld reader should normally be unplugged after diagnosis.
Some Bluetooth adapters, tracking devices, and monitoring tools are designed for continuous connection. However, low-quality adapters may continue consuming power after the vehicle is turned off.
Leaving a device connected for long periods may cause:
- Battery drain
- Wireless security concerns
- Diagnostic network interference
- Physical damage to the connector
- Interference with the driver’s legs
Remove the device when it is not needed unless the manufacturer specifically states that it is safe for continuous use.
Final Thoughts
Learning how to hook up OBD code reader equipment begins with finding the 16-pin diagnostic port under the driver’s dashboard. With the ignition off, insert the reader firmly, turn the ignition to ON, allow the device to connect, and select the option to read codes.
Record all stored, pending, and permanent codes before clearing anything. Save the freeze-frame data when available, and remember that a diagnostic code identifies where to begin testing rather than proving that a specific part has failed.
When the reader does not turn on, check the connector, vehicle battery, and diagnostic-port fuse. When it powers on but cannot communicate, verify the ignition position, scanner compatibility, and vehicle diagnostic system. A correct connection provides useful information, but careful testing is still required to identify and repair the actual problem.