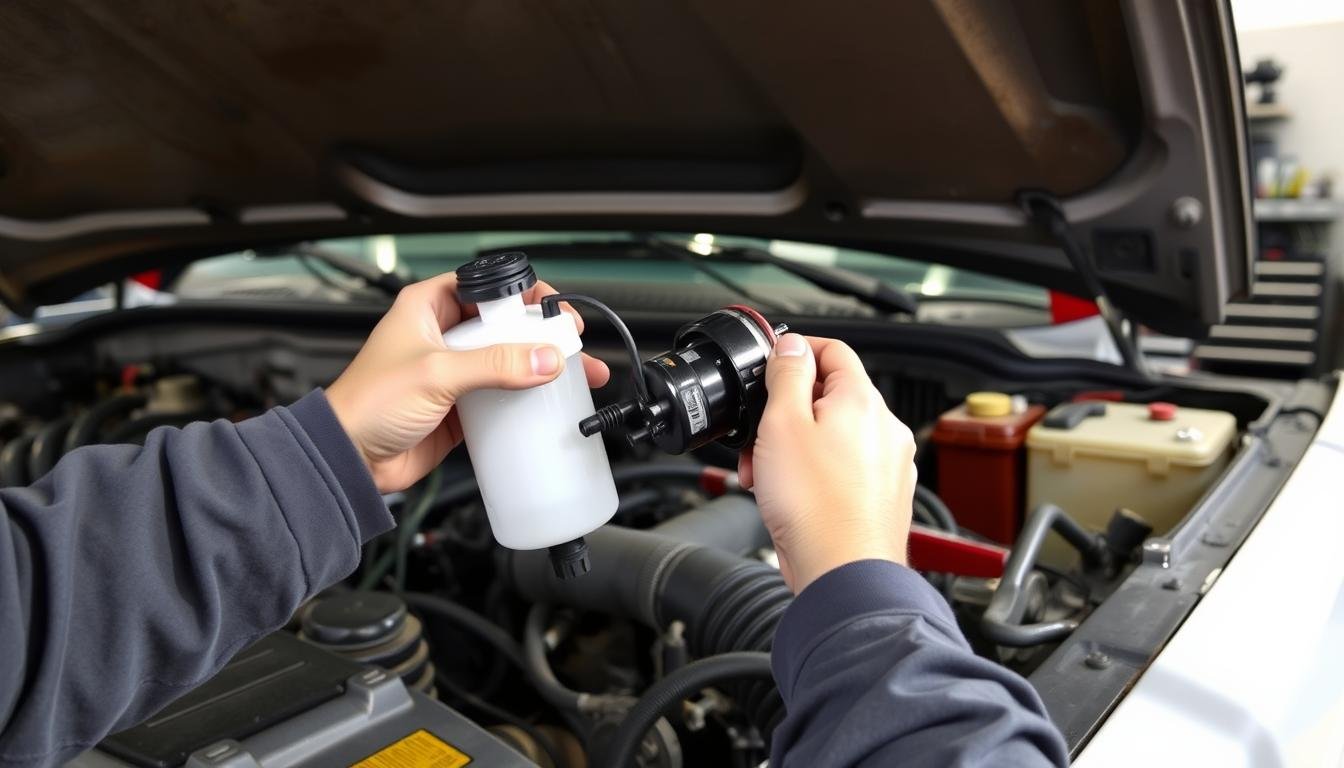
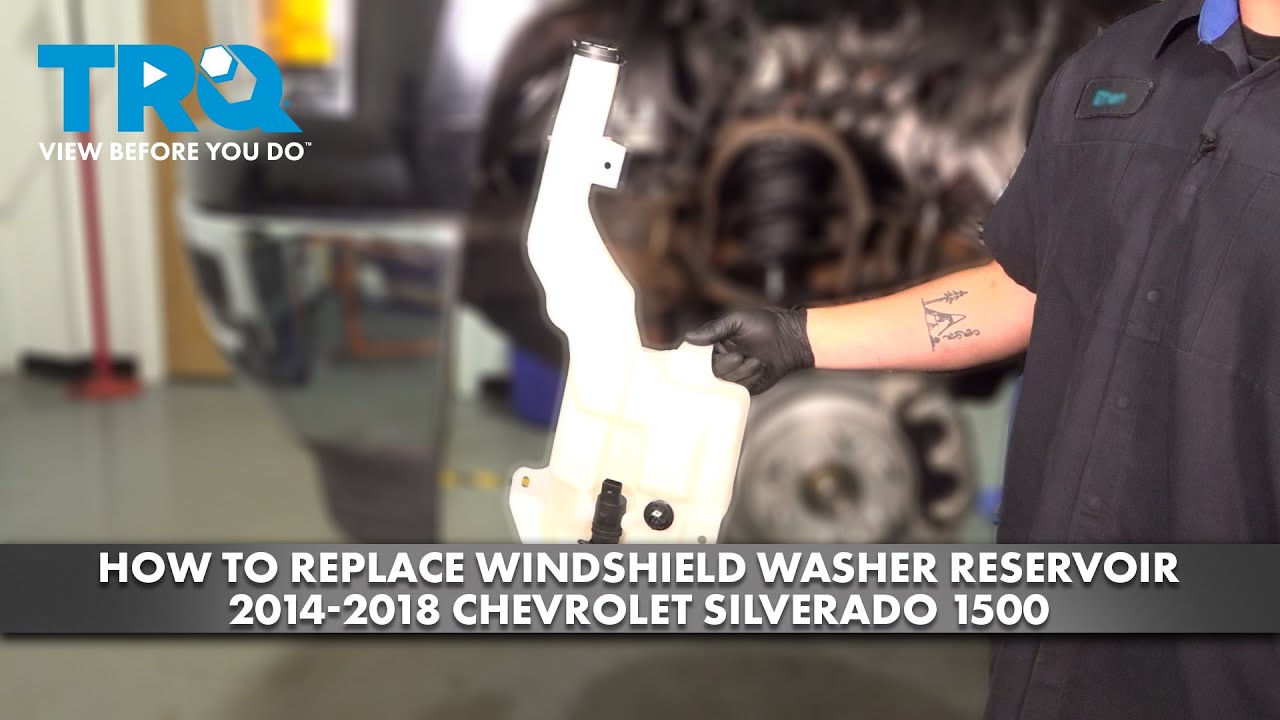
To remove a Silverado windshield washer fluid reservoir, drain the washer fluid, disconnect the battery when required by the service procedure, gain access through the appropriate wheel-well liner or engine compartment, unplug the pump, disconnect the hoses, remove the mounting fasteners, and carefully lift out the tank. The exact procedure depends on the Silverado model year, cab configuration, and equipment.
On Chevrolet Silverado trucks sold in the United States, the windshield washer fluid reservoir holds cleaning fluid for the windshield washer system and may also supply other washer functions, depending on the vehicle. The reservoir is commonly positioned near a front fender, but access and mounting arrangements vary between generations. Before removing any parts, identify the truck’s model year and check the applicable Chevrolet service information.
A leaking reservoir, damaged mounting point, cracked filler neck, or faulty washer pump can make removal necessary. However, an empty reservoir or weak washer spray does not automatically mean the tank has failed. Check the fluid level, hoses, electrical connector, pump operation, and visible leaks first. This guide explains the general removal process while identifying the model-specific details that must be verified before work begins.
Tools and Supplies Needed to Remove a Silverado Washer Reservoir
Gather the tools before starting so you can remove the reservoir without pulling on wiring or forcing plastic components. The required socket sizes and trim-tool types depend on the Silverado’s year and configuration, so avoid assuming one tool list fits every truck.
Park on a level surface, switch off the ignition, remove the key or move the key fob away from the vehicle, and allow hot engine components to cool. If the procedure requires access behind a wheel or underneath the truck, use properly rated lifting equipment and jack stands at the specified support points.
Source: vehiclerides.com
Basic hand tools
Prepare a socket set, ratchet, suitable extensions, screwdrivers, and any specified Torx or trim-fastener tools.
Fluid collection supplies
Use a clean drain pan, absorbent towels, and a suitable container for collecting the existing washer fluid.
Protective equipment
Wear safety glasses and chemical-resistant gloves appropriate for the washer fluid being handled.
Replacement parts if needed
If the reservoir is damaged, compare the replacement with the original and verify fitment using the truck’s VIN or exact model information.
Should You Disconnect the Battery?
Follow the battery-disconnection instructions in the service information for the exact Silverado. Some procedures may permit reservoir removal without disconnecting the battery, while others may require electrical isolation because of nearby components or the work being performed. If disconnection is required, follow the manufacturer’s precautions for stored electrical power, memory settings, and any applicable restraint-system procedures.
Locate the Windshield Washer Fluid Reservoir
The washer reservoir is generally located toward the front of the engine compartment, near one of the front fenders. On many Silverado models, the filler opening is visible under the hood, while most of the tank and its mounting points are lower down behind surrounding bodywork. The exact side, access route, and shape differ by model year.
Start by opening the hood and locating the washer-fluid cap, which is commonly marked with a windshield-and-spray symbol. Trace the filler neck visually toward the reservoir if the layout allows. Check the owner’s manual or a model-specific repair procedure before removing the wheel-well liner, splash shield, battery tray, or other nearby components.
Source: storage.googleapis.com
Older Silverado models
Some 1999–2006 trucks have access arrangements that differ substantially from later generations. Use instructions matching the exact model year and engine configuration.
2007–2013 and related-generation trucks
The reservoir may require additional access around the front wheelhouse or adjacent engine-compartment components. Do not assume every trim or heavy-duty model uses identical mounting hardware.
2014 and newer trucks
Bodywork, electrical connections, and reservoir mounting arrangements can vary by generation. Verify the procedure against the correct model year before disassembly.
Why Model Year Matters
Silverado 1500, 2500HD, and 3500HD models do not necessarily share the same reservoir or removal procedure. Equipment such as headlamp washers, different front-end packages, and changes in engine-compartment layout can also affect access. Use VIN-specific parts information and service instructions whenever possible.
Step-by-Step: How to Remove the Windshield Washer Fluid Reservoir on a Silverado
The following steps describe the general removal sequence. The precise order of access-panel removal, fastener locations, and electrical isolation must come from the service procedure for your truck. Stop if a component blocks the reservoir and you cannot identify its mounting or release method.
Source: vehiclerides.com
Step 1: Prepare the truck
Park on level ground, shut off the ignition, secure the vehicle, let hot components cool, and review the applicable repair instructions. Disconnect the battery if the procedure requires it.
Step 2: Drain the washer fluid
Remove the reservoir cap and collect the fluid using a suitable drain method. If the tank cannot be drained through its opening, use an appropriate fluid-transfer tool or disconnect an accessible hose only after positioning a catch pan. Do not siphon by mouth.
Step 3: Gain access to the tank
Remove only the wheelhouse liner, splash shield, cover, or other components specified for your model. Keep track of clips, screws, and fasteners, and note their original locations.
Step 4: Disconnect the pump electrical connector
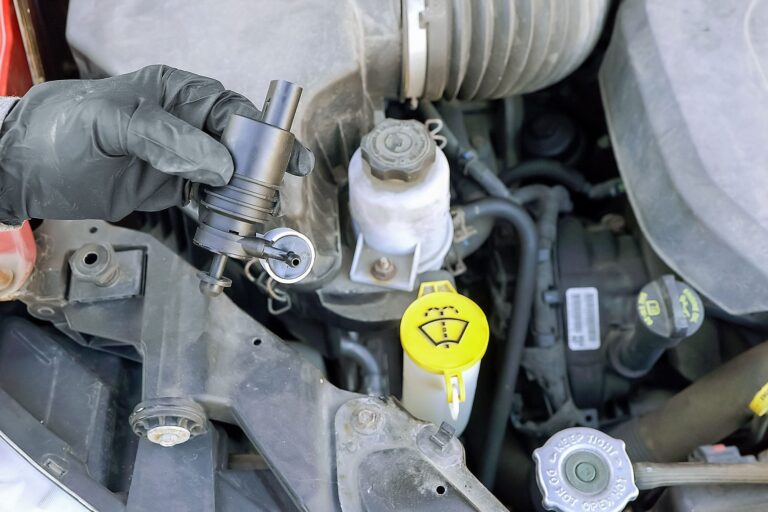
Locate the washer pump and release its connector using the locking tab. Pull on the connector body rather than the wires. If a level sensor or another electrical connection is attached to the reservoir, disconnect it according to the service instructions.
Step 5: Disconnect the washer hoses
Identify the hose connections and mark their positions if necessary. Release the hose carefully, allowing remaining fluid to drain into the catch pan. Avoid twisting or bending old plastic fittings.
Step 6: Remove the mounting fasteners
Support the reservoir while removing its retaining bolts, screws, or clips. Check for hidden fasteners and brackets before moving the tank. Do not pry against painted bodywork or nearby wiring.
Step 7: Lift the reservoir out
Guide the tank away from surrounding components without pulling on the filler neck, pump, hoses, or wiring. If it catches, stop and identify what remains attached instead of forcing it free.
Step 8: Remove reusable components if necessary
If the replacement reservoir does not include the pump, seals, filler neck, or level sensor, transfer the reusable parts only as specified by the manufacturer. Replace damaged seals or brittle components rather than forcing them back into place.
What to Do if the Reservoir Will Not Come Out
A reservoir that will not move usually remains attached to a fastener, bracket, hose, wiring connector, or surrounding component. Recheck the service instructions and inspect the tank’s perimeter with a flashlight. If removal requires moving another component, verify whether that component can be safely repositioned or must be removed first.
Do not force the tank
Older plastic can crack when bent, especially around the mounting tabs and filler neck.
Check for concealed connections
Look for a second pump, level-sensor connector, hose clip, or retaining bracket if equipped.
Protect adjacent parts
Keep tools away from radiator fins, air-conditioning lines, wiring insulation, and painted surfaces.
Inspect the Reservoir, Pump, and Connections Before Reinstallation
With the reservoir removed, inspect the tank and its associated parts before deciding what to replace. A leak near the pump can come from a worn rubber grommet rather than a cracked tank. A loose hose, damaged filler neck, or broken mounting tab can also cause problems that a new reservoir alone will not fix.
Clean the exterior with a suitable method and inspect the plastic for cracks, distortion, and damage around the mounting points. Do not use harsh solvents that may damage the tank or seals. If the reservoir contains contaminated fluid, dispose of it in accordance with local requirements rather than pouring it onto the ground or into a drain.
Source: storage.googleapis.com
Cracks in the tank
Replace a cracked reservoir with the correct part. Do not rely on an unapproved adhesive repair in an area exposed to fluid, vibration, and temperature changes.
Leaking pump seal
Inspect the pump grommet or seal for hardening, tears, or deformation. Replace the damaged sealing component with the specified part.
Damaged pump
Check for a cracked pump body, corroded terminals, or a damaged connector. Test electrical supply and pump operation using the correct diagnostic procedure before condemning the pump.
Blocked or damaged hoses
Check hoses and fittings for splits, kinks, loose connections, or restrictions that could cause weak spray or fluid leakage.
Broken mounting points
Inspect brackets and tank tabs for cracks. A reservoir that cannot be secured correctly may rub against surrounding parts or fail again.
Does a Faulty Washer Pump Require Reservoir Removal?
Not always. Depending on the Silverado model, the pump may be accessible without completely removing the reservoir. If the pump is the only failed component, check the model-specific service procedure before taking out the entire tank. Full removal may still be necessary when access is restricted or the reservoir itself is damaged.
How to Reinstall the Reservoir and Test the Washer System
Reinstall the reservoir by reversing the approved removal procedure. Position the tank correctly, engage its mounting points, and tighten the fasteners to the specified requirements. Avoid overtightening fasteners in plastic mounting points, which can damage the tank or brackets.
Reconnect every hose and electrical connector, making sure the locking tabs engage and the hoses sit fully on their fittings. Reinstall any removed liner, splash shield, or cover and confirm that no wiring or hoses are pinched. Reconnect the battery if it was disconnected, following the manufacturer’s instructions.
Source: 1aauto.com
Fill with the correct washer fluid
Use washer fluid appropriate for the expected temperatures and the vehicle’s requirements. Do not substitute engine coolant or household cleaning products.
Check for leaks
Inspect the tank, pump seal, filler neck, and hose connections while the reservoir is full. Look for drips before and after operating the pump.
Test the washer spray
Operate the washer controls briefly and confirm that fluid reaches the intended spray outlets. Avoid running the pump dry for extended periods.
Verify final assembly
Check that all fasteners and access panels are secure and that the reservoir does not move or contact nearby components.
What if the Washer System Still Does Not Work?
If the tank holds fluid but the windshield remains dry, diagnose the remaining system rather than removing the reservoir again without evidence. Listen for pump operation, check the fuse using the correct wiring diagram, inspect the connector, and look for blocked nozzles or disconnected hoses. A silent pump can indicate an electrical fault or failed pump, while a running pump with no spray may indicate a leak, blockage, or disconnected hose.
Pump is silent
Check the applicable fuse, power supply, ground, connector, and pump using the correct diagnostic procedure.
Pump runs but fluid does not spray
Check the fluid level, hoses, pump outlet, and spray nozzles for leaks or restrictions.
Fluid leaks after reassembly
Inspect the tank for cracks and verify that pump seals, hoses, and fittings are correctly seated.
Common Mistakes to Avoid During Reservoir Removal
Most avoidable damage happens when a tank is forced out before every connection is released or when old plastic fittings are handled roughly. Slow down when working around the pump, filler neck, and mounting tabs, especially on an older truck.
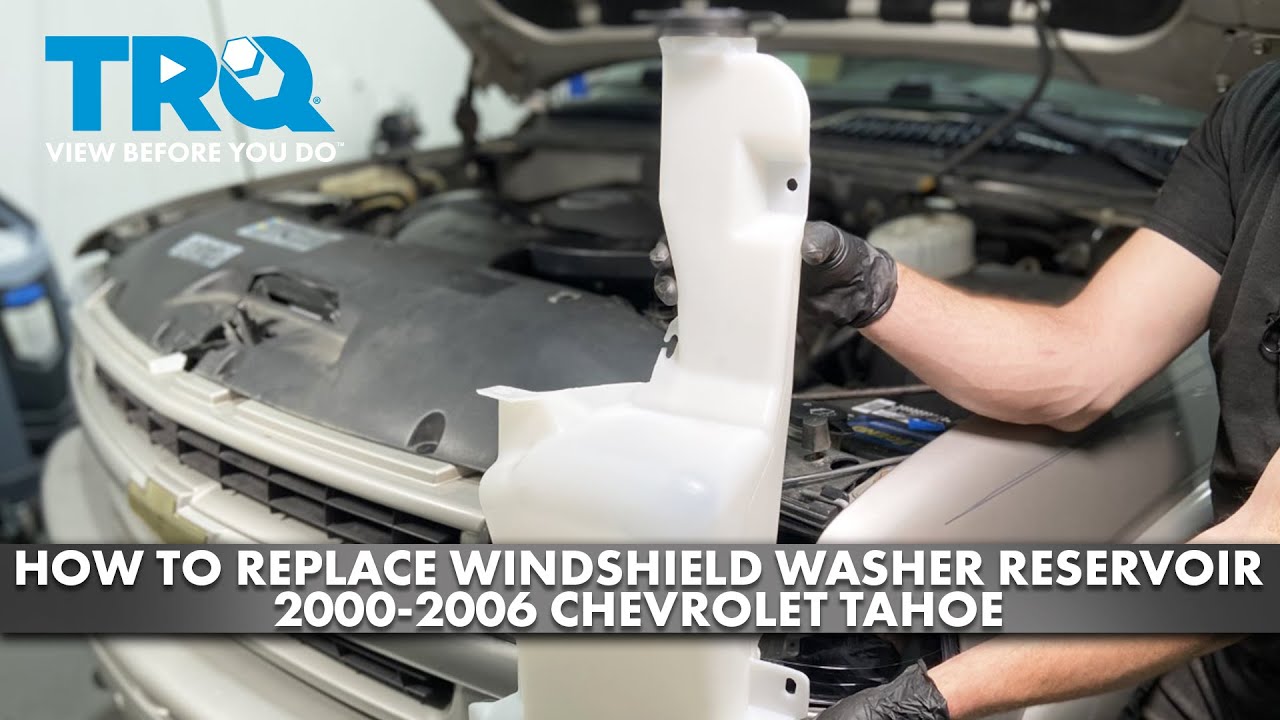
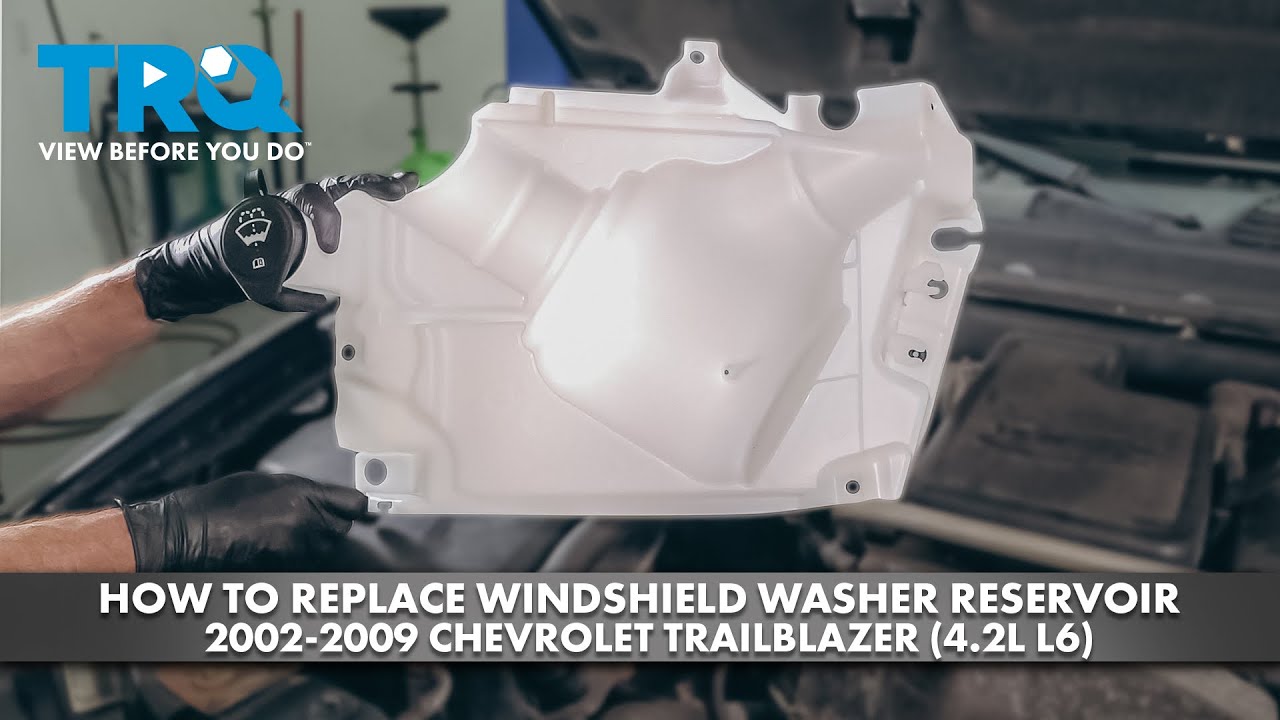
Do not assume a procedure demonstrated on a 2003 Silverado applies to a 2017 model or that a Silverado 1500 uses the same tank as every heavy-duty version. Video demonstrations can help identify component locations, but verify the procedure and part compatibility against the specific vehicle.
Source: 1aauto.com
Pulling on wires
Release electrical connector locks and pull on the connector housing, not the wiring.
Breaking plastic clips
Use the correct trim tool and release each clip in the intended direction.
Leaving fluid unsecured
Collect spills immediately and keep washer fluid away from pets and children. Some formulations contain ingredients that can be toxic if swallowed.
Replacing the wrong part
Confirm the failure and match the replacement using the VIN, model year, engine, and relevant equipment.
Skipping the leak test
A loose grommet or incompletely seated hose can cause a fresh leak even when the replacement reservoir is undamaged.
When Professional Help Makes Sense
Seek help from a qualified automotive technician if the reservoir cannot be accessed without disturbing unfamiliar components, the required service information is unavailable, electrical faults remain after basic checks, or the truck has damaged mounting structures. Professional diagnosis is also appropriate when the washer system shares components with equipment you cannot safely disconnect.
How Long Does Silverado Washer Reservoir Removal Take?
The time required depends on the model year, access method, corrosion, condition of the plastic clips, and whether other components must be moved. A straightforward removal may take considerably less time than a job involving a difficult-to-reach tank, seized fasteners, or damaged fittings. Without the exact truck details and a verified procedure, a single time estimate would be unreliable.
Before starting, review the removal sequence and identify every component that must come off. Photograph the original hose routing and connector positions, organize the fasteners, and allow additional time for inspection, reinstallation, fluid filling, and leak testing.
Source: storage.googleapis.com
Removal only
Time depends primarily on reservoir accessibility and the number of fasteners and components that must be removed.
Removal with replacement
Allow additional time to transfer reusable parts, replace seals where required, refill the system, and check for leaks.
Removal with diagnosis
Electrical testing or tracing an intermittent leak can extend the job beyond the mechanical removal itself.
Frequently Asked Questions
Q
Where is the windshield washer fluid reservoir on a Chevy Silverado?
The reservoir is generally located near the front of the engine compartment, close to a front fender. Its filler opening may be visible under the hood, but the tank itself can sit lower behind bodywork or a wheelhouse liner. The exact location depends on the Silverado’s model year and configuration.
Q
Do I have to remove the front wheel to remove the washer reservoir?
Not on every Silverado. Some configurations may provide access through the engine compartment or by removing a wheelhouse liner or splash shield. Other configurations may require additional access. Check the service procedure for the exact model before lifting the vehicle or removing the wheel.
Q
Can I remove the washer reservoir without draining it?
It is generally easier and cleaner to drain the reservoir first. Removing a full tank can spill fluid through the filler opening, pump opening, or disconnected hoses. If complete draining is not possible through the filler neck, collect the remaining fluid when releasing an accessible connection.
Q
Can I replace only the windshield washer pump instead of the reservoir?
Yes, if the reservoir is intact and the pump is the failed component. Depending on the Silverado’s design, the pump may be accessible without removing the whole tank. Verify the correct procedure and diagnose the pump before buying parts, because weak spray can also result from blocked nozzles, damaged hoses, or electrical problems.
Q
Why is my Silverado leaking washer fluid after reservoir replacement?
Common causes include a cracked replacement tank, a damaged or incorrectly seated pump grommet, a loose hose, a poorly connected filler neck, or a leaking pump. Inspect the tank and each connection with the system filled. Correct the leak before driving if it prevents the washer system from working when needed.
Q
Does the battery need to be disconnected before removing the reservoir?
The requirement depends on the specific Silverado and the components involved in the repair. Follow the manufacturer’s service instructions. If battery disconnection is required, observe the applicable electrical and stored-power precautions rather than disconnecting components at random.
Q
Can I drive with the washer fluid reservoir removed?
The vehicle may remain mechanically operable, but removing the reservoir leaves the washer system unavailable and can leave disconnected wiring or hoses exposed. Reassemble and secure the affected components before normal use. In the United States, windshield visibility is a safety concern, and applicable state requirements may also govern required equipment and safe operation.
✦ Wrapping Up
Conclusion
Removing a Silverado windshield washer fluid reservoir involves draining the fluid, gaining access to the tank, disconnecting its electrical connections and hoses, removing the mounting hardware, and carefully lifting the reservoir out. The most important variable is the truck’s exact model year and configuration, which determine the correct access route and fastener locations.
Inspect the reservoir, pump seal, hoses, filler neck, and mounting points before deciding which parts need replacement. After reinstallation, refill the system with suitable washer fluid, check for leaks, and confirm that the pump and spray outlets work correctly. If the tank resists removal or the wiring and mounting arrangement are unclear, consult the model-specific service information or a qualified technician.
💡 Key Takeaway
Before beginning, identify your Silverado’s model year and trim, obtain the matching removal procedure, and confirm whether the tank, pump, seal, or hose is actually faulty. Then drain the fluid, remove the required access panels, disconnect the components carefully, and test the system after reassembly.