How to Use a Car Code Reader: Practical Steps and Helpful Tips
A car code reader plugs into the vehicle’s OBD-II diagnostic port, communicates with the onboard computer, and displays stored trouble codes. You can use it to identify the system reporting a problem, but the code is a starting point for diagnosis—not proof that a particular part needs replacement.
The practical distinction many drivers miss is the difference between a warning light’s appearance and the vehicle’s actual condition. A check engine light may come from something minor, such as a loose fuel cap, or from a fault that can damage the catalytic converter or leave the car unsafe to drive; a reader reveals computer-detected information, not the complete mechanical picture.
This guide explains which vehicles and tools are compatible, where to connect the reader, how to retrieve and interpret codes, and when clearing them is appropriate. You’ll also learn how to separate pending, stored, and permanent codes, what live data can and cannot show, which mistakes create misleading results, and when a professional diagnostic inspection is the safer next step.
What a Car Code Reader Actually Does
A code reader accesses the vehicle’s onboard diagnostics system, commonly called OBD-II. In the United States, most passenger cars and light trucks sold since the 1996 model year use standardized OBD-II communications for emissions-related monitoring.
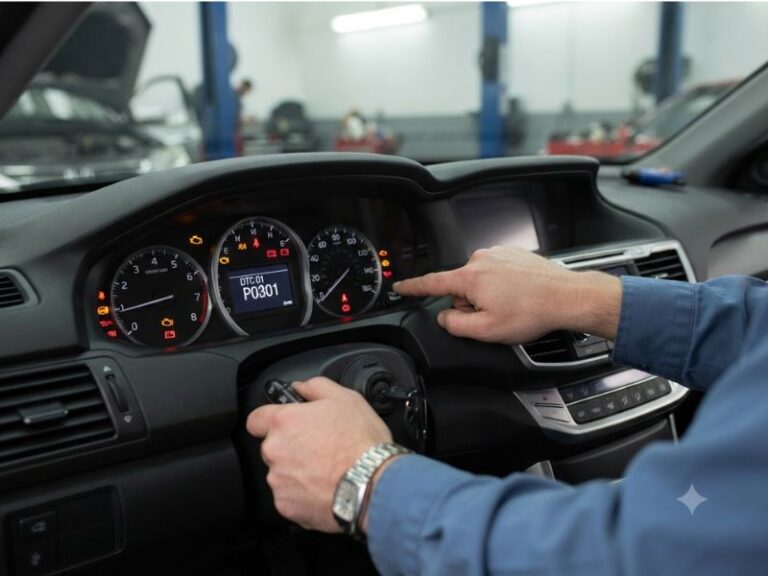
The vehicle’s control modules monitor sensors, circuits, and operating conditions. When the computer detects a result outside an expected range, it may store a diagnostic trouble code (DTC) and turn on the check engine light.
A basic reader typically displays the code number and a short description. More advanced scan tools may show freeze-frame data, pending codes, live sensor readings, readiness monitors, and the ability to communicate with systems beyond the engine computer.
A code identifies a detected condition, not necessarily a failed component. For example, an oxygen-sensor-related code could result from a bad sensor, an exhaust leak, wiring damage, an intake leak, or a fuel-delivery problem. Testing is required before buying parts.
Choose a Compatible Reader and Prepare Safely
Before connecting anything, confirm that the reader supports the vehicle’s model year and diagnostic protocol. Most modern OBD-II readers work with standard gasoline vehicles, but capability varies for diesel vehicles, hybrids, electric vehicles, motorcycles, and manufacturer-specific systems.
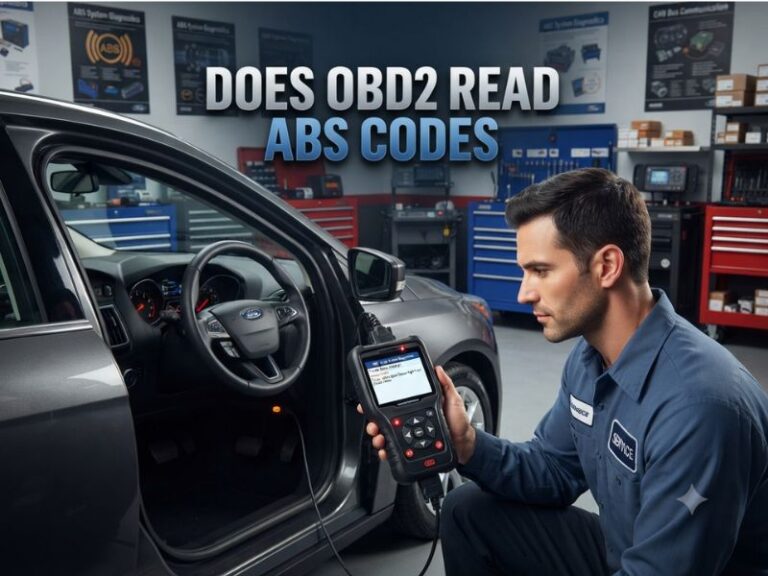
A low-cost corded reader is usually enough to retrieve check-engine codes. A Bluetooth or Wi-Fi adapter requires a compatible smartphone app, while a professional scan tool may provide access to ABS, airbag, transmission, body, and hybrid-system modules that a basic reader cannot reach.
Park on a stable surface before scanning. Set the parking brake, place an automatic transmission in Park or a manual transmission in Neutral, and keep the ignition off until the reader’s instructions tell you otherwise.
Do not scan while driving, and do not allow the cable or phone to interfere with the pedals, steering wheel, or gear selector. If the vehicle is in a hazardous location or has severe symptoms, move it only when doing so is safe.
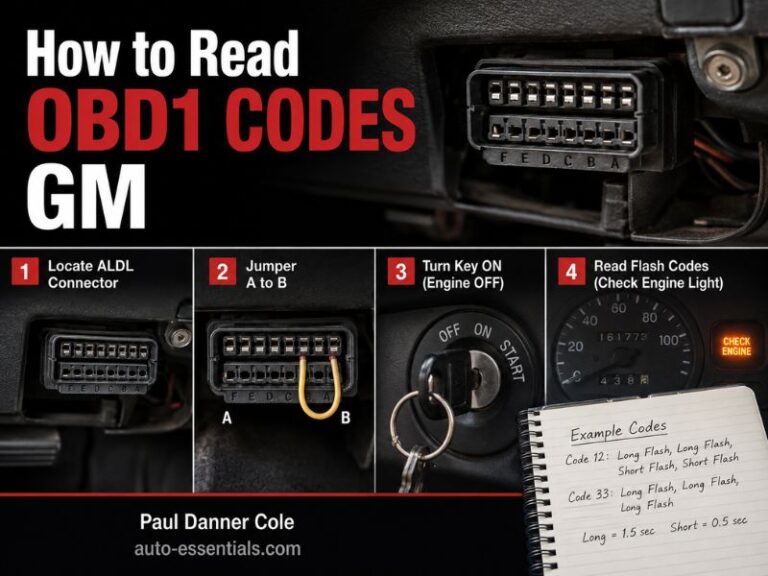
Find the OBD-II port
The diagnostic port is usually under the driver’s side of the dashboard, near the steering column. Common locations include below the instrument panel, beside the fuse box, behind a small trim cover, or near the lower edge of the dashboard.
It is a 16-pin trapezoid-shaped connector. Do not force the plug into another connector, and avoid confusing it with accessory sockets or manufacturer-specific connectors. The owner’s manual may identify the exact location.
How to Use a Car Code Reader Step by Step
1. Connect the reader with the ignition off
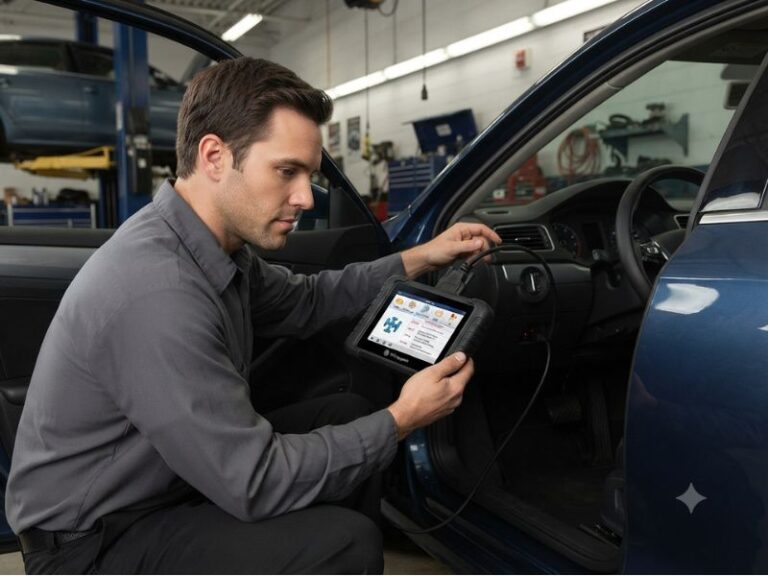
Insert the reader’s connector into the OBD-II port firmly. Most readers receive power from the port, although some wireless adapters may require a separate phone connection or setup process.
Connecting with the ignition off reduces the chance of an interrupted startup sequence. If the plug feels loose or will not seat correctly, stop and inspect it rather than applying excessive force.
2. Turn on the ignition without starting the engine
Turn the key to the “on” position without cranking the engine. In a push-button vehicle, press the start button without pressing the brake or clutch, following the vehicle and scan-tool instructions.
The dashboard warning lights should illuminate during this mode. The reader may ask you to select the vehicle’s year, make, model, engine, or communication protocol. Some tools detect this information automatically.
3. Open the diagnostic or read-code menu
Select an option such as “Read Codes,” “Scan,” or “Diagnostics.” Give the tool time to communicate with the vehicle; interrupting the process can produce an incomplete result.
Record every code before clearing anything. Write down whether each code is listed as stored, pending, or permanent, and save any freeze-frame information if the reader provides it.
4. Review stored, pending, and permanent codes
Stored codes describe faults that have met the computer’s criteria for setting a diagnostic trouble code. They may remain in memory even if the problem is intermittent or no longer present.
Pending codes indicate that the computer noticed a possible problem but has not yet seen it occur often enough, or under the right conditions, to turn on the check engine light. A pending code can be an early warning, but it is not always confirmed.
Permanent codes cannot normally be erased with a reader. The vehicle must verify that the underlying emissions fault has been repaired through its self-tests, which may require normal driving under specific conditions.
5. Check freeze-frame and live data when available
Freeze-frame data captures operating conditions at the moment a fault was recorded. Useful details may include engine speed, coolant temperature, vehicle speed, fuel-trim values, and engine load.
Live data displays readings while the engine is running or the ignition is on. It can help identify patterns, but a number that looks unusual is not automatically proof of a failed sensor. Correct interpretation depends on the vehicle, engine temperature, operating condition, and service information.
6. Research the code description carefully
Compare the code with the vehicle’s symptoms and maintenance history. A generic code description may be incomplete because manufacturers can use different diagnostic strategies for the same general system.
For accurate diagnosis, consult a repair manual, manufacturer service information, or a qualified technician. Check the wiring, connectors, hoses, fuses, fluid levels, and related components before replacing the part named in a code description.
7. Decide whether clearing the code is appropriate
The “Erase,” “Clear,” or “Reset” function deletes stored codes and often resets emissions readiness monitors. It may also erase useful freeze-frame information and adaptive data, depending on the vehicle.
Do not clear a code simply to turn off the warning light, especially when the cause has not been repaired. Clearing it can hide evidence, allow a serious fault to return unnoticed, and temporarily make the vehicle appear ready when it is not.
After a repair, clearing may be reasonable when appropriate service instructions have been followed. Disconnecting the battery is not a preferred substitute because it can erase settings and may not remove all codes.
How to Interpret Common Code Results
OBD-II codes generally begin with a letter. “P” refers to powertrain systems, “B” to body systems, “C” to chassis systems, and “U” to network communication. Basic readers most reliably access powertrain and emissions information.
The first number after the letter often indicates whether the code is generic or manufacturer-specific. The remaining digits identify a particular fault category, but the exact meaning still depends on the vehicle and diagnostic strategy.
For example, an evaporative-emissions code may point to a leak in the fuel-vapor system. A misfire code may indicate combustion trouble, ignition problems, fuel delivery issues, low compression, or an air leak. The code narrows the search; it does not finish it.
Pay attention to the warning-light behavior
A steady check engine light usually allows enough time to scan the vehicle and arrange diagnosis, provided the car runs normally and no other warning signs appear. It still deserves attention because a small fault can worsen or increase emissions.
A flashing check engine light commonly signals an active misfire that may damage the catalytic converter. Reduce load, avoid continued driving when possible, and arrange prompt professional diagnosis.
Stop driving and seek help if the vehicle has severe shaking, loss of power, smoke, overheating, an oil-pressure warning, a brake warning, a fuel smell, or other symptoms suggesting immediate danger. A code reader cannot make an unsafe vehicle safe.
Common Mistakes to Avoid
- Assuming the code names the failed part rather than the affected system.
- Clearing codes before recording them and saving freeze-frame information.
- Using a reader that cannot access the vehicle’s relevant control module.
- Replacing expensive parts based only on a generic code description.
- Ignoring a flashing warning light or serious drivability symptoms.
- Expecting a code reader to diagnose mechanical failures with no electronic fault.
- Assuming no code means the vehicle has no problem.
Some issues do not set a code immediately, and some faults are outside the reader’s coverage. A worn suspension component, low mechanical compression, a weak battery, or a developing transmission problem may require physical inspection, electrical testing, pressure testing, or a more capable scan tool.
After Clearing Codes: Readiness Monitors and Retesting
When codes are erased, the vehicle’s readiness monitors usually reset to incomplete. These monitors run self-tests for systems such as the catalytic converter, oxygen sensors, evaporative emissions, and exhaust-gas recirculation.
Driving a short distance may not complete all monitors. The required conditions vary by vehicle and can include cold starts, highway speeds, steady cruising, deceleration, and a certain fuel level. Follow the manufacturer’s drive-cycle guidance rather than trying to force a test under unsafe conditions.
If the check engine light returns, scan the vehicle again and compare the new results with the original findings. A returning code may confirm that the repair was incomplete, that another fault exists, or that the initial diagnosis focused on the wrong cause.
If the light stays off but monitors remain incomplete, the vehicle may not be ready for an emissions inspection. A reader can show monitor status, but it cannot guarantee that a state inspection will pass.
When a Professional Diagnostic Scan Is Better
Professional help is appropriate when the code involves airbags, anti-lock brakes, advanced driver-assistance systems, hybrid high-voltage components, or network communication. These systems may require specialized equipment, manufacturer procedures, and safety precautions.
Seek diagnosis when several modules report communication faults, the vehicle will not start, the code returns immediately, or testing requires an oscilloscope, smoke machine, fuel-pressure gauge, compression tester, or wiring diagram.
Technicians generally combine scan data with symptom verification and component tests. That approach is more reliable than replacing parts until the warning light disappears.
FAQ: Using a Car Code Reader
Can I use a car code reader with the engine
Yes, many readers can scan with the engine running, but begin with the ignition on and engine off. Start the engine only when you need live data or the tool specifically requests it, and keep the cable away from moving parts and pedals.
Does a code reader tell me exactly what part
No, a code usually identifies a monitored fault or system rather than a confirmed failed part. Inspect related wiring, connectors, hoses, power supplies, and mechanical causes before replacing a component.
Can I use a code reader if the check engine
Yes, you may find pending codes or stored information even when the light is off. The absence of a warning light does not prove that no fault exists, particularly when a problem is intermittent or has not met the setting criteria.
Why does my reader show no codes when the car
The problem may not have triggered a diagnostic code, or the reader may not support the relevant module. Check for poor connections, low battery voltage, an unsupported system, and mechanical symptoms that require tests beyond electronic scanning.
Should I clear a code after reading it?
Only clear it after documenting the result and addressing the likely cause. Erasing codes can remove diagnostic evidence and reset readiness monitors, which may matter for emissions testing.
Can a code reader reset the check engine light permanently?
No, it can only erase stored information temporarily if the underlying fault remains. The computer will usually turn the light back on when its monitoring tests detect the problem again.
Is it safe to drive after reading a code?
Safety depends on the warning-light behavior and the vehicle’s symptoms, not the reader alone. A flashing light, severe misfire, overheating, smoke, low oil pressure, or major loss of power calls for immediate caution and professional assistance.
Conclusion: Use the Code as a Starting Point
Using a car code reader involves connecting to the OBD-II port, recording all results, interpreting the code in context, and testing the likely cause before clearing anything. The major limitation is that a reader reports computer-detected conditions; it does not replace mechanical inspection or professional diagnosis.
Scan a steady warning light promptly, treat a flashing light or serious symptom as urgent, and save freeze-frame and readiness information before resetting the system. Your next step should be a vehicle-specific diagnostic check that confirms the repair rather than simply turning the light off.