How to Use Obd2 Scanner: Instructions, Tips, and Useful Advice
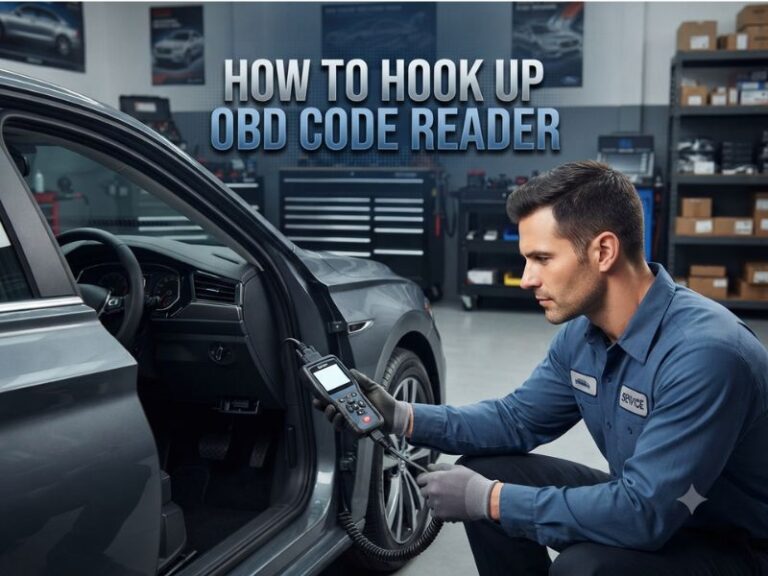
An OBD2 scanner reads diagnostic trouble codes from a vehicle’s onboard computer and displays information that can help identify a problem. To use one, locate the diagnostic port, connect the scanner with the ignition off, turn the ignition on, follow the device prompts, and interpret the results before clearing anything.
Early scanning can prevent a minor fault from becoming a costly repair, but acting on a code without understanding its cause can waste money or create a safety risk.
A trouble code is a starting point, not a complete diagnosis. The article explains which vehicles and systems an OBD2 scanner can access, how to connect and operate it correctly, what live data and readiness monitors mean, and when clearing a code is appropriate. It also covers common connection problems, limitations on ABS and airbag diagnostics, precautions around a flashing check-engine light, and the point at which professional testing is the sensible choice.
By the end, you can decide whether a code needs immediate attention, basic troubleshooting, or a technician’s equipment and experience.
What an OBD2 Scanner Does
An OBD2 scanner communicates with a vehicle’s onboard diagnostic system. When a control module detects an operating condition outside its expected range, it may save a diagnostic trouble code, or DTC, and turn on the check-engine light.
The scanner retrieves stored codes and, depending on its capabilities, may also display pending codes, freeze-frame data, live sensor readings, vehicle information, and emissions readiness monitors. Basic code readers usually handle engine and emissions faults, while advanced scan tools can access additional modules such as the transmission, ABS, body control, or airbag system.
A code identifies a detected condition rather than proving that a particular part has failed. For example, an oxygen-sensor-related code may result from a wiring problem, an exhaust leak, a vacuum leak, or an actual sensor fault. Accurate diagnosis requires testing the related system instead of replacing the first component named in a code description.
Check Compatibility Before Connecting
Most gasoline vehicles sold in the United States from model year 1996 onward use the OBD2 standard. Many diesel vehicles and light-duty vehicles also support OBD2, but the exact functions available can vary by year, manufacturer, engine, and scan-tool design.
Check the scanner’s documentation for vehicle coverage before buying or using it. A tool may read generic powertrain codes on a vehicle but lack the software needed for manufacturer-specific codes, bidirectional controls, or non-engine modules.
The connector is normally a 16-pin port beneath the driver’s side dashboard, often near the steering column or fuse panel. It may be exposed or hidden behind a small cover. Never force the plug into place, and do not confuse the diagnostic connector with another electrical connection under the dash.
Prepare the Vehicle and Scanner
Park on a stable surface, select Park or Neutral, apply the parking brake, and keep the vehicle stationary. If the engine will run during testing, work in a well-ventilated area and keep clothing, tools, and cables away from belts, fans, and other moving parts.
Read the scanner’s instructions before connecting it. Some handheld units receive power through the diagnostic port, while wireless adapters may require a phone app, Bluetooth pairing, or a separate power switch.
Record any symptoms before scanning. Note when the warning light appeared, whether the engine runs poorly, whether fuel economy changed, and whether the problem occurs during starting, acceleration, braking, or cruising. This context helps connect the code to the vehicle’s behavior.
How to Use an OBD2 Scanner Step by Step
1. Locate the diagnostic port
Find the 16-pin OBD2 connector beneath the dashboard. Use a flashlight if necessary, but avoid pulling on nearby wiring or trim panels. The connector should be accessible without removing major interior parts.
2. Plug in the scanner
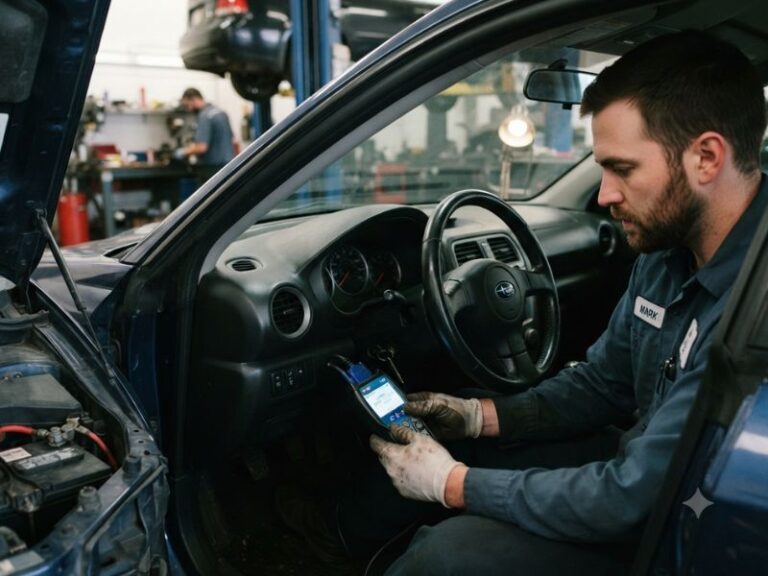
With the ignition off, insert the scanner’s connector straight into the port. The fit may be firm, but it should not require excessive pressure. If the scanner does not power on, check that the plug is fully seated and that the vehicle’s related fuse is intact.
3. Turn on the ignition
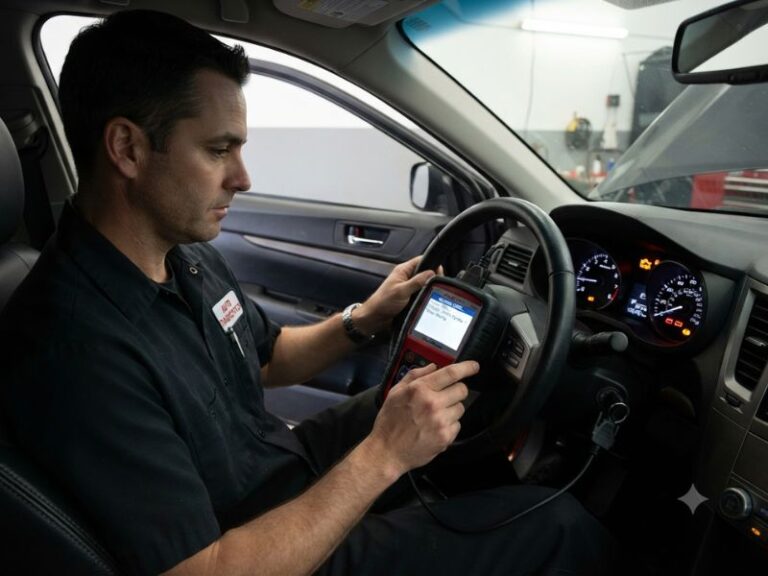
Turn the key to the “on” position without starting the engine, or press the start button without pressing the brake or clutch where the vehicle permits this. The dashboard warning lights should illuminate, and the scanner should establish communication with the vehicle.
Some tests require the engine to run, especially when viewing live data. Follow the scanner’s prompt and the vehicle manufacturer’s safety instructions rather than starting the engine automatically.
4. Select the diagnostic function
Choose an option such as “Read Codes,” “Scan,” or “Diagnostics.” The tool may ask whether to check stored, pending, or permanent codes. Select the appropriate category, then wait while it communicates with the control module.
Do not disconnect the scanner while it is communicating or performing a software operation. On advanced tools, interrupting a programming or module procedure can create a more serious electrical or communication problem.
5. Record every code and freeze-frame detail
Write down the full code, including its letter and numbers, before clearing anything. Save the accompanying description, freeze-frame information, and any other codes shown by the scanner.
Freeze-frame data captures operating conditions when a fault was recorded. Engine speed, coolant temperature, vehicle speed, fuel-trim values, and load can help show whether the fault occurred during a cold start, highway driving, acceleration, or another condition.
6. Research and test the system
Use the code description as a direction for further checks, not as a replacement for diagnosis. Inspect connectors, wiring, hoses, fuses, fluid levels, and visible mechanical problems related to the code.
Compare the scanner reading with the vehicle’s symptoms. A sensor value that appears abnormal may be caused by a damaged wire or an underlying mechanical issue. Repairing the root cause is more effective than repeatedly replacing sensors.
7. Clear codes only when appropriate
After recording the information and completing a repair, use the scanner’s “Erase Codes” or “Clear DTCs” function if appropriate. The tool may ask for confirmation, and the ignition may need to remain on.
Clearing a code does not repair the vehicle. It turns off the warning light temporarily and erases diagnostic information that may help a technician. If the fault remains, the code will usually return after the vehicle completes relevant self-tests.
Understanding Code Types and Warning Lights
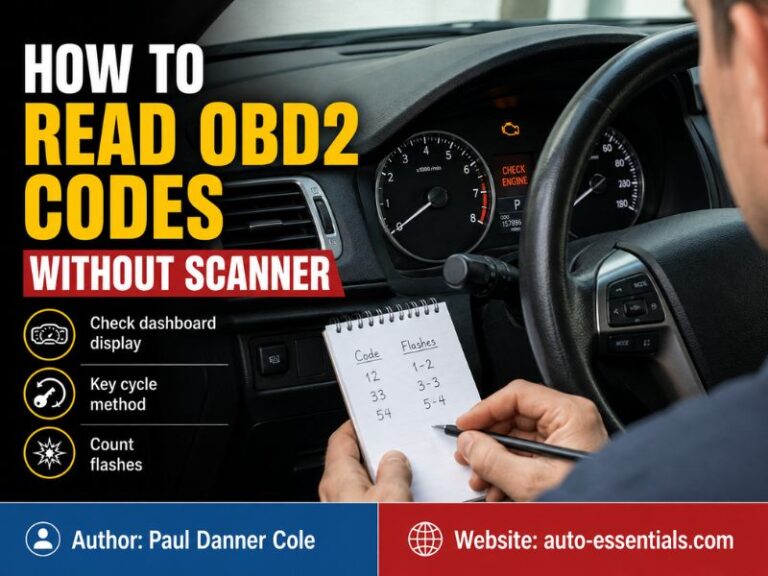
OBD2 codes generally begin with a letter. “P” refers to powertrain systems, “B” to body systems, “C” to chassis systems, and “U” to network or communication faults. The following numbers provide more detail about the detected condition.
A stored code usually indicates that the fault met the computer’s conditions for recording. A pending code may represent an intermittent or not-yet-confirmed problem. Permanent codes can remain in memory until the vehicle verifies that the fault has been corrected through its own monitoring process.
A steady check-engine light commonly allows cautious driving if the vehicle runs normally, although the problem should still be checked soon. A flashing check-engine light can indicate an active misfire capable of damaging the catalytic converter. Reduce load, avoid continued driving when the engine is shaking or losing power, and arrange prompt professional service.
Other warning lights, such as ABS, airbag, battery, oil-pressure, or temperature indicators, may not be readable with a basic engine-code reader. A scan tool must support the relevant module, and a separate warning light should never be ignored simply because no engine code appears.
Using Live Data Without Misreading It
Live data shows sensor and operating values while the engine is running or the ignition is on. Common parameters include coolant temperature, engine speed, throttle position, oxygen-sensor activity, fuel trims, intake-air readings, and vehicle speed.
Look for values that are plausible for the vehicle’s operating condition and compare related readings. For example, coolant temperature should generally rise gradually as the engine warms, while a throttle-position reading should change in a manner consistent with accelerator movement.
Fuel-trim data can provide clues about mixture corrections, but there is no universal “normal” number for every vehicle and operating state. Interpret readings with service information, engine temperature, load, and manufacturer specifications in mind.
Do not treat a single unusual live-data value as proof of failure. A poor electrical connection, low system voltage, vacuum leak, restricted exhaust, or mechanical problem can make a properly functioning sensor report an unexpected condition.
Readiness Monitors and Emissions Testing
Readiness monitors are self-checks that evaluate emissions-related systems. They may monitor the catalytic converter, oxygen sensors, evaporative-emissions system, exhaust-gas recirculation, misfire detection, and other functions depending on the vehicle.
Clearing codes or disconnecting the battery can reset these monitors to “not ready.” The vehicle then needs specific driving conditions, known as a drive cycle, before the monitors complete. The exact process varies by vehicle and may require a cold start, steady cruising, periods of deceleration, and time at different speeds.
A vehicle can have no current check-engine light and still fail an emissions inspection if too many monitors are incomplete. Check readiness status before an inspection, and do not clear codes simply to turn off the light without addressing the underlying problem.
Common OBD2 Scanner Problems
The scanner will not power on
Confirm that the ignition is in the correct position and that the connector is fully inserted. If the vehicle has no power at the diagnostic port, inspect the relevant fuse according to the owner’s manual. A damaged port, wiring fault, or low battery can also prevent power.
The scanner cannot communicate
Turn the ignition off, disconnect the tool, wait briefly, and reconnect it. Close other diagnostic apps if using a wireless adapter, and confirm that Bluetooth or Wi-Fi permissions are enabled on the phone.
Communication failures may result from a weak vehicle battery, an aftermarket alarm or radio installation, a damaged connector, incompatible software, or a control-module network fault. Repeated failures are a reason to seek professional electrical diagnosis rather than repeatedly cycling the ignition.
No codes appear despite a symptom
Not every problem immediately creates a DTC. A mechanical noise, weak battery, worn suspension component, fluid leak, or fault outside the scanner’s supported modules may produce symptoms without an engine code.
A pending code or live-data abnormality may provide an early clue. If the vehicle is unsafe to drive, has severe performance loss, overheats, loses oil pressure, or shows brake or airbag warnings, stop relying on a basic scan and have the vehicle inspected.
Safety and Diagnostic Limits
Keep the scanner cable away from the pedals and avoid allowing a phone or tool to distract the driver. Do not perform a scan while driving unless a qualified technician is using equipment designed for that purpose and can operate it safely.
Do not disconnect the vehicle battery merely to erase a code. That action can reset monitors, erase adaptive information, affect radio settings, and hide useful diagnostic evidence. It also will not correct the cause of the warning.
Professional help is appropriate when a code involves airbag or brake systems, the engine has a severe misfire, the vehicle overheats, the warning light flashes, multiple modules lose communication, or a repair requires specialized electrical, pressure, smoke, or mechanical testing. A scanner narrows the search; it does not replace those tests.
FAQ About Using an OBD2 Scanner
Can I use an OBD2 scanner with the engine running?
Yes, but only when the test requires engine operation and the vehicle is safely stationary. Read stored codes with the ignition on and engine off unless the scanner directs otherwise. Use extra care around moving engine components and exhaust gases.
Should I clear a check-engine code immediately?
No, record the code and diagnostic details before clearing it. Erasing the code can remove freeze-frame information, reset emissions monitors, and make an intermittent problem harder to diagnose. Clear it after a repair or when a qualified diagnostic process calls for it.
Can an OBD2 scanner tell me exactly which part
No, a code usually identifies a monitored fault or system, not a guaranteed failed part. Verify the wiring, connectors, related components, and operating conditions before replacing anything.
Why does my scanner show no code when the warning
The scanner may not support the module, may be unable to communicate, or may be using the wrong scan function. A basic reader may only access generic engine and emissions data. Check the scanner’s coverage, inspect the connection, and seek a full-module scan if another warning light is illuminated.
How do I use an OBD2 scanner to check whether
Open the scanner’s I/M readiness or emissions-monitor menu and review each monitor’s status. “Ready” means the vehicle completed that self-test, while “not ready” means more driving may be required. Clearing codes or disconnecting the battery can reset the status.
Is it safe to drive after reading a trouble code?
Safety depends on the warning light and the vehicle’s behavior, not just the code. Stop or limit driving for a flashing check-engine light, severe shaking, overheating, low oil pressure, brake problems, or major power loss. A steady light with normal operation may allow careful travel to a repair facility, but prompt diagnosis is still advisable.
Conclusion: Use the Scanner as a Diagnostic Starting Point
Using an OBD2 scanner involves connecting it correctly, retrieving and recording codes, checking relevant data, and testing the suspected system before clearing the warning. The major limitation is that a code is evidence of a monitored condition, not automatic proof that one part has failed.
Start by documenting the symptoms and scan results, then compare them with the vehicle’s service information. If the light flashes, a safety system is involved, or the scanner cannot communicate reliably, stop guessing and arrange professional diagnosis.