You can repair a small windshield chip with a suitable windshield repair kit that uses clear resin. Clean and dry the damaged area, apply the resin as directed, let it fill the chip, cure it under the specified conditions, and remove excess resin. If the damage is deep, spreading, near the windshield edge, or in the driver’s main field of view, have a qualified auto glass technician assess it before attempting a DIY repair.
On American roads, a small rock can chip a windshield in seconds. Gravel from highway traffic, road debris, construction zones, and sudden temperature changes can all contribute to glass damage. A chip may look harmless at first, but it can grow into a crack that affects visibility and may require a full windshield replacement.
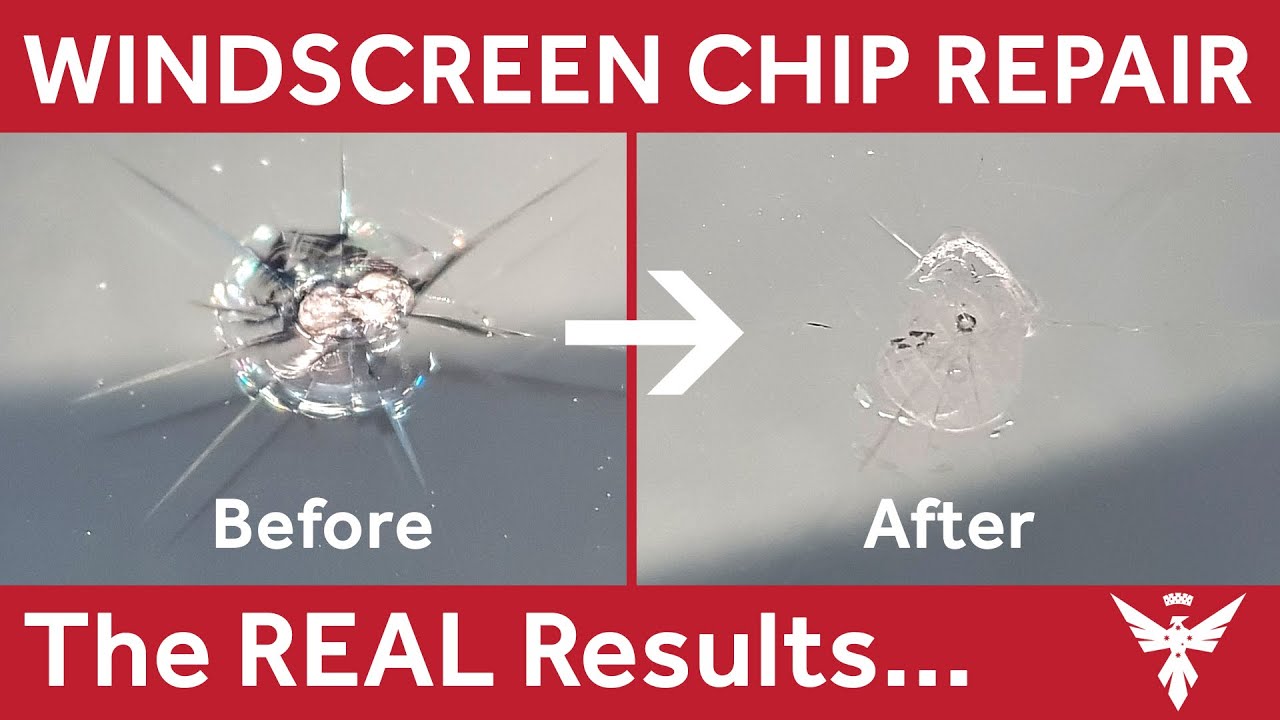
Learning how to repair windshield chip damage starts with knowing what can be repaired and what needs professional care. Many small chips in laminated windshield glass can be treated with a resin repair kit. The resin fills the damaged space, bonds parts of the glass, and can help reduce the chance of further spreading. It does not restore the glass to a brand-new condition, and a repaired mark may remain visible.
This guide explains how to inspect a chip, choose a repair method, use a DIY kit, avoid common mistakes, and decide when to call an auto glass professional. It also covers repair costs, insurance considerations, and special concerns for vehicles with advanced driver assistance systems. The goal is a sound repair decision, not simply making the chip harder to see.
A windshield chip is a small area of damage caused when an object strikes the glass. A stone or other piece of road debris may remove a tiny piece of the outer glass layer or create a small cavity with fine cracks around it. The visible mark can be much smaller than the damaged area beneath the surface.
Most modern passenger vehicles in the United States use laminated windshield glass. This construction has two layers of glass bonded to a plastic inner layer, often polyvinyl butyral. The inner layer helps hold the glass together when it breaks. Side windows and rear windows may use different glass construction, so windshield repair methods should not be applied to them without checking the manufacturer’s instructions.
A suitable resin repair can fill a small chip and help restore some of the damaged area’s strength. The repair may also improve clarity by reducing the way light scatters through the chip. However, the result depends on the damage, contamination, repair materials, and technique. Some marks remain visible even after a successful repair.
A chip should be inspected promptly. Dirt, water, and repeated stress can make a later repair harder. Temperature swings, rough roads, and pressure on the glass may also cause small damage to spread.
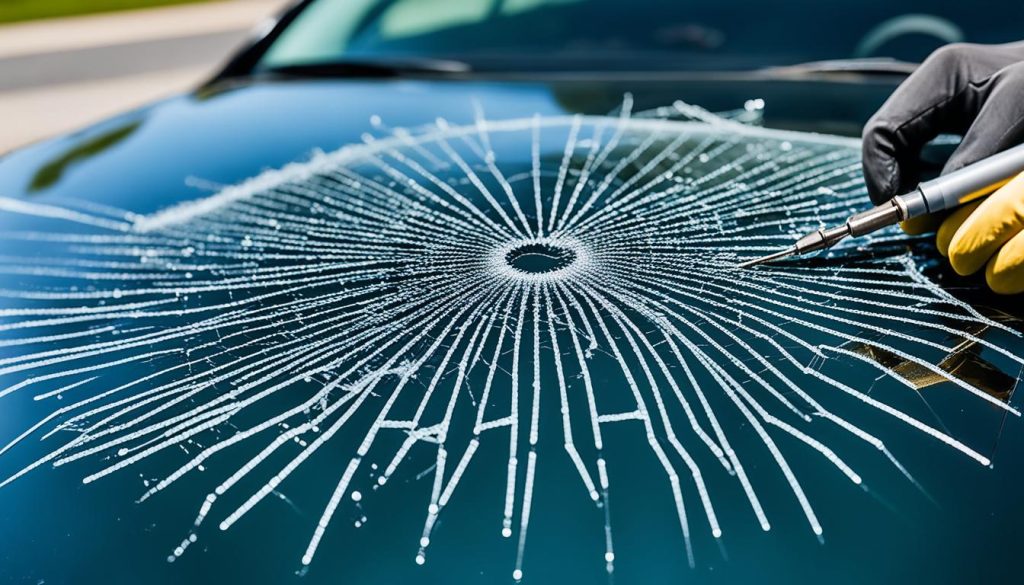
Source: titanautoglass.net
Bull’s-eye chip
This round impact mark has a circular appearance. Small, uncomplicated examples may be repairable with resin.
Star break
This damage has fine lines radiating from the impact point. Tiny branches may be repairable, but longer legs need careful assessment.
Combination break
This type has more than one damage pattern, such as a central cavity and radiating lines. Repair suitability depends on its full shape and extent.
Surface pit
A shallow mark that affects only the outer surface may need a different assessment from a chip that penetrates deeper into the glass.
When Is a DIY Windshield Chip Repair Suitable?
A DIY kit may be suitable when the chip is small, the glass around it is stable, and the damage is away from the windshield edge and the driver’s critical viewing area. The kit’s instructions should specifically cover the type of chip you have.
There is no single size limit that makes every chip safe to repair. Different kits and professional repair standards use different limits, and the shape, depth, number of impact points, and location matter as much as diameter. Follow the kit’s stated limits and seek a professional opinion if the damage falls outside them.
DIY may be reasonable
The chip is small, isolated, stable, and clearly within the kit manufacturer’s repair limits.
Professional assessment is better
The damage has several long branches, reaches the edge, affects a critical viewing area, or appears to extend through much of the glass.
Do not delay
The chip is growing, the windshield is visibly distorted, or the damage may compromise safe driving.
Tools and Materials Needed to Repair a Windshield Chip
Before starting, gather the supplies required by your chosen kit. Having everything ready reduces the chance of leaving the chip exposed while you search for a tool or accidentally contaminating the repair area. Read the full instructions before opening the resin or attaching the applicator.
Choose a kit intended for laminated automotive windshield glass. Household adhesives, nail polish, craft resin, and general-purpose glue are not substitutes for windshield repair resin. These materials may fail to bond correctly, interfere with later professional repairs, or create additional visibility problems.
Work in a clean, dry, shaded location when possible. Follow the kit’s temperature range and curing instructions. Some kits use sunlight to cure the resin, while others specify a different curing method. Avoid assuming that every product works in the same way.
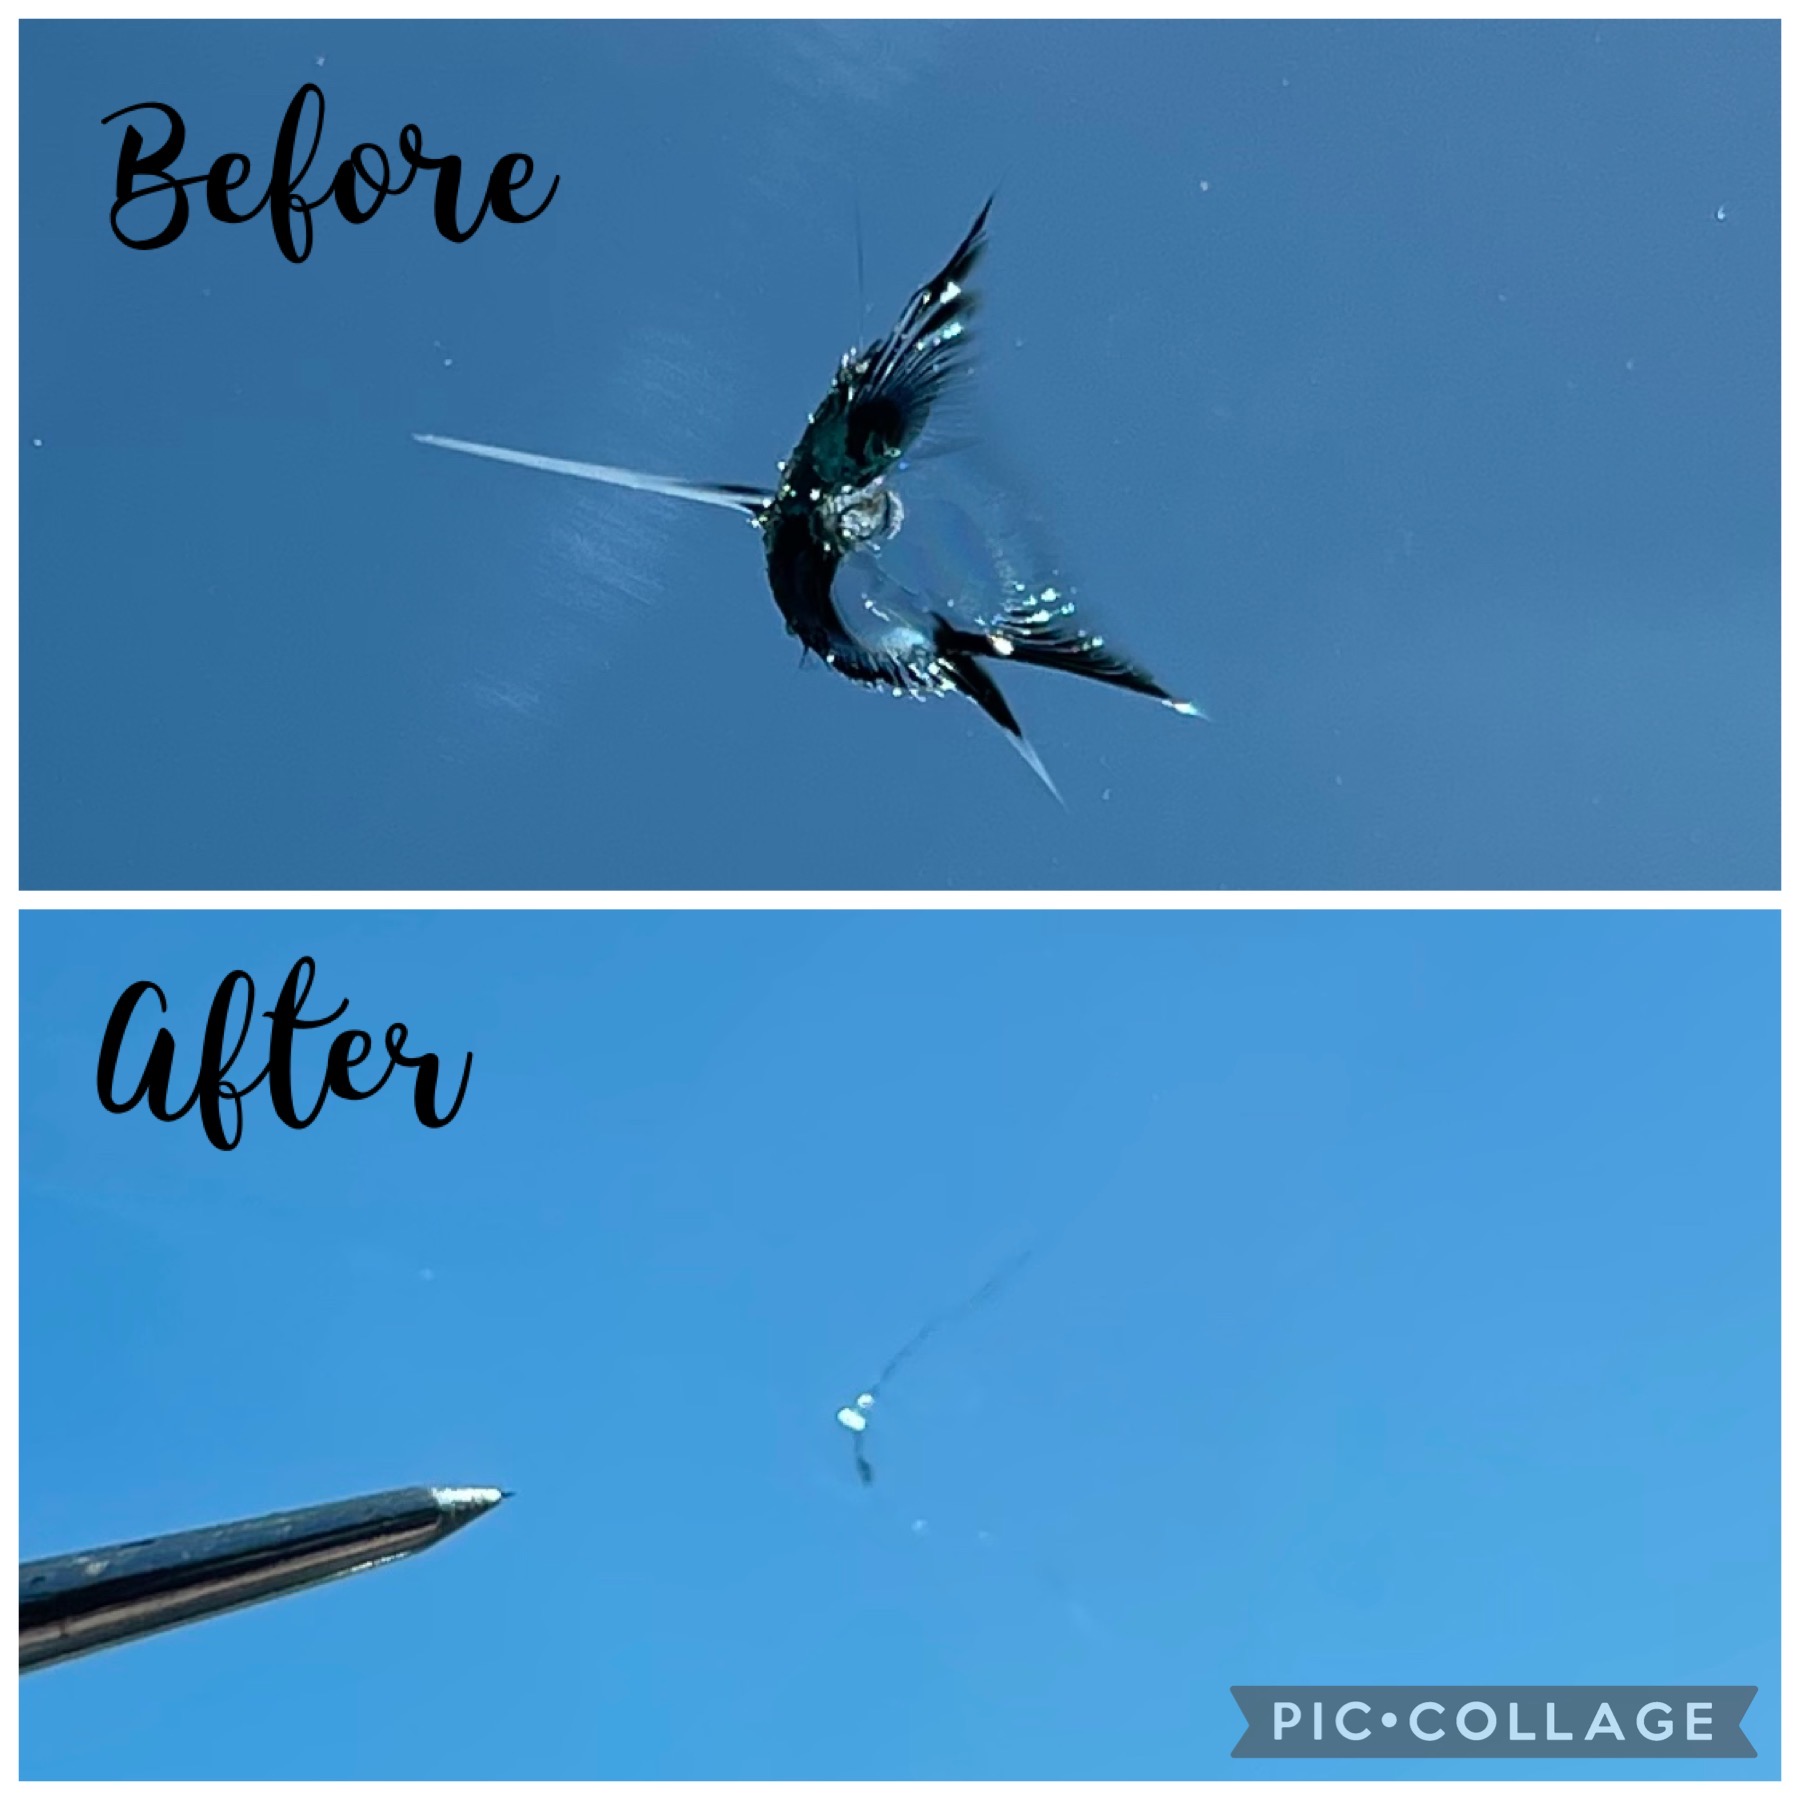
Source: le-cdn.hibuwebsites.com
Windshield repair kit
Look for a kit that includes the appropriate automotive glass resin, an applicator or bridge, and any required curing film or curing component.
Clean, lint-free cloth
Use it to clean the surrounding glass without leaving fibers near the chip.
Safety glasses and suitable gloves
Protect your eyes and skin when handling resin and removing cured material. Follow the product label for specific protective equipment.
Plastic scraper or supplied finishing tool
Use the tool specified by the kit to remove excess cured resin without scratching the surrounding glass.
Small cover for temporary protection
A clean, clear chip-protection tab made for automotive glass can help keep out moisture and dirt until repair. Do not press on the chip or use a covering that blocks your view while driving.
Prepare the Windshield Before Repair
Park on a stable surface and turn off the vehicle. Allow the glass to reach the temperature range specified by the kit. Do not use a heater, ice, or very hot water to force a rapid temperature change, because thermal stress can make the damage spread.
Inspect the chip from inside and outside the vehicle. Look for fine cracks, branches, moisture, and damage near the glass edge. If the windshield is unstable, the chip is spreading, or visibility is seriously affected, stop and arrange professional help.
Keep the repair area dry and free of dust. Do not push a pin, blade, or other sharp object into the impact point. Aggressive cleaning may extend small cracks or introduce debris that makes the repair less effective.
Check the instructions
Confirm the kit supports the damage type and that the weather and glass temperature meet its requirements.
Keep the area clean
Avoid touching the impact point with your fingers or allowing cleaners and other chemicals to collect inside the chip.
How to Repair Windshield Chip Damage Step by Step
The exact process depends on the repair kit, but most resin kits follow the same general sequence. They use an applicator to help draw resin into the chip, then cure the resin and remove any excess from the surface. Follow the instructions for your specific kit whenever they differ from the steps below.
Do not attempt a DIY repair simply because the mark looks small. If the chip is in the driver’s main viewing area, near an edge, or beyond the kit’s stated limits, have an auto glass technician assess it first. A repair that leaves an optical distortion in a critical viewing area may not be an acceptable outcome.
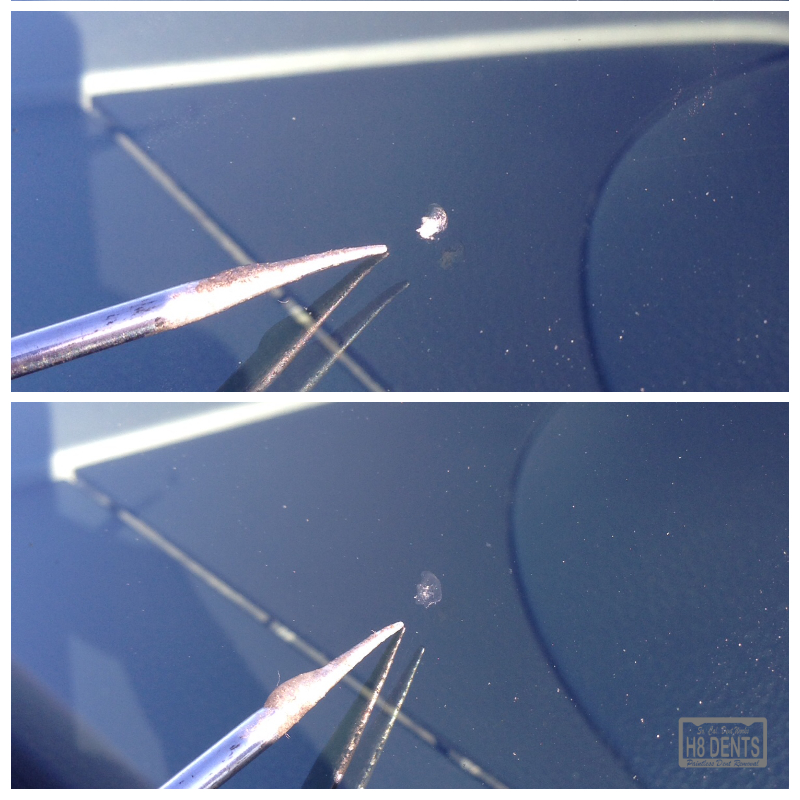
Source: socaldentworks.com
Step 1: Inspect the damage
Check the shape, size, location, and visible branches. Make sure the damage is within the repair kit’s limits. Stop if the chip is spreading or the glass appears unstable.
Step 2: Clean and dry the area
Remove loose dirt from the surrounding glass and allow the area to dry fully. Use only the cleaning method approved by the kit. Do not wash resin into the chip or apply general-purpose cleaners that leave residue.
Step 3: Position the applicator
Fit the bridge, injector, or other applicator over the impact point according to the product instructions. Make sure its seal sits firmly against the glass so the resin can be directed into the damaged area.
Step 4: Apply the repair resin
Add the specified amount of resin. Operate the applicator as directed to help the resin enter the chip and its fine branches. Avoid adding extra resin simply because the mark remains visible.
Step 5: Allow the resin to fill the damage
Follow the kit’s specified waiting, pressure, or vacuum stages. Some damage patterns need additional time for the resin to enter the narrow cracks. Do not force the glass or apply unapproved tools to spread the branches.
Step 6: Cure the resin
Use the curing film and light source or other method specified by the manufacturer. Observe the required curing time and environmental conditions. Removing the applicator too early or curing the resin incorrectly can weaken the result.
Step 7: Remove excess resin
After the resin has cured as directed, remove the curing film and scrape away surface residue with the supplied tool or another approved tool. Keep the tool at the instructed angle and avoid scratching the glass.
Step 8: Inspect the result
Look at the repaired area from both sides of the windshield. Check whether the resin has filled the impact point, whether any branches remain prominent, and whether the area creates a distracting visual distortion. Do not repeat the process unless the kit permits it and the glass remains suitable for repair.
How Do You Know Whether the Repair Worked?
A successful repair should leave the impact area filled and the glass stable, with less noticeable light scattering in many cases. The chip may look smaller or clearer, but a faint mark can remain. The amount of improvement varies with the type of break, the condition of the glass, and how well the resin entered the damaged area.
A repair is not successful merely because the surface feels smooth. Resin may fill the visible cavity without reaching every fine branch. If a crack continues to grow, the glass shows new distortion, or the repair remains highly distracting, stop driving if visibility or structural safety is in doubt and seek professional inspection.
Signs of a reasonable result
The resin is cured, the surface residue has been removed, and the chip looks less prominent without new spreading.
Signs that more help is needed
The damage grows, a branch remains open, the viewing area is distorted, or the repair does not meet the kit’s stated outcome.
DIY Windshield Chip Repair vs. Professional Repair
A DIY kit may be suitable for a minor chip in a favorable location, but professional repair is often the better option when damage is complex or the outcome matters greatly for visibility. A technician can assess the full damage pattern, use professional repair equipment, and advise whether repair or replacement is appropriate.
Professional repair is not guaranteed to make a chip invisible. Its main purpose is to improve the damaged area and help limit further spreading when the glass is repairable. Replacement may be necessary when the damage is too extensive, compromises the windshield’s role in vehicle safety, or cannot be repaired to an acceptable standard.
Modern vehicles may have cameras and sensors mounted on or near the windshield. If replacement is needed, these systems may require calibration according to the vehicle manufacturer’s procedures. Ask the shop whether calibration is needed and whether it is included in the service estimate.
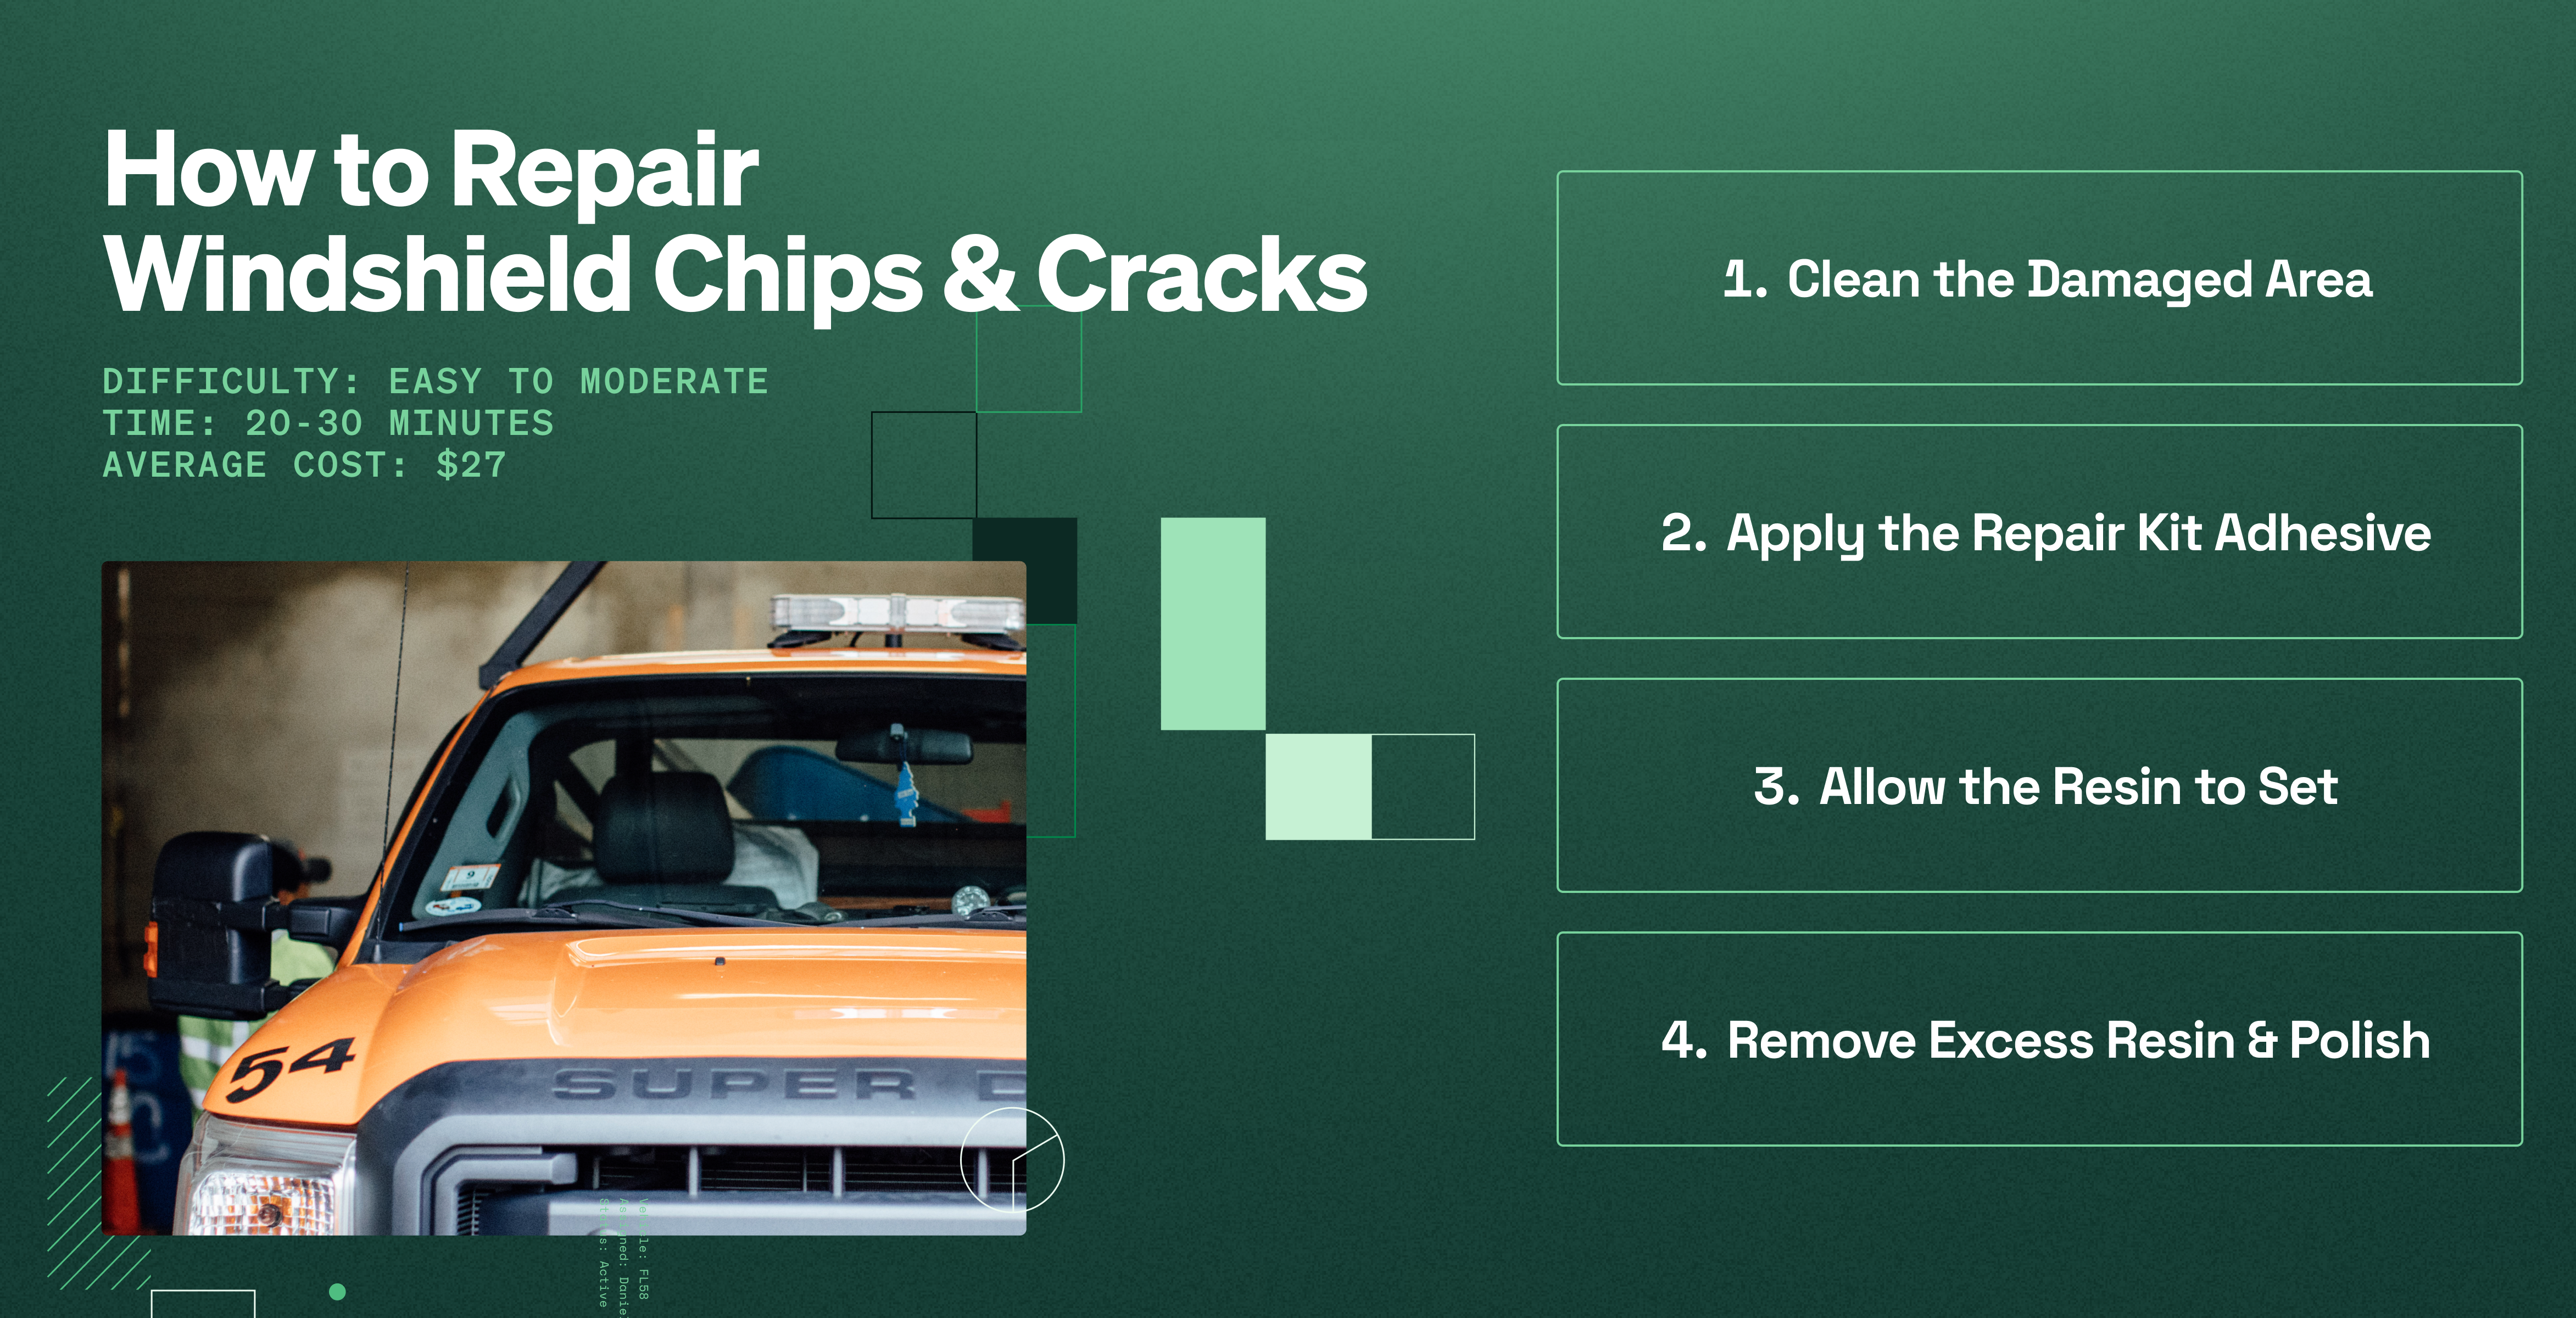
Source: cdn.sanity.io
DIY repair
Can be practical for a small, simple chip within the kit’s limits. It costs less upfront in many cases, but the result depends on the kit, damage, and technique.
Professional chip repair
Useful for damage that needs closer inspection or more specialized equipment. The technician can determine whether the chip is a suitable repair candidate.
Windshield replacement
Needed when damage cannot be repaired safely or effectively. Replacement involves fitting the correct glass and following the required bonding and curing procedures.
How Much Does Windshield Chip Repair Cost in the United States?
The cost depends on the type of damage, local labor rates, the vehicle, and whether you choose a DIY kit or a professional service. A DIY kit usually has a lower upfront cost than paying a technician, but it does not provide the same level of inspection or guarantee a satisfactory result.
Professional chip repair is often much less expensive than replacing an entire windshield. However, no single price applies nationwide. Obtain a current estimate that identifies the repair method, any service fees, and what happens if the damage cannot be repaired.
Compare the full cost
Include the kit or service fee, any applicable insurance deductible, and the possible cost of replacement if repair is unsuitable.
Check coverage first
Some auto insurance policies cover eligible glass repairs under comprehensive coverage or a separate glass benefit. Deductibles, exclusions, and state rules vary.
Ask about the warranty
Confirm what the shop covers if the repair spreads or the damage remains visible. Warranty terms and exclusions differ.
Common Windshield Chip Repair Mistakes to Avoid
Many poor repair results begin before the resin is applied. Dirt, moisture, unsuitable weather, and incorrect tool placement can prevent the resin from filling the chip. Rushing the process or using the wrong material can make the result worse and may complicate later professional work.
Take time to check the glass and read the kit directions. If the instructions do not cover your damage pattern, do not improvise. An uncertain repair is not worth risking clear vision or a safe windshield.
Source: i.ytimg.com
Using household glue
Super glue, nail polish, and ordinary epoxy are not designed to repair laminated windshield chips. They may not bond correctly and can interfere with proper repair.
Repairing wet or dirty glass
Moisture and debris can block resin from entering the damaged area. Use the kit’s approved preparation method and wait until the glass is dry.
Ignoring the temperature range
Glass that is too hot or too cold may affect resin flow and curing. Follow the manufacturer’s stated conditions rather than guessing.
Applying excessive force
Pushing hard on the glass or trying to open the chip with a sharp tool may extend the damage. Let the approved applicator do its job.
Expecting a perfect appearance
Repair resin can reduce the visibility of a chip, but it cannot always remove the mark. Do not keep adding resin in an attempt to make it disappear.
Delaying an assessment
A small chip can spread with temperature changes and road vibration. Arrange repair promptly instead of waiting for a long crack to form.
What Should You Do If the Chip Spreads?
Stop the DIY process if the chip develops new branches or becomes a longer crack. Do not assume another layer of resin will restore the glass. Have a qualified auto glass technician inspect the damage and decide whether repair remains appropriate.
If the crack obstructs your view, the windshield appears unstable, or the damage may compromise safe operation, do not continue driving the vehicle. Arrange appropriate assistance or transport to a repair facility.
Avoid sudden temperature changes
Do not pour hot or cold water on the windshield or direct intense heat at the damaged area.
Limit unnecessary stress
Avoid slamming doors or putting pressure on the windshield while the damage is being assessed.
Arrange an inspection
Share the chip’s location, visible size, and any recent spreading with the repair provider.
How to Prevent Windshield Chips From Getting Worse
Once a chip appears, the best next step is to protect the area and arrange a suitable repair. Prevention cannot reverse existing damage, but a few careful habits can lower the chance of additional impacts or avoidable stress on the glass.
Keep a greater following distance behind trucks and vehicles that may throw loose stones. On roads with fresh gravel, construction debris, or loose material, reduce speed when safe and leave more room. These steps cannot eliminate the risk, but they can reduce exposure to some common sources of windshield damage.
Inspect your windshield during routine car care. A small impact mark is easier to assess before dirt builds up or the damage spreads. If you notice a chip, record its location and contact a repair provider promptly.
Source: m.media-amazon.com
Protect a fresh chip
Use a purpose-made chip protection tab if suitable, and follow its instructions. It is a temporary measure, not a substitute for repair.
Avoid sudden heating or cooling
Use climate controls gradually when practical. Do not blast extreme heat onto a cold, damaged windshield.
Choose safer parking
When possible, avoid areas where falling branches, loose building material, or nearby work may expose the vehicle to additional impacts.
Repair damage promptly
A timely assessment may prevent a small repairable chip from becoming a more costly replacement problem.
Does Weather Affect Windshield Chip Repair?
Yes. Temperature and moisture can affect both the glass and the repair resin. A sudden temperature change can add stress to damaged glass, while moisture or condensation in the chip can interfere with some repair processes.
The right conditions depend on the product being used. Follow the kit’s temperature and moisture limits, and choose a dry location when possible. If the weather falls outside the instructions, wait for suitable conditions or arrange professional service.
In hot weather
Avoid working on glass that is hotter than the kit permits. Direct sun can heat the windshield quickly.
In cold weather
Do not force a rapid temperature change. Use only a repair method approved for the current conditions.
In wet weather
Keep water out of the chip and allow the area to dry as directed before applying resin.
Safety, Visibility, and Insurance Considerations
A windshield is more than a clear panel in front of the driver. It helps maintain the vehicle’s body structure and supports proper operation of some safety systems. The windshield also needs to provide a clear view of the road, traffic signals, pedestrians, and other road users.
Damage near the driver’s direct viewing area deserves special care because even a small repair can leave optical distortion. A chip close to the edge may also affect an area important to the windshield’s structural performance. In these cases, ask a qualified technician to determine the right course of action rather than relying only on the apparent size of the mark.
Vehicle inspection requirements and windshield rules vary across U.S. states. Some jurisdictions have specific rules about cracks, chips, or obstructions in the driver’s view. Check the rules that apply where the vehicle is registered and operated, and do not assume that a repaired chip automatically meets every requirement.
Source: i.ytimg.com
Insurance eligibility
Review your policy or contact your insurer to learn whether chip repair is covered, whether a deductible applies, and whether you must use an approved repair provider.
Repair documentation
Keep the receipt and any repair warranty. These records may help if the damage spreads or you need to discuss the repair with your insurer.
Advanced driver assistance systems
If windshield replacement is required, ask whether cameras or sensors need calibration under the vehicle manufacturer’s procedures.
Road safety
Do not drive when the damage creates a serious visibility problem or when the windshield may be unsafe. Arrange professional help instead.
Should You Repair a Chip in the Driver’s Line of Sight?
A chip in the driver’s main field of view should be assessed by a professional before repair. Even if resin fills the damage, the repaired area may still bend or scatter light and create a distraction. The technician can consider the chip’s location, shape, and the applicable repair criteria.
If the mark interferes with your ability to see clearly, do not rely on a DIY kit to make the windshield safe. Depending on the vehicle and the damage, professional repair or replacement may be the appropriate option.
Prioritize clear vision
A repair that leaves a distracting mark in a critical viewing area may not be suitable even if the glass no longer spreads.
Ask for a clear recommendation
Have the technician explain whether the chip can be repaired and whether the expected visual result is acceptable.
Frequently Asked Questions
Q
Can I repair a windshield chip myself?
Yes, some small chips can be repaired at home with a suitable automotive windshield repair kit. The chip must fall within the kit’s limits, and the glass must be suitable for repair. Damage near the windshield edge, long cracks, complex breaks, or marks in the driver’s main viewing area should be assessed by a professional.
Q
How long does it take to repair a windshield chip?
Many DIY kits can be used in a short session, but the exact time depends on preparation, the type of damage, and the product’s curing instructions. Allow enough time to complete each step correctly rather than rushing. Professional repair times also vary by the damage and service provider.
Q
Will a windshield chip disappear completely after repair?
Not always. Resin can reduce the chip’s visibility and help stabilize suitable damage, but a faint mark may remain. The final appearance depends on the chip’s shape, depth, contamination, and how well the resin enters the damaged area. A repair should be judged on both stability and visibility, not appearance alone.
Q
Can I use super glue or clear nail polish on a windshield chip?
No. These household products are not designed for windshield chip repair. They may fail to bond correctly, leave a distracting surface, or make a later professional repair more difficult. Use a dedicated automotive glass repair kit or consult an auto glass technician.
Q
Will a windshield chip turn into a crack?
It can. Temperature changes, road vibration, vehicle movement, and additional impacts may cause a chip to spread. Not every chip becomes a crack, but prompt assessment and suitable repair can reduce the chance of further damage in repairable cases.
Q
Should I repair or replace a chipped windshield?
Repair may be suitable for a small, stable chip that meets the applicable repair criteria. Replacement may be necessary if the damage is extensive, reaches a critical area, causes unacceptable visual distortion, or compromises the windshield’s function. A qualified technician can assess the damage and recommend the appropriate option.
Q
Does car insurance cover windshield chip repair?
Coverage depends on your policy, deductible, insurer, and state. Some policies cover eligible chip repairs under comprehensive coverage or a separate glass benefit, and some may waive a deductible for certain repairs. Contact your insurer before authorizing work so you understand the coverage and provider requirements.
Q
Can I drive with a chipped windshield?
That depends on the chip’s location, size, stability, and effect on visibility. A small chip away from the driver’s view may not prevent a short trip, but a spreading crack, serious obstruction, or suspected structural damage requires prompt attention. If you cannot see the road clearly or believe the windshield may be unsafe, do not drive the vehicle.
✦ Wrapping Up
Conclusion
Learning how to repair windshield chip damage can help you deal with a common car problem before it becomes more serious. A suitable resin kit may work for a small, stable chip when the damage, weather, and glass condition meet the manufacturer’s instructions. Careful preparation, correct resin application, and proper curing are key parts of the process.
DIY repair is not right for every chip. Damage near the windshield edge, complex breaks, spreading cracks, and chips that affect the driver’s main viewing area deserve professional assessment. Remember that a repair may leave a visible mark and cannot guarantee that all damage has been restored.
Before spending money on a kit or replacement, inspect the damage, check the product limits, and review your insurance coverage. When the repair’s safety or visual outcome is uncertain, an auto glass technician can help determine whether repair or replacement is the better choice.
💡 Key Takeaway
Inspect the chip today, keep moisture and dirt out of the damaged area, and check whether it falls within a suitable repair kit’s limits. If the damage is spreading, near the windshield edge, or in the driver’s main field of view, arrange a professional inspection instead of attempting a DIY repair.