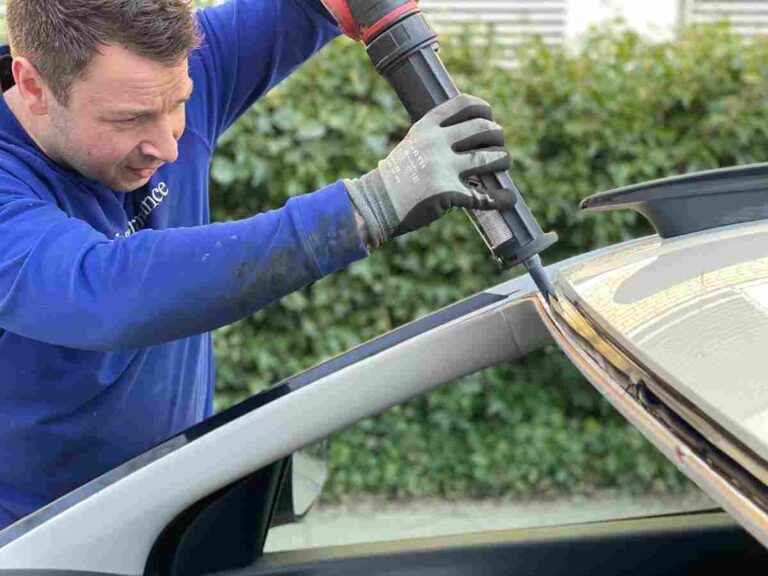
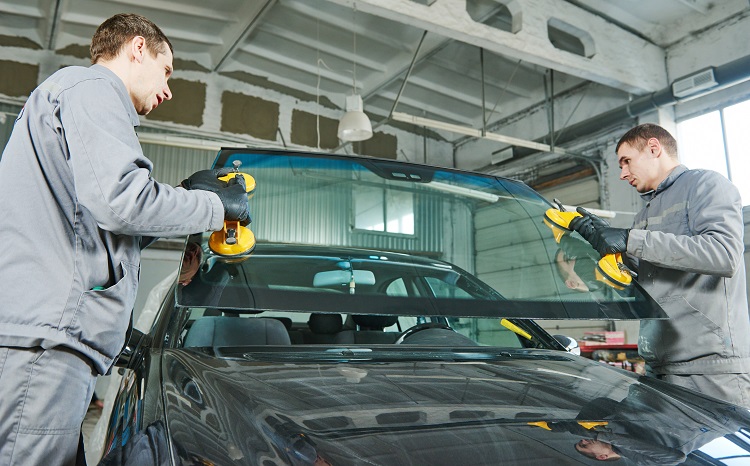
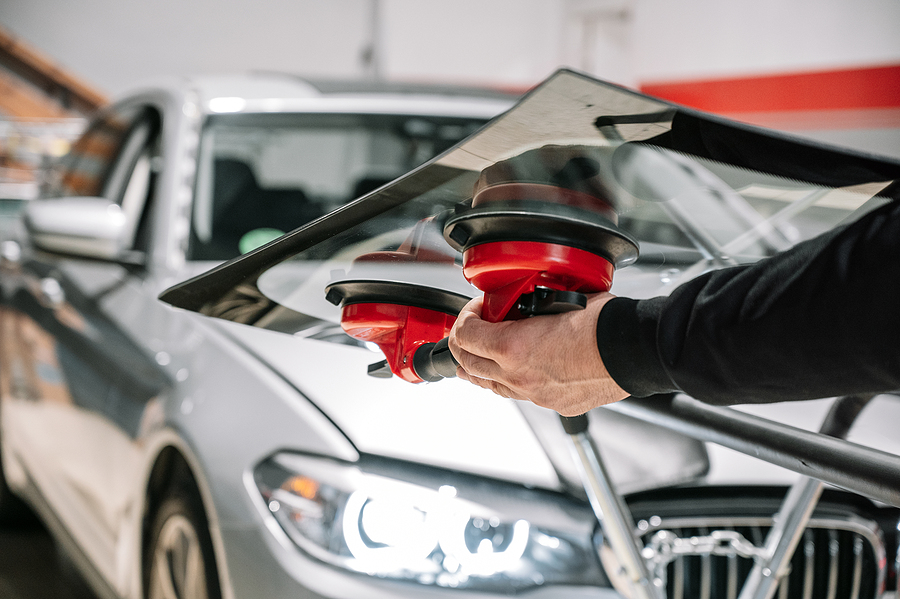
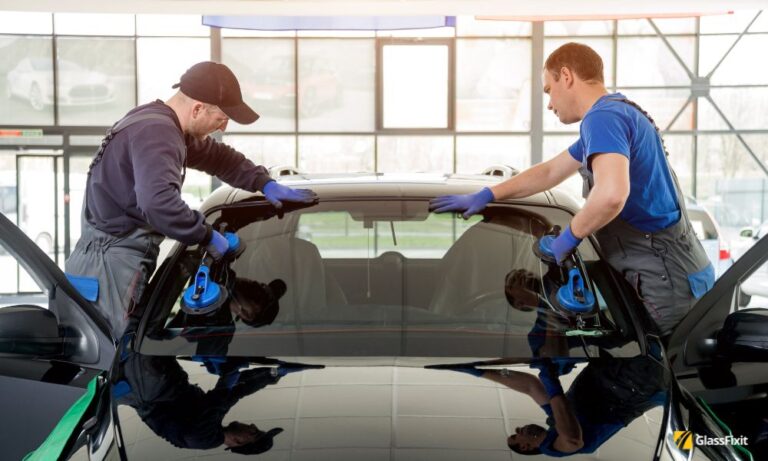
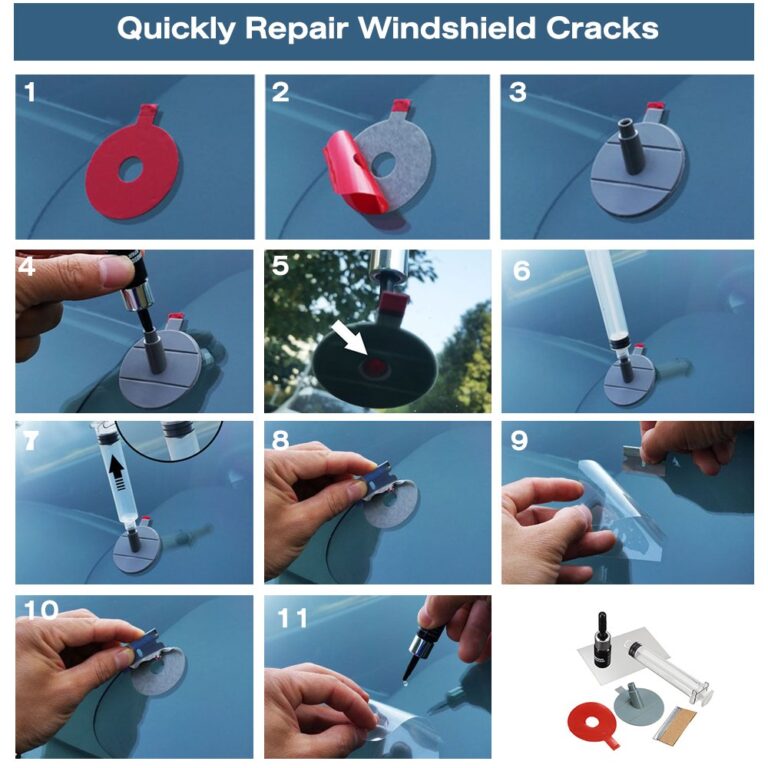
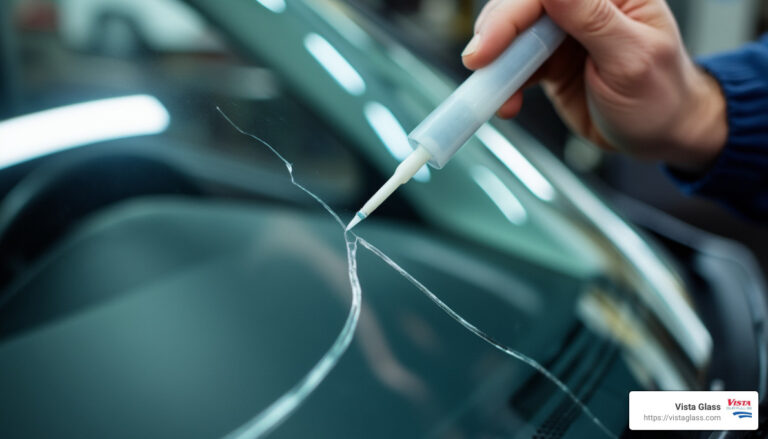
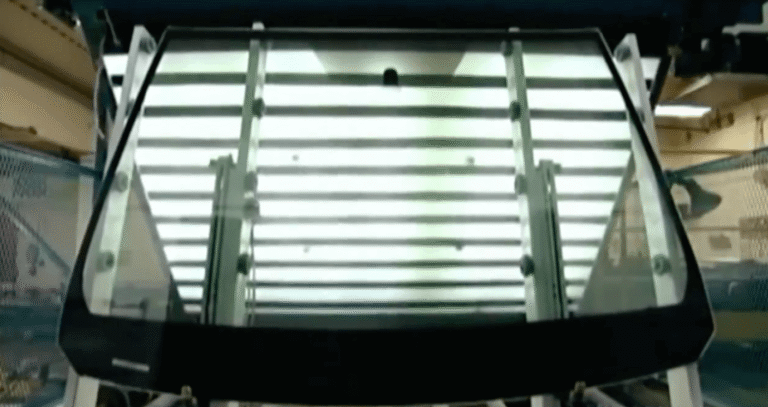
A correctly installed windshield should sit evenly in the opening, have secure and consistent molding, remain dry during rain or washing, produce no unusual wind noise, and show no movement, visible adhesive gaps, distortion, or warning lights related to windshield-mounted driver-assistance systems.
If you recently had a windshield replaced in the United States, checking the installation is about more than appearance. Modern windshields are bonded to the vehicle body with automotive urethane, and the windshield assembly can also support cameras, rain sensors, antennas, heating elements, and other equipment. A problem with the installation may therefore show up as a water leak, excessive highway wind noise, uneven trim, distorted visibility, loose glass, or an advanced driver-assistance system that no longer operates as expected.
You do not need specialized equipment for the first inspection. Start with the windshield’s position and molding, then check the cabin for water and air leaks, inspect the glass from inside and outside, and confirm that any windshield-mounted technology works normally. Some conditions require professional evaluation, especially movement of the glass, visible bonding problems, persistent leaks, optical distortion in the driver’s viewing area, or problems involving forward-facing cameras.
This guide explains how to tell if windshield installed correctly, what normal installation should look and feel like, which warning signs deserve attention, what to avoid immediately after replacement, and when to return to the installer rather than attempting a repair yourself.
The most useful way to evaluate a replacement windshield is to inspect several independent signs rather than relying on a single detail. Start with the physical fit, continue with the molding and adhesive area, and then check for leaks, noise, optical problems, and electronic-system issues.
A good installation generally looks symmetrical and secure. The windshield should not appear noticeably higher on one side, excessively recessed on another, or shifted so that the surrounding gaps look substantially different from side to side. Some vehicle designs naturally have different gap sizes around different portions of the glass, so compare opposite sides rather than assuming every edge should have the same spacing.
You should also consider when the windshield was installed. Fresh automotive urethane requires a specified period before the vehicle is safe to drive. That period varies with the adhesive, temperature, humidity, airbag configuration, and installation procedure. Follow the installer’s safe drive-away instructions rather than assuming a universal waiting time.
Source: storage.googleapis.com
Even positioning
The windshield should appear properly centered and consistently seated in the body opening.
Stable glass
The glass should not shift, lift, or move when the vehicle is driven or when doors are used normally.
Secure molding
Exterior trim should lie properly against the surrounding surfaces without obvious loose sections.
Dry interior
Rain and normal vehicle washing should not send water through the windshield perimeter into the cabin.
Normal highway sound
A new whistling or rushing noise around the windshield deserves investigation.
Clear visibility
The glass should not create distracting waves, bends, double images, or unusual distortion in the driver’s normal field of view.
Inspect the Windshield From Several Angles
Park the vehicle on level ground in good daylight and walk around the front of the vehicle. Look across the windshield rather than only straight at it. A low viewing angle can make uneven seating, lifted molding, and unusual reflections easier to notice.
Then sit in the driver’s seat and scan through different areas of the glass while looking at straight objects such as building edges, poles, lane markings, or garage-door frames. Slight visual changes can occur through curved automotive glass, but pronounced waviness or distortion in the area you normally look through while driving should be evaluated.
Check Whether the Windshield Sits Evenly in the Opening
An incorrectly positioned windshield may sit too high, too low, too far to one side, or at an inconsistent depth. Large positioning errors can affect molding fit, create wind noise, interfere with surrounding panels, or leave portions of the bonded area vulnerable.
Compare the left and right edges of the windshield and examine the upper corners. Look for dramatic differences rather than tiny cosmetic variations. The body opening, glass shape, trim design, and molding system differ among vehicles, so a perfectly uniform visible gap around the entire perimeter is not a universal requirement.
You should not attempt to reposition bonded windshield glass yourself. Once automotive urethane has cured, correcting a significant positioning error normally requires professional removal and reinstallation.
Source: texasreliableautoglass.com
Compare opposite sides
Look for an obvious difference between the driver’s side and passenger’s side seating.
Inspect the corners
Corners should not appear unusually raised, sunken, or separated from surrounding molding.
Look along the roof edge
Check whether the top of the windshield follows the expected position relative to the roof and trim.
Inspect the Windshield Molding and Exterior Trim
Molding provides one of the easiest visual clues after windshield replacement. Depending on the vehicle, the windshield may use decorative molding, encapsulated trim attached to the glass, separate exterior pieces, or a combination of components.
Walk around the windshield and look for molding that is severely twisted, lifted, buckled, missing, or detached. A small cosmetic difference does not automatically mean the bonded windshield is unsafe, because the urethane adhesive rather than decorative trim normally provides the structural bond. However, badly fitted trim can indicate poor finishing work and may contribute to noise or water-management problems.
Do not pull aggressively on molding to test it. Pulling a correctly fitted component out of place can create a new problem that was not present before.
Source: glasshopperautoglass.com
Loose sections
Look for trim that visibly lifts or flutters instead of remaining properly positioned.
Large gaps
Investigate unexplained openings between molding and adjacent body surfaces.
Bent or damaged trim
Distorted molding may have been damaged during removal or reinstallation.
Missing components
Make sure covers, clips, cowl pieces, and other components removed for the job were reinstalled.
Check for Water Leaks Around the Windshield
Water entering around a newly installed windshield is one of the clearest reasons to contact the installer. Water can enter through a discontinuity in the bonded area or through another nearby path such as a roof seam, sunroof drain, cowl area, body seam, or door seal, so locating moisture near the windshield does not automatically prove that the glass installation is responsible.
After rain or a normal vehicle wash, inspect the headliner near the upper windshield edge, both A-pillar areas, the dashboard corners, and the front carpet. Look for dampness, droplets, staining, or a musty odor that was not present before the replacement.
Avoid aiming a high-pressure washer directly under windshield molding as a diagnostic technique. A concentrated pressure stream can force water into areas that may remain dry during normal weather and can disturb exterior trim.
Source: windshieldexperts.com
Wet headliner
Moisture near the upper windshield corners may indicate a leak path that needs professional diagnosis.
Damp A-pillar trim
Water traveling down either side of the windshield can appear behind or around interior pillar trim.
Wet dashboard or carpet
Water can travel before becoming visible, so inspect lower areas as well as the point where you first notice moisture.
Recurring moisture
Repeated dampness after rain is more meaningful than an isolated drop with an uncertain source.
What to Do If the New Windshield Leaks
Document where and when the moisture appears, take photographs if the evidence is visible, and contact the installer. Professional leak diagnosis is preferable to applying household silicone, tape, or sealant around the windshield.
Adding an incompatible sealant can make the area harder to inspect and may not address a defect in the urethane bond. If the bonding itself is defective, the appropriate repair may involve removing and reinstalling the windshield.
Listen for New Wind Noise While Driving
A new whistle, hiss, flutter, or unusually loud rushing sound that begins immediately after windshield replacement can point to an air leak, loose molding, or a trim component that was not properly reinstalled.
Do not assume every noise is caused by the urethane bond. Roof racks, side mirrors, door seals, loose cowl components, wiper parts, and exterior trim can generate similar sounds. The timing is useful evidence: a noise that begins only after windshield replacement deserves inspection of the areas disturbed during the job.
Pay attention to the location and speed at which the sound becomes noticeable. If possible, have a passenger listen so the driver can concentrate on the road.
Whistling
A narrow air path around trim or another disturbed component can create a distinct whistle.
Fluttering
Loose molding or exterior trim can vibrate as vehicle speed increases.
Rushing air
A significant change in airflow noise near the glass should be compared with the vehicle’s sound before replacement.
Look for Visible Adhesive or Bonding Problems
The windshield is normally bonded to the body with automotive urethane. Much of this bond is hidden once installation is complete, which means a homeowner-style visual check cannot verify the entire adhesive bead.
What you can identify are obvious warning signs such as a section of glass that moves, a visibly open area where the windshield appears not to meet the expected bonding zone, excessive exposed adhesive, or evidence that the glass is separating from the body.
Do not insert tools under the molding, cut the urethane, or push forcefully against the windshield to investigate the bond. Those actions can damage a sound installation or compromise a questionable one further.
Source: smileysglass.com
Glass movement
Noticeable movement should be professionally inspected rather than treated as a cosmetic issue.
Visible separation
A clear opening between bonded surfaces may indicate a serious installation defect.
Abnormal adhesive exposure
Large or irregular areas of exposed urethane deserve evaluation, especially when accompanied by leaks or movement.
Inspect the Glass for Distortion, Damage, and Correct Equipment
Correct installation also means the replacement glass should provide usable visibility and support the equipment intended for that windshield configuration. Inspect the windshield for cracks, chips, scratches, unusual waves, contamination between laminated layers, or optical distortion that interferes with normal driving.
Look especially through the area directly in front of the driver. Move your head slightly while looking at a straight object through the glass. Severe bending, doubling, or waviness that distracts you while driving should be reported to the installer.
The replacement windshield also needs to match the vehicle’s required features. Depending on the model, those may include a camera bracket, rain sensor area, heating elements, antenna components, acoustic layers, head-up display compatibility, or other equipment. The exact requirements depend on the vehicle and trim level.
Optical distortion
Noticeable waves or double images in the driver’s viewing area can impair comfortable visibility.
Fresh chips or scratches
Inspect for damage that may have occurred during handling or installation.
Missing features
Confirm that equipment associated with the original windshield is present and operates as expected.
Sensor mounting
Cameras and sensors attached near the windshield should be securely and correctly positioned.
Confirm ADAS Cameras and Sensors Work Correctly
Many newer U.S. vehicles use a forward-facing camera mounted near the top of the windshield for features such as lane-departure warning, lane-keeping assistance, automatic emergency braking, traffic-sign recognition, or adaptive cruise-control functions. Windshield replacement can change the camera’s position relative to the road.
Depending on the vehicle manufacturer’s procedure, camera calibration may be required after windshield replacement. Calibration can be static, dynamic, or involve both methods. The correct procedure depends on the vehicle, equipment, and service information.
If an ADAS warning appears after replacement, a camera feature becomes unavailable, or the installer says calibration is required, do not assume that clearing a warning light solves the underlying issue. Have the system checked according to the vehicle manufacturer’s service procedure.
Dashboard warnings
A new camera, lane-assist, collision-warning, or related message after replacement should be investigated.
Unavailable functions
ADAS features that worked before the glass replacement should not be ignored if they stop functioning afterward.
Calibration documentation
If calibration was performed, retain the service documentation with the windshield-replacement records.
Why ADAS Calibration Matters
The camera interprets the road from a specific mounting position. A windshield or mounting change can alter that relationship enough that the vehicle manufacturer specifies recalibration. Because the procedure is vehicle-specific, this is not an area where a universal home test can confirm correct calibration.
Make Sure Removed Parts Were Reinstalled Properly
Windshield replacement may require removal or movement of wiper arms, cowl panels, rearview-mirror components, camera covers, interior trim, weatherstrips, clips, or exterior molding. Problems with these parts can mimic an incorrectly bonded windshield.
After the replacement, confirm that the wipers operate across the expected area without striking trim, the cowl sits properly, covers near the rearview mirror are secure, and interior A-pillar trim appears correctly fitted.
Do not remove A-pillar trim solely to inspect the windshield. Some vehicles contain curtain airbags and wiring behind this trim, so unnecessary disassembly can create safety concerns.
Source: carglassfix.com
Wipers
Check for normal sweep, parking position, and clearance from surrounding components.
Cowl panels
Panels at the bottom of the windshield should not be obviously loose or incorrectly positioned.
Mirror and sensor covers
Plastic housings should be properly fitted rather than hanging or rattling.
Interior trim
Pillar trim should appear secure without unusual gaps created during the replacement.
Correct Windshield Installation Versus Possible Installation Problems
This comparison can help separate common signs of a normal replacement from conditions that justify a follow-up inspection. No single cosmetic detail proves whether the hidden urethane bond was applied correctly, so consider several observations together.
Windshield position
Normal condition: glass appears centered and consistently seated. Possible problem: one edge is dramatically raised, recessed, or shifted.
Molding
Normal condition: molding is secure and follows the glass perimeter. Possible problem: major sections are loose, folded, missing, or lifting.
Water
Normal condition: cabin remains dry during ordinary rain and washing. Possible problem: recurring moisture appears around the windshield, headliner, pillars, dashboard, or carpet.
Noise
Normal condition: road and wind noise remain similar to before replacement. Possible problem: a new whistle, flutter, or strong rushing sound begins after the work.
Glass stability
Normal condition: glass remains stationary. Possible problem: the windshield visibly shifts or separates.
Visibility
Normal condition: view through the windshield is clear and comfortable. Possible problem: severe distortion, double images, scratches, or other defects interfere with visibility.
ADAS
Normal condition: applicable driver-assistance systems work normally after required service. Possible problem: warnings, unavailable functions, or unresolved calibration requirements appear after replacement.
What to Do Immediately After Windshield Replacement
The first hours after replacement matter because the adhesive must develop the required strength. Follow the specific instructions supplied by the installer because cure behavior and safe drive-away requirements vary by adhesive system and conditions.
If the technician applied retention tape, leave it in place for the period specified by the installer. Avoid disturbing fresh molding or pressing around the windshield perimeter just to test the installation.
Some installers may provide additional directions concerning car washes, pressure washing, door operation, or other activities shortly after installation. Follow those directions for the adhesive and vehicle involved rather than relying on a fixed rule found online.
Respect the safe drive-away time
Do not drive before the time specified for the adhesive system and installation conditions.
Leave retention tape alone
Keep any installation tape in place for the period recommended by the installer.
Do not disturb fresh trim
Avoid pulling, pressing, or repeatedly testing molding while the installation is fresh.
Keep your paperwork
Retain the invoice, glass information, warranty details, and any ADAS calibration documentation.
When to Return to the Windshield Installer
Contact the installer when you find a repeatable problem that began after the windshield replacement. Early documentation makes it easier to explain what you are seeing or hearing and gives the shop an opportunity to inspect the work.
Some issues are primarily cosmetic, while others deserve prompt attention. Windshield movement, visible separation, substantial water entry, serious optical distortion, unexplained cracking near an edge, or unresolved ADAS problems should not simply be monitored indefinitely.
If you have concerns about whether the windshield is securely bonded, avoid trying to repair the adhesive yourself. A qualified auto-glass professional can evaluate installation height, glass position, molding, bonding, contamination concerns, and related components.
Return promptly for movement
Glass that appears loose or shifts relative to the body needs professional assessment.
Report recurring leaks
Document where water appears and under what conditions.
Report new highway noise
Note the speed and approximate area where a whistle or flutter becomes noticeable.
Report visibility problems
Explain where distortion appears relative to the driver’s normal viewing area.
Address ADAS warnings
Have windshield-mounted camera or sensor concerns checked according to applicable vehicle procedures.
Frequently Asked Questions
Q
How soon can I tell if a windshield was installed incorrectly?
Some problems are visible immediately, including badly positioned glass, damaged molding, missing trim, scratches, or obvious distortion. Other symptoms may appear only after you drive at highway speed or encounter rain, such as wind noise and water leaks.
Follow the installer’s safe drive-away and aftercare instructions before carrying out any checks that could disturb a fresh installation.
Q
Should a newly installed windshield make wind noise?
A windshield replacement should not normally create a pronounced new whistle, flutter, or rushing-air sound. If the vehicle becomes noticeably noisier immediately after replacement, ask the installer to check the molding, cowl, exterior trim, glass position, and sealing area.
Wind noise does not by itself prove that the urethane bond has failed because nearby trim and body components can create similar sounds.
Q
Is a small gap around a replacement windshield normal?
Visible spacing depends on the vehicle’s glass, body opening, molding design, and trim configuration. Different edges of the windshield do not necessarily have identical visible gaps.
A large new opening, pronounced side-to-side difference, lifted molding, water entry, or exposed separation deserves inspection.
Q
Can a badly installed windshield leak only when it rains heavily?
Yes. A small leak path may become noticeable only during prolonged rain or when water reaches the vehicle from a particular direction. However, water near the windshield can also originate from sunroof drains, roof seams, door seals, cowl areas, or other body openings.
Document the conditions that produce the leak and allow the installer or repair shop to identify the actual path rather than applying sealant based only on where water becomes visible.
Q
Does every vehicle need ADAS calibration after windshield replacement?
No universal rule applies to every vehicle, but many vehicles with windshield-mounted forward-facing cameras require calibration after windshield replacement according to manufacturer procedures.
The requirement and method depend on the year, make, model, equipment, and service information. Ask the installer whether your specific vehicle requires calibration and retain any documentation if it is performed.
Q
Can I reseal a leaking windshield myself?
Applying household silicone or another sealant around a replacement windshield is generally not a good diagnostic or repair strategy. The visible point where water appears may not be the actual leak source, and an added sealant can complicate professional inspection.
If the urethane bond is defective, correcting the installation may require professional removal and reinstallation rather than adding material around the outside.
✦ Wrapping Up
Conclusion
Knowing how to tell if windshield installed correctly starts with a systematic inspection. Check whether the glass is evenly positioned and stable, examine the molding and surrounding components, look for water entry, listen for new wind noise, inspect visibility through the glass, and confirm that windshield-mounted cameras or sensors operate as expected.
A minor cosmetic difference does not automatically mean the installation is unsafe, and you cannot verify the entire hidden urethane bond simply by looking at the windshield. The strongest warning signs are movement of the glass, visible separation, persistent leaks, substantial new wind noise, serious optical distortion, damaged or badly fitted components, and unresolved ADAS problems.
When something appears wrong, document the symptom and return to the installer for inspection instead of cutting adhesive, pulling molding apart, or applying household sealants. Proper diagnosis is especially important when the concern involves windshield retention, visibility, or driver-assistance equipment.
💡 Key Takeaway
Inspect the windshield in daylight, compare both sides, check the molding and cabin for leaks, listen for new highway wind noise, verify clear visibility and normal ADAS operation, and contact the installer promptly if the glass moves, leaks, appears separated, or creates a significant safety or visibility concern.