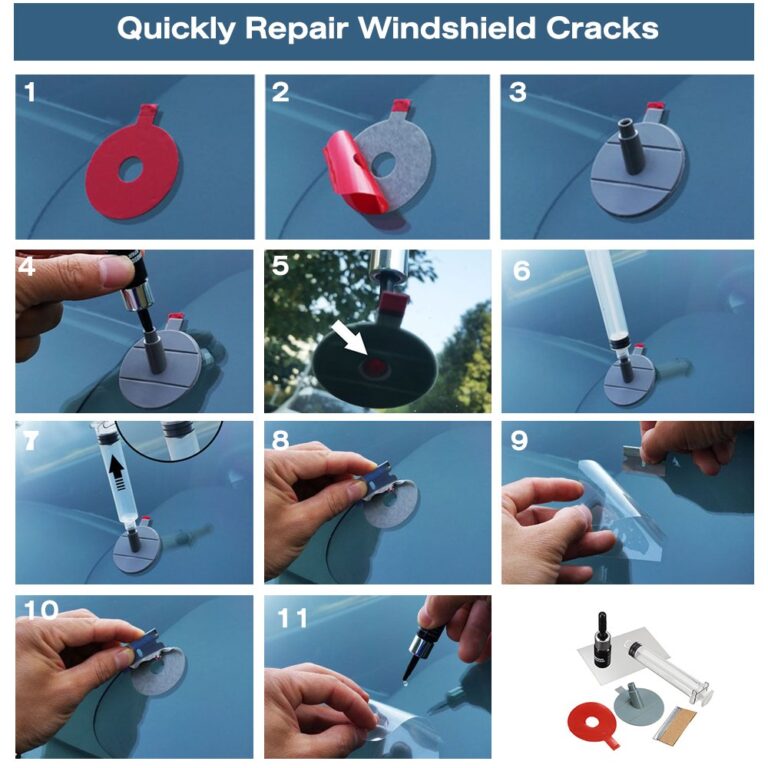
To use a Permatex Windshield Repair Kit, clean the damaged spot, center the adhesive disc and pedestal over the impact point, add the repair resin, use the syringe to create vacuum and pressure cycles, apply a final drop of resin under the curing strip, and cure the repair in direct sunlight.
For U.S. drivers, a small rock chip can happen almost anywhere, from an interstate commute to a gravel-covered rural road. Repairing a suitable chip quickly can help keep contamination out of the damage and may reduce the chance that a small break develops into a larger problem. The Permatex Windshield Repair Kit, commonly sold as item 09103 in the United States, is designed as a do-it-yourself repair system for relatively small bullseye-type damage in laminated automotive windshield glass.
The procedure is more specific than simply squeezing resin into a chip. Permatex directs users to work in the shade with the windshield between 50°F and 75°F, carefully seal the injector pedestal over the impact point, use the syringe first to create a vacuum and then pressure, and finally cure a surface layer of resin with sunlight. Correct positioning, temperature, cleanliness, and curing time all affect how well the resin penetrates the damaged glass.
This guide explains how to use the Permatex windshield repair kit step by step, what each component does, how long the main stages take, how to recognize a successful repair, and when a damaged windshield should be evaluated by an auto-glass professional instead of repaired with a DIY kit.
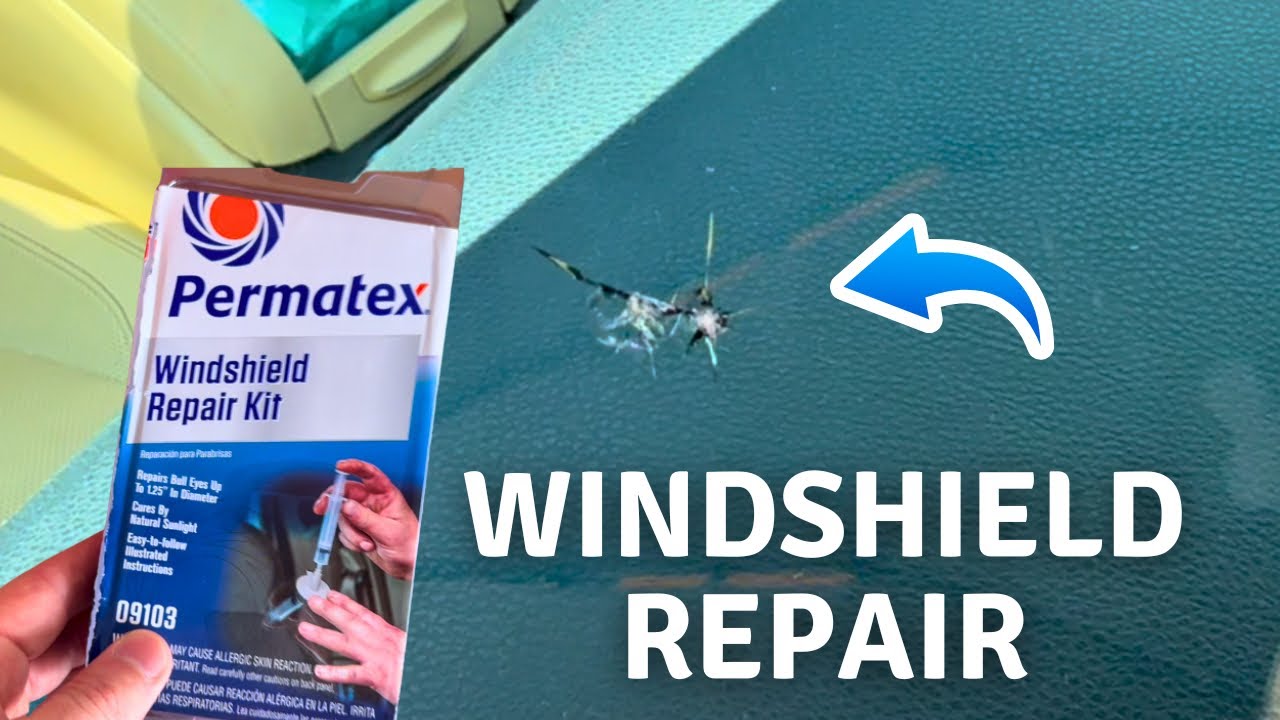
Before opening the resin, inspect the windshield and make sure the damage is appropriate for this type of repair. The Permatex 09103 kit is intended for small bullseye-type damage on laminated automotive windshield glass. Permatex specifies damage not exceeding approximately 1 1/4 inches in diameter.
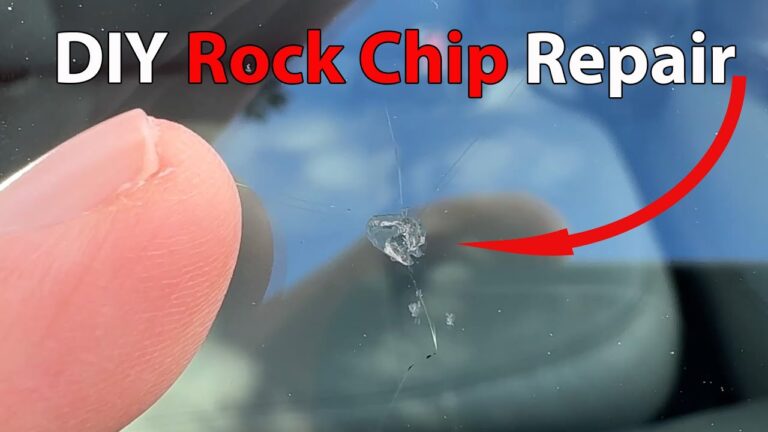
The goal of a windshield repair is not necessarily to make the chip completely invisible. Resin fills and stabilizes the damaged area, but a faint mark, shadow, pit, or small fracture line can remain after curing. Cosmetic improvement varies with the shape of the break, contamination inside it, age of the damage, and how completely the resin reaches the fractures.
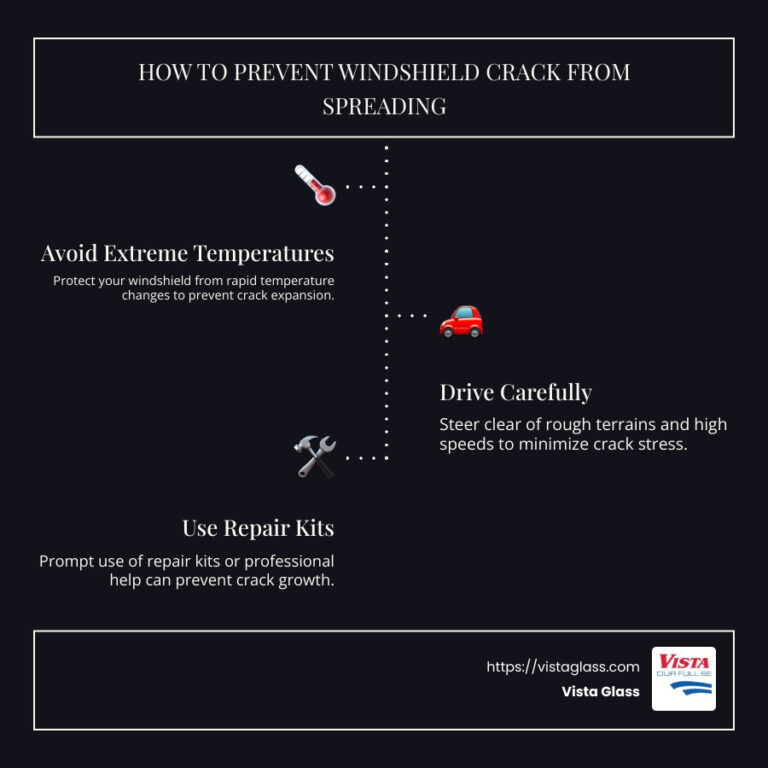
Temperature also matters. Park the vehicle in a shaded location and allow the glass to reach between 50°F and 75°F before beginning. Do not start with the windshield baking in direct summer sunlight. The final curing stage uses sunlight, but the preparation and injection stages should be completed in the shade.
Source: rvhabit.com
Suitable damage
A small bullseye or similar repairable impact point within the size limit specified by Permatex.
Suitable glass
Laminated automotive windshield glass rather than ordinary side-window tempered glass.
Working temperature
Keep the windshield between 50°F and 75°F during the initial repair procedure.
Working location
Perform the resin-injection stages in a shaded area and move the vehicle into sunlight only when instructed to cure the resin.
When You Should Not Rely on a DIY Windshield Repair
A DIY resin kit is not appropriate for every windshield break. Professional evaluation is the safer choice when damage is extensive, reaches an edge, involves multiple long cracks, appears to penetrate more than the outer glass layer, or affects an area where remaining distortion could significantly interfere with the driver’s view.
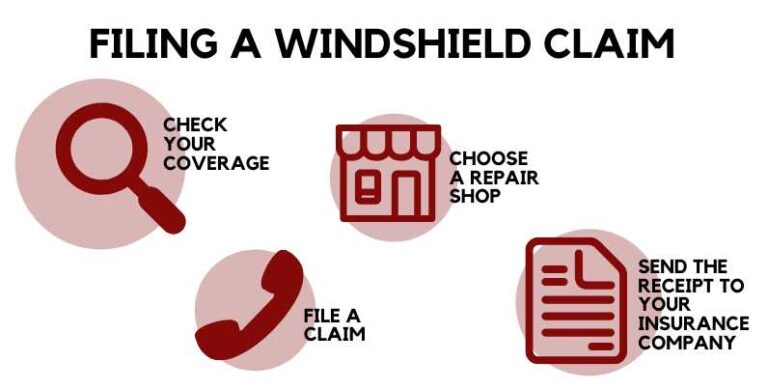
If you are uncertain about the structural condition of the windshield, have an auto-glass technician inspect it. U.S. inspection requirements, insurer procedures, and rules concerning windshield damage vary by state and situation, so a DIY repair should not be treated as proof that a windshield meets every applicable requirement.
Edge damage
Cracks extending to the windshield edge deserve professional assessment because edge damage can be more difficult to stabilize.
Large or spreading cracks
Damage well beyond the kit’s stated repair size should not be treated as a normal bullseye repair.
Severe visual obstruction
Have damage professionally evaluated when the remaining blemish could obstruct the driver’s critical field of view.
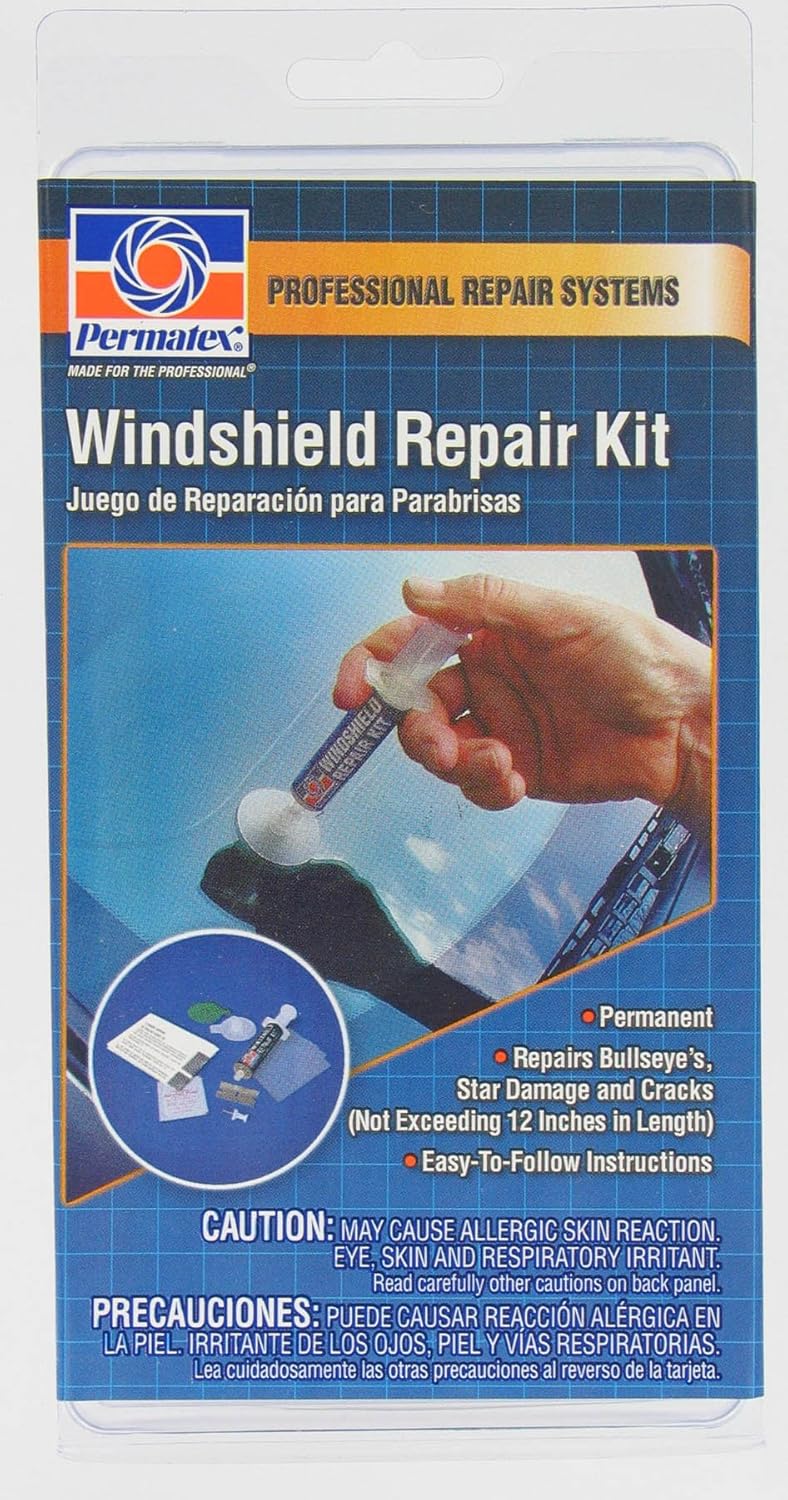
What Comes in the Permatex 09103 Windshield Repair Kit
Knowing what each component does makes the repair much easier to follow. The Permatex 09103 kit includes the main pieces needed to clean, inject, pressurize, cure, and finish a small windshield chip.
The adhesive disc creates the seal against the windshield, while the pedestal provides the connection point for the resin and syringe. The syringe performs two different jobs: pulling air from the damaged area and later applying pressure that encourages resin to move into the fractures.
Source: storage.googleapis.com
Repair resin
The liquid compound that penetrates and fills the damaged area.
Adhesive disc
Attaches to the windshield around the chip and helps form a sealed injection area.
Pedestal
Mounts over the adhesive disc and connects the chip to the syringe.
Syringe and plunger
Creates the vacuum and pressure stages required by the repair procedure.
Curing strip
Covers the final surface resin while ultraviolet light cures it.
Push pin
Helps remove loose glass fragments from the impact pit.
Razor blade
Removes the pedestal and later levels cured excess resin.
Alcohol towelette
Cleans the glass around the damaged area.
How to Use Permatex Windshield Repair Kit Step by Step
Read the instruction sheet completely before opening the resin. Once resin is exposed and the injector is assembled, stopping to figure out an unfamiliar part of the procedure increases the chance of contamination, leakage, or incorrect timing.
Place a cloth or disposable towel along the lower windshield area beneath the chip before working with the resin. Permatex warns against allowing the repair resin to contact painted vehicle surfaces.
Source: youtube.com
Step 1: Clean the Windshield Chip
Use the included alcohol towelette to clean the glass around the damage. Then use the push pin carefully to remove loose glass particles from the impact pit. You are clearing debris, not trying to enlarge the hole.
Allow the surface to be clean and dry before applying the adhesive disc. Dirt, water, glass fragments, or oily residue can interfere with the seal and resin penetration.
Step 2: Center the Adhesive Disc Over the Damage
Peel the backing from one side of the adhesive disc. Position its center opening directly over the impact point with the tab facing upward. Press the disc firmly against the windshield.
Look at the adhesive from inside the vehicle if necessary. The entire disc should be contacting the glass without obvious gaps or trapped air around the sealing area. Accurate centering matters because the pedestal must deliver resin directly into the pit.
Step 3: Attach the Pedestal
Peel the remaining protective backing from the exposed side of the adhesive disc. Align the pedestal with the disc so its tab matches the tab on the adhesive, then press the pedestal firmly into place.
Run your fingers around the mounted assembly to confirm an even seal. A poor seal can allow resin or air to escape and reduce the effectiveness of the vacuum and pressure stages.
Step 4: Add the Repair Resin
Remove the cap from the resin tube. Keep it away from your face and the vehicle’s painted finish while opening it. Permatex directs users to cut approximately 1/8 inch from the tip.
Insert the resin tube stem approximately 1/4 inch into the pedestal opening and carefully squeeze the resin into the pedestal. Remove the tube after loading the resin, wipe residue from the tip, replace the cap, and save the remaining resin. You will need some of it for the final surface-filling step.
Step 5: Connect the Syringe
Before installing the syringe, make sure its plunger is pushed fully down. Firmly twist the syringe tip into the pedestal. The connection needs to be tight enough for the syringe to create the required pressure changes.
Step 6: Create the Vacuum and Wait 10 Minutes
Hold the syringe securely and gently pull the plunger upward. Lock the plunger at the lowest indent position using the spring clip mechanism. Leave the assembly undisturbed for 10 minutes.
This vacuum stage helps draw trapped air from the damaged area. Moving the pedestal or releasing the syringe prematurely can interfere with that process.
Step 7: Apply Pressure for at Least 20 Minutes
After the 10-minute vacuum period, temporarily remove the syringe from the pedestal to allow air into it. Keep the plunger locked in its specified position while doing so. Reconnect the syringe firmly.
Next, push the plunger downward and lock it at the uppermost indent setting according to the Permatex instructions. Leave the assembly in this pressure position for at least 20 minutes. The pressure stage helps move resin into the fractures surrounding the impact point.
Step 8: Remove the Pedestal and Adhesive Disc
After the pressure period, remove the syringe. Use the supplied razor carefully to begin lifting the pedestal and adhesive disc from the windshield. Work slowly so you do not scratch the surrounding glass or suddenly spill uncured resin.
Remove residual resin around the repair area while keeping the filled impact point ready for the final surface application.
Step 9: Add the Final Resin and Curing Strip
Uncap the saved resin and place a small bead of resin directly into the impact pit. Position the transparent curing strip over the resin.
Use the razor lightly over the curing strip to push out visible air bubbles and spread the resin evenly. Do not scrape away the resin before it has cured.
Step 10: Cure the Repair in Sunlight
The injection work was performed in the shade, but the final resin needs ultraviolet light to cure. Move the vehicle into direct sunlight and allow approximately 15 minutes of curing time.
On a cloudy day, Permatex specifies at least one hour. Do not remove the curing strip until the resin is hard. Insufficient curing can leave the material soft and make the finishing step unsuccessful.
Step 11: Finish the Surface
Once the resin is fully cured, peel away the curing strip. If hardened resin remains slightly above the surrounding windshield surface, hold the razor nearly flat against the glass and carefully shave away the excess.
Clean the surrounding glass when finished. The repaired area should feel substantially smooth even if a faint visual mark from the original impact remains.
Permatex Windshield Repair Timing at a Glance
The repair is not difficult, but rushing the timed stages can reduce resin penetration or leave the finishing resin incompletely cured. Plan enough uninterrupted time to complete the vacuum, pressure, and curing stages correctly.
Under sunny conditions, the required timed stages alone total about 45 minutes: 10 minutes under vacuum, at least 20 minutes under pressure, and approximately 15 minutes of direct-sunlight curing. Preparation, mounting, resin application, cleanup, and finishing add additional time.
Source: youtube.com
Vacuum stage
10 minutes with the syringe plunger locked in the specified vacuum position.
Pressure stage
At least 20 minutes after reconnecting and locking the syringe in its pressure position.
Sunny curing
Approximately 15 minutes in direct sunlight after the curing strip is installed.
Cloudy curing
Allow at least one hour when direct sunlight is unavailable.
How to Know Whether the Windshield Repair Worked
A successful repair does not have to be invisible. The practical signs are that the resin has entered the damaged area, the surface pit has been filled and cured, the repair feels smooth after excess resin is removed, and the damaged area appears stabilized.
You may still see portions of the original bullseye, tiny fracture lines, or a shadow when viewing the glass from certain angles. Permatex specifically notes that the repair may not completely remove the blemish or permanently fill every visible surface pit.
If a visible air pocket remains inside the break or a fracture appears essentially unchanged after the injection process, the resin may not have penetrated the entire damaged area. Avoid repeatedly cutting, drilling, or aggressively manipulating the windshield in an attempt to force a cosmetic improvement.
Source: ar.inspiredpencil.com
Good surface finish
The cured impact point is firm and can be leveled close to the surrounding glass.
Reduced visual contrast
The chip commonly becomes less obvious after resin fills air spaces, although complete disappearance is not guaranteed.
No obvious uncured resin
The surface resin should be hard before the curing strip is removed and finishing begins.
Common Permatex Windshield Repair Kit Mistakes
Most problems occur because of preparation, alignment, temperature, or timing rather than because the steps are mechanically difficult. Taking a few extra minutes before injecting the resin is usually easier than trying to correct a poorly sealed repair afterward.
Source: youtube.com
Working on hot glass
Do not perform the main repair procedure on a windshield heated by direct sun. Follow the 50°F to 75°F windshield-temperature range specified by Permatex.
Leaving debris in the chip
Loose glass and contamination can prevent resin from reaching areas that need to be filled.
Misaligning the adhesive disc
The opening should be centered accurately over the impact pit before the pedestal is attached.
Allowing air gaps under the adhesive
Press the disc and pedestal firmly because the syringe relies on a reasonably sealed assembly.
Using all the resin initially
Save enough resin for the surface-filling step performed after the pedestal is removed.
Skipping the vacuum stage
The vacuum portion is part of the manufacturer’s sequence and helps remove trapped air before pressure is applied.
Shortening the pressure time
Keep the syringe in the pressure position for at least 20 minutes as directed.
Removing the curing strip too soon
Wait until the resin has hardened under sunlight before peeling away the strip.
Expecting invisible glass
Repair can improve the appearance substantially, but residual blemishes or fracture outlines may remain.
What to Do If the Resin Leaks Around the Pedestal
Leakage usually suggests that the adhesive disc or pedestal did not create a complete seal, that the surrounding glass was contaminated, or that the assembly shifted during installation. Stop before spreading additional resin around the windshield or vehicle paint.
Follow the kit instructions rather than improvising with household adhesives around the injector. If the supplied single-use adhesive system can no longer be positioned correctly, professional repair may be more practical than trying to reconstruct the injection seal.
What to Do If Air Is Still Visible in the Chip
Some residual visual marks are normal, but a large unchanged air pocket may indicate incomplete resin penetration. Temperature, contamination, inadequate sealing, insufficient vacuum or pressure time, and the shape of the break can all influence resin flow.
Do not repeatedly stress the glass or press hard on the damaged area. If the break remains unstable-looking or begins spreading, stop the DIY process and arrange an assessment by an auto-glass professional.
Safety Tips While Repairing a Windshield
Handle both the resin and razor carefully. Keep the resin away from your eyes, face, skin, and painted vehicle surfaces, and follow the warnings printed on the current package. Work in a ventilated area and keep the kit away from children.
Use the razor only for the removal and finishing tasks described in the instructions. A shallow angle against the windshield is more appropriate for shaving cured surface resin than pointing the blade directly into the glass.
Also remember that a windshield contributes to vehicle occupant protection. If the damage appears structural, extensive, unusually deep, or outside the repair kit’s stated scope, professional replacement or repair assessment is more appropriate than experimenting with additional resin.
Source: youtube.com
Protect vehicle paint
Place a cloth below the repair and clean accidental resin according to the product instructions before it cures.
Protect yourself
Keep resin away from your face and use the razor slowly and deliberately.
Do not force damaged glass
Avoid pressing aggressively on the chip or manipulating existing fracture lines.
Escalate questionable damage
Use a qualified auto-glass technician when damage exceeds the DIY kit’s intended repair scope.
Frequently Asked Questions
Q
How long does the Permatex Windshield Repair Kit take to use?
The manufacturer’s timed stages include 10 minutes under vacuum and at least 20 minutes under pressure. Final curing takes approximately 15 minutes in direct sunlight or at least one hour on a cloudy day. Including cleaning, assembly, resin application, disassembly, and finishing, allow additional time beyond those minimum timed stages.
Q
Does the Permatex Windshield Repair Kit need sunlight?
Yes, sunlight is used for the final curing stage. However, the main preparation and resin-injection process should be performed in the shade with the windshield between 50°F and 75°F. After the curing strip is installed, move the vehicle into direct sunlight for approximately 15 minutes. Allow at least one hour under cloudy conditions.
Q
Can I use the Permatex kit on a long windshield crack?
The Permatex 09103 instructions focus on small bullseye-type damage up to approximately 1 1/4 inches rather than long spreading cracks. A long crack, an edge crack, or damage outside the stated repair dimensions should be evaluated by an auto-glass professional.
Q
Will a Permatex windshield repair make the chip disappear completely?
Not necessarily. Filling the damaged area with resin can make a chip considerably less noticeable, but Permatex notes that the original blemish may remain visible. The main objective is a properly filled and stabilized repair rather than guaranteed invisible glass.
Q
Can I use the kit when the windshield is hot from the sun?
No. Permatex directs users to perform the repair in a shaded area with the windshield temperature between 50°F and 75°F. If the vehicle has been sitting in strong summer sun, move it into shade and allow the glass temperature to come down before starting.
✦ Wrapping Up
Conclusion
Learning how to use Permatex Windshield Repair Kit correctly comes down to careful preparation and following the injection sequence rather than rushing the resin into the chip. Clean out loose glass, center and seal the adhesive disc, attach the pedestal, add the resin, create the 10-minute vacuum, apply pressure for at least 20 minutes, and then finish the impact pit with fresh resin and the curing strip.
Keep the windshield between 50°F and 75°F while completing the shaded portion of the procedure, then use direct sunlight for the final cure. After the resin hardens, remove the curing strip and carefully shave away excess cured material.
For a suitable small bullseye, the kit can provide a practical DIY repair. If the damage is large, spreading, located at an edge, unusually deep, or otherwise outside the kit’s stated limits, have the windshield assessed by a qualified auto-glass professional.
💡 Key Takeaway
Inspect the damage and windshield temperature before opening the kit. If the chip fits Permatex’s repair limits, complete every vacuum, pressure, and curing stage for the full specified time instead of shortening the process.
Learn how to install a windshield sun shade correctly in your car. Follow simple steps for folding, roll-up, and umbrella-style shades, plus fit, safety, storage, and troubleshooting tips.