To remove the windshield washer fluid reservoir on a Mitsubishi Outlander, drain the fluid, disconnect the battery if required for safe access, remove the necessary wheel-well or underbody covers, unplug the pump and level sensor if equipped, disconnect the washer hoses, and remove the reservoir mounting fasteners. The exact procedure depends on the Outlander’s model year, trim, and equipment.
For Mitsubishi Outlander owners in the United States, removing the windshield washer fluid reservoir can be necessary when the tank cracks, the pump fails, a hose connection leaks, or debris obstructs the washer system. The reservoir is usually located in a front corner of the engine compartment or behind part of the front bumper and wheel-well liner. Its precise position and removal path vary by generation, so identify the vehicle’s model year before taking anything apart.
The reservoir may be accessible from above, through the front wheel well, or from beneath the vehicle after removing protective panels. Some versions require additional access around the bumper or nearby components. Start with the least invasive access point, use the correct service information for your vehicle, and avoid pulling on the tank while electrical connectors or hoses remain attached.
This guide explains the general removal process, the tools you may need, common problems, and checks to complete before reinstalling the tank. It is not a substitute for year-specific Mitsubishi service instructions, particularly when the reservoir shares mounting points or access space with other components.
When Should You Remove the Mitsubishi Outlander Washer Reservoir?
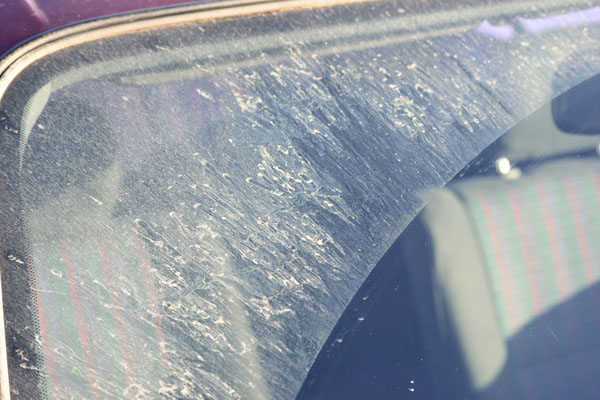
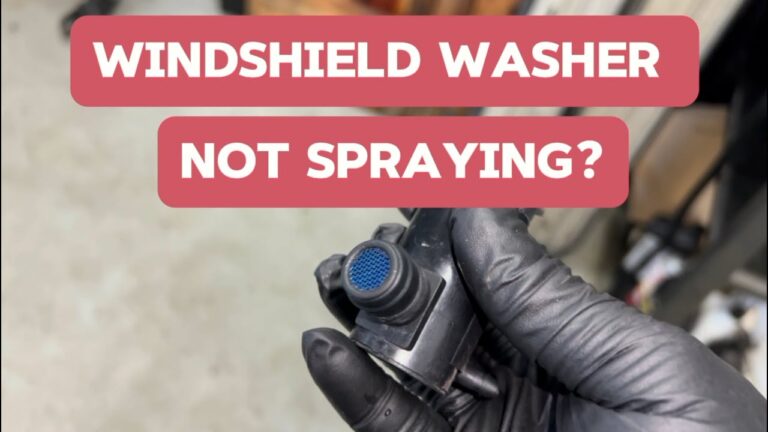
Remove the reservoir when inspection indicates that the tank or a component attached to it needs repair or replacement. A washer system that does not spray does not automatically mean the reservoir is defective. Checking the fuse, pump power supply, hoses, and nozzles first can prevent unnecessary disassembly.
Before starting, park on a level surface, switch off the ignition, apply the parking brake, and let hot components cool. If the work requires lifting the vehicle, use properly rated jack stands on approved support points and never rely on a jack alone.
Source: storables.com
Cracked or leaking tank
Fluid pooling near the front of the vehicle or a reservoir that repeatedly empties may indicate a crack, damaged seam, or loose connection.
Failed washer pump
If the pump receives the correct power and ground but does not operate, removal may be needed to access and replace it.
Damaged pump seal or grommet
Fluid leaking around the pump mounting point may come from a hardened, torn, or displaced rubber seal rather than a cracked tank.
Contaminated or damaged reservoir
Debris, incompatible fluid contamination, or physical damage may require the tank to be removed for inspection and cleaning or replacement.
Tools and Supplies Needed for Reservoir Removal
Gather the tools before disassembly so the reservoir can be supported while its connections and fasteners are removed. The required socket sizes, screwdriver types, and clip-removal tools depend on the model year and the fasteners fitted to your Outlander.
Consult the owner’s manual or a model-specific service manual for safe lifting points, battery-disconnection procedures, and the correct removal sequence. Do not assume that instructions for a 2010 Outlander apply to a newer vehicle.
Source: i.ytimg.com
Basic hand tools
Prepare a socket set, ratchet, suitable screwdrivers, and any required extensions for the reservoir mounting bolts and access panels.
Trim and clip tools
Use a plastic trim-removal tool or suitable clip pliers to release wheel-well liners and underbody shields without unnecessarily damaging the fasteners.
Fluid collection supplies
Have a clean drain pan, absorbent towels, and a container suitable for collecting used washer fluid.
Replacement components
If needed, obtain a reservoir, pump grommet, hose, connector repair parts, or pump that matches the vehicle’s year, engine, trim, and equipment.
Personal protection
Wear safety glasses and chemical-resistant gloves appropriate for the washer fluid being handled. Keep fluid away from children, pets, painted surfaces, and drains.
How to Remove the Windshield Washer Fluid Reservoir on a Mitsubishi Outlander
The general process is to expose the tank, drain the fluid, disconnect its electrical and fluid connections, remove the mounting hardware, and guide the reservoir out without damaging surrounding parts. The exact order can differ by generation, so stop if a component blocks removal and check the appropriate service procedure rather than forcing the tank.
Source: i.ytimg.com
Step 1: Identify the reservoir and plan access
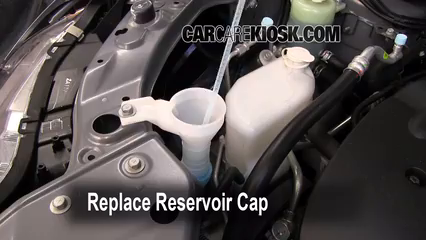
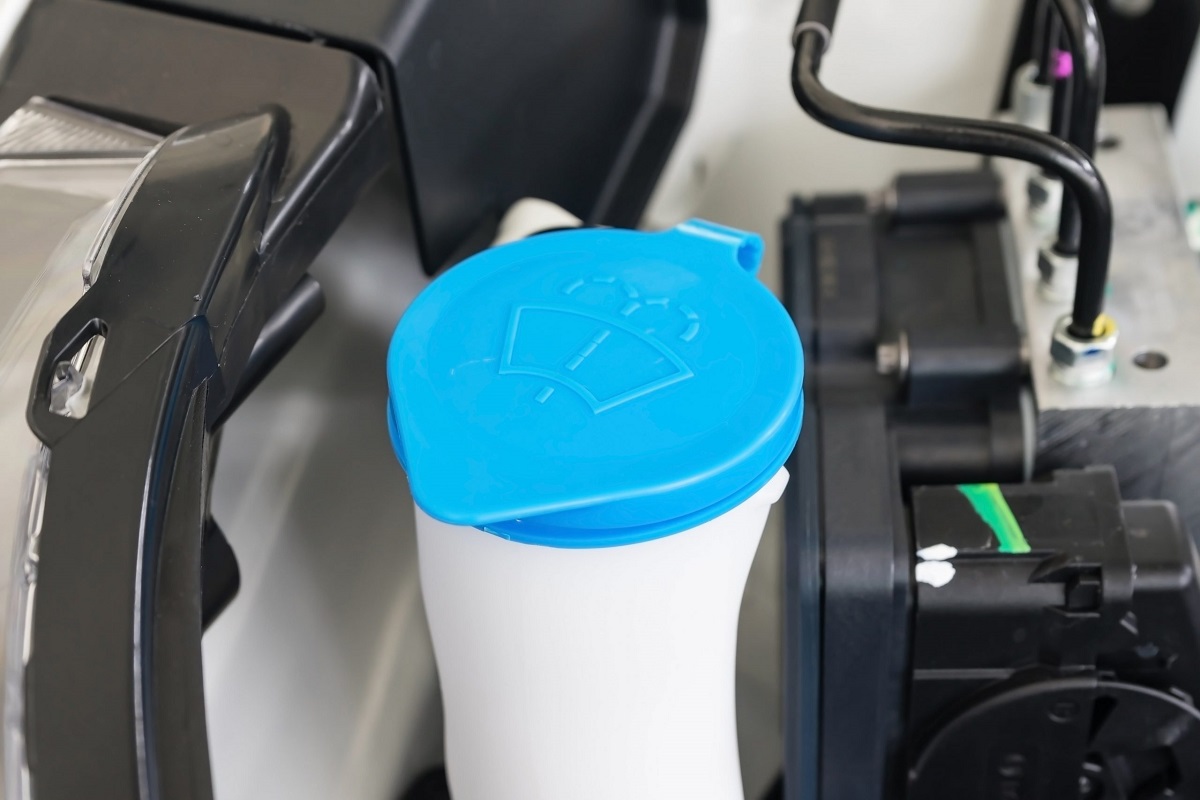
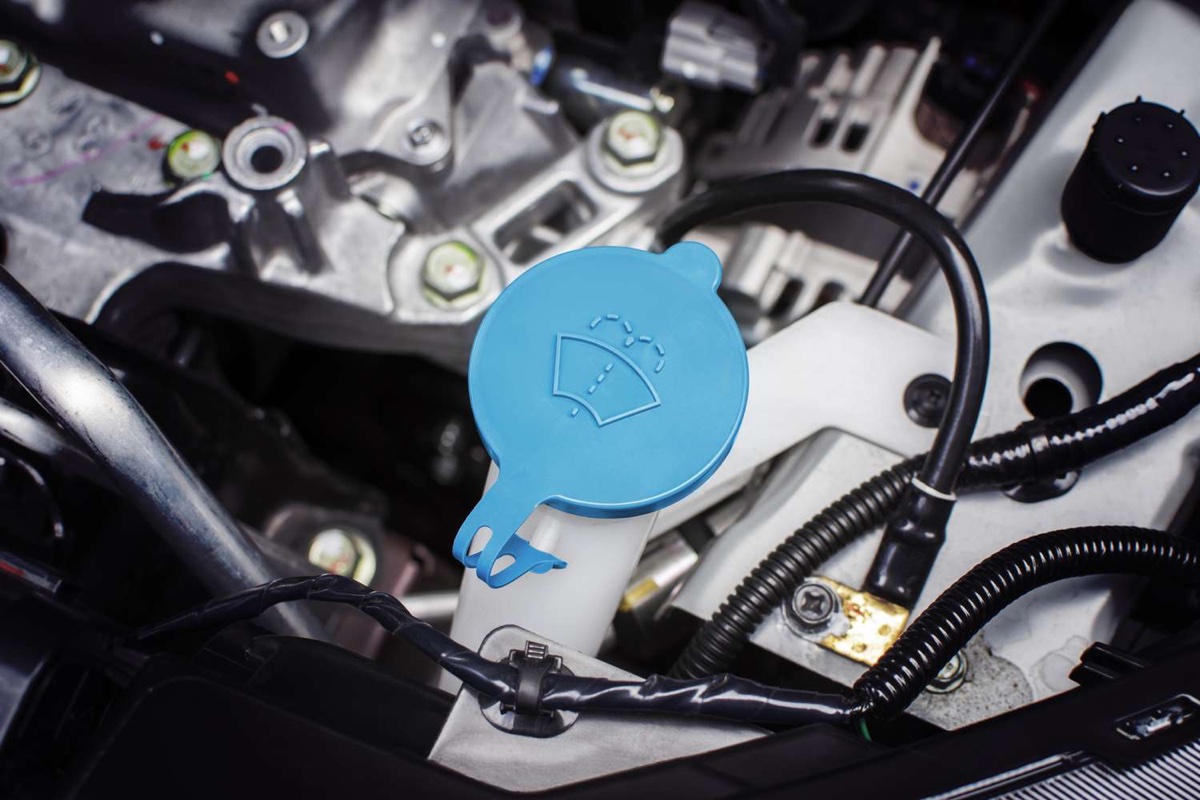
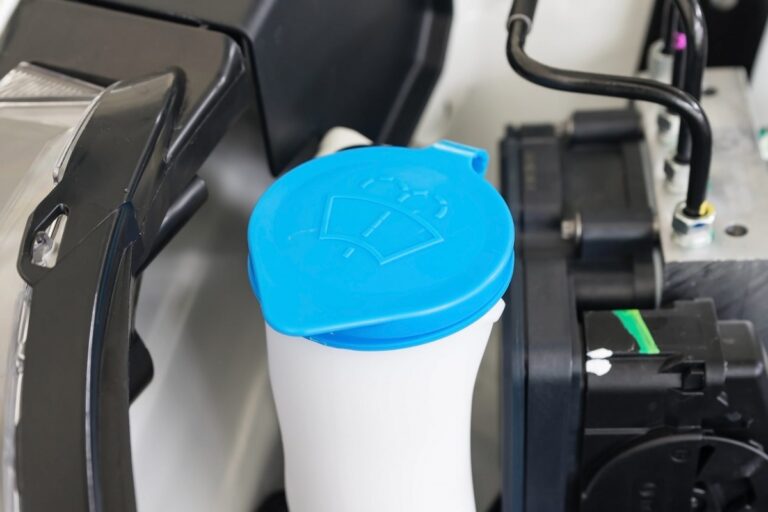
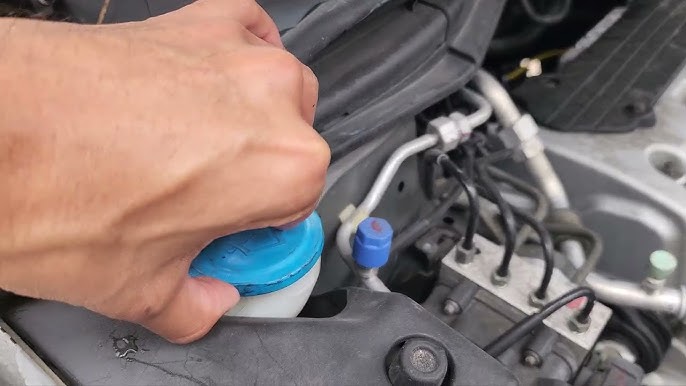
Open the hood and locate the windshield washer fluid filler cap, usually marked with a windshield-and-spray symbol. Follow the filler neck toward the tank when its position is visible. On some Outlander versions, the reservoir body sits low behind the front bumper or a wheel-well liner, making access from above difficult.
Compare the vehicle with model-specific service information before removing any panels. Determine whether access requires a wheel-well liner, an underbody shield, or part of the front bumper cover.
Check the access route
Look for visible fasteners and retainers and identify nearby wiring, hoses, and bumper components that could be damaged during removal.
Keep hardware organized
Place clips and bolts in labeled containers so they can be returned to their original locations.
Step 2: Drain the washer fluid
Remove the filler cap and use a suitable fluid-transfer pump or other appropriate method to empty the tank into a clean collection container. If the pump must be removed to drain the tank completely, collect the remaining fluid when the pump or tank opening is exposed.
Do not siphon washer fluid by mouth. Keep the collected liquid in a labeled, closed container and dispose of it according to the product label and local requirements.
Prevent spills
Position absorbent towels and a drain pan below the work area before disconnecting the tank or pump.
Check fluid condition
Look for sediment, unusual contamination, or evidence of incompatible fluids that could have contributed to a blockage.
Step 3: Disconnect the battery when required
Follow the vehicle’s service instructions to determine whether the negative battery terminal should be disconnected for the planned work. If disconnection is specified, switch off the ignition, remove the key or keep the keyless remote away from the vehicle, and follow the prescribed procedure before disconnecting the terminal.
Battery disconnection can reset some vehicle settings and may require special procedures on certain vehicles. Never disconnect the battery while the ignition is on, and do not disturb yellow airbag-system connectors or wiring.
Protect electrical components
Keep tools from bridging battery terminals and avoid pulling on wiring when accessing the reservoir.
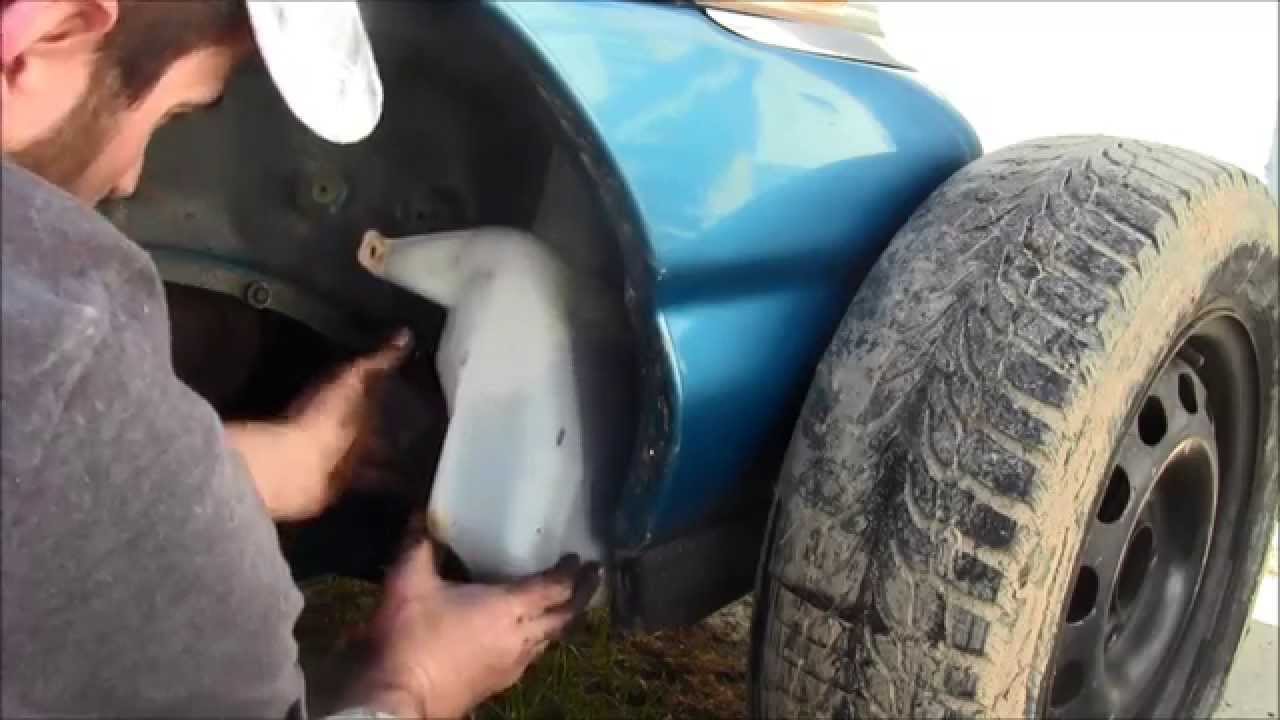
Step 4: Remove the wheel-well liner or underbody cover
If the reservoir is accessed from the front wheel well, follow the vehicle-specific procedure for lifting and supporting the vehicle. Remove the relevant wheel only if needed for adequate access. Release the liner’s clips and screws carefully, then move the liner aside enough to reach the tank.
If access is from below, remove only the required underbody panel fasteners. Support the panel while removing the last fastener so it does not drop unexpectedly. Keep the panel away from hot exhaust components and other parts that could damage it.
Avoid breaking retainers
Some clips have a central locking pin that must be lifted or released before the clip can be removed. Use the correct technique for the installed retainer.
Inspect nearby components
Note the routing of harnesses and hoses before moving the liner so they can be returned to their original positions.
Step 5: Disconnect the pump wiring and washer hoses
Locate the electrical connector attached to the washer pump. Release its locking tab and pull the connector housing straight off. If the reservoir has a fluid-level sensor, disconnect that connector as well. Equipment varies, so some vehicles may not have a separate sensor connector.
Mark the hose positions before disconnecting them. Carefully release each hose from its fitting and expect a small amount of residual fluid to drain. Do not yank the hoses, twist brittle fittings, or pull on the electrical wires.
Release connectors correctly
Press or lift the connector’s locking tab as designed. If it will not release, inspect the lock rather than prying against the electrical terminals.
Protect the hose fittings
Use gentle movement to free stuck hoses. Replace split or hardened hoses and damaged plastic fittings before reinstalling the tank.
Step 6: Remove the reservoir mounting fasteners
Support the reservoir with one hand or a suitable support while locating its mounting bolts, screws, and retaining brackets. Remove the fasteners using the correct tool. Some mounting points may be hidden behind the liner or bumper, so inspect the entire accessible perimeter before attempting to move the tank.
Keep the tank supported as the final fastener comes out. Check again that all hoses, connectors, brackets, and filler-neck attachments have been released. The reservoir should not be hanging from a hose or electrical wire.
Retain the original hardware
Separate bolts and clips by location if they differ in length or type. Do not substitute a longer bolt that could contact or damage the tank.
Avoid excessive force
If the tank remains firmly in place, look for a hidden fastener, attached filler neck, or mounting feature instead of levering against the plastic.
Step 7: Guide the reservoir out of the vehicle
Tilt the reservoir slightly and move it along the available removal path, keeping it clear of sharp brackets, wiring, and painted body panels. Depending on the model, the tank may come out through the wheel well, from beneath the vehicle, or through an opening created by removing additional front-end trim.
If the reservoir cannot pass through the opening, stop and consult the model-specific removal instructions. Some configurations may require further bumper-cover or adjacent-component removal. Do not bend the tank or force it past a component that is still attached.
Inspect the removed tank
Check for cracks, distorted mounting points, damaged filler-neck joints, and signs of impact or rubbing.
Keep pump parts organized
If the pump or level sensor will be reused, protect its electrical connector and rubber sealing grommet from dirt and damage.
Inspect the Reservoir, Pump, Seals, and Hoses Before Reinstallation
With the reservoir removed, inspect the complete washer system rather than replacing the tank automatically. A leak may originate from a pump seal or hose, while a no-spray condition may come from a blocked nozzle, damaged wiring, a blown fuse, or a failed pump.
Clean reusable components with a method compatible with their materials. Avoid aggressive solvents that can damage plastic, rubber seals, or electrical components. Replace any part that is cracked, swollen, brittle, or unable to form a secure seal.
Source: storables.com
Reservoir body
Look for hairline cracks, impact damage, warped mounting tabs, and leaking seams. Replace a structurally damaged tank rather than relying on an unverified patch.
Washer pump
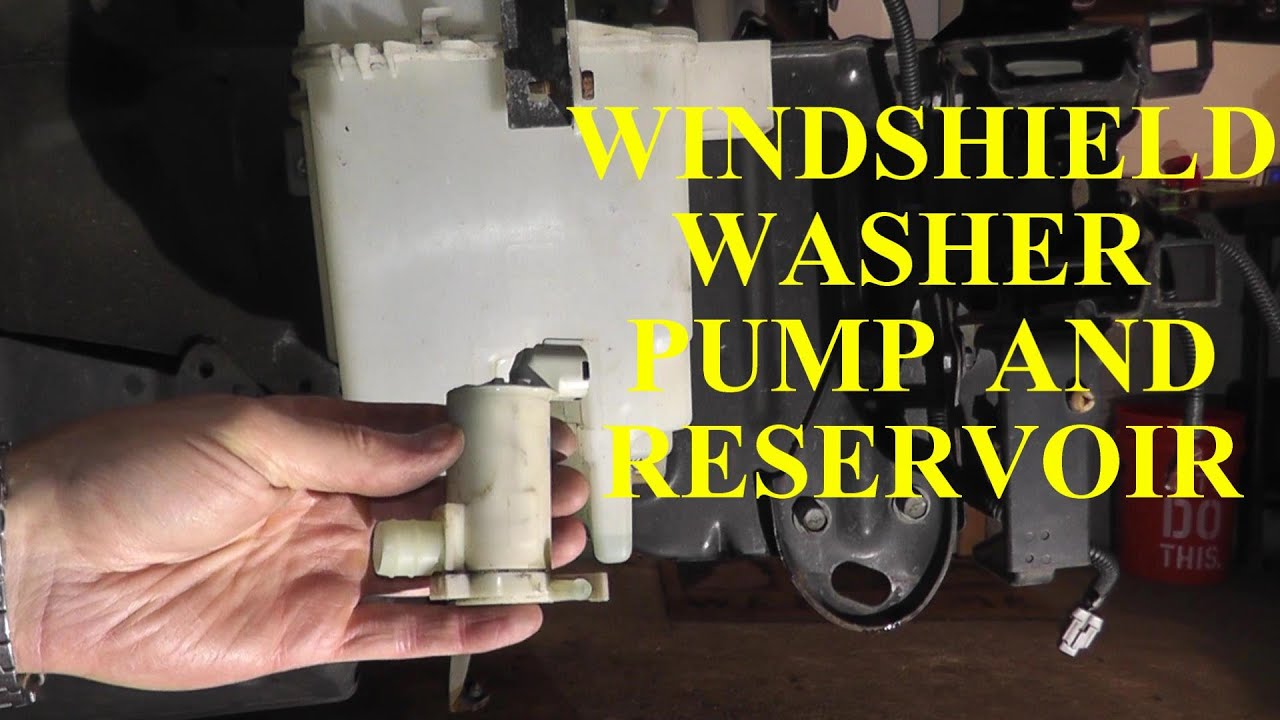
Inspect the pump housing, electrical terminals, and fluid outlet. Test electrical operation using the vehicle’s service procedure before concluding that the pump has failed.
Pump grommet
Check whether the rubber seal is torn, hardened, displaced, or flattened. A damaged grommet can allow fluid to leak around an otherwise functional pump.
Hoses and fittings
Check for splits, loose connections, kinks, hardened sections, and blockages. Confirm that each hose is routed away from moving or hot components.
Electrical connectors
Look for corrosion, moisture intrusion, damaged locking tabs, bent terminals, and chafed wiring. Correct electrical problems before returning the vehicle to service.
Should you replace the pump when replacing the reservoir?
Not necessarily. If the pump operates correctly and its housing and sealing grommet remain in good condition, it may be reusable. Replace it when testing confirms failure or inspection reveals damage. Verify pump compatibility by vehicle identification number, model year, and installed equipment before ordering a replacement.
Reuse when serviceable
A functional pump with an undamaged connector and seal may be transferred to the replacement tank.
Replace damaged seals
Install a suitable new grommet when the old seal is damaged or the service procedure calls for replacement.
How to Reinstall the Mitsubishi Outlander Washer Reservoir
Reinstall the reservoir by reversing the appropriate removal steps, ensuring that the tank is securely mounted and all fluid and electrical connections are correctly restored. Use the fastener sequence and torque specifications provided in the service manual for the exact model; do not guess torque values for plastic mounting points.
Before reinstalling the wheel-well liner or underbody shield, verify that the pump, sensor if fitted, filler neck, and hoses are connected. Check that wiring and hoses follow their original routes and cannot rub against the tire, suspension, steering components, or exhaust.
Source: i.ytimg.com
Seat the pump and grommet
If removed, install the pump and sealing grommet correctly. Make sure the pump is fully seated and the seal is not pinched.
Secure the tank
Align the mounting points and reinstall the original fasteners in their correct positions. Tighten them according to model-specific instructions.
Reconnect the hoses and wiring
Push each hose onto its proper fitting and confirm that connector locks engage. Reconnect the level sensor if the vehicle has one.
Restore protective panels
Reinstall the liner, shields, and any removed wheel or bumper components. Replace broken clips and make sure no fasteners are missing.
Restore the battery connection
If the battery was disconnected, reconnect it according to the vehicle’s prescribed procedure and restore any required settings.
Test the washer system before finishing
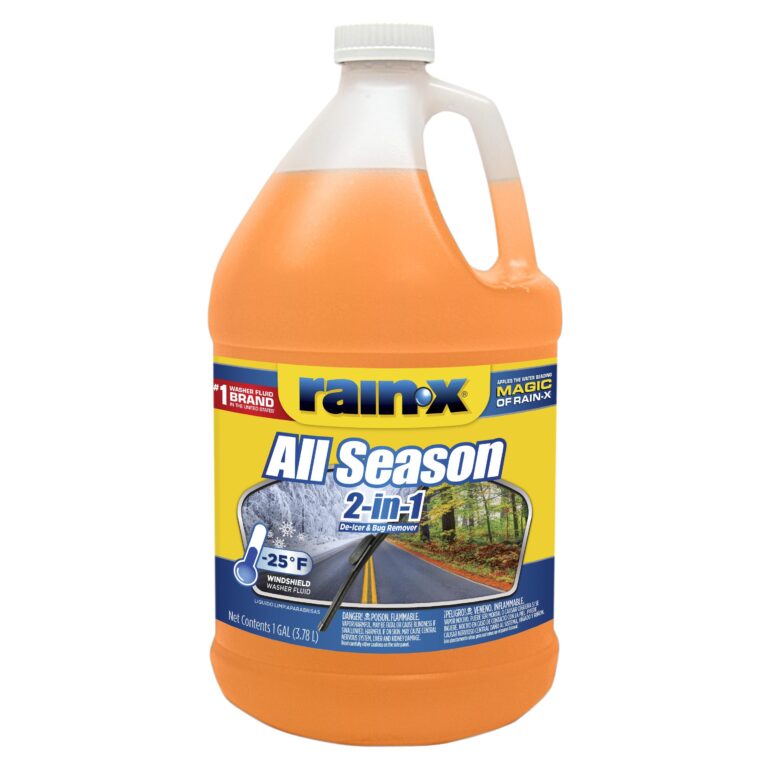
Add the appropriate windshield washer fluid and inspect the reservoir and pump area for leaks before operating the system. Activate the washer briefly to verify that the pump runs and fluid reaches the windshield. Avoid running the pump continuously when the tank is empty or the system is blocked.
If the fluid level drops rapidly, stop the test and inspect the tank, pump grommet, and hose connections. If the pump runs but no fluid sprays, check the hose routing, blockages, and nozzles. If the pump does not run, diagnose the fuse, power supply, ground, switch input, and pump according to the vehicle’s wiring diagram.
Confirm leak-free operation
Inspect all accessible joints after filling and again after a brief washer test.
Verify spray performance
Check that washer fluid reaches the intended windshield areas and that the pump stops when the control is released.
Common Problems During Reservoir Removal
Most removal difficulties come from hidden fasteners, brittle trim clips, stuck hoses, or a tank that has insufficient clearance to pass through the available opening. Work methodically and stop when resistance suggests that a connection or mounting point remains attached.
The table below matches common problems with practical checks. These are diagnostic possibilities, not confirmation that a particular component has failed.
Source: i.pinimg.com
The reservoir will not come loose
Check for concealed mounting bolts, brackets, filler-neck connections, and attachments behind the wheel-well liner or bumper. Verify that every electrical connector and hose has been released. Review the model-specific removal procedure if the tank still cannot move freely.
Recommended action
Do not pry hard against the tank or surrounding plastic. Find the remaining attachment or determine whether another access panel must be removed.
A hose or connector is stuck
A hose may adhere to its fitting as the rubber ages, and an electrical connector may have a locking tab that is difficult to see. Inspect the connection closely and use an appropriate release tool if needed.
Recommended action
Avoid twisting a brittle fitting or pulling on wires. Replace damaged hoses, connectors, or locking clips before reassembly.
The reservoir leaks after installation
A new leak may result from a misaligned pump grommet, a loose hose, a damaged replacement tank, or a cracked fitting. Recheck the tank with the vehicle safely positioned and the engine off.
Recommended action
Identify the exact leak source before removing the reservoir again. Replace the defective seal, hose, fitting, or tank as needed.
The pump runs but the windshield stays dry
The pump may be drawing air, a hose may be disconnected or blocked, the fluid level may be too low, or the nozzles may be obstructed. A pump that makes noise does not prove that it delivers fluid correctly.
Recommended action
Check fluid level, hose connections, and nozzle passages. Use the appropriate service procedure to distinguish a blocked line from a weak or damaged pump.
Safety Precautions and Model-Year Differences
Mitsubishi Outlander reservoir locations and mounting arrangements can differ among generations, including gasoline, plug-in hybrid, and other market-specific configurations. A photograph or video showing one model may help identify the general component but does not establish the exact fastener locations or removal sequence for another model.
Use additional caution when working near the front bumper, wheel, suspension, and electrical harnesses. If a plug-in hybrid or another electrified version is involved, follow its specific service information and keep clear of high-voltage components. Washer-reservoir work should not require disturbing high-voltage wiring.
Source: i.ytimg.com
Never work under an unsupported vehicle
Use the manufacturer’s approved lifting points and suitable jack stands on a stable surface whenever access from below is necessary.
Protect paint and electrical parts
Clean spills promptly using a method appropriate for the washer fluid, and keep fluid away from exposed electrical connections.
Do not force airbag-related components
Avoid yellow airbag connectors and follow the manufacturer’s precautions if nearby trim or wiring must be disturbed.
Use vehicle-specific instructions
Confirm the proper procedure, replacement part, and fastener specifications using the vehicle identification number and applicable service information.
Seek professional assistance when access is difficult
A repair shop is appropriate if removal requires extensive bumper disassembly, involves damaged wiring, or cannot be completed safely with the available tools.
Frequently Asked Questions
Q
Where is the windshield washer fluid reservoir on a Mitsubishi Outlander?
The reservoir is generally located toward the front of the vehicle, often near a front corner of the engine compartment, behind the bumper, or beside the wheel-well area. The exact location depends on the model year and configuration. Follow the filler neck from its cap and consult the correct service information to locate the tank and its mounting points.
Q
Do I need to remove the front bumper to remove the washer reservoir?
Not on every Mitsubishi Outlander. Some configurations provide access through the wheel-well liner or an underbody cover, while others may require additional bumper-cover or front-end trim removal. Check the year-specific procedure before removing major exterior panels.
Q
Can I remove the washer reservoir without draining the fluid?
Draining the reservoir first is recommended because it reduces spills and makes the tank easier to handle. If the tank is already empty, you can skip draining, but collect any remaining fluid when disconnecting the pump or hoses. Never siphon fluid by mouth.
Q
How do I know whether the reservoir or washer pump is faulty?
A visible crack or fluid leaking directly through the tank body points toward a damaged reservoir. A leak around the pump may indicate a failed grommet or loose connection. If the washer does not spray, check the fluid level, fuse, electrical supply, hoses, and nozzles before replacing the pump or reservoir.
Q
Can I reuse the original washer pump when replacing the reservoir?
Yes, if the pump operates correctly and its housing, connector, and sealing grommet are in serviceable condition. Inspect the seal carefully and replace damaged components. Confirm that the replacement reservoir and pump are compatible with the vehicle’s model year and equipment.
Q
How long does it take to remove a Mitsubishi Outlander washer reservoir?
The time depends on access, model year, corrosion, and whether bumper or wheel-well components must be removed. A straightforward job may take roughly an hour or two for someone familiar with the vehicle, while a more involved configuration can take longer. This is a planning estimate, not a verified labor time for every Outlander.
Q
What should I do if the washer pump still does not work after reinstalling the reservoir?
First verify the fluid level and confirm that the pump connector is fully seated. Check the relevant fuse and inspect the wiring, hoses, and pump installation. If the pump receives the specified power and ground but does not operate, further testing or pump replacement may be necessary. Use the correct wiring diagram for the vehicle rather than guessing at electrical connections.
✦ Wrapping Up
Conclusion
Removing the windshield washer fluid reservoir on a Mitsubishi Outlander involves gaining access to the tank, draining the fluid, disconnecting the pump wiring and hoses, releasing the mounting hardware, and carefully guiding the tank out. The exact access route and required disassembly depend on the model year and vehicle configuration.
Before reinstalling the reservoir, inspect the tank, pump seal, hoses, and connectors to identify the actual fault. Secure all mounting points, restore the original hose and wiring routes, refill the tank, and test for leaks and proper spray operation. If the reservoir cannot be removed without forcing nearby parts, consult the model-specific service procedure or a qualified technician.
💡 Key Takeaway
Identify your Mitsubishi Outlander’s model year and confirm the reservoir access route before starting. Drain the fluid, remove only the necessary covers, disconnect all electrical and fluid connections, and support the tank while removing its fasteners. Inspect the seals and hoses, reinstall the reservoir securely, and verify leak-free operation before driving.
Learn how to unclog a windshield washer hose, check for blockages, restore washer fluid flow, and identify when a damaged hose or pump needs replacement.