To clean a windshield washer nozzle, first confirm the reservoir has the correct washer fluid and that the pump is operating. Then inspect the nozzle opening, gently remove visible debris with an appropriate fine cleaning tool if your vehicle manufacturer permits it, and briefly test the spray. If the nozzle remains blocked, disconnecting the washer hose and cleaning or back-flushing the nozzle may be necessary.
For drivers in the United States, a clogged windshield washer nozzle can become a practical visibility problem when road film, dust, dried washer-fluid residue, wax, or mineral deposits restrict the tiny spray opening. Before cleaning, park the vehicle safely, switch it off, and make sure the windshield washer reservoir contains appropriate washer fluid.
The key is to avoid treating every no-spray problem as a nozzle clog. If the washer pump is silent, the reservoir is empty, the fluid is frozen, a hose is disconnected, or the pump cannot deliver fluid, cleaning the nozzle alone will not solve the problem. A short diagnosis before cleaning can save time and prevent unnecessary damage.
What You Need Before Cleaning a Windshield Washer Nozzle
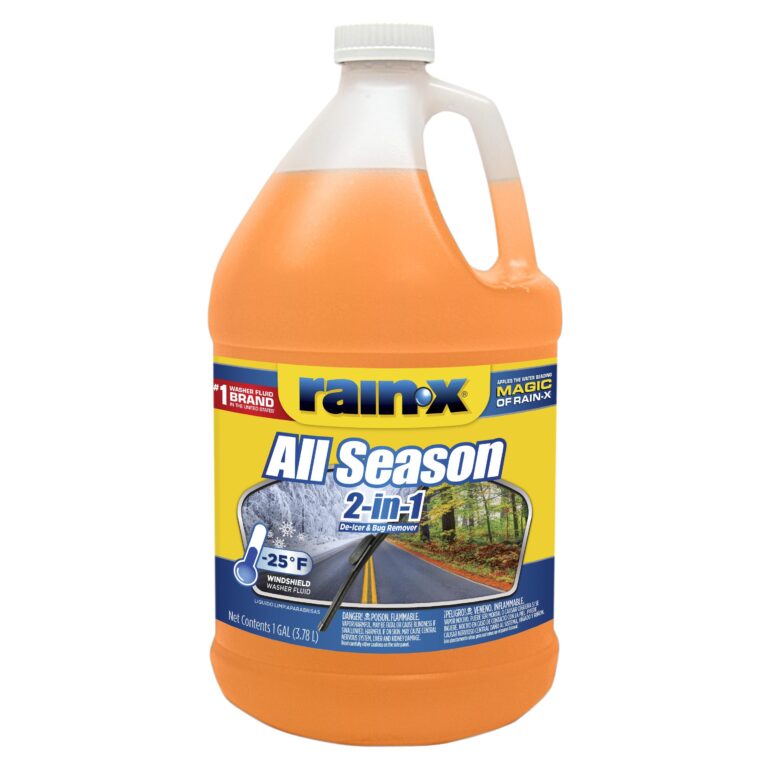
Most minor nozzle clogs can be investigated with basic supplies rather than specialized equipment. Gather a clean cloth, a small flashlight, the correct windshield washer fluid for your vehicle and climate, and a very fine cleaning wire or similar tool only if the vehicle manufacturer’s instructions allow it.
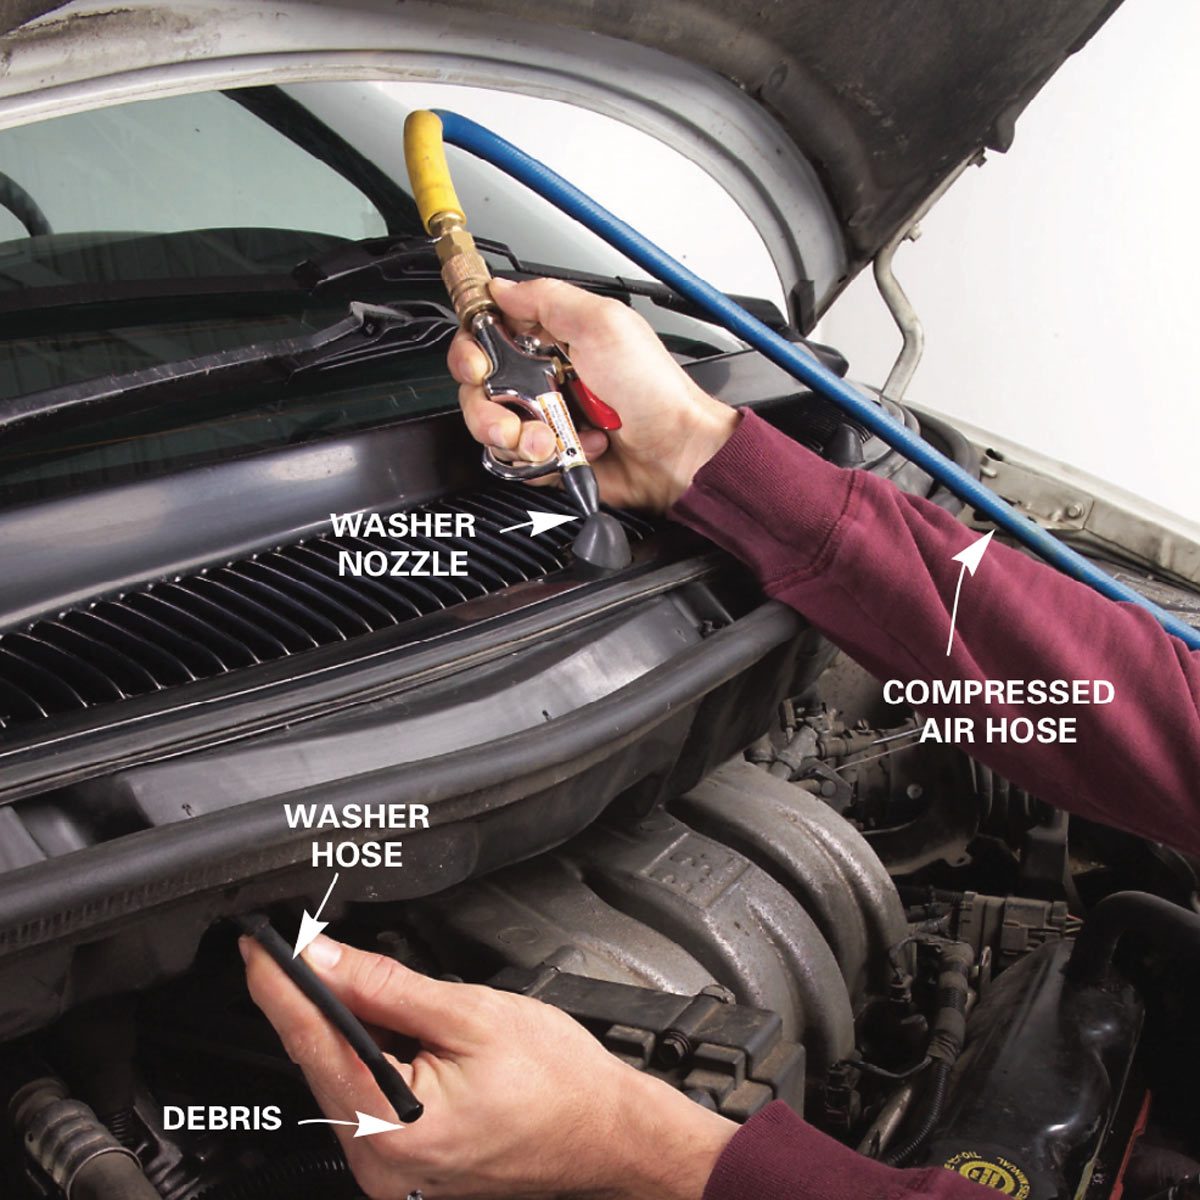
A low-pressure source of compressed air can also be useful when the nozzle is removable and the vehicle-specific procedure permits air cleaning. Do not use excessive pressure or force air into a connected system without knowing how the nozzle and hose are designed.
Source: storage.googleapis.com
Basic supplies
Use a clean cloth, flashlight, approved washer fluid, and an appropriate fine cleaning tool.
Optional equipment
Low-pressure compressed air may help with a stubborn removable nozzle when the vehicle’s service procedure permits it.
Safety
Park on a stable surface, switch the vehicle off before inspecting the nozzle, and avoid getting washer fluid in your eyes or on your skin.
Check the Vehicle Owner’s Manual First
Washer nozzle designs vary widely. Some vehicles use simple jet nozzles, while others use fan-style nozzles, heated nozzles, check valves, or assemblies with delicate internal passages. The owner’s manual or service information can tell you whether the nozzle can be adjusted, removed, or cleaned with a wire.
Why this matters
A procedure that is suitable for one vehicle can damage another vehicle’s nozzle or change its spray alignment.
How to Clean a Windshield Washer Nozzle Step by Step
The simplest approach is to diagnose the system, inspect the nozzle, gently clear the opening, and then test the spray. Do not repeatedly activate a washer system that appears dry, frozen, or severely blocked.
Begin with the vehicle parked safely. Open the hood if necessary and locate the washer nozzles, which may be mounted on the hood, cowl, or wiper-arm area depending on the vehicle.
Source: askmyauto.com
1. Check the washer-fluid reservoir
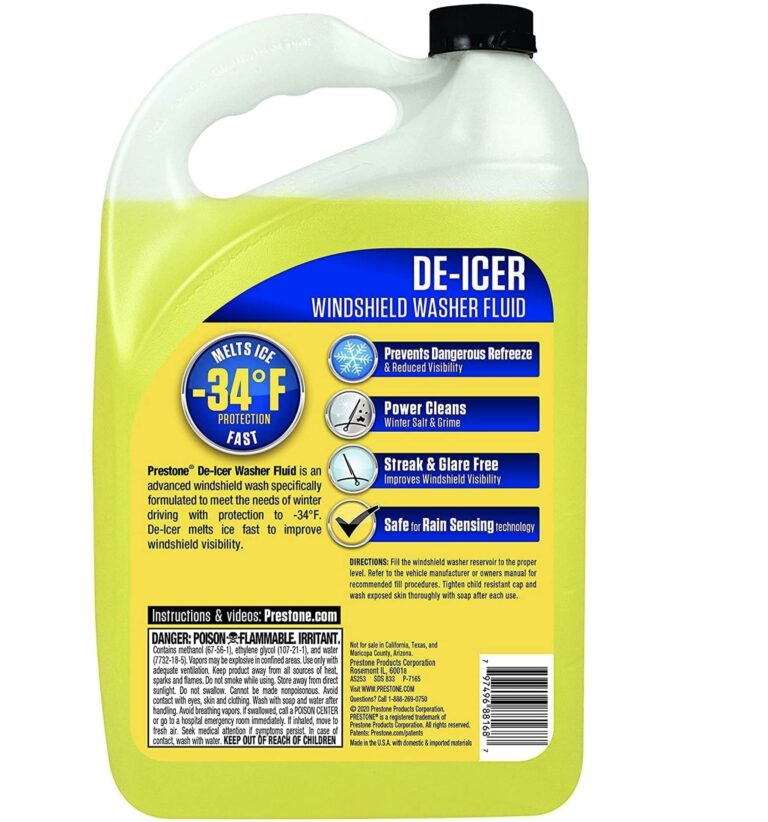
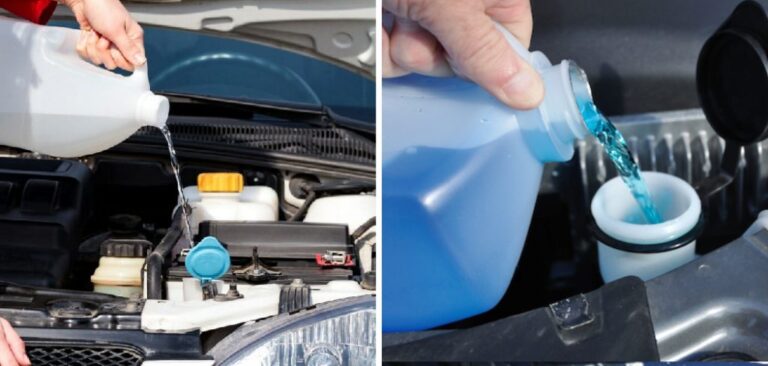
Make sure the reservoir contains enough appropriate washer fluid. If the fluid is frozen, allow the system to thaw and use fluid suitable for the expected temperatures.
2. Listen for the washer pump
Briefly operate the washer control while observing the system safely. A pump sound indicates that the electrical system is at least activating the pump, but it does not prove that fluid is reaching the nozzle.
3. Inspect the nozzle opening
Look for dirt, wax residue, dried fluid, insects, or mineral deposits around the tiny spray opening. Wipe the surrounding surface with a clean cloth.
4. Gently clear the opening
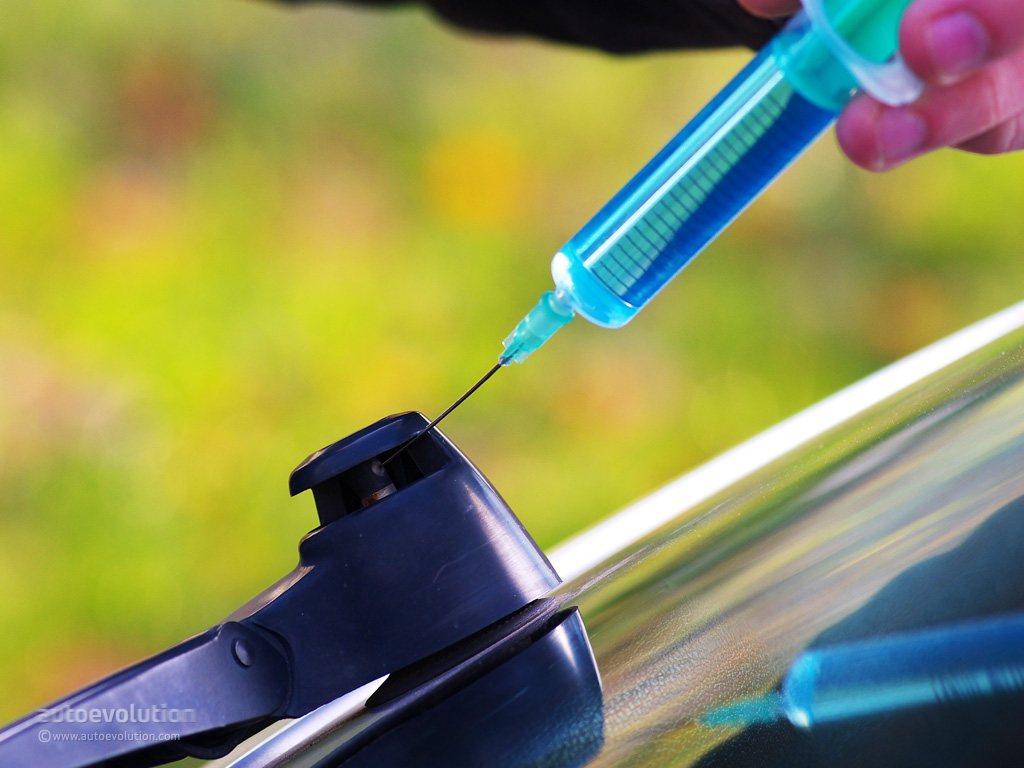
If the vehicle’s service instructions permit it, use an appropriately sized fine wire or cleaning tool to loosen material at the opening. Work gently and do not enlarge, bend, or force the nozzle orifice.
5. Flush and test
Briefly activate the washer system and check whether fluid reaches the windshield in the intended pattern. Stop if the pump runs without fluid delivery or if the problem becomes worse.
How to Clear a Nozzle Without Damaging the Spray Pattern
The nozzle opening is precisely sized, so the goal is to remove the obstruction rather than reshape the hole. Insert a suitable fine tool only as far as necessary to disturb visible debris. Never force a thick object into the opening or use a drill bit to enlarge it.
If the nozzle has an adjustable jet, do not change its direction merely because the spray is weak. Alignment should be addressed after the nozzle is confirmed to be clean and delivering adequate fluid.
Use light pressure
A clog should be loosened rather than driven farther into the nozzle.
Do not enlarge the opening
Changing the orifice can alter the amount and shape of the washer spray.
What to Do if the Nozzle Is Still Clogged
If gentle cleaning does not restore the spray, the obstruction may be deeper inside the nozzle or somewhere in the hose. At this point, isolate the nozzle from the rest of the washer system instead of repeatedly poking the opening.
On vehicles where the hose connection is accessible, disconnecting the hose at the nozzle can help determine whether fluid is reaching that point. Keep the test brief and direct fluid into a suitable container rather than onto the engine bay.
Source: uc.studis.co.uk
Strong fluid flow at the hose
If fluid reaches the disconnected hose normally but the nozzle does not spray when connected, the nozzle or its internal passage is the likely restriction.
Weak or absent fluid flow at the hose
Look farther upstream for a kinked hose, disconnected line, clogged filter, frozen fluid, or pump problem.
No pump sound
A silent pump points toward a separate electrical or pump-related problem rather than a simple nozzle blockage.
When Compressed Air Can Help
Compressed air can sometimes clear a removable clogged nozzle or help flush a restriction, but use the vehicle manufacturer’s procedure when one is available. Low pressure is preferable to aggressive blasts, and the nozzle should be disconnected when the procedure calls for reverse cleaning.
Avoid directing high-pressure air into a connected washer system without knowing its pressure limits. Excessive pressure can dislodge a hose, damage a component, or move debris into another part of the system.
Use controlled pressure
The objective is to dislodge contamination, not forcefully pressurize the entire washer circuit.
Inspect afterward
Reconnect the hose securely and verify that the spray pattern is normal before driving.
How to Tell Whether the Problem Is the Nozzle or the Washer System
A quick symptom check can prevent unnecessary nozzle replacement. The most useful clues are whether the pump runs, whether one or both nozzles are affected, and whether fluid reaches the hose near the nozzle.
If only one nozzle is weak while the other works normally, the fault is more localized to that nozzle or its branch hose. If both nozzles fail at the same time, consider the shared hose, reservoir, pump, fluid condition, or electrical supply.
Source: team-bhp.com
One nozzle sprays normally, one does not
Inspect the weak nozzle and its nearby hose first.
Both nozzles are weak
Check fluid level, fluid condition, shared hoses, pump delivery, and possible restrictions upstream.
Both nozzles are completely dry
Check whether the pump operates and whether fluid is being delivered through the washer line.
Spray is strong but aimed incorrectly
The nozzle may need adjustment rather than cleaning. Follow the vehicle-specific adjustment procedure.
A Simple Troubleshooting Sequence
Work from the easiest and safest checks toward more involved diagnosis: fluid level, temperature, pump operation, nozzle condition, hose condition, and finally pump or electrical inspection. This sequence reduces the chance of replacing a working nozzle when the actual fault is elsewhere.
Start with fluid
Confirm the reservoir is filled with appropriate washer fluid and that the fluid is not frozen or contaminated.
Then check pump operation
A pump that does not activate requires a different diagnostic path from a pump that runs but cannot deliver fluid.
Then isolate the nozzle
Testing fluid flow at the hose connection helps distinguish a nozzle restriction from an upstream delivery problem.
Common Mistakes to Avoid When Cleaning Washer Nozzles
Most nozzle-cleaning mistakes come from using too much force or assuming that every no-spray condition is caused by the nozzle. The small opening may look simple, but its size and geometry affect how washer fluid is distributed across the windshield.
Use the least aggressive method that can solve the problem. If a nozzle cannot be cleared without force, or if it has a damaged or distorted opening, replacement may be more appropriate than continued cleaning.
Source: autotrainingcentre.com
Do not use a large needle or drill bit
An oversized tool can damage or enlarge the opening and change the spray pattern.
Do not repeatedly run a blocked system
Repeated operation will not necessarily clear a restriction and can place unnecessary strain on the washer system.
Do not ignore frozen fluid
A frozen washer system needs to thaw safely; cleaning the nozzle will not fix ice farther inside the system.
Do not assume tap water is ideal
Mineral-containing water can contribute to deposits. Use washer fluid and dilution instructions appropriate for the vehicle and product.
Do not adjust the nozzle before clearing a clog
A restricted nozzle can produce a misleading spray direction. Clean and restore fluid flow before making alignment adjustments.
When You Should Stop DIY Troubleshooting
Stop and seek professional service when the pump is not operating and electrical diagnosis is outside your skill level, when a washer line is inaccessible without significant disassembly, when the nozzle or hose is damaged, or when the system continues to lose fluid after cleaning.
If the washer system cannot provide enough fluid to keep the windshield clear, avoid driving in conditions where visibility depends on the washer system until the fault is corrected.
Persistent no-flow condition
A continuing no-flow problem after nozzle cleaning can indicate a pump, hose, filter, electrical, or deeper system fault.
Visible leaks
Fluid leaking from a hose, reservoir, pump, or fitting needs repair rather than nozzle cleaning.
How to Prevent Windshield Washer Nozzles From Clogging Again
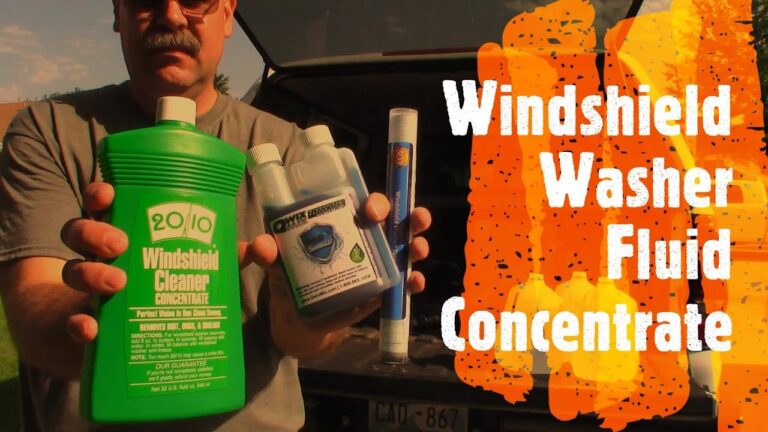
Prevention starts with using the correct washer fluid and keeping contaminants out of the reservoir. Washer fluid is formulated for the washer system and windshield-cleaning task, while unsuitable liquids can contribute to deposits, freezing, or component problems.
If the system repeatedly develops clogs, investigate the source instead of cleaning the nozzle over and over. Contaminated fluid, deteriorating hoses, debris in the reservoir, a restricted pump inlet, or mineral deposits can cause recurring symptoms.
Source: hitchesguide.com
Use suitable washer fluid
Choose fluid appropriate for the vehicle and expected weather conditions, following the product and vehicle instructions.
Keep the reservoir clean
Avoid introducing dirt or other liquids into the washer-fluid reservoir.
Address recurring blockages
If the same nozzle repeatedly clogs, inspect the nozzle, hose, and fluid source instead of treating each episode as an isolated blockage.
Check spray performance periodically
A weak or uneven spray is easier to address before the system becomes completely blocked.
Signs Your Cleaning Worked
A successful cleaning should restore a consistent spray pattern appropriate to the vehicle’s original design. The fluid should reach the intended area of the windshield without a persistent dribble, stream from the wrong location, or complete dead spot.
If the nozzle sprays strongly but the pattern remains misaligned, the nozzle may need adjustment according to the vehicle manufacturer’s procedure. If the spray remains weak, return to system diagnosis rather than continuing to enlarge or probe the opening.
Consistent spray
The nozzle produces the expected fan or jet pattern rather than an intermittent dribble.
Adequate windshield coverage
Washer fluid reaches the intended portion of the windshield for effective cleaning.
Frequently Asked Questions
Q
Can I clean a windshield washer nozzle with a needle?
Some vehicle service procedures allow a very thin wire or pin to gently clear material from the nozzle opening. However, the tool must be appropriately sized and used carefully because forcing a thick or sharp object can damage the opening or change the spray pattern. Follow your vehicle manufacturer’s instructions whenever available.
Q
Why is my windshield washer pump working but no fluid comes out?
A running pump with no spray can result from a clogged nozzle, blocked or disconnected hose, frozen washer fluid, restricted pump inlet, or another delivery problem. Check the reservoir first, then isolate the fluid path near the nozzle if the hose connection is safely accessible.
Q
Why does only one windshield washer nozzle work?
When one nozzle works and the other does not, the problem is often localized to the non-working nozzle or its branch of the washer hose. Inspect that nozzle for debris and check its hose for a kink, disconnection, or restriction.
Q
Can tap water clog windshield washer nozzles?
Water containing dissolved minerals can contribute to deposits around small nozzle openings. Using the washer fluid specified for the vehicle and product instructions can reduce the risk of deposits and also provides properties such as freeze protection that plain water does not.
Q
Should I replace a clogged windshield washer nozzle?
Not necessarily. A simple external blockage may be cleanable, but replacement can make sense when the nozzle is damaged, internally blocked, distorted, or cannot be restored without excessive force. Use the vehicle-specific replacement procedure because nozzle attachment and adjustment methods vary.
✦ Wrapping Up
Conclusion
Cleaning a windshield washer nozzle is usually a straightforward maintenance task when the problem is limited to dirt or residue at the spray opening. Start with the reservoir and pump, inspect the nozzle, clear the obstruction gently, and test the spray before moving on to more involved troubleshooting.
If cleaning does not restore normal spray, do not keep forcing tools into the nozzle. Check the hose and fluid path, consider frozen or contaminated fluid, and investigate the pump or electrical system when the symptoms point beyond the nozzle.
💡 Key Takeaway
The safest approach is to diagnose first, clean gently, test the spray pattern, and stop before force or high-pressure air can damage the nozzle or washer system.