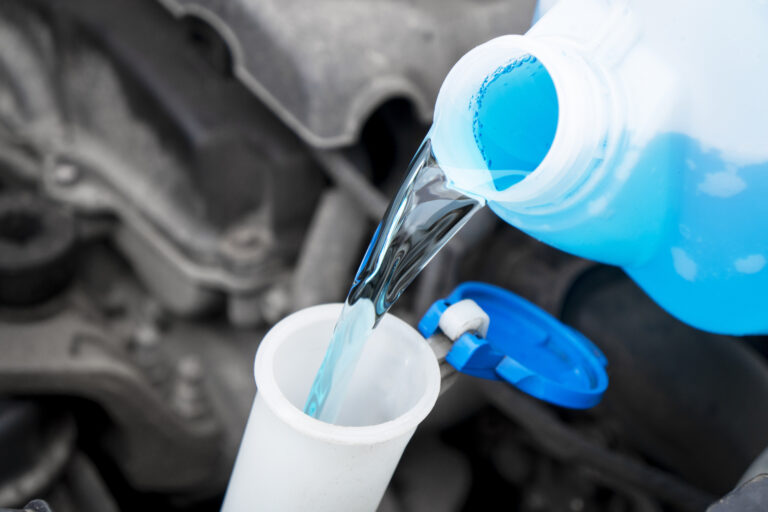
To clean a windshield washer pump, drain the washer reservoir, remove the pump if accessible, clean its inlet screen or filter and surrounding reservoir, flush the hoses, reinstall everything, refill with the correct washer fluid, and test the spray.
For drivers across the United States, a working windshield washer system is especially important when road salt, winter slush, insects, pollen, dust, and highway grime quickly coat the glass. If you pull the washer control and hear the pump humming but get a weak spray or no fluid at all, dirt or residue in the reservoir, pump inlet screen, hoses, or nozzles may be restricting the system. Cleaning these components can sometimes restore normal operation without replacing the pump.
The key is to diagnose the restriction before taking the system apart. A washer pump is a small electric motor and fluid pump, and most units are not designed to be disassembled internally. In practical terms, cleaning a windshield washer pump usually means cleaning its exterior inlet, removable screen or grommet filter, reservoir connection, and the rest of the fluid path. If the electric motor has failed or the pump remains weak after the system is clean, replacement is normally more appropriate than trying to open the sealed motor housing.
This guide explains how to clean windshield washer pump components safely, what tools you may need, how to distinguish a clog from an electrical failure, how to flush the reservoir and hoses, and what to check if cleaning does not restore a strong washer spray. Vehicle layouts vary, so consult the service information for your specific car, truck, or SUV before removing trim, a wheel liner, or the reservoir.
What Does Cleaning a Windshield Washer Pump Actually Mean?
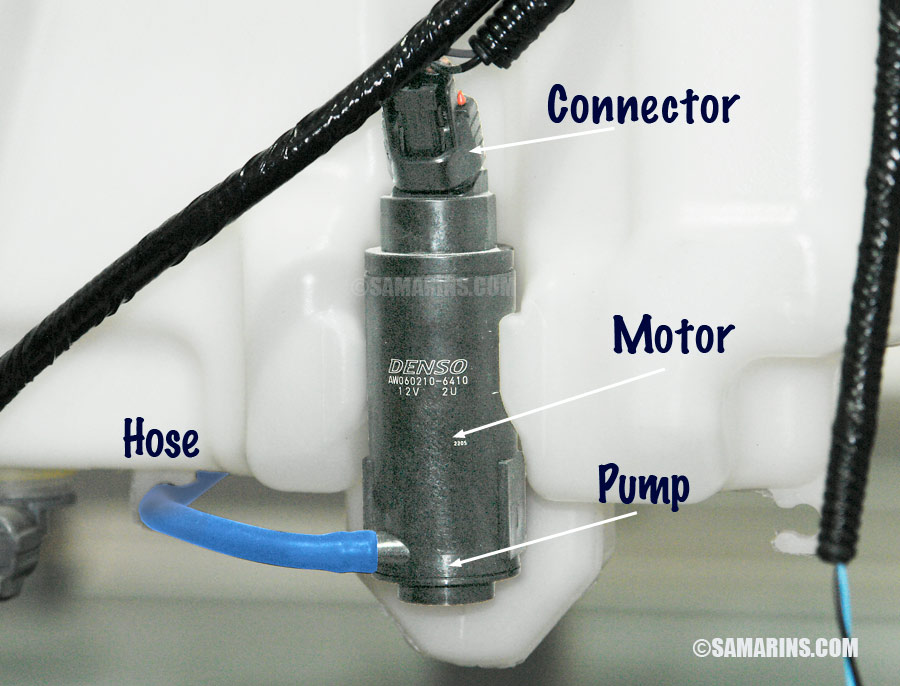
Most windshield washer pumps are compact sealed electric units mounted directly in or beside the washer fluid reservoir. When you operate the washer control, the motor spins the pump, which draws fluid from the reservoir and pushes it through small hoses toward the windshield nozzles.
Because many pump motors are sealed, routine cleaning normally does not involve opening the electric motor. Instead, you remove contamination that prevents fluid from entering or leaving the pump. Depending on the vehicle, there may be a small screen, filter, rubber grommet, or molded inlet at the reservoir connection. Sediment, slime, deteriorated washer fluid, or debris can collect there and reduce flow.
The reservoir itself matters just as much. Cleaning only the pump screen while leaving contamination in the tank can allow the same material to clog the screen again shortly after reassembly. A complete service therefore includes inspecting and flushing the reservoir along with the pump inlet and fluid lines.
Source: samarins.com
Pump inlet
The inlet is where washer fluid enters the pump and is a common location for restrictions.
Filter or screen
Some vehicles use a small filter or screened grommet that can collect sediment and organic buildup.
Reservoir
Contaminated fluid or debris in the tank can repeatedly clog an otherwise functional pump.
Hoses and nozzles
Restrictions farther downstream can make a healthy pump appear weak.
When Cleaning Is Worth Trying
Cleaning is most reasonable when the pump can be heard running but washer output has become weak, intermittent, or completely blocked. It is also worth inspecting the system when you can see sediment or unusual residue inside the washer reservoir.
Cleaning is less likely to help if the pump receives the correct electrical supply but makes no sound at all. In that situation, the motor may have failed. A blown fuse, damaged wiring, poor connector contact, or control-circuit problem can also cause a silent pump, so electrical diagnosis should come before replacement.
How to Tell Whether the Washer Pump Is Clogged
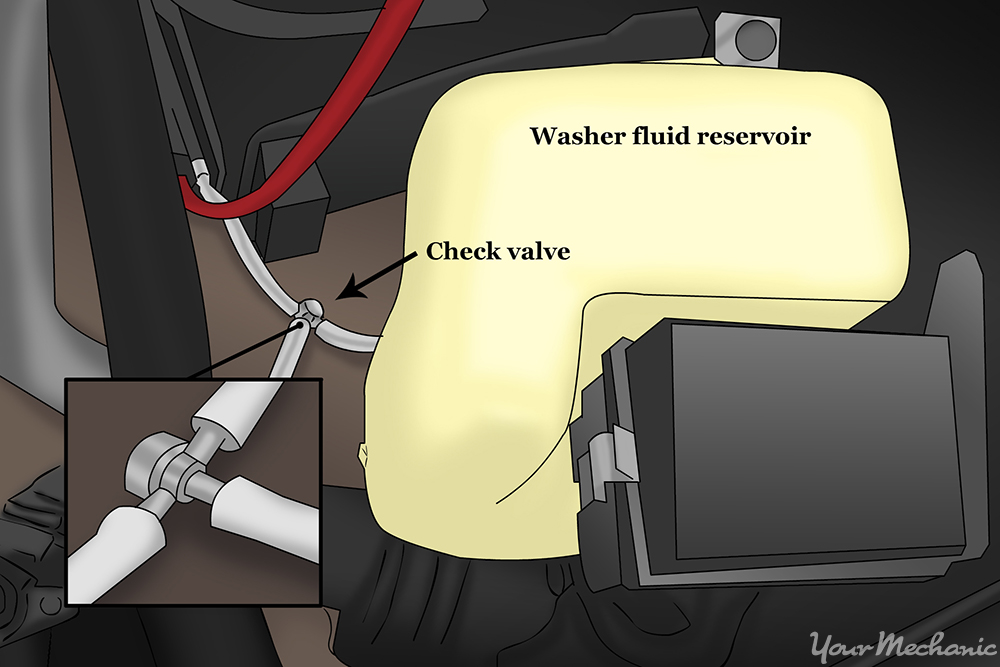
Before removing anything, operate the windshield washers for only a short moment and listen. The sound and spray pattern provide useful clues. If you hear the motor humming near the reservoir but little or no fluid appears, the electrical side of the pump is at least operating. The restriction may be at the pump inlet, filter, hose, check valve, or nozzle.
If one nozzle sprays normally while another does not, the pump is unlikely to be the main problem. Inspect the hose and nozzle feeding the weak side. If neither nozzle sprays and you hear the pump running, check the reservoir level, fluid condition, pump inlet, and main hose.
Cold weather changes the diagnosis. In many parts of the United States, summer washer fluid or diluted fluid can freeze during winter. A frozen hose or nozzle can mimic a clog. Do not keep holding the washer switch while the system is frozen because repeatedly operating a pump against a blocked or frozen fluid path can overheat the motor.
Source: chinlang.com
Pump hums but no fluid sprays
Check the reservoir, inlet screen, hoses, check valves, and nozzles for restrictions.
Spray is weak from both nozzles
Look for a partially blocked inlet, pinched main hose, contaminated reservoir, or weakening pump.
Only one nozzle is weak
Inspect that nozzle and its branch hose before removing the pump.
Pump is completely silent
Check the fuse, connector, wiring, switch circuit, and pump motor rather than assuming dirt is responsible.
A Simple Flow Test
If the pump is accessible and you are comfortable working on the vehicle, disconnect the outlet hose from the pump, position a suitable container nearby, and briefly operate the washer. Protect your eyes and surrounding painted surfaces from splashing washer fluid.
Strong flow directly from the pump suggests the restriction is farther downstream. Little or no flow despite an audible motor points toward the pump inlet, reservoir connection, or pump itself. Do not let the pump run dry during this check.
Tools and Supplies You May Need
The exact tools depend on where the reservoir sits. Some washer pumps can be reached from the engine compartment, while others sit behind a front wheel liner, splash shield, or bumper cover. Check vehicle-specific service information before removing panels.
Wear safety glasses and gloves because washer fluid can spill when you disconnect a hose or pull the pump from the reservoir. If access requires raising the vehicle, work on a solid level surface and support the vehicle with correctly positioned jack stands. Never rely on a jack alone.
Source: autoowa.com
Basic hand tools
A socket set, ratchet, screwdrivers, pliers, and trim-removal tool cover many installations.
Drain container
Use a clean container to catch old washer fluid when the hose or pump is disconnected.
Soft brush
A small nylon brush can remove residue from a removable filter, grommet, or reservoir opening.
Clean water for flushing
Water can be used during the cleaning process when the reservoir is removed, provided it is completely drained before final filling.
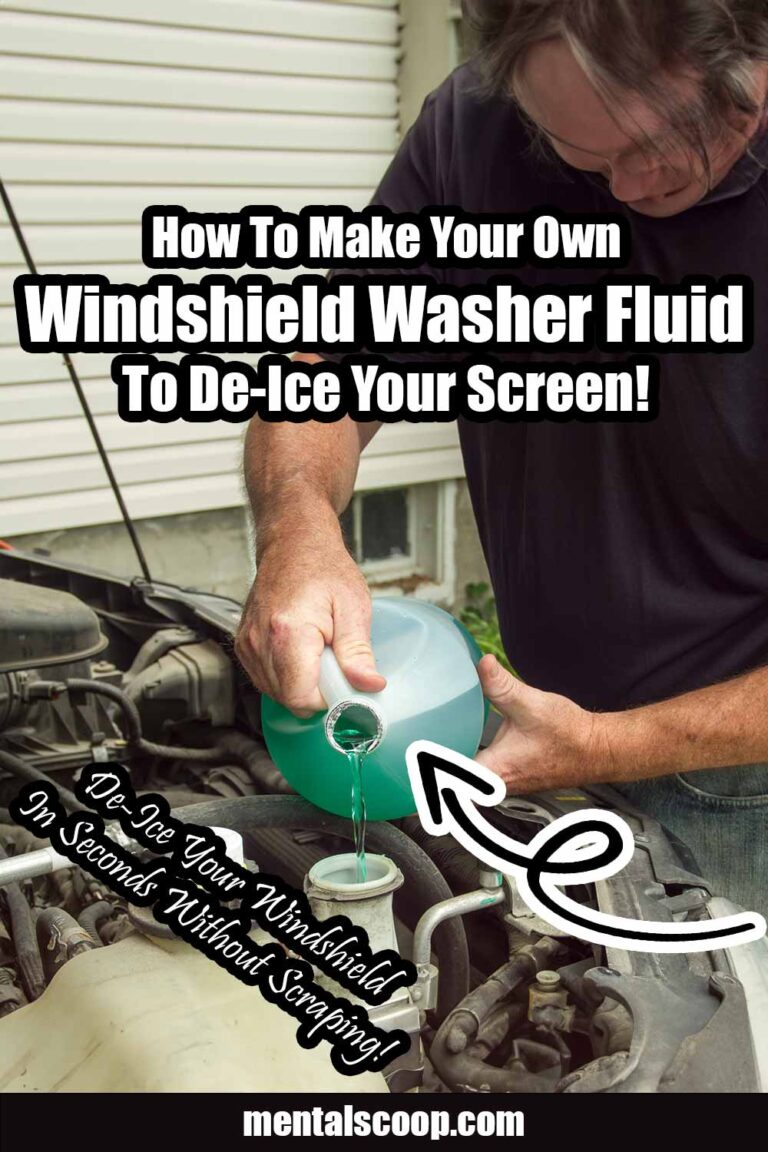
Correct washer fluid
Refill the system with automotive windshield washer fluid suitable for the temperatures expected in your area.
Replacement grommet if required
An old hardened or damaged pump seal can leak after removal and may need replacement.
How to Clean Windshield Washer Pump Step by Step
The following procedure describes a common reservoir-mounted washer pump. Your vehicle may differ, particularly if it has separate front and rear washer pumps. Identify the correct pump and review vehicle-specific instructions before disconnecting anything.
Source: yourmechanic.com
Step 1: Park and prepare the vehicle
Park on a level surface, switch the ignition off, set the parking brake, and allow hot components to cool. If your service procedure calls for battery disconnection, follow the manufacturer’s instructions before unplugging the pump.
Step 2: Locate the washer reservoir and pump
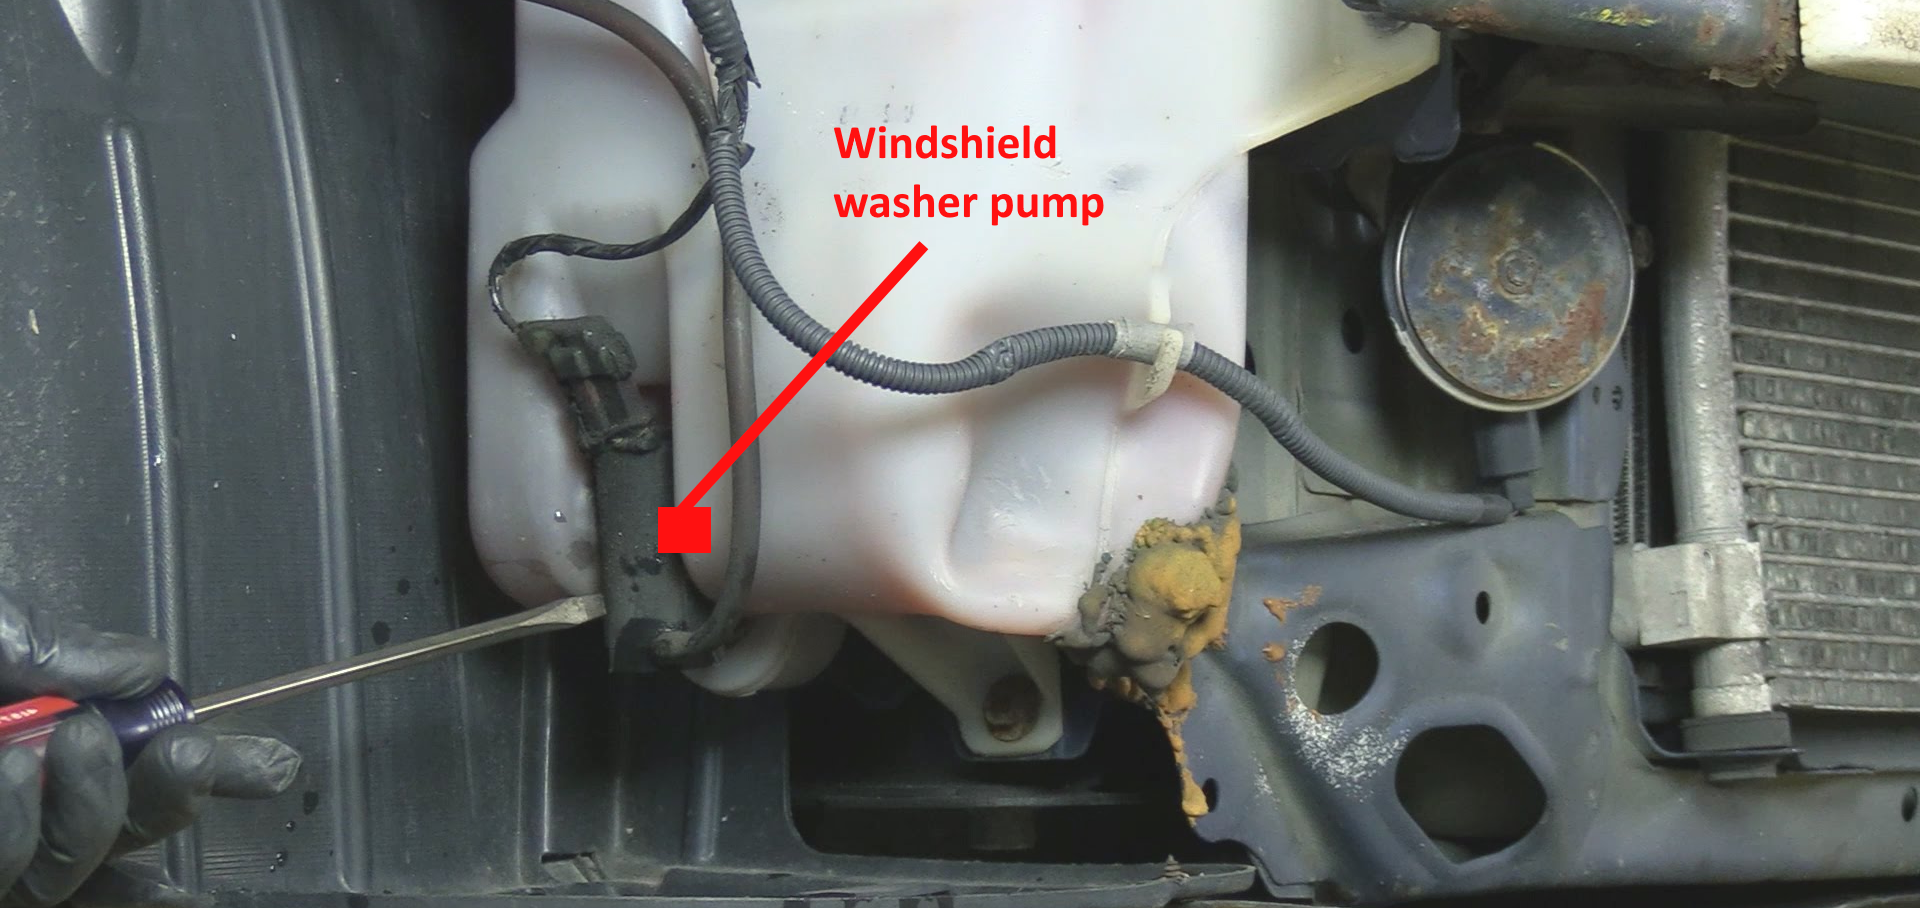
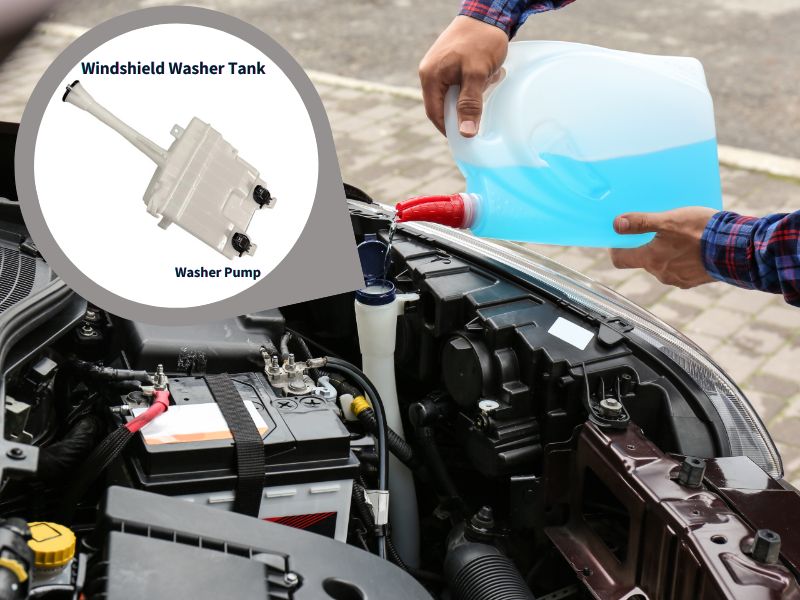
Find the washer fluid reservoir, usually located near a front corner of the vehicle. Trace the reservoir downward to locate the electric pump. Some pumps are visible from above, while others require access through the wheel well or underneath.
Step 3: Inspect the reservoir before draining it
Look through the reservoir where possible. Cloudy fluid, floating particles, sediment, or slimy deposits indicate that cleaning the tank is worthwhile.
Step 4: Drain the washer fluid
Place a suitable container beneath the pump area. Disconnecting the pump hose or removing the pump can release most of the reservoir contents quickly, so be prepared for fluid flow.
Step 5: Disconnect the electrical connector and outlet hose
Release the electrical connector by its locking tab rather than pulling on the wires. Carefully remove the washer hose from the pump outlet. Hardened hoses can crack, so replace damaged tubing rather than forcing it back into service.
Step 6: Remove the pump if the design allows
Many pumps pull directly out of a rubber grommet in the reservoir. Other designs use a retaining nut, filter assembly, bracket, or fastener. Follow the correct procedure for your vehicle instead of forcing the pump.
Step 7: Inspect and clean the inlet screen or filter
If the pump or reservoir uses a removable screen or filter, examine it for slime, sediment, or debris. Rinse it with clean water and gently remove residue with a soft nylon brush. Avoid damaging fine mesh or rubber sealing surfaces.
Step 8: Clean the pump exterior and inlet
Wipe contamination from the pump body and clean accessible residue from the inlet. Do not submerge the electrical connector or force tools into the sealed motor. Avoid aggressive solvents that could damage plastic or rubber components.
Step 9: Flush the reservoir
If contamination is present, remove the reservoir when practical and rinse it until loose debris and residue are gone. Drain the tank completely before reassembly. Persistent heavy contamination may require reservoir replacement if it cannot be cleaned adequately.
Step 10: Reinstall the filter, grommet, and pump
Inspect the pump seal or rubber grommet before reuse. Replace it if it is split, hardened, distorted, or leaking. Seat the grommet correctly and reinstall the pump without using petroleum grease on the washer fluid seal.
Step 11: Reconnect the hose and electrical connector
Push the hose fully onto the outlet and reconnect the electrical plug until its lock engages. Confirm that the hose is not kinked or trapped behind a panel.
Step 12: Refill and test
Add the appropriate windshield washer fluid and inspect the pump seal and hose connection for leaks. Operate the washers in short bursts until fluid reaches the nozzles. An empty system may require several short cycles to refill the lines.
How to Know the Cleaning Worked
A successful cleaning should produce steady washer fluid flow with a consistent spray from the windshield nozzles. The pump should sound smooth, the reservoir should remain leak-free, and fluid should not drip from disconnected or damaged hoses.
If pressure improves at the pump outlet but remains poor at the windshield, continue troubleshooting the hoses, connectors, check valves, and nozzles rather than cleaning the pump repeatedly.
Clean the Washer Reservoir at the Same Time
Cleaning the reservoir is one of the most useful steps when the pump inlet has become clogged. Any dirt left in the tank can be drawn straight back into the filter after the system is refilled.
Drain the old fluid and inspect the bottom of the reservoir. If the reservoir is removable, rinse it with clean water and gently agitate it to release loose deposits. Repeat until the rinse water runs clear, then drain it thoroughly. Avoid leaving cleaning chemicals or detergent residue in the reservoir because they can affect washer performance and may create excessive foaming.
If you previously mixed incompatible products or repeatedly topped up old contaminated fluid, a complete drain and refill is preferable to simply adding more fluid. When the reservoir is clean and dry enough for reassembly, use washer fluid designed for automotive use and suitable for the lowest temperatures you reasonably expect.
Source: askmyauto.com
Remove visible sediment
Particles at the bottom of the tank can migrate directly toward the pump inlet.
Check the reservoir for damage
Cracks near the pump opening or mounting points can cause leaks that cleaning will not solve.
Inspect the cap
A missing or damaged cap can allow dirt and other contamination into the reservoir.
Use appropriate fluid afterward
A clean system should be refilled with proper windshield washer solution instead of contaminated or unsuitable liquid.
Why Plain Water Is Not the Best Long-Term Refill
Plain water may freeze in cold conditions and does not provide the same cleaning and freeze-protection properties as formulated washer fluid. This matters in large parts of the United States where overnight temperatures can fall below freezing.
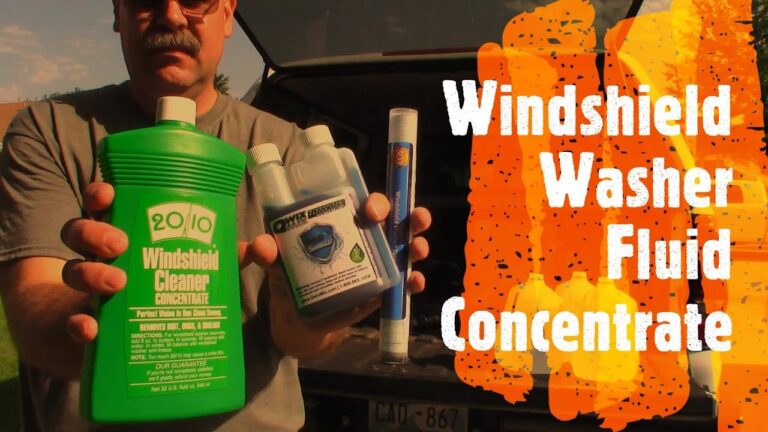
Use a commercially formulated washer fluid with temperature protection appropriate for your climate. Follow the product directions if it is sold as a concentrate rather than a ready-to-use solution.
How to Flush Washer Hoses and Clean the Nozzles
If the pump and reservoir are clean but the windshield still receives little fluid, the blockage may be downstream. Washer hoses are narrow, and small pieces of debris can restrict connectors, check valves, or nozzle passages.
Inspect the hose from the pump toward the hood or cowl. Look for sharp bends, crushed sections, disconnected joints, cracks, and wet areas that indicate leaks. On vehicles with branching lines, isolate the system section by section when practical.
For a suspected nozzle blockage, disconnect the feed hose from the nozzle where accessible and briefly test for flow. Good flow from the hose but weak or absent spray from the nozzle strongly suggests a nozzle restriction.
Use care when cleaning washer jets. Some nozzle designs can be damaged by aggressive probing, and many modern spray nozzles have very small internal passages. If your vehicle manufacturer specifies a cleaning procedure, follow it. A nozzle that remains blocked after gentle cleaning is often inexpensive to replace.
Source: storage.googleapis.com
Check hose routing
A pinched or folded washer hose can reduce flow even when the pump is healthy.
Inspect connectors and check valves
Small fittings can trap debris and create restrictions that are easy to mistake for pump failure.
Test before the nozzle
Disconnecting the nozzle feed hose helps determine whether the restriction is inside the nozzle or earlier in the fluid path.
Replace damaged hose
Brittle, cracked, or collapsed tubing should be replaced rather than patched repeatedly.
What to Do If Cleaning Does Not Fix the Washer Pump
A clean system that still does not work needs diagnosis rather than more flushing. Start by deciding whether the pump motor runs. A humming pump with no output and an unrestricted inlet and outlet may have an internal pumping failure. A completely silent pump may have an electrical fault or failed motor.
Check the washer pump fuse using the fuse information for your vehicle. If a replacement fuse immediately blows again, do not continue installing fuses. An electrical short, seized pump, damaged wiring, or another circuit problem may be present.
If you have suitable electrical testing experience, the next step is verifying power and ground at the pump connector while the washer control is commanded on. Electrical designs vary, and some vehicles use control modules rather than a simple direct switch circuit. Consult the correct wiring diagram before testing.
When proper electrical supply reaches the pump but the motor does not operate, replacing the pump is generally the practical repair. Likewise, a pump that runs but cannot develop useful flow after the reservoir, inlet, hoses, and nozzles have been confirmed clear may be internally worn or damaged.
Source: familyhandyman.com
Pump silent with no power
Investigate the fuse, wiring, connector, switch, relay if equipped, or control circuit.
Pump silent with proper power and ground
The washer pump motor is likely faulty and normally requires replacement.
Pump runs but produces no flow
Confirm that fluid reaches the inlet and that no obstruction remains before condemning the pump.
Pump works but windshield spray stays weak
Inspect the hose network, connectors, valves, and washer nozzles for remaining restrictions or leaks.
When to Use a Repair Shop
Professional service is sensible when the pump cannot be reached without significant bumper or body-panel removal, electrical testing points are unclear, the fuse repeatedly fails, or you are not equipped to lift and support the vehicle safely.
A technician can separate electrical faults from hydraulic restrictions and test the pump circuit without replacing unrelated components.
Common Mistakes to Avoid
Washer systems are simple compared with many automotive systems, but several common mistakes can turn a small clog into a larger repair. Work gently around plastic reservoirs, old hoses, electrical connectors, and rubber seals because these components can become brittle with age.
The most important mistake to avoid is treating every no-spray condition as a dirty pump. A clogged nozzle, frozen fluid, broken hose, empty tank, blown fuse, wiring fault, or failed motor can produce similar symptoms. A few basic checks before disassembly usually save time.
Running the pump dry
Avoid prolonged operation with an empty reservoir because the pump is intended to move washer fluid.
Using harsh chemicals
Strong solvents can damage plastic reservoirs, rubber seals, hoses, and pump components.
Ignoring the reservoir
Cleaning the inlet screen without removing contamination from the tank can lead to another blockage.
Forcing electrical connectors
Release locking tabs properly instead of pulling on wiring or prying aggressively.
Operating a frozen system repeatedly
Allow frozen washer fluid and lines to thaw and replace unsuitable fluid before retesting.
Reusing a damaged grommet
A worn pump seal may leak after the pump is reinstalled, even if it did not leak beforehand.
Frequently Asked Questions
Q
Can a windshield washer pump get clogged?
Yes. Debris, sediment, deteriorated fluid, or biological residue can restrict the pump inlet or a small screen or filter between the reservoir and pump. The pump itself can also appear clogged when the actual blockage is in a hose, connector, check valve, or nozzle.
Q
Can I clean a windshield washer pump without removing it?
You can sometimes improve a minor restriction by draining and thoroughly cleaning the reservoir and flushing accessible hoses, but a clogged inlet screen usually needs direct access for proper inspection. Whether the pump can be reached without reservoir removal depends on the vehicle.
Q
Why can I hear the washer pump but no fluid comes out?
An audible pump with no spray can be caused by an empty reservoir, clogged pump inlet, blocked nozzle, restricted or disconnected hose, frozen fluid, air in a recently drained system, or an internal pump failure. Begin with the reservoir and visible fluid path before replacing the pump.
Q
Should I use vinegar or household cleaner in the washer reservoir?
Using household cleaning products is generally unnecessary and can introduce residues or materials that may not be compatible with the vehicle’s plastics, rubber seals, paint, or washer-fluid chemistry. For cleaning a removed reservoir, clean water and gentle mechanical rinsing are usually sufficient. Refill the vehicle with appropriate automotive windshield washer fluid.
Q
How do I know when the washer pump needs replacement instead of cleaning?
Replacement becomes more likely when the fluid path is clean and unrestricted but the pump still cannot create adequate flow, or when proper power and ground reach the pump and the motor remains silent. Physical damage, severe corrosion at the pump, or persistent leakage from the pump body can also justify replacement.
✦ Wrapping Up
Conclusion
Learning how to clean windshield washer pump components is mainly about restoring a clear fluid path. Start by confirming that washer fluid is present and listening for pump operation. If the motor runs but spray is weak or absent, inspect the reservoir, pump inlet screen or filter, hoses, connectors, check valves, and nozzles before assuming the pump has failed.
When contamination is present, drain and clean the reservoir, gently clean the removable pump filter or inlet, inspect the seal, flush the downstream system, refill with appropriate washer fluid, and test in short cycles. Cleaning the entire fluid path is more effective than addressing only one component.
If the clean system still does not work, move from cleaning to diagnosis. Verify the fuse and electrical supply, check for remaining restrictions, and replace a pump that has failed electrically or can no longer produce useful flow.
💡 Key Takeaway
Start with the simplest test: fill the reservoir, briefly operate the washers, and listen for the pump. If it runs but spray is weak, clean the reservoir and pump inlet first, then work forward through the hoses and nozzles until you find the restriction.