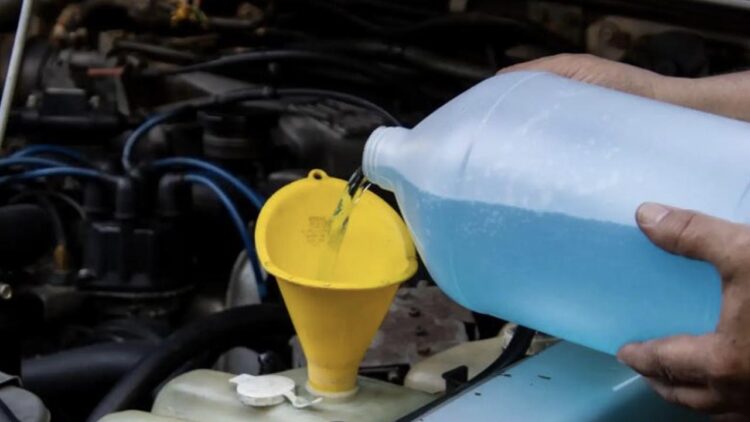
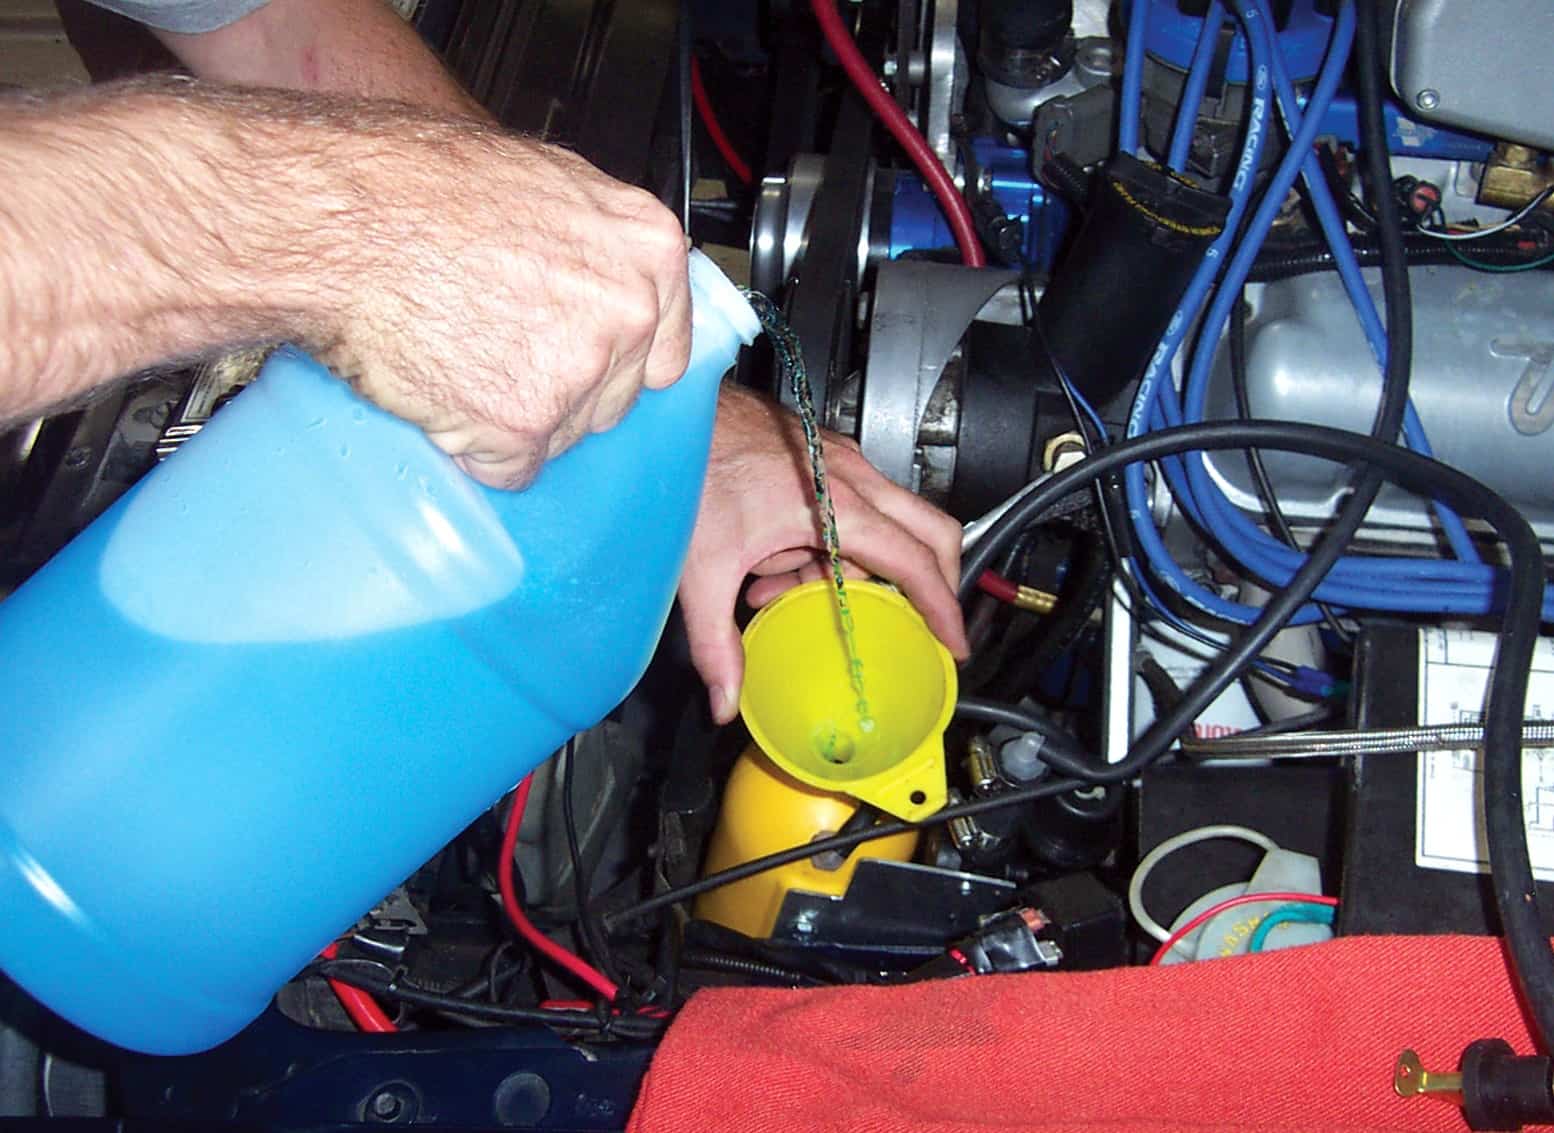
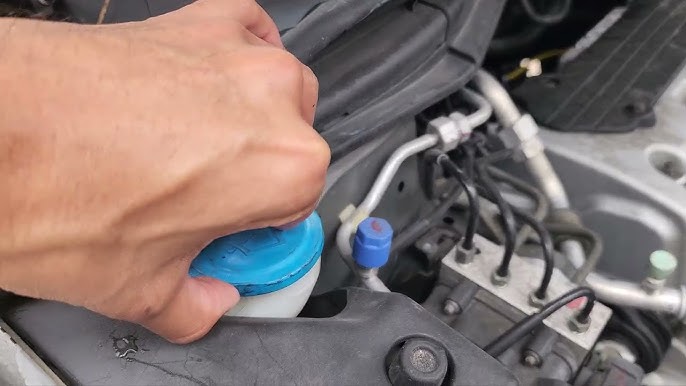
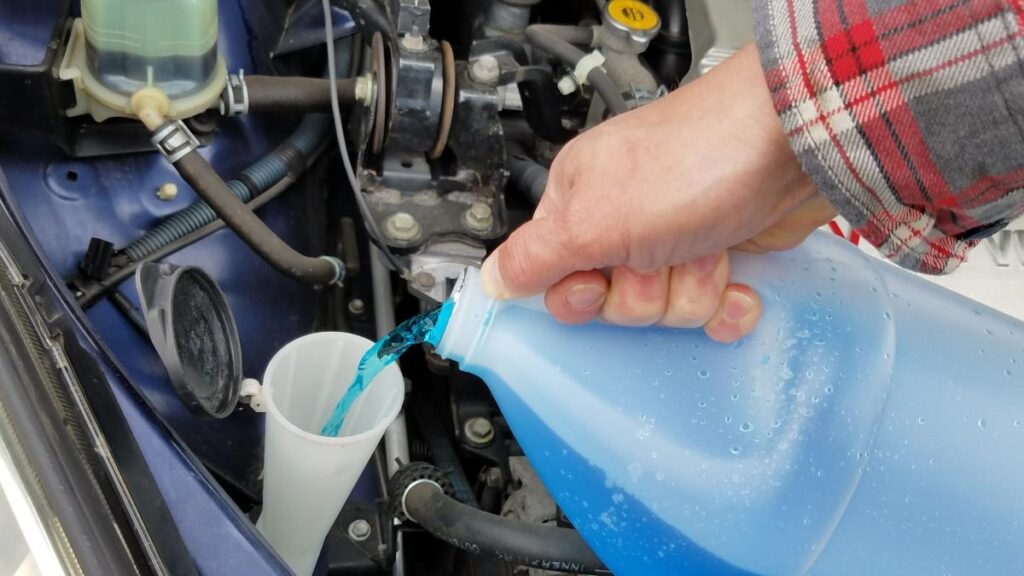
To siphon windshield washer fluid, park the vehicle safely, let it cool, open the washer reservoir, insert a clean flexible hose into the fluid, place the other end in a suitable container below reservoir level, and start the siphon without using your mouth.
For drivers in the United States, siphoning windshield washer fluid is a practical way to empty a washer reservoir when the wrong product was added, summer fluid needs to be replaced with freeze-resistant winter fluid, the reservoir needs cleaning, or work is being performed on the washer system. The job is usually straightforward, but the exact reservoir shape and access point vary among cars, pickups, SUVs, and vans sold in the U.S.
The safest approach is to use a hand-operated siphon pump, fluid-transfer bulb, or other dedicated transfer device rather than trying to start the siphon by mouth. Windshield washer fluid may contain methanol or other chemicals that should not be swallowed or deliberately inhaled. This guide explains how to siphon windshield washer fluid, what equipment to prepare, how to tell whether the process is working, why a hose sometimes will not reach the bottom of the reservoir, and what alternatives you can use when siphoning is not practical.
Why You Might Need to Siphon Windshield Washer Fluid
Siphoning removes washer fluid without requiring you to remove the reservoir itself. It is especially useful when the reservoir is reasonably accessible from the engine compartment and a flexible tube can reach the liquid.
One common reason is seasonal fluid replacement. In colder parts of the United States, a driver may want to remove warm-weather washer fluid before freezing temperatures arrive and replace it with a product rated for lower temperatures. Another common situation is accidentally filling the washer reservoir with an unsuitable liquid or wanting to remove contaminated or unusually dirty fluid.
Siphoning can also help before repairing a washer pump, reservoir, level sensor, hose, or related component. Removing most of the fluid first reduces the amount that spills when a connection is opened.
Source: hitchesguide.com
Wrong fluid was added
Removing it promptly can prevent an unsuitable liquid from remaining in the washer system.
Seasonal fluid change
Drivers in freezing climates may need a washer fluid with an appropriate low-temperature rating.
Contamination
Dirt, debris, or an unknown mixture in the reservoir may justify draining and refilling it.
Washer-system repair
Reducing the fluid level can make pump, hose, reservoir, or sensor work cleaner.
When Siphoning Is Not the Best Method
Siphoning is less effective when the reservoir has a long curved filler neck, an anti-splash insert, a screen, internal baffles, or an opening that prevents the hose from reaching the bottom. Some reservoirs are mounted deep inside a fender area, so the filler opening you see under the hood may be several inches away from the main tank.
Do not force stiff tubing through the filler neck. Aggressive pushing can damage a plastic neck, dislodge a screen, or leave the tube stuck inside. If the hose meets firm resistance, use another draining method rather than forcing it.
What You Need Before Siphoning Washer Fluid
Prepare the tools before opening the reservoir. The simplest setup uses a flexible hose and a hand-operated siphon device that is compatible with automotive fluids. Clear tubing can be helpful because you can see whether fluid is moving through it.
You also need a container large enough to hold the fluid you expect to remove. Washer reservoir capacity varies by vehicle, so choose a container with extra space rather than one that may overflow halfway through the job.
Wear chemical-resistant gloves and consider safety glasses, especially when disconnecting hoses or working around a nearly full reservoir. Work outdoors or in a well-ventilated area and avoid smoking, sparks, or flames around washer fluid.
Source: storage.googleapis.com
Flexible transfer hose
Use tubing small enough to pass through the washer reservoir filler opening without being forced.
Hand siphon pump or transfer bulb
This starts fluid movement without putting washer fluid near your mouth.
Collection container
Use a stable container that is compatible with automotive fluids and has sufficient capacity.
Gloves and eye protection
These reduce skin and eye exposure if fluid splashes.
Shop towels
Keep absorbent material nearby for small drips or spills.
Why You Should Never Start the Siphon With Your Mouth
Do not suck on the hose to start the siphon. Some windshield washer fluids contain methanol, and formulations can contain other chemicals that are unsafe to ingest. A manual siphon pump costs little compared with the risk of accidentally pulling fluid into your mouth.
If washer fluid is swallowed or someone experiences concerning symptoms after exposure, follow the product label and contact the appropriate poison-control or medical service promptly.
How to Siphon Windshield Washer Fluid Step by Step
The basic principle is simple: the pickup end of the hose sits in the washer fluid while the discharge end is placed in a container lower than the fluid level. A siphon pump starts the movement. Once the hose is filled and gravity has a suitable height difference, fluid may continue flowing without continuous pumping.
Before starting, check the owner’s manual if you are unsure which cap belongs to the windshield washer reservoir. Washer caps commonly display a windshield-and-spray symbol, but under-hood layouts vary.
Source: vehiclefreak.com
Step 1: Park safely
Park on a stable, level surface, apply the parking brake, turn the engine off, and allow the engine compartment to cool if the vehicle was recently driven.
Step 2: Locate the washer reservoir
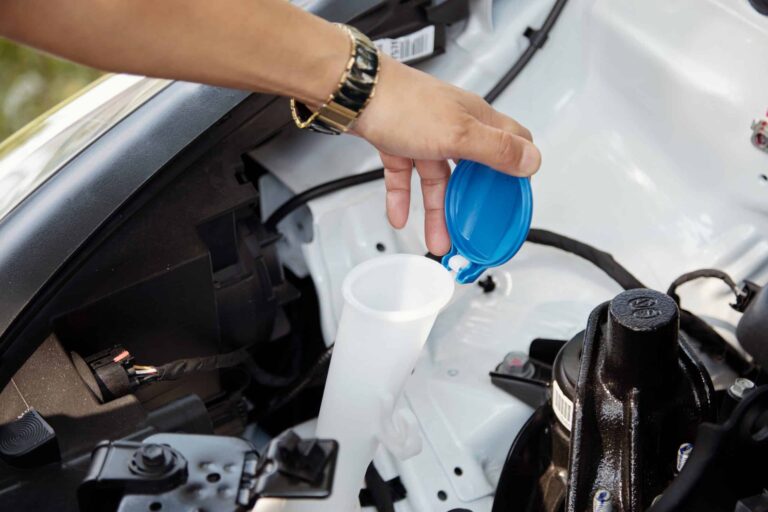
Open the hood and identify the windshield washer fluid filler cap. Verify it before inserting any equipment.
Step 3: Open the reservoir
Remove or flip open the washer-fluid cap and inspect the filler opening for screens, sharp bends, or obstructions.
Step 4: Insert the hose gently
Feed clean flexible tubing through the filler neck until its end reaches the fluid. Stop if you encounter solid resistance.
Step 5: Position the collection container
Place the receiving container securely below the fluid level in the reservoir whenever you are relying on gravity to maintain the siphon.
Step 6: Start the flow
Use the hand pump or transfer bulb according to its design until washer fluid travels through the hose toward the container.
Step 7: Let the fluid drain
Keep the reservoir end submerged and the outlet end inside the container. Monitor the container so it does not tip or overflow.
Step 8: Stop the siphon
Lift the reservoir end above the fluid level, pinch or clamp the hose, or raise the discharge end to interrupt the flow.
Step 9: Remove the hose
Withdraw the hose slowly and use a towel to catch drips.
Step 10: Refill if needed
Add the washer fluid appropriate for your vehicle and expected temperatures, then close the reservoir cap securely.
Signs the Siphon Is Working Correctly
You should see steady fluid movement through clear tubing or into the receiving container. After the siphon is established, flow should remain reasonably consistent while the pickup end stays submerged and the outlet remains lower than the reservoir fluid level.
Flow normally becomes slower as the reservoir empties. If it repeatedly stops while plenty of fluid remains, air may be entering the hose, the pickup end may no longer be submerged, or the outlet may not be positioned low enough.
How Much Fluid Can You Remove
A simple siphon may remove most of the accessible liquid, but it often leaves a small amount at the bottom. The hose may not reach every low point because washer reservoirs are commonly molded into irregular shapes to fit available space in the vehicle.
If your goal is merely to replace old fluid, removing most of it may be sufficient before refilling with fresh washer fluid. If the reservoir contains the wrong chemical or needs repair, a more complete drain may be appropriate.
What to Do If the Washer Fluid Will Not Siphon
A failed siphon does not necessarily mean you are doing anything wrong. The shape of the filler neck and reservoir can make certain vehicles difficult or impossible to drain from the top.
Start with the simplest checks. Make sure the hose end is actually submerged, eliminate major air leaks, straighten unnecessary kinks, and lower the receiving container. If the tubing never reaches liquid, do not continue forcing it downward.
A weak or intermittent flow can also occur when the hose diameter is very small, the elevation difference is minimal, or the pickup end sits against the reservoir wall and becomes partially blocked.
Source: roadworthylabs.com
Hose will not reach the fluid
The filler neck may curve sharply or contain a screen or restriction. Try smaller flexible tubing only if it can be inserted without force.
Flow starts and then stops
Check whether the pickup end has risen above the fluid or air has entered the transfer line.
Pump moves only air
Reposition the hose so the pickup end remains beneath the fluid surface.
Gravity will not maintain flow
Move the receiving container lower while keeping the hose outlet securely inside it.
Only part of the reservoir drains
The reservoir may have an irregular floor, internal partition, or area the hose cannot reach.
Do Not Force the Hose Into the Reservoir
If tubing stops at a bend or obstruction, pushing harder is not a useful solution. A filler neck can include molded curves and screens, and damaging these parts can turn a simple fluid change into a repair.
Switch to another draining approach when gentle insertion does not reach the fluid.
Alternative Ways to Drain Windshield Washer Fluid
When siphoning is impractical, there are several alternatives. The right method depends on why you are draining the system, how much fluid remains, and how accessible the reservoir and washer hoses are.
For a routine change when the existing fluid is suitable for spraying, operating the windshield washer can gradually lower the reservoir. However, continuously running the washer pump for an extended period can overwork the pump. Use short intervals and allow pauses rather than holding the washer control continuously.
Another possibility on some vehicles is disconnecting an accessible washer-fluid hose or pump connection and directing the fluid into a container. This can drain the reservoir more thoroughly, but access differs significantly among vehicle designs. Consult vehicle-specific service information before disconnecting components.
Removing the reservoir is generally unnecessary for a simple fluid change, but it may be appropriate when the tank requires cleaning, has severe contamination, is damaged, or needs replacement.
Source: practicalmechanic.com
Use the windshield washers
Suitable for reducing the level gradually when the existing fluid is safe to spray and the washer system works normally.
Disconnect an accessible washer line
Potentially faster, but only when the hose or pump connection can be accessed safely and reconnected correctly.
Drain through the pump area
Some reservoir designs can be drained when the washer pump or its seal is removed, but this is a vehicle-specific repair procedure.
Remove the reservoir
Best reserved for cleaning, repair, replacement, or situations where other methods cannot achieve the required result.
Which Draining Method Should You Choose
Choose siphoning when the hose reaches the fluid easily and you want a low-disassembly method. Use the washer system when only a modest amount needs to be removed and the existing fluid can safely be sprayed. Consider a hose, pump, or reservoir drain procedure when you need more complete removal.
If the washer reservoir sits behind a fender liner or other body components, accessing the lower connections may require removing trim or fasteners. Vehicle-specific repair information is more useful than guessing where hidden clips or connectors are located.
Safety Tips When Handling Windshield Washer Fluid
Windshield washer fluid should be treated as an automotive chemical rather than harmless colored water. Read the product label because formulations differ. Keep the fluid away from children and pets, avoid unnecessary skin or eye contact, and never transfer it into a beverage bottle or food container.
Work where there is adequate ventilation and keep the fluid away from ignition sources. If you spill washer fluid, prevent people and animals from contacting it and clean the area according to the product instructions and applicable local disposal guidance.
Do not pour unwanted washer fluid onto the ground, into a storm drain, or into a body of water. Disposal requirements can differ among U.S. states and municipalities, particularly for mixed or contaminated automotive fluids. Your local household hazardous waste program can provide location-specific guidance.
Source: pinterest.com
Avoid ingestion
Never mouth-siphon washer fluid and keep it in clearly identified automotive-fluid containers.
Protect your eyes and skin
Wear gloves and eye protection when splash exposure is possible.
Keep away from children and pets
Store both new and drained fluid securely where it cannot be mistaken for a drink.
Control spills
Catch drips immediately and prevent fluid from entering storm drains, soil, or waterways.
Dispose of unwanted fluid appropriately
Follow the product label and local household hazardous waste requirements, especially when the fluid is contaminated.
Can You Reuse Siphoned Washer Fluid
Reuse only makes sense when the fluid is known to be clean, uncontaminated, correctly formulated for the intended conditions, and collected in a clean compatible container. If you drained it because the product was wrong, contaminated, mixed with an unknown liquid, or no longer suitable for the expected temperature, reusing it defeats the reason for draining the reservoir.
Do not return dirty fluid to a washer reservoir. Sediment and debris can contribute to blocked nozzles, screens, hoses, or other washer-system problems.
Refilling the Reservoir After Siphoning
After draining the old fluid, refill the reservoir with windshield washer fluid suitable for your vehicle and climate. U.S. drivers who experience freezing weather should pay particular attention to the temperature rating on the product label rather than assuming every washer fluid provides the same freeze protection.
Pour slowly to reduce spills and stop before the reservoir overflows. Some reservoirs have visible level markings, while others are opaque or positioned where the fluid level is difficult to see.
Once filled, secure the cap and operate the washers briefly. Confirm that fluid sprays normally and check the area around any hose, pump, or fitting you disturbed for leaks. If you changed to a different fluid, several short washer cycles may be needed before the new fluid fully replaces what remained in the hoses.
Choose climate-appropriate fluid
Read the product’s stated temperature range when the vehicle will be exposed to freezing conditions.
Refill gradually
Slow pouring makes the reservoir easier to monitor and reduces overflow.
Secure the cap
A properly closed cap helps keep dirt and debris out of the reservoir.
Test the system
Confirm normal spray operation and inspect any disturbed connections for leaks.
What If You Siphoned the Fluid Because You Added the Wrong Liquid
Remove as much of the incorrect liquid as practical before adding proper washer fluid. If the wrong liquid has already circulated through the pump and hoses, simply draining the reservoir may not remove all of it.
The appropriate next step depends on what was accidentally added. A small amount of compatible fluid presents a different situation from engine coolant, brake fluid, fuel, oil, or another incompatible automotive chemical. When a substantially different automotive fluid has entered the washer system, avoid guessing about compatibility and use vehicle-specific service guidance or professional assistance.
Frequently Asked Questions
Q
Can you siphon windshield washer fluid with a regular hose?
Yes, if a clean flexible hose can reach the fluid and the receiving end can be positioned below the reservoir fluid level. A hand-operated siphon pump or transfer bulb should be used to start the flow. Do not start the siphon by sucking on the hose.
Q
Why will my siphon hose not go into the washer reservoir?
The filler neck may contain a tight curve, screen, anti-splash feature, or other restriction. The main reservoir can also sit farther away from the filler opening than it appears. Do not force the hose through a solid obstruction.
Q
Do I need to remove all the windshield washer fluid before changing brands?
Usually not for a routine change between compatible windshield washer fluids, although removing most of the old fluid gives you a more predictable mixture. Complete removal matters more when the existing fluid is contaminated, unsuitable for the expected temperature, or mixed with an incompatible substance.
Q
Can I drain windshield washer fluid by spraying it onto the windshield?
You can use the washer system to lower the fluid level when the existing liquid is suitable for normal use. Operate the washer in short intervals rather than running the electric pump continuously for a long period. If a large amount must be removed, siphoning or a vehicle-specific drain procedure is usually more practical.
Q
How do I know when the washer reservoir is empty?
During siphoning, fluid flow will slow or stop when the hose can no longer pick up liquid. Because many reservoirs have irregular shapes, a small amount may remain below the point the hose can reach. Do not assume the reservoir is completely dry simply because the siphon stops.
Q
Can windshield washer fluid freeze?
Yes. Freeze resistance depends on the formulation. Products sold for winter use generally state a low-temperature rating on the container. Drivers in cold U.S. climates should select fluid based on expected local temperatures rather than relying only on its color or brand.
Q
What should I do with old windshield washer fluid?
Keep it in a clearly identified, compatible container and follow the product label and local disposal requirements. Do not dump unwanted washer fluid onto soil, into a storm drain, or into surface water. Local household hazardous waste programs can advise you about disposal options, especially for contaminated or mixed fluid.
✦ Wrapping Up
How to Siphon Windshield Washer Fluid: Final Steps
Learning how to siphon windshield washer fluid gives you a relatively simple way to remove old, incorrect, or seasonally unsuitable fluid without immediately disassembling the washer reservoir. The safest method is to use clean flexible tubing with a hand-operated siphon pump, keep the receiving container below the reservoir fluid level, and monitor the transfer until the accessible fluid has been removed.
If a hose cannot reach the fluid, do not force it. Washer reservoir filler necks can contain bends, screens, and other restrictions. In that situation, lowering the level with the washer system or using a vehicle-specific hose, pump, or reservoir draining procedure may work better. Afterward, refill with washer fluid appropriate for your vehicle and U.S. climate, check for leaks, and verify that the washers spray normally.
💡 Key Takeaway
Use a hand siphon pump rather than your mouth, collect the old fluid securely, stop if the hose encounters a solid obstruction, and refill the reservoir with washer fluid appropriate for the temperatures your vehicle will encounter.