MIG Welding Gun Parts: Tips, Nozzles, Liners, and Care
A MIG welding gun feeds wire, carries welding current, and directs shielding gas through parts like the contact tip, nozzle, and liner. Each part has a specific job, and matching the pieces to your wire and gun helps prevent feeding trouble, poor gas coverage, and frustrating weld defects.
Are you dealing with wire that keeps snagging, a tip that sticks to the weld, or spatter packed inside the nozzle? Those problems can feel like a mystery until you know which part to check first.
I once rushed through a gun cleanup and put a worn contact tip back in because it looked “good enough.” The wire feed turned rough halfway through the job, and I had to stop and redo the setup. It’s a common shortcut, not a dumb mistake.
I wrote this for anyone learning to set up a MIG gun, replace consumables, or figure out why an otherwise steady machine is acting up. You don’t need to take the whole gun apart to get comfortable with the parts.
Get the match right and you’ll spend less time clearing jams, get more consistent starts, and avoid replacing parts that still have life in them. Skip the basic checks, and a small feed problem can leave your welds uneven or your work stalled.
This takes about 9 minutes to read. By the end, you’ll know how to:
- Identify the main parts and what each one does.
- Match a contact tip, liner, and nozzle to your setup.
- Spot common wear and feeding problems.
- Clean and replace gun parts without damaging the assembly.
MIG Welding Gun Parts: What Each Part Does
MIG welding gun parts guide the wire, deliver current, and carry shielding gas to the weld. In a common setup, wire travels through a liner, picks up current in the contact tip, and exits the nozzle as gas flows around it.
A MIG gun is the handheld assembly connecting the welder to the work area. The exact shape and parts vary by gun model, but the main jobs stay the same.
| Part | Main job | Common sign of trouble |
|---|---|---|
| Contact tip | Transfers welding current to the wire | Erratic arc, wire sticking, or a worn opening |
| Nozzle | Directs shielding gas around the arc | Spatter buildup or blocked gas flow |
| Gas diffuser | Distributes gas inside the nozzle | Uneven gas coverage or damage |
| Liner | Guides wire through the cable | Dragging, bird-nesting, or inconsistent feed |
| Neck | Holds the front-end parts and aims the gun | Loose parts or restricted access |
| Trigger | Starts wire feed and welding output | No response or an inconsistent start |
| Cable assembly | Carries wire, gas, and electrical power | Kinks, cuts, leaks, or damaged connections |
The front-end parts that shape the weld
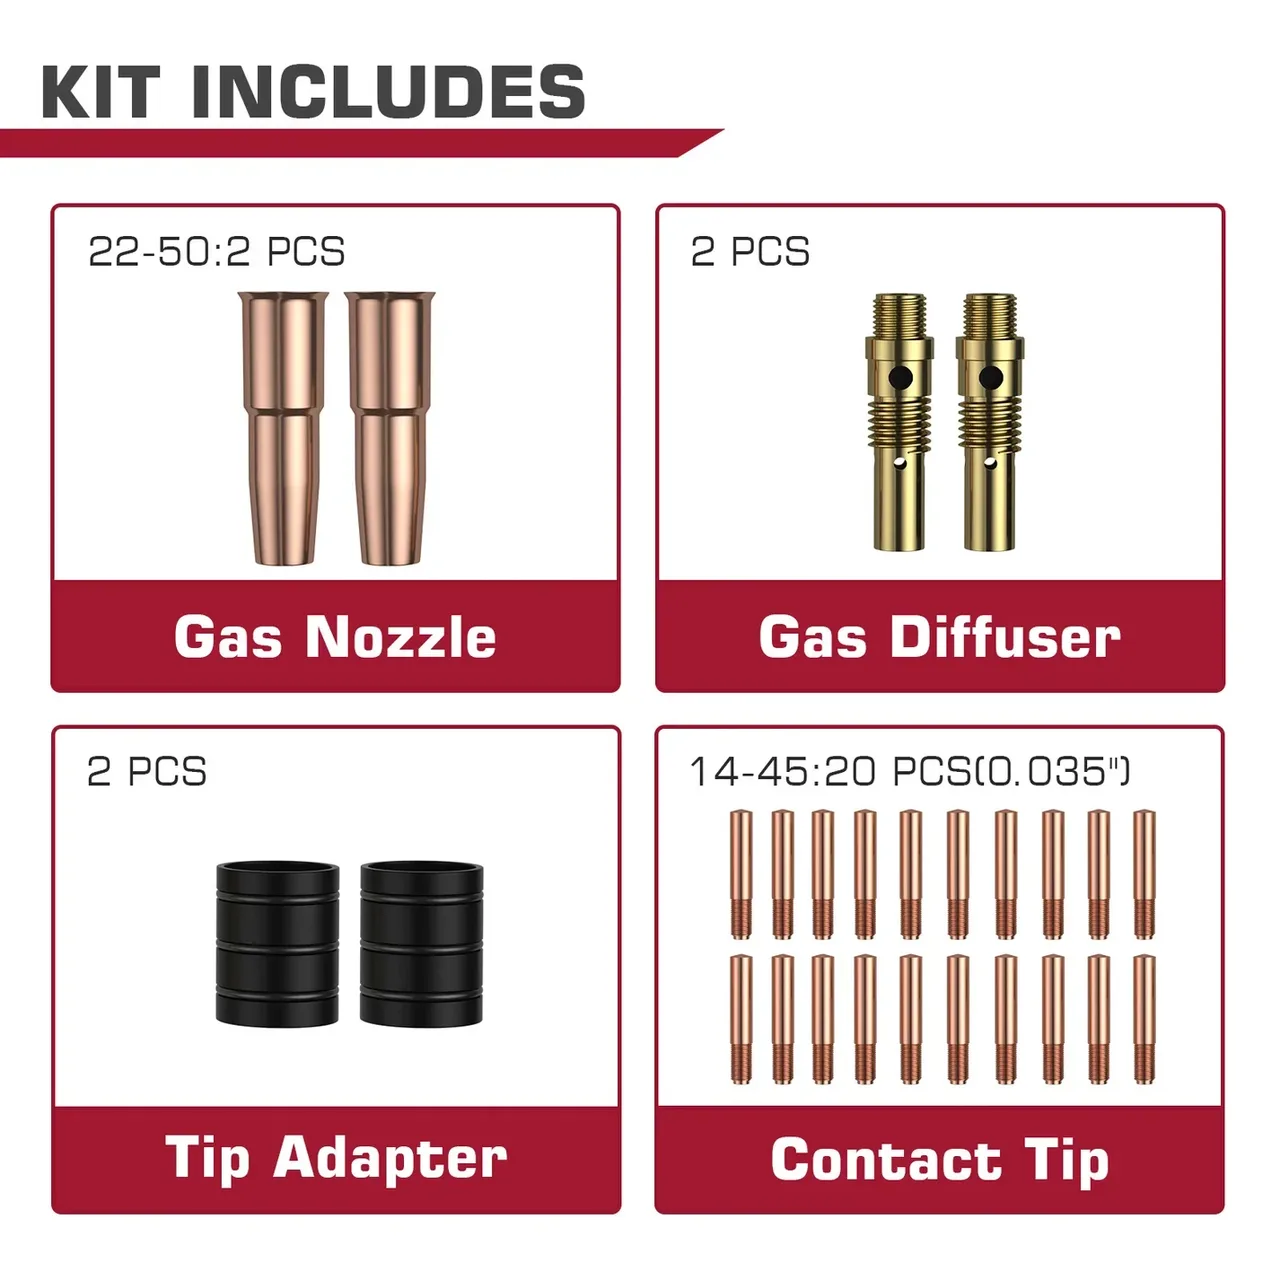
The contact tip is the small copper or copper-alloy part that transfers current to the wire. Its bore must suit the wire diameter; a worn or oversized opening can make the arc less steady, while an undersized tip can bind the wire.
The nozzle surrounds the contact tip and directs shielding gas toward the weld pool. Nozzles come in different shapes and sizes, so the right choice depends on the gun, joint access, and welding conditions.
The gas diffuser, sometimes called a gas nozzle or gas distributor in product catalogs, sits behind the nozzle and spreads gas around the tip. The tip holder, also called a retaining head, holds the contact tip in place and connects it to the gun’s current path. Names vary between brands, so check the diagram for your gun instead of relying on a label alone.
A loose nozzle or packed spatter can interfere with gas flow, leaving the weld exposed to air. That can cause porosity, which shows up as small holes or pockets in the weld.
The wire path and controls
The liner runs inside the gun cable and guides welding wire from the feeder to the contact tip. Liners are made for different wire types and sizes; a mismatch, kink, or buildup of debris can add drag and make the wire feed unevenly.
The trigger controls the welding cycle, though the details depend on the machine. The cable assembly carries the wire, electrical current, and shielding gas, while the neck positions the front end so you can reach the joint.
A MIG gun isn’t the same thing as every other welding handpiece. Welding guns, torches, and electrode holders differ in how they deliver current, shielding, and filler material, so a part that fits one process won’t automatically fit another.
Pro Tip: Take a clear photo of the gun’s front end before you remove anything. It’s a quick way to remember the order of the parts, especially if you’re working with an unfamiliar model.
How to Match Tips, Nozzles, and Liners
Choose replacement parts by matching the gun model, wire diameter and type, and welding conditions. A part that fits the threads can still be the wrong size or style for your setup.
Before buying parts, check the gun manual or the manufacturer’s parts list. Look for the gun series, connector type, rated capacity, and compatible consumables; similar-looking guns can use different front-end parts.
Match the contact tip to the wire
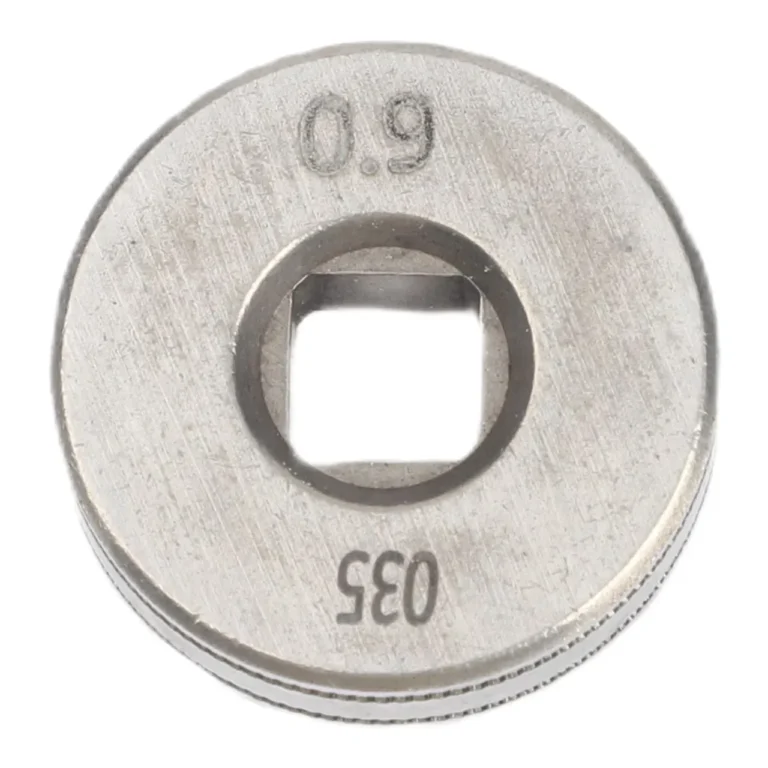
Start with the wire diameter printed on the wire spool, then match the tip to that size and the correct gun family. Common wire sizes include 0.023, 0.030, 0.035, and 0.045 inch, but the available range depends on your welder and the work.
Wire type matters too. Solid wire and flux-cored wire can call for different contact-tip choices, and specialty wires may have their own requirements. Follow the machine or consumable maker’s guidance rather than assuming the tip in the drawer will do.
If the wire feeds smoothly but the arc still starts erratically, inspect the tip for a worn bore, spatter, or a loose fit. A new tip is a small, inexpensive test compared with fighting a bad arc for an entire afternoon.
Pick a nozzle and diffuser for the job
A nozzle needs to fit the gun and allow gas to reach the weld area. A larger nozzle can suit a wider coverage area, while a slimmer one may help you reach a tight joint. Neither is a universal upgrade: the joint shape and the nozzle’s gas flow matter.
The diffuser must also match the gun and nozzle design. If the diffuser is damaged or installed incorrectly, the gas may not spread evenly even when the cylinder and flow setting are fine.
What if the nozzle looks clean but the weld still has porosity? Check for a loose connection, a damaged diffuser, drafts, or leaks in the gas system before turning up gas flow. Too much flow can cause turbulence instead of improving coverage.
Choose the right liner
Match the liner to both the wire diameter and wire material. A liner made for a different wire type may create too much friction or fail to guide the wire cleanly.
A steel liner is commonly used with solid steel wire. Aluminum wire is softer, so it usually needs a setup designed to prevent buckling; depending on the gun, that may mean a dedicated liner or a spool gun.
TIG torch parts use a different setup, including parts such as collets and cups, rather than a MIG wire-feeding liner and contact tip. Don’t mix up those systems when ordering replacement consumables.
Check fit and compatibility before installing
Use the parts list for your specific gun rather than ordering by appearance alone. Also check the rated duty cycle, which describes how long a welder or gun can operate within a set period before it needs to cool.
If you’re buying a complete gun, confirm that its connector, wire-feed system, and electrical rating suit your machine. A mismatch can mean extra adapters, poor connections, or parts that simply don’t work together.
Important Tip: Turn off the welding machine and follow its instructions for disconnecting power before changing gun parts. Front-end parts can stay hot after welding, so let them cool before handling them.
Replace, Clean, and Troubleshoot Gun Parts
Regular checks and simple cleaning help catch worn parts before they cause a wire-feed or gas problem. Replace a damaged part instead of trying to reshape it or force it back into service.
Here’s a safe, practical order for checking the gun:
- Turn off the machine and follow its manual before disconnecting or opening any part of the gun.
- Let the front end cool, then remove the nozzle and inspect it for spatter and damage.
- Check the contact tip and tip holder for wear, looseness, or stuck wire.
- Inspect the diffuser and gas path for debris or damage.
- Check the gun cable for sharp bends, crushed areas, and visible damage.
- If wire feed remains rough, inspect or replace the liner according to the gun maker’s instructions.
Use the right tools for your model, and don’t wrench down parts that are meant to fit snugly by hand. If a component is seized, the wrong kind of force can damage the neck or threads.
I once spent more time than I should have trying to clear spatter from a nozzle while it was still attached to the gun. Taking the nozzle off first made the cleanup easier and kept debris from getting pushed farther into the front end.
Match the symptom to the likely cause
| Symptom | Parts to inspect | What to check |
|---|---|---|
| Wire feeds unevenly | Liner, contact tip, cable | Kinks, buildup, wrong size, or a worn tip |
| Wire sticks at the tip | Contact tip, wire feed | Tip wear, tip size, or feed tension |
| Porosity in the weld | Nozzle, diffuser, gas path | Spatter, loose parts, leaks, or drafts |
| Nozzle clogs quickly | Nozzle, contact tip, settings | Spatter buildup or a setup that needs adjustment |
| Wire bunches near the feeder | Liner, drive rolls, gun cable | Drag, incorrect roll pressure, or a kink |
| Gun feels hot during use | Gun rating, duty cycle, connections | Excessive workload or a loose connection |
A bird’s nest is a tangled wad of wire that forms near the feeder when the wire can’t move smoothly through the gun. The liner, drive-roll pressure, wire-spool brake, and cable bends can all contribute, so don’t assume the liner is the only culprit.
If the wire bunches near the drive rolls, stop the feed before the tangle grows. Clear the jam using the welder’s instructions, then check that the wire path is straight and the drive-roll tension isn’t crushing the wire.
Spatter on the nozzle is normal, but a heavy buildup can block gas flow. Clean the nozzle with a tool made for the job; don’t gouge its opening or scrape the gas diffuser with a sharp object.
When does a liner need replacing? Replace it when cleaning and correcting cable position don’t restore smooth feeding, or when the liner is kinked, damaged, or contaminated. Follow the manufacturer’s process for trimming and installing it, since the correct length and seating matter.
Know when to stop and get help
Stop using the gun if the cable has damaged insulation, exposed conductors, a gas leak, or a connector that feels loose or gets unusually hot. A damaged electrical connection can create a shock or fire risk; have the gun inspected or repaired by a qualified person.
For stick welding, the electrode holder grips a consumable rod and carries current to it, rather than feeding continuous wire through a gun. Stick welding electrode holder parts belong to that separate setup, so their replacement guidance doesn’t apply to MIG gun consumables.
- Match the contact tip and liner to the wire size and type.
- Keep the nozzle and diffuser clear so shielding gas can reach the weld.
- Follow the gun manual when removing, trimming, or replacing parts.
- Stop using a gun with damaged cables, leaking gas, or loose hot connections.
FAQs About MIG Welding Gun Parts
What parts wear out most often on a MIG gun?
The contact tip and nozzle often need attention because they sit close to heat and spatter. A liner can last longer, but it may need replacement if wire feeding stays rough after you check for kinks, debris, and incorrect wire-size matching.
Can I use any contact tip that fits my MIG gun?
No, the contact tip needs to match the gun and the wire diameter. A tip that threads into place can still have the wrong bore or connection, which may cause wire binding or an unstable arc. Check the gun’s parts list before buying.
How often should I replace a MIG gun liner?
There’s no fixed replacement interval for every setup. Replace a liner if it’s damaged or if wire feeding remains rough after you’ve checked the cable path, wire type, and drive-roll setup. A clean, correctly matched liner can last much longer than one exposed to debris or sharp bends.
Why does my MIG gun nozzle keep filling with spatter?
Spatter sticks to the nozzle because hot metal droplets land on its inner surface during welding. Clean the nozzle regularly and check that the contact tip and other front-end parts fit correctly. Heavy buildup can restrict shielding gas and make weld quality less consistent.
Are MIG gun parts interchangeable between brands?
Sometimes, but brand or appearance alone doesn’t prove compatibility. Compare the gun model, connector, front-end design, and parts list. If a parts chart doesn’t confirm the match, check with the gun maker before ordering.
Keep Your MIG Gun Feeding Smoothly
MIG gun problems often come down to a small mismatch, a worn contact tip, or spatter blocking the gas path. Knowing the name and job of each part makes it easier to check the right spot instead of swapping pieces at random.
My preference is to keep a few correctly matched tips and a clean nozzle close by, then inspect the liner and cable when feeding still feels rough. That’s simpler than blaming the welder for every hiccup.
Your best next step is to find the model number on your gun and compare it with the manual’s parts list. Once you know which parts fit, replacing a worn consumable becomes a quick fix instead of a guessing game.