How to Clear Codes with Obd2 Scanner: Step-by-Step Instructions
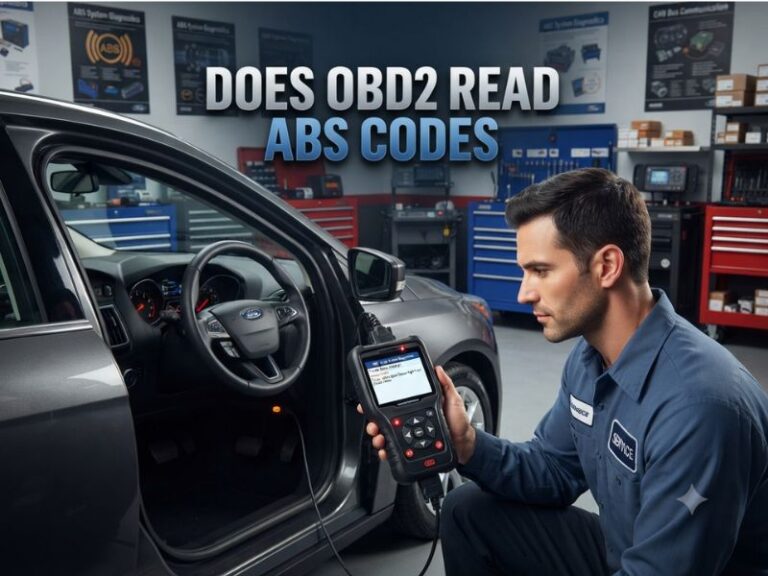
Yes, you can usually clear diagnostic trouble codes with an OBD2 scanner by connecting it to the vehicle’s diagnostic port, turning the ignition on, and selecting the scanner’s erase or clear function. Clearing the code does not repair the fault, however, and the warning light may return if the underlying problem remains.
The difficult part is knowing what a cleared code actually means. A check engine light can result from a loose gas cap, a failing oxygen sensor, an ignition misfire, an emissions leak, or a problem that affects drivability and safety. The same code may also appear after a temporary condition, so context matters more than simply making the warning disappear.
This guide explains how to prepare the vehicle, read and record codes, erase them correctly, and confirm whether the repair worked. It also covers when clearing codes is a poor idea, why readiness monitors reset, how to distinguish a stored code from an active fault, and when professional diagnosis is safer than repeated resets.
What Clearing an OBD2 Code Actually Does
An OBD2 scanner communicates with the vehicle’s onboard diagnostic system. When a control module detects a condition outside its expected range, it stores a diagnostic trouble code and may turn on the malfunction indicator lamp, commonly called the check engine light.
Using the scanner’s clear command deletes stored trouble codes and usually turns off the warning light. It may also erase freeze-frame data, which is the snapshot of engine conditions recorded when the fault occurred.
Clearing a code does not reset the mechanical or electrical system to normal. If a sensor, wiring circuit, vacuum hose, fuel system, or ignition component is still faulty, the vehicle’s computer will test that system again and may set the code after a short drive.
Some scanners also clear codes from modules other than the engine computer, but capability varies. A basic generic OBD2 reader may not access airbag, anti-lock brake, transmission, or body-control modules. Never assume that clearing an engine code has erased every warning stored in the vehicle.
Before You Clear the Check Engine Code
Read the codes before erasing them, even if the warning light seems unimportant. Write down the exact code, such as P0420 or P0301, along with any description shown by the scanner.
Save the scanner’s freeze-frame information when available. Engine speed, coolant temperature, vehicle speed, fuel-trim data, and load can help reveal whether the fault occurred during a cold start, acceleration, highway driving, or idling.
Check whether the code is active, pending, or permanent. Terminology differs between scanners, but these categories generally provide useful clues:
- Stored or confirmed code: The computer detected the problem enough times to record it and may have switched on the warning light.
- Pending code: The computer noticed a possible fault but has not yet met the conditions required to confirm it.
- Permanent code: The vehicle retains evidence of an emissions-related fault until its self-tests verify that the problem has been corrected. A scanner may not be able to delete it manually.
Do not clear codes before an emissions inspection if you need the vehicle’s readiness status to remain complete. Erasing codes commonly resets the emissions readiness monitors, and the vehicle may need several drive cycles before those tests run again.
How to Clear Codes with an OBD2 Scanner
The following process applies to most generic OBD2 scanners. Menu names may differ, so use the device’s instructions if a prompt or warning appears.
1. Park safely and prepare the vehicle
Park on a level surface away from traffic. Set the parking brake and place an automatic transmission in Park or a manual transmission in Neutral. Turn off accessories such as the radio, climate control, and lights.
The engine usually does not need to be running while the code is erased. Keep the vehicle’s battery adequately charged, because a loss of power during communication can interrupt the scan tool or vehicle module.
2. Find the OBD2 port
The standardized OBD2 connector is normally beneath the driver’s side dashboard, near the steering column. It may be exposed or hidden behind a small trim panel. Do not force the connector into place; it should fit only one way.
If the port is damaged, loose, wet, or contaminated, stop and inspect it before connecting the scanner. A poor connection can produce communication errors or cause unreliable results.
3. Plug in the scanner
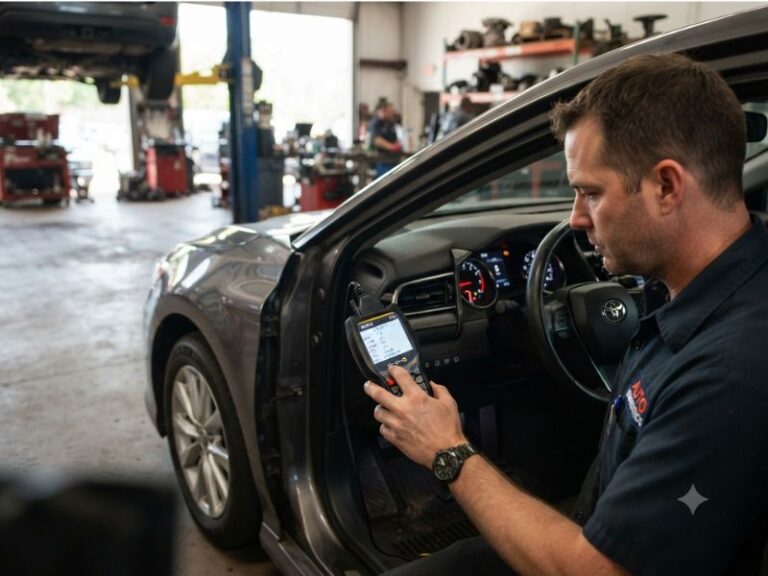
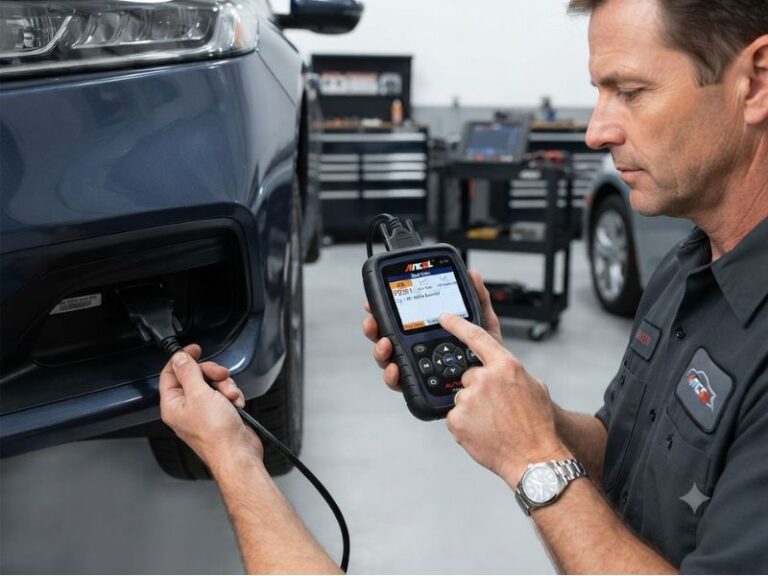
With the ignition off, connect the OBD2 scanner to the diagnostic port. Many scanners power up immediately through the port. If the screen stays blank, turn the ignition to the appropriate position or check the vehicle’s diagnostic-port fuse.
Do not start the engine unless the scanner specifically requests it. Most code-reading and clearing functions use the ignition-on, engine-off position.
4. Turn the ignition to the on position
Turn the key to “On” without starting the engine. In a push-button vehicle, press the start button without pressing the brake or clutch, depending on the manufacturer’s procedure. The dashboard warning lights should illuminate, and the scanner should communicate with the vehicle.
If the tool asks for the vehicle identification number or engine type, enter the information carefully. An incorrect selection can affect the scanner’s ability to interpret data.
5. Read and record the codes
Select a menu such as “Read Codes,” “Diagnostics,” or “Trouble Codes.” Wait for the scan to finish, then record every code and its status before choosing an erase function.
A code is a starting point, not a complete diagnosis. For example, an oxygen-sensor code can result from a sensor failure, exhaust leakage, wiring damage, a fuel-mixture problem, or a catalytic converter issue.
6. Choose the erase or clear command
Return to the main diagnostic menu and select “Erase Codes,” “Clear Codes,” or a similar option. The scanner will usually display a warning explaining that stored information and freeze-frame data may be deleted.
Confirm the command only after the codes have been documented. The vehicle may click, cycle its dashboard lights, or briefly lose communication while the control module completes the request.
7. Turn the ignition off and restart the scan
After the scanner reports that the codes were cleared, turn the ignition off for approximately 30 seconds. Then turn it back on and use the scanner to check for codes again.
If no codes return immediately, start the engine and observe the dashboard. A light that remains off does not prove the repair is complete; some faults require a specific driving condition before the computer can detect them again.
8. Test-drive and rescan
Drive normally while paying attention to rough running, stalling, poor acceleration, unusual smells, overheating, or other symptoms. Avoid aggressive driving if the original code involved a misfire, fuel problem, transmission issue, or reduced engine performance.
Rescan the vehicle after the test drive. If the same code returns, investigate the cause instead of repeatedly clearing it. If a different code appears, record that code as well because it may reveal a related or newly exposed problem.
What Happens After Codes Are Cleared
Clearing codes commonly resets more than the dashboard light. The computer may erase fuel-trim history, freeze-frame records, and the status of emissions self-tests. Some vehicles may also lose learned settings, such as transmission shift adaptations or idle adjustments.
The vehicle can still run normally while monitors are incomplete. A scanner may show monitors as “not ready,” “incomplete,” or “not supported.” Supported monitors must complete their tests before the vehicle is ready for many emissions inspections.
Readiness monitors run under specific conditions. Depending on the vehicle and system, the computer may need a cold start, steady-speed cruising, deceleration, idling, or a fuel level within a certain range. There is no single drive cycle that works for every model.
Do not disconnect the battery as a substitute for using a scanner. Battery disconnection can also erase diagnostic information and learned settings, may create new electrical issues, and is ineffective against some permanent codes. A scanner provides a more controlled method.
When You Should Not Clear the Code
A flashing check engine light often indicates a severe misfire that can damage the catalytic converter. Reduce load, avoid continued driving, and arrange prompt diagnosis. Clearing the code can hide an urgent warning without correcting the condition.
Stop driving and seek help when the vehicle has serious symptoms such as:
- Loss of braking, steering, or transmission control
- Overheating or rapidly rising engine temperature
- Smoke, a strong fuel smell, or an electrical burning odor
- Severe shaking, stalling, or inability to accelerate safely
- A flashing check engine light or multiple warning lights
Do not clear codes immediately after a collision, flood, major electrical event, or airbag deployment. Safety-related modules may store information that is important for repair, and a basic scanner may not access those systems correctly.
Also avoid clearing codes simply to sell a vehicle or pass an inspection. The reset is often visible through incomplete readiness monitors, and the warning may return once the system completes its tests.
Why the Code Comes Back
A returning code means the control module detected the same condition again or found evidence of a related problem. The timing matters: an immediate return often points to an active electrical or component fault, while a return after several days may depend on a particular temperature, speed, or load.
Common reasons include a disconnected connector, damaged wiring, a vacuum or exhaust leak, incorrect fuel pressure, worn ignition parts, a failed sensor, or an emissions component that has exceeded its expected performance range.
Some code definitions are broad. A “circuit” code may involve the sensor, power supply, ground, signal wire, connector, or control module. Replacing the part named in the code without testing the circuit can waste money and leave the original problem unresolved.
Use the code with symptoms, live data, visual inspection, and service information. A loose gas cap may be easy to check, but a fuel-trim, catalyst-efficiency, or intermittent communication code usually requires more systematic testing.
Choosing and Using an OBD2 Scanner
A basic scanner is adequate for reading and clearing many engine and emissions codes on vehicles sold in the United States. More advanced tools can display live data, graph sensor signals, perform active tests, access manufacturer-specific codes, and communicate with additional modules.
Before buying or borrowing a scanner, confirm that it supports the vehicle’s model year and the systems you need to diagnose. “Full system” access is different from generic OBD2 access, and wireless adapters may require a compatible phone app.
Keep the scanner connected securely and avoid using it while driving unless it is specifically designed for live monitoring. A loose cable can interfere with the pedals or steering area, and distraction creates an unnecessary hazard.
OBD2 Code-Clearing FAQ
Can I clear codes with an OBD2 scanner while
Most scanners clear codes with the ignition on and the engine off. Follow the scanner’s prompts, because some advanced procedures may require a running engine for data collection but not for erasing codes.
Will clearing an OBD2 code turn off the check engine
It usually turns off the light temporarily if the code is stored. The light can return when the vehicle repeats the conditions that caused the fault, and a flashing light requires immediate attention rather than repeated resets.
Does clearing a code fix the vehicle?
No, clearing a code only removes stored diagnostic information and the related warning under normal conditions. The fault itself must be repaired, and the vehicle’s computer must complete its tests to confirm that the problem is gone.
How long does it take for a code to return?
A code may return immediately or only after several drive cycles. An electrical open or short can be detected at once, while an emissions monitor may need a cold start, steady cruising, or another specific operating condition.
Can I use the keyword process to clear a permanent
How to clear codes with an OBD2 scanner depends on the code type, and permanent codes generally cannot be erased manually. They clear only after the vehicle verifies that the underlying emissions fault has been repaired through successful self-tests.
Will clearing codes reset emissions readiness?
Yes, clearing codes commonly resets readiness monitors to incomplete. Drive the vehicle normally under the conditions required by its control system and verify monitor status before an emissions inspection.
Should I clear a code before taking the vehicle
No, leave the code stored when possible and provide the repair professional with the code and symptoms. Clearing it can delete freeze-frame information that helps identify when and how the fault occurred.
Conclusion: Clear the Code Only After Recording It
Using an OBD2 scanner to erase a code is straightforward: connect the tool, turn the ignition on, record the diagnostic information, select the clear function, and rescan after a careful test drive. The important limitation is that a reset does not repair the cause and may erase valuable freeze-frame data or reset emissions readiness.
Record every code first, avoid driving with serious symptoms or a flashing warning light, and investigate any code that returns. If the fault involves safety systems, severe drivability problems, complex wiring, or a permanent code, the next useful step is professional diagnosis rather than another reset.