Do You Turn Car on When Using Obd2 Scanner: Explained Clearly
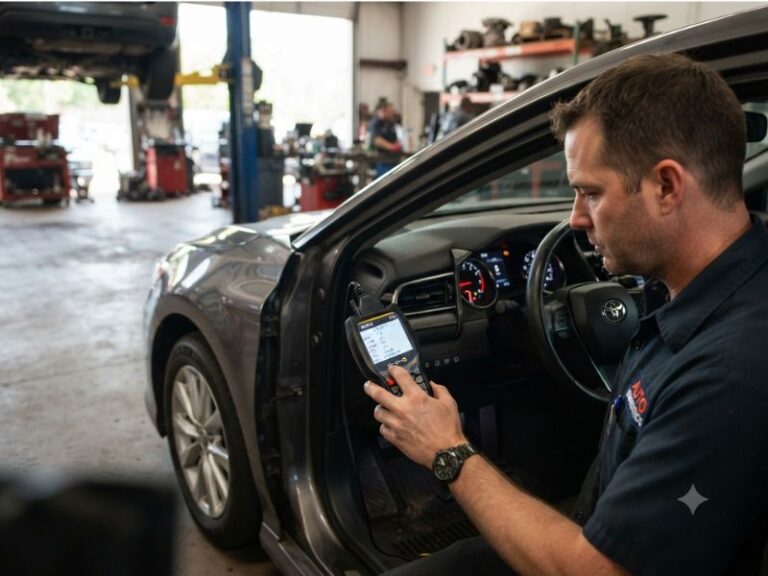
You’ve got a check engine light glaring at you, or maybe you’re just curious about your car’s health. You’ve invested in an OBD2 scanner, ready to plug it in and get some answers. But then a common question pops into your mind: do you turn car on when using obd2 scanner? It’s a perfectly valid concern, as improper usage could lead to inaccurate readings, or even worse, potential issues with your vehicle’s delicate electronic systems.
The answer isn’t a simple yes or no, as it depends on what you’re trying to achieve with your diagnostic tool. Different diagnostic tasks require different ignition states, and understanding these nuances is crucial for getting reliable information and avoiding frustration. Plunging ahead without knowing the correct procedure can lead to confusion, misdiagnoses, and wasted time.
In this article, I’ll demystify the process, guiding you through the various ignition states and explaining exactly when and why each one is appropriate for using your OBD2 scanner. I’ll cover everything from simply reading codes to performing more advanced diagnostics, ensuring you have the knowledge to confidently use your scanner effectively and safely.
My goal is to provide you with clear, actionable information so you can confidently connect your scanner, interpret its feedback, and understand your vehicle’s condition without guesswork. Let’s dive into the specifics of how to properly power up your car for accurate OBD2 scanning.
Understanding Your Car’s Ignition States for OBD2 Scanning
Before connecting any diagnostic tool, it’s essential to understand the different ignition states your car can be in and how each state affects the OBD2 system. These states dictate which modules are powered and communicating, directly impacting what information your scanner can access.
The “OFF” Position: No Power, No Communication
When your car’s ignition is in the “OFF” position, the engine is not running, and most of the vehicle’s electronic control units (ECUs) are powered down. In this state, the OBD2 system is largely inactive. Attempting to connect your scanner and retrieve data will typically result in a “link error” or “no communication” message. There’s simply not enough power or activity for the scanner to establish a connection with the vehicle’s computer.
The “ACC” (Accessory) Position: Limited Power
The “ACC” position powers up accessories like the radio, power windows, and sometimes the dashboard lights, but it does not fully activate the engine control unit (ECU) or other critical diagnostic modules. While some very basic scanners might light up in this position, you won’t be able to perform any meaningful diagnostic scans. The OBD2 port itself might receive minimal power, but the necessary communication protocols are not yet active.
The “ON” or “RUN” Position (Engine Off): The Key for Most Scans
This is the most common and crucial ignition state for general OBD2 scanning. In the “ON” or “RUN” position, the engine is not running, but all the vehicle’s electronic systems, including the ECU and other control modules, are fully powered up and ready for communication. The dashboard warning lights, including the check engine light, will typically illuminate during this state as a self-test.
When your car is in the “ON” position with the engine off, your OBD2 scanner can:
- Read diagnostic trouble codes (DTCs)
- View freeze frame data
- Check I/M readiness monitors
- Access live data streams (though some parameters might be static without the engine running)
- Clear DTCs
- Perform various system tests that don’t require the engine to be running
This state provides the necessary power and communication pathways for your scanner to interact with the vehicle’s computer without the complexities or potential dangers of a running engine. It’s the go-to position for initial diagnostics.
Engine Running: For Live Data and Specific Tests
Sometimes, you’ll need the engine to be running to get the most comprehensive diagnostic information. This is particularly true when you’re interested in real-time performance data or diagnosing issues that only manifest when the engine is under load or at operating temperature. With the engine running, your OBD2 scanner can:
- Monitor live data streams for sensors like oxygen sensors, MAF sensor, coolant temperature, RPM, fuel pressure, and more, as they change in real-time.
- Observe how various parameters behave under different driving conditions.
- Perform specific diagnostic tests that require engine operation, such as misfire detection or fuel trim analysis.
However, it’s important to exercise caution when scanning with the engine running. Ensure the vehicle is in a well-ventilated area, in park or neutral with the parking brake engaged, and avoid any distractions. Safety is paramount.
When Do You Turn Car On When Using OBD2 Scanner? Specific Scenarios
Let’s break down the practical applications of these ignition states for common OBD2 scanner tasks. Knowing the right state for the job will save you time and prevent misinterpretations.
Reading Diagnostic Trouble Codes (DTCs)
Ignition State: “ON” (Engine Off)
This is the most frequent use case for an OBD2 scanner. If your check engine light is on, or you suspect an issue, you’ll want to read the stored trouble codes. For this, simply turn the ignition key to the “ON” or “RUN” position without starting the engine. This powers up the ECU and allows the scanner to communicate and retrieve any stored DTCs and associated freeze frame data. I find this method the most reliable for initial code retrieval.
Checking I/M Readiness Monitors
Ignition State: “ON” (Engine Off)
I/M (Inspection/Maintenance) readiness monitors are crucial for emissions testing. They indicate whether your vehicle’s various emissions systems have completed their self-tests since the last time codes were cleared or the battery was disconnected. To check their status, the “ON” (engine off) position is usually sufficient. The scanner will communicate with the ECU to see which monitors are “ready” and which are “not ready.” If you’re preparing for an emissions test, this is a vital step I always recommend.
Clearing Diagnostic Trouble Codes
Ignition State: “ON” (Engine Off)
After you’ve addressed a repair or simply want to reset the check engine light, you’ll use your scanner to clear the DTCs. This action also resets the I/M readiness monitors. Always perform this with the ignition in the “ON” position but the engine off. Clearing codes with the engine running can sometimes lead to unexpected issues or incomplete resets, although most modern scanners are designed to prevent major problems.
Viewing Live Data Streams
Ignition State: “ON” (Engine Off) or Engine Running
This is where the distinction becomes important. If you want to see static sensor readings (e.g., current coolant temperature before starting, battery voltage, or fuel system status at rest), the “ON” (engine off) position is fine. However, to observe dynamic changes in parameters like RPM, oxygen sensor voltage, fuel trims, or manifold absolute pressure under load, the engine must be running. I often start with the engine off to get a baseline, then start it to see how values change.
Performing Bi-directional Control Tests or Special Functions
Ignition State: “ON” (Engine Off) or Engine Running (as specified by the test)
More advanced scanners and diagnostic software allow for bi-directional control, meaning the scanner can send commands to the vehicle’s ECUs to activate components (e.g., turn on the fuel pump, cycle ABS solenoids, perform an EVAP leak test). The required ignition state for these tests varies greatly. Some may require the “ON” (engine off) position, while others specifically demand the engine to be running. Always consult your scanner’s manual or the vehicle’s service information for the exact procedure. I’ve found that ignoring these instructions can lead to failed tests or even error messages.
Connecting Your OBD2 Scanner: A Step-by-Step Guide
Now that you understand the ignition states, let’s walk through the general process of connecting and using your OBD2 scanner safely and effectively. This is a routine I follow every time I use my scanner.
Step 1: Locate the OBD2 Port
The OBD2 port is a 16-pin trapezoidal connector, typically located within two feet of the steering wheel. Common locations include:
- Under the dashboard on the driver’s side (most common)
- Near the center console
- Under the glove compartment
- Behind an ashtray or small removable panel
If you can’t find it, consult your vehicle’s owner’s manual. I usually just peek under the dash first; it’s almost always there.
Step 2: Turn Off the Vehicle
Ensure your vehicle is completely off, with the ignition key removed (if applicable) and all accessories powered down. This prevents any potential electrical surges or communication conflicts when you connect the scanner. I always make sure everything is off to start with a clean slate.
Step 3: Connect the OBD2 Scanner
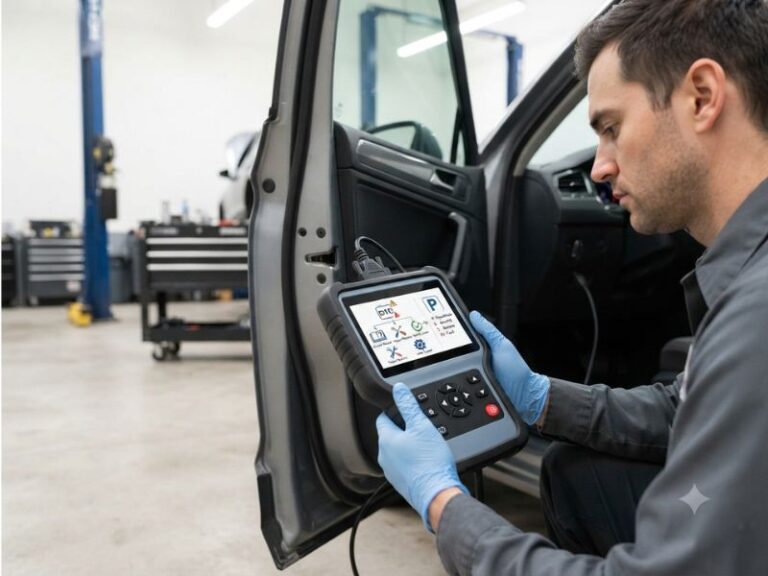
Plug the scanner’s cable firmly into the vehicle’s OBD2 port. You should feel a secure connection. Most scanners will power on automatically once connected, drawing power directly from the vehicle’s battery through the OBD2 port. Some scanners have their own internal battery or require external power, but this is less common for basic models.
Step 4: Turn the Ignition to the Correct Position
Based on what you intend to do, turn the ignition key to the appropriate position:
- “ON” (Engine Off): For reading/clearing codes, checking I/M readiness, or viewing static live data.
- Engine Running: For dynamic live data, specific diagnostic tests, or monitoring performance under operating conditions.
Do not start the engine unless specifically required for your diagnostic task. I always double-check my intended task before turning the key.
Step 5: Establish Communication with the Vehicle
Once the ignition is in the correct position, your scanner will attempt to establish communication with the vehicle’s ECU. This usually involves a message on the scanner screen like “Establishing Link,” “Connecting,” or “Vehicle Detected.” This process can take a few seconds. If you get a “Link Error” or “No Communication,” double-check your connection and the ignition state.
Step 6: Perform Your Diagnostic Task
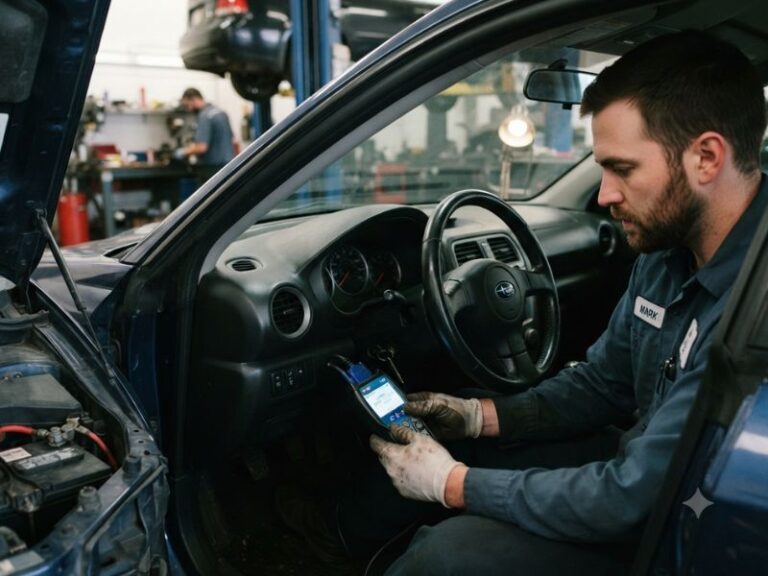
Navigate through your scanner’s menu to perform the desired function: read codes, view live data, check I/M readiness, clear codes, etc. Follow the on-screen prompts of your specific scanner model. Every scanner has a slightly different interface, so familiarize yourself with yours.
Step 7: Disconnect the Scanner
When you’re finished, turn the ignition back to the “OFF” position. Then, carefully unplug the scanner from the OBD2 port. I always make sure the scanner has finished its current operation before disconnecting it to avoid any data corruption.
Common Mistakes to Avoid When Using an OBD2 Scanner
Even with the right knowledge, it’s easy to make small errors that can lead to frustration or inaccurate results. Here are some common pitfalls I’ve observed and learned to avoid:
1. Incorrect Ignition State
As discussed, this is the most frequent mistake. Trying to read codes with the ignition in “ACC” or attempting to clear codes with the engine running can lead to errors. Always confirm the required ignition state for your specific task. I’ve definitely made this mistake early on, leading to “no communication” messages.
2. Not Firmly Connecting the Scanner
A loose connection between the scanner and the OBD2 port can prevent communication. Ensure the connector is fully seated and secure. Sometimes, a slight wiggle can make the difference.
3. Clearing Codes Without Addressing the Root Cause
This is a big one. Clearing a check engine light without diagnosing and fixing the underlying problem is only a temporary solution. The light will almost certainly return, and you haven’t resolved the issue. Always use the codes as a starting point for diagnosis, not an end in themselves. I always tell people that clearing codes is like turning off a smoke detector without putting out the fire.
4. Misinterpreting Codes
DTCs provide a direction, but they don’t always pinpoint the exact faulty component. For example, a P0420 code (Catalyst System Efficiency Below Threshold) doesn’t automatically mean you need a new catalytic converter; it could be an oxygen sensor or an exhaust leak. Always research the specific code for your vehicle’s make and model and consider other symptoms. I use the codes as clues, not definitive answers.
5. Ignoring Freeze Frame Data
When a DTC is set, the ECU records a “snapshot” of various sensor readings at that exact moment. This freeze frame data can be incredibly valuable for diagnosing intermittent problems or understanding the conditions under which a fault occurred. Don’t just read the code; look at the freeze frame data too. I find it often provides critical context.
6. Not Updating Your Scanner’s Firmware
Like any electronic device, OBD2 scanners can benefit from firmware updates. These updates often include expanded vehicle coverage, bug fixes, and new features. Check your scanner manufacturer’s website periodically for updates. I’ve seen updates resolve communication issues with newer vehicle models.
7. Using a Cheap, Unreliable Scanner for Critical Diagnostics
While basic code readers are fine for simple tasks, for more in-depth diagnostics, investing in a quality scanner can save you headaches. Cheaper scanners might have limited vehicle coverage, slow communication, or provide less detailed information. For serious DIYers, a mid-range scanner is a worthwhile investment. I’ve upgraded my scanner over the years and found the added features invaluable.
8. Not Consulting the Vehicle’s Service Manual
Your vehicle’s service manual or reliable online resources (like professional repair databases) often contain specific diagnostic procedures, expected sensor values, and wiring diagrams that are invaluable when troubleshooting. Relying solely on a scanner’s output without this context can lead to misdiagnosis. I always cross-reference with service information when tackling complex issues.
Advanced Considerations for Specific Vehicle Types
While the general principles of OBD2 scanning apply across most vehicles, there are some nuances depending on the make, model, and year. I’ve encountered these differences myself and found it helpful to be aware of them.
Older OBD2 Compliant Vehicles (1996-Early 2000s)
Some early OBD2 vehicles might be slower to establish communication with a scanner. You might also find that they support fewer live data parameters compared to newer cars. Don’t be alarmed if your scanner takes a bit longer to link up or if the data stream seems less comprehensive. I’ve noticed this particularly with some older domestic models.
European Vehicles (BMW, Mercedes, Audi, VW)
While standard OBD2 codes are universal, European manufacturers often have extensive proprietary diagnostic trouble codes (P-codes starting with P1xxx, P2xxx, etc.) and specific communication protocols (like K-Line, CAN-BUS, or UDS). A generic OBD2 scanner will read the basic P0xxx codes but might miss manufacturer-specific codes or advanced functions. For deeper diagnostics on these vehicles, a scanner with enhanced manufacturer-specific software is often necessary. I learned this the hard way trying to diagnose a BMW with a basic scanner.
Asian Vehicles (Toyota, Honda, Nissan, Hyundai, Kia)
Similar to European vehicles, Asian manufacturers also have their own sets of enhanced codes and system-specific tests. While generic OBD2 functionality is robust, a dedicated scanner or software for these brands can unlock more detailed information, especially for transmission, ABS, or airbag systems. I’ve found that some advanced functions, like module programming, are only accessible with specialized tools.
Hybrid and Electric Vehicles
Hybrid and electric vehicles (EVs) have additional control modules for their high-voltage battery systems, electric motors, and power electronics. A standard OBD2 scanner will typically read codes from the engine (if it’s a hybrid) and basic emissions-related systems. However, to diagnose issues with the hybrid battery, inverter, or electric motor systems, you’ll need a scanner capable of communicating with these specific modules. These often require more advanced, professional-grade diagnostic tools. I’ve found that generic scanners are quite limited in this area.
Diesel Vehicles
Diesel engines have unique emissions systems (e.g., Diesel Particulate Filters, Selective Catalytic Reduction) and fuel injection systems. While OBD2 standards cover some diesel emissions, specific diesel diagnostic tools are often needed to fully monitor parameters like DPF regeneration status, exhaust gas temperatures, or injector balance rates. A generic scanner will give you basic engine codes, but for in-depth diesel diagnostics, specialized equipment is usually required. I always recommend a diesel-specific scanner for anyone working on modern diesel trucks.
Conclusion: The Right Power for the Right Diagnosis
Understanding the correct ignition state for your vehicle is not just a best practice; it’s fundamental to accurate and effective OBD2 scanning. Whether you’re a seasoned DIY mechanic or just starting to explore your car’s diagnostics, knowing exactly when to turn your car on when using an OBD2 scanner will save you time, prevent errors, and lead to more reliable diagnostic results. Most general tasks, like reading and clearing codes or checking readiness monitors, require the ignition to be in the “ON” position with the engine off. For real-time performance monitoring and certain advanced tests, the engine will need to be running. Always consult your scanner’s manual and your vehicle’s specific requirements to ensure you’re following the correct procedure for every diagnostic task. A reliable answer to “do you turn car on when using obd2 scanner” comes from applying these points to the specific situation rather than relying on one rule.