To replace a Toyota Camry windshield washer pump, disconnect the battery if required by the service procedure, access the washer fluid reservoir, unplug the pump’s electrical connector, remove the pump and its seal, install a compatible replacement, reconnect the hose and wiring, refill the reservoir, and test the system. The exact access method depends on the Camry’s model year and configuration.
In the United States, a functioning windshield washer system helps drivers maintain visibility during rain, road spray, pollen season, and winter driving. If your Toyota Camry has stopped spraying washer fluid, a failed pump is one possible cause, but an empty reservoir, clogged nozzles, a disconnected hose, a blown fuse, or damaged wiring can produce similar symptoms. Diagnose these simpler problems before purchasing a replacement part.
Most washer pump replacements involve working around the plastic washer fluid reservoir, electrical connector, fluid hose, and rubber pump seal. Depending on the Camry generation, access may require removing part of the front wheel-well liner, an underbody cover, or other nearby components. Check the repair procedure for your exact model year before lifting the vehicle or removing trim. This guide explains the general replacement process, the checks that help confirm pump failure, and the precautions that reduce the risk of leaks or electrical damage.
How to Tell Whether Your Toyota Camry Washer Pump Has Failed
A failed windshield washer pump commonly causes the washer system to stop spraying even when the reservoir contains enough fluid. However, the absence of spray does not prove that the pump itself is defective. A short diagnostic check can help you avoid replacing a working component.
Park the Camry on level ground, switch the ignition to the appropriate operating position for your model, and briefly activate the windshield washer control. Keep your hands away from moving wiper arms and other moving parts. Listen near the reservoir area for the pump motor and observe whether fluid reaches the windshield.
Source: storage.googleapis.com
No sound and no fluid
Possible causes include a failed pump, blown fuse, faulty switch or control circuit, disconnected wiring, or a poor electrical connection. Test the relevant circuit before condemning the pump.
Pump runs but no fluid sprays
Check for an empty reservoir, clogged spray nozzles, a blocked filter or pickup, a split hose, or a loose hose connection. A motor that runs may still have a damaged or ineffective pumping mechanism.
Fluid leaks near the reservoir
Inspect the reservoir, pump seal, hose connections, and nearby fluid lines. A cracked reservoir or damaged grommet may need attention even if the pump operates.
Intermittent washer operation
Intermittent operation can indicate a loose connector, damaged wiring, a worn pump motor, a control issue, or an obstruction. Reproduce the symptom and inspect the circuit before replacing parts.
Check the fuse, wiring, and washer fluid first
Fill the reservoir with washer fluid suitable for the weather conditions and inspect the visible hoses for kinks, disconnections, or damage. If the pump remains silent, consult the fuse diagram in the owner’s manual or repair information for the exact Camry year. Fuse assignments and circuit arrangements can differ between model years.
Replace a blown fuse only with one of the specified type and rating. If the replacement fuse blows again, stop and diagnose the short circuit or electrical fault rather than installing a higher-rated fuse. A qualified technician can check the pump’s power supply, ground, and control circuit when the cause is unclear.
Listen carefully
A brief, clear pump-motor sound suggests that the electrical circuit is at least partly operating, but it does not establish that the pump produces adequate fluid pressure.
Inspect the spray pattern
Weak, uneven, or absent spray can result from restricted nozzles or hoses. Clear a blockage using the method approved for the nozzle design instead of forcing metal wire into delicate spray openings.
Tools and Parts Needed to Replace a Toyota Camry Washer Pump
Gather the replacement parts and tools before opening the washer system. The precise tool list depends on whether the pump can be reached from the engine compartment, through the wheel well, or from beneath the vehicle. Many Camry configurations use a small electric pump fitted into the washer reservoir through a rubber seal.
Match the replacement pump to the vehicle identification number, model year, engine or trim configuration where relevant, and washer-system equipment. Some vehicles have separate pumps or outlets for different washer functions, so physical resemblance alone is not sufficient to establish compatibility.
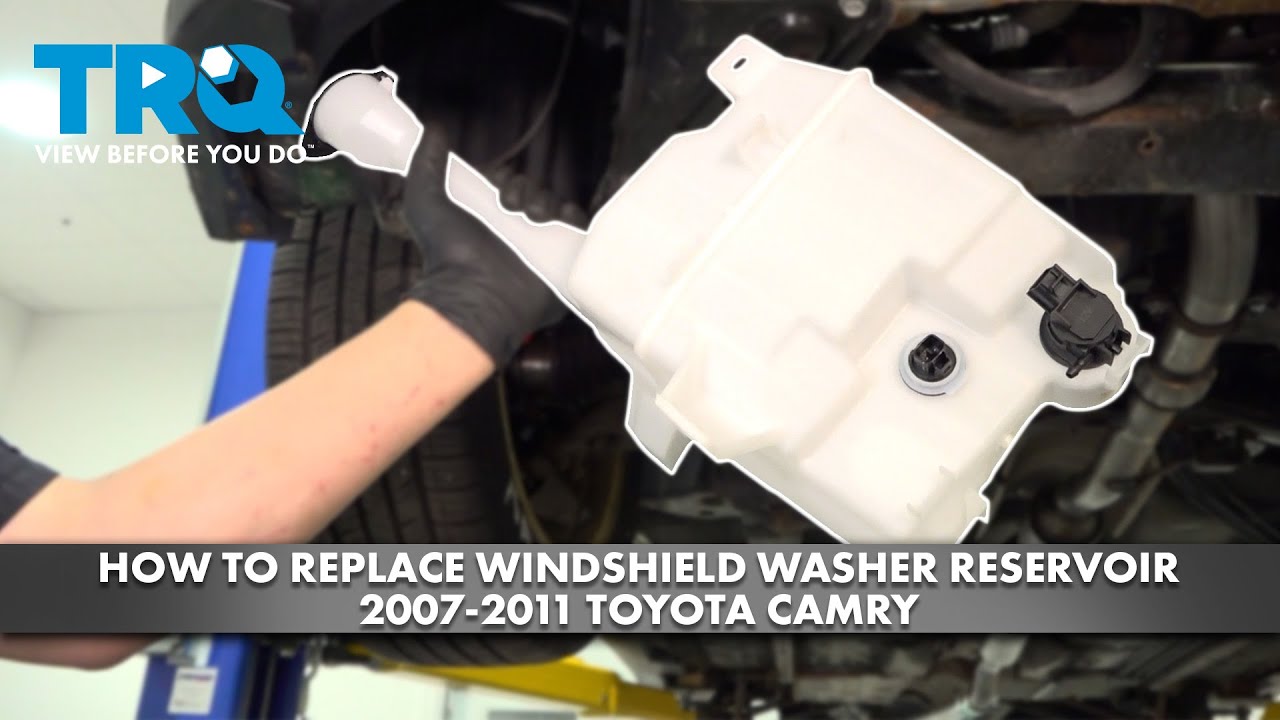
Source: The Family Handyman
Compatible replacement pump
Use a pump specified for the exact Camry application. Confirm the connector, mounting arrangement, outlet configuration, and any required fitment details.
Replacement rubber seal or grommet
Obtain the correct seal if the existing one is hardened, torn, distorted, or leaking. A new pump may not include this part.
Basic hand tools
Depending on the access procedure, you may need screwdrivers, suitable sockets, a ratchet, trim-removal tools, and pliers designed for the relevant clamps.
Fluid collection supplies
Prepare a drain pan or suitable container, absorbent towels, and gloves to collect washer fluid and protect painted or finished surfaces.
Safe lifting equipment
If access requires lifting the car, use a suitable floor jack, correctly rated jack stands, wheel chocks, and the approved lifting points. Never work beneath a vehicle supported only by a jack.
Choose the correct replacement pump
Check the part number against Toyota parts information or a reliable vehicle-specific catalog. Compare the old pump’s connector, mounting stem, hose outlet, and overall shape with the replacement before installation. Do not assume that a pump advertised for one Camry generation fits every model year.
If the old pump has failed because of contamination, inspect the reservoir and pump inlet for debris. Installing another pump without addressing a blocked pickup or dirty reservoir can lead to another failure or continued poor washer performance.
Check included components
Determine whether the replacement includes a new grommet, filter, or other seals. Reuse only components that remain in suitable condition and are approved for reuse.
How to Replace the Windshield Washer Pump on a Toyota Camry
The general replacement process is similar across many Camry models, but the access panels, fasteners, reservoir position, and electrical precautions are vehicle-specific. Follow the service instructions for your model year, especially if the pump is close to other electrical components or if the reservoir is difficult to reach.
Before beginning, park on a firm, level surface, engage the parking brake, switch the vehicle off, and allow hot components to cool. If you must remove a wheel or work under the vehicle, follow the manufacturer’s lifting and support instructions. Disconnect the negative battery terminal when the service procedure calls for it, and follow any required precautions for the vehicle’s electrical systems.
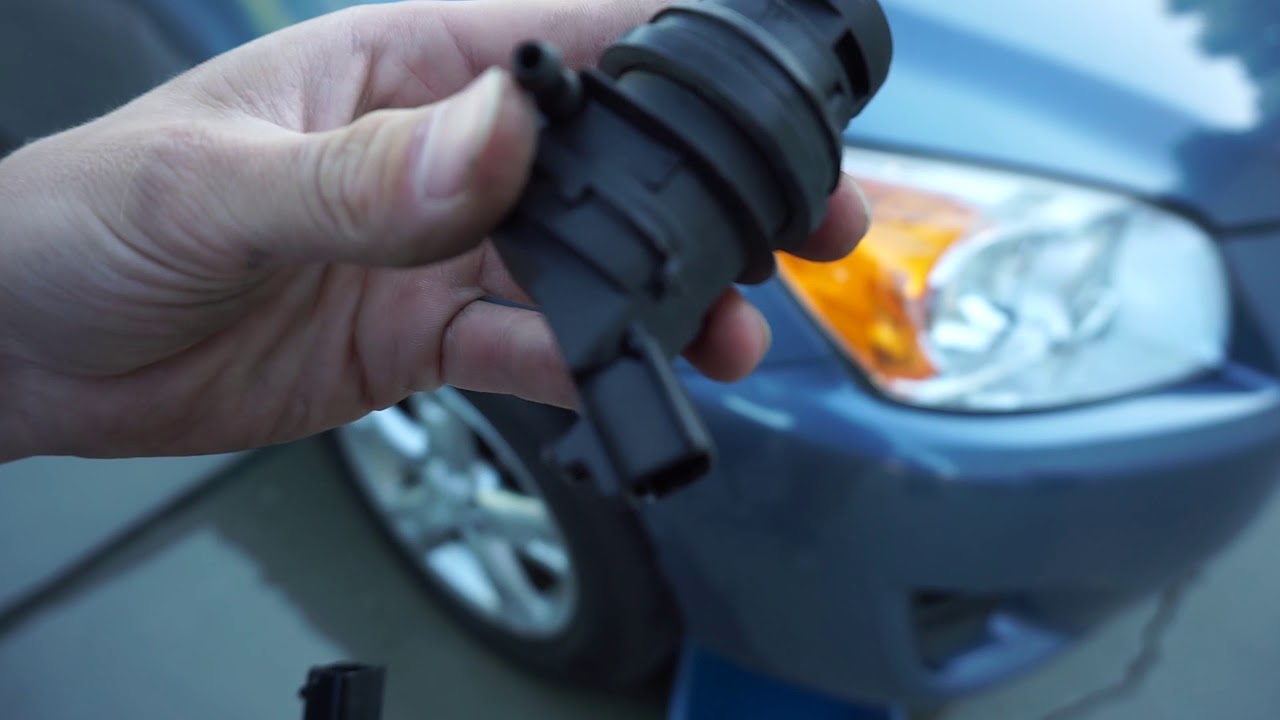
Source: YouTube > HPP Automotive
Step 1: Locate the washer fluid reservoir
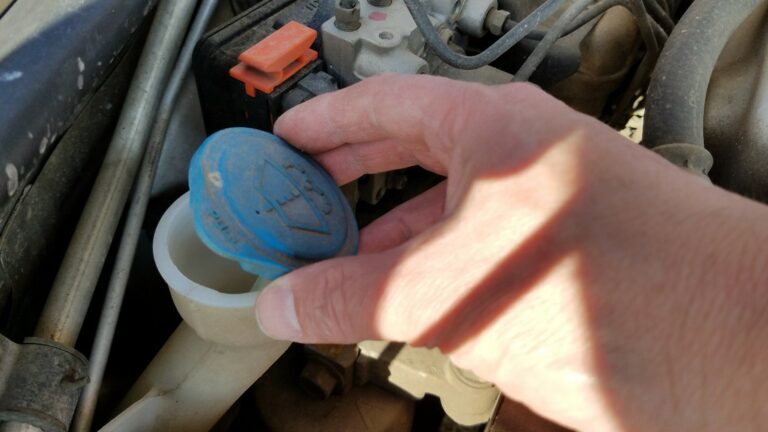
Identify the reservoir by its washer-fluid filler cap, commonly marked with a windshield-and-spray symbol. Trace its position visually or consult the vehicle-specific repair information to find the pump mounted near the reservoir’s lower section.
Step 2: Gain access to the pump
Remove only the wheel-well liner section, underbody panel, or other trim specified in the repair procedure. Keep fasteners organized and avoid pulling sharply on plastic clips, wiring, or nearby hoses.
Step 3: Protect against fluid spills
Place a suitable collection pan beneath the reservoir. If practical and appropriate for the model, remove some washer fluid with a clean transfer tool. Do not siphon fluid by mouth.
Step 4: Disconnect the electrical connector
With the vehicle safely switched off and the circuit made safe according to the service instructions, release the connector lock and pull the connector housing away from the pump. Do not pull on the wires.
Step 5: Disconnect the washer hose
Note the hose routing and outlet position before removal. Carefully release the hose from the pump and direct any remaining fluid into the collection pan. Avoid crushing or tearing an aged hose.
Step 6: Remove the old pump
Release the pump from its reservoir seal using the method specified for the installed design. Some pumps pull from a rubber grommet, while mounting details can vary. Avoid prying against the reservoir with excessive force because the plastic may crack.
Step 7: Inspect the reservoir opening and seal
Check the old grommet for hardening, cracks, deformation, and debris. Inspect the reservoir opening and pump inlet area for contamination. Clean the accessible area without pushing dirt into the reservoir or damaging the plastic.
Step 8: Install the replacement pump
Fit the correct seal and any specified filter. Seat the new pump squarely in the reservoir opening using the installation method and any approved lubricant specified by the manufacturer. Do not use petroleum grease or an unapproved sealant.
Step 9: Reconnect the hose and wiring
Push the washer hose securely onto the correct outlet and reconnect the electrical plug until its lock engages. Route the hose and harness as originally installed so they do not rub against sharp edges, moving components, or hot surfaces.
Step 10: Reassemble the vehicle
Check that the pump and hose are secure, then reinstall the removed liner, clips, fasteners, and underbody panels. If the vehicle was lifted, keep the work area clear and lower it according to the proper procedure.
What to do if the pump will not come out
Do not force the pump or twist it aggressively against the reservoir. Confirm that all retaining features, hoses, and connectors have been released and check the model-specific instructions for the correct removal direction. Aged rubber seals can grip the pump tightly, but excessive leverage may split the reservoir.
If access is restricted or removal requires dismantling components you cannot safely support, stop and have a repair shop complete the job. Replacing a small pump is not worth risking a cracked reservoir or an injury from an unsupported vehicle.
Protect plastic components
Use an appropriate trim tool or the specified service tool where necessary. Avoid sharp metal tools against the reservoir wall.
Keep contamination out
Prevent dirt, broken seal fragments, and debris from entering the reservoir. Contamination can block the new pump’s inlet or the washer nozzles.
How to Test the New Washer Pump After Installation
Test the replacement before considering the repair complete. Fill the reservoir with suitable washer fluid, verify that the connector and hose are secure, and inspect the pump area for leaks. Restore the battery connection if it was disconnected, following the vehicle’s required reconnection procedure.
Activate the washer briefly while observing the spray pattern. A newly installed pump may need a short operating cycle to move fluid through an empty hose, but do not run the motor continuously if fluid does not appear. Extended dry operation can damage some pumps.
Source: YouTube > NoneMechanic101
Confirm normal pump operation
The pump should respond when the washer control is activated, provided the relevant electrical circuit and control system are functioning.
Inspect for leaks
Look around the pump seal, hose connection, reservoir, and any disturbed fittings. Correct leaks before reinstalling any remaining covers or driving.
Check fluid delivery
Confirm that fluid reaches the windshield and that the spray pattern is appropriate. If the pump runs but the windshield remains dry, investigate a blockage, disconnected hose, incorrect outlet connection, or faulty replacement part.
Verify reassembly
Ensure all removed panels, clips, and fasteners are secured. Check that no tools remain in the engine bay or wheel well and that the wiring and hoses are properly routed.
Troubleshoot the system if it still does not spray
If the new pump is silent, recheck the connector, fuse, ground, and power supply using the correct wiring diagram. A replacement pump will not solve a failed switch, wiring fault, or control-system problem. Electrical testing should use the specified procedure and appropriate test equipment.
If the pump runs but no fluid reaches the glass, disconnecting hoses or testing the pump outlet may be necessary. Protect your eyes from fluid and keep electrical connectors dry. Avoid applying battery voltage directly to the pump unless the service procedure explicitly authorizes that test and identifies the correct terminals.
Pump runs but spray is weak
Check fluid level, hose routing, restrictions, nozzle blockage, and the reservoir pickup or filter if fitted.
New pump leaks
Inspect the seal seating, pump compatibility, and reservoir opening. Replace a damaged grommet or cracked reservoir rather than trying to hide the leak with an improvised sealant.
Fuse blows repeatedly
Stop replacing the fuse and diagnose the electrical fault. A short circuit or damaged harness can create further damage if the circuit is repeatedly energized.
Toyota Camry Model-Year Differences and Access Considerations
The procedure for replacing a washer pump is not identical across all Toyota Camry generations. Older models and newer models can differ in reservoir location, wheel-well access, fastener types, electrical connectors, and the number or arrangement of washer outlets. Hybrid models may also have vehicle-specific service precautions.
A video demonstrating a 1997–2001 or 2006–2011 Camry can help illustrate the general idea, but it should not be treated as proof that the same steps apply to another model year. Confirm the exact repair procedure and part fitment before disassembly.
Check whether the pump is accessible through the wheel well or another service opening. Older plastic reservoirs, clips, and hoses may be brittle, so use extra care during removal.
2006–2011 Camry models
Videos specifically covering these model years can provide a useful visual reference, but confirm trim removal, connector design, and replacement-part compatibility against the individual vehicle.
Later Camry models
Consult the applicable repair manual for the exact access procedure and electrical precautions. Do not assume that a procedure for an earlier generation remains correct.
Camry Hybrid
Follow hybrid-specific service precautions and avoid disturbing high-voltage components or orange high-voltage cables. The washer pump is a low-voltage accessory, but its location and access procedure must still be verified.
How to find the correct service procedure
Use the owner’s manual to identify the washer fluid reservoir and the vehicle’s fuse information. For detailed disassembly and installation, consult Toyota repair information or a reputable service manual that matches the model year and configuration. Record the vehicle identification number when confirming the replacement part with a parts supplier.
If the procedure calls for removing the wheel, liner, or an underbody cover, follow the specified fastener and lifting instructions. Do not rely on a generic video for torque values, clip locations, electrical terminal assignments, or safety-system procedures that are not documented for your vehicle.
Verify before ordering
Confirm the application and included seal or filter instead of relying only on a broad listing that says the pump fits Toyota Camry.
Common Mistakes to Avoid During Washer Pump Replacement
The most common problems during a washer pump replacement come from diagnosing too quickly, damaging the reservoir, reusing a failed seal, or overlooking a blocked hose. A careful inspection before and after installation can prevent repeat work.
Washer fluid may contain alcohols and other chemicals intended for cleaning and freeze protection. Follow the product label, avoid eye contact, clean up spills, and keep fluid away from children and pets. Do not substitute engine coolant or household cleaners for proper washer fluid.
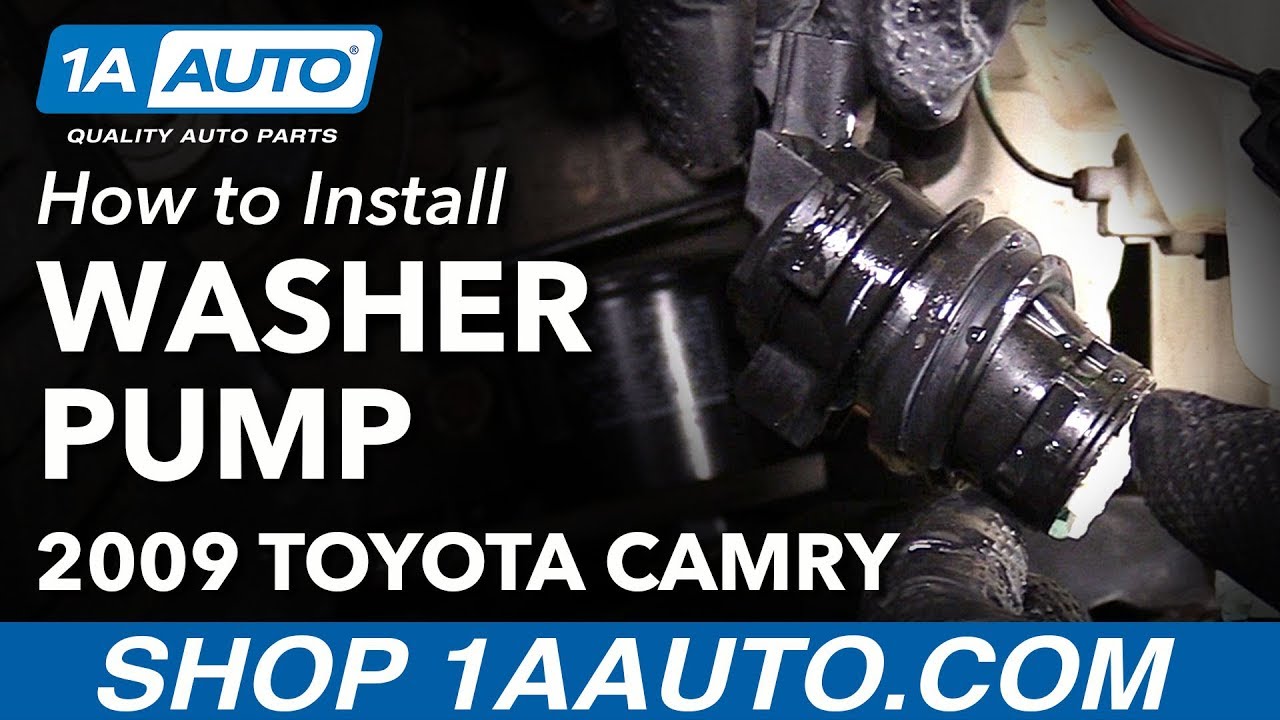
Source: 1aauto.com
Replacing the pump without testing the circuit
A blown fuse, disconnected plug, or wiring problem can make a good pump appear defective. Perform basic checks before buying parts.
Forcing the old pump out
Excessive leverage can crack the reservoir or damage its mounting opening. Release the pump according to the vehicle-specific procedure.
Installing a damaged seal
A hardened or distorted grommet may not seal against the new pump. Inspect and replace the seal when needed.
Running the pump dry for too long
Avoid prolonged operation when the reservoir is empty or the fluid cannot reach the pump. Fill the reservoir and diagnose obstructions if delivery does not begin.
Ignoring a recurring electrical fault
A fuse that blows again or a connector that becomes hot requires diagnosis. Do not install a larger fuse or bypass a safety feature.
Driving with poor windshield visibility
If road spray, dirt, or weather prevents a clear view, do not continue driving until visibility can be maintained safely. Have the washer system repaired if needed.
When professional repair is the safer option
Consider professional help if the pump is inaccessible without substantial disassembly, the reservoir is cracked, electrical testing reveals an unclear fault, or a replacement fuse repeatedly fails. A technician can also determine whether the problem is in the washer control circuit rather than the pump itself.
Professional service is particularly appropriate if the vehicle cannot be supported safely for underbody access or if you are unsure how to follow the correct hybrid-specific service precautions. The aim is to restore reliable washer operation without introducing a new leak or electrical problem.
Stop if the reservoir is damaged
A cracked or distorted reservoir may require replacement rather than another pump or an improvised patch.
Seek electrical diagnosis when needed
A technician can test circuit voltage, ground integrity, connector condition, and control operation using the correct wiring information.
How Much Does It Cost to Replace a Toyota Camry Washer Pump?
The cost depends on the Camry model year, pump design, replacement-part source, local labor rates, and how difficult the pump is to access. A do-it-yourself repair generally costs the price of the compatible pump and any necessary seals or supplies. A repair shop adds labor and may charge for diagnosis.
No single price applies to every Toyota Camry, and a reliable estimate requires the model year and the part selected. Ask for a quote that separates diagnostic charges, parts, labor, and any additional repair needed for a cracked reservoir, clogged lines, or electrical fault.
Source: www.pinterest.com
DIY replacement
Budget for the correct pump, a replacement grommet if needed, washer fluid, and any tools or clips required for reassembly. The total will vary by part quality and vehicle configuration.
Professional replacement
The shop estimate depends on its labor rate, access time, diagnostic findings, and whether related parts require replacement.
Additional repairs
A leaking reservoir, damaged wiring, blocked nozzle, or failed control circuit can increase the total beyond the cost of the pump alone.
Is it worth replacing the pump yourself?
DIY replacement may be practical if you can safely access the pump, identify the correct part, and follow the service procedure. The job becomes less suitable for a first-time repair when the pump is difficult to reach, the vehicle needs lifting, or electrical diagnosis is required.
Compare the expected parts cost and your available tools with a written repair estimate. If the pump is not confirmed faulty, paying for a diagnosis first may cost less than replacing parts unnecessarily.
Choose DIY when
The fault is confirmed, access is manageable, the replacement is verified, and you can complete the work with appropriate tools and safety equipment.
Choose a repair shop when
The cause is uncertain, the reservoir or wiring is damaged, or safe access requires equipment or procedures you do not have.
Frequently Asked Questions
Q
Where is the windshield washer pump located on a Toyota Camry?
The windshield washer pump is generally mounted at the washer fluid reservoir, often near its lower portion. The exact location and access route vary by model year and configuration. Check the vehicle-specific service information before removing a wheel-well liner or underbody panel.
Q
Can I replace a Toyota Camry washer pump myself?
Yes, a capable DIY owner can often replace the pump with suitable tools, the correct part, and a model-specific procedure. The difficulty depends on access and the condition of the reservoir and surrounding components. If the repair requires unsafe lifting or unresolved electrical diagnosis, use a qualified technician.
Q
How long does it take to replace a windshield washer pump?
The time varies with the Camry generation, pump accessibility, fastener condition, and whether additional diagnosis is necessary. A straightforward replacement may take less time than one requiring wheel-well disassembly or electrical troubleshooting. Confirm the labor estimate for your exact vehicle rather than relying on a universal time.
Q
Why does my Toyota Camry washer pump make noise but not spray fluid?
A running pump with no spray may indicate an empty reservoir, clogged nozzles, a blocked pickup or filter, a kinked or disconnected hose, or a worn pumping mechanism. Check the fluid level and inspect the accessible hoses and nozzles before replacing the pump. If fluid delivery remains absent, further testing may be needed.
Q
Do I need to replace the washer pump seal with the pump?
Replace the rubber seal or grommet if it is cracked, hardened, distorted, or leaking. Whether the replacement pump includes a new seal depends on the part supplied. A compatible, correctly seated seal is essential to prevent fluid from leaking around the reservoir opening.
Q
Will a new washer pump fix a blown fuse?
Not necessarily. A blown fuse can result from an electrical short, damaged wiring, a faulty pump, or another circuit problem. Replace a fuse only with the specified rating, and investigate if it blows again. A new pump will not correct an unrelated wiring or control-system fault.
Q
Can I drive my Camry if the windshield washer pump does not work?
A failed washer pump can reduce visibility when the windshield becomes dirty from rain, road spray, dust, or other debris. Avoid driving when you cannot maintain a clear view through the windshield. Repair the system promptly, especially before driving in conditions where washer fluid is needed.
✦ Wrapping Up
Conclusion
Replacing a Toyota Camry windshield washer pump involves confirming the fault, accessing the reservoir, disconnecting the electrical plug and hose, removing the old pump, inspecting the seal, and installing a compatible replacement. After reassembly, refill the reservoir and test the system for spray performance and leaks.
The most important variable is the vehicle’s exact model year and configuration. A procedure demonstrated on one Camry generation may not apply to another, so verify the service instructions and replacement part before starting. If the new pump does not work, return to the electrical, hose, nozzle, and reservoir checks rather than assuming the replacement part is defective.
💡 Key Takeaway
Before buying a replacement, confirm the Camry’s model year, check the washer fluid level and fuse, listen for pump operation, and inspect for leaks or blockages. Then obtain the correct pump and seal, follow the vehicle-specific removal procedure, and test the completed repair before driving.
Learn how to fold a windshield sun shade correctly with simple steps for pop-up, accordion, and umbrella styles, plus storage and troubleshooting tips.
Learn how to refill windshield washer fluid in a Honda Accord, locate the reservoir, choose the right fluid, avoid common mistakes, and troubleshoot spray problems.
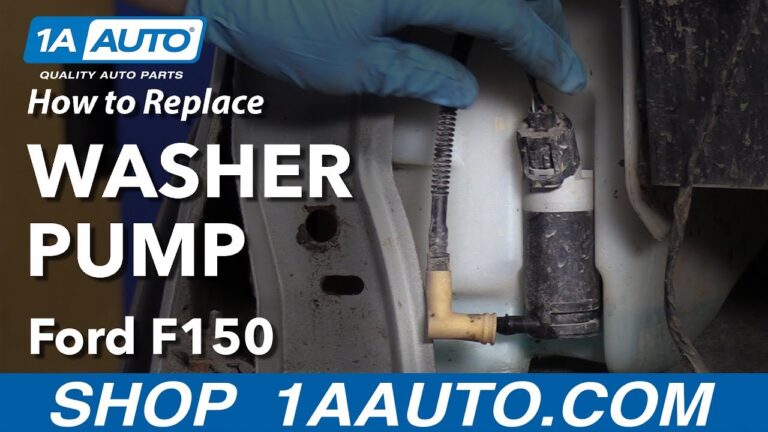
Learn how to replace a windshield washer pump on a Ford F-150, including diagnostic checks, tools, removal steps, installation tips, and troubleshooting.