Welding Cables, Connectors, and Work Clamps Explained
Welding cables carry current between your welding machine, electrode holder, and workpiece, while connectors join cable ends and work clamps complete the circuit. The right size, tight connections, and sound clamp contact help prevent excess heat, unstable arcs, and frustrating stops.
Have you ever felt a cable connection getting warm halfway through a weld, or watched an arc sputter even though the machine settings looked right? Those problems can come from cables or connections just as easily as from the machine itself.
I once rushed through a setup and reused a connector that looked fine from the outside, but its worn contact made the cable feel hot near the machine. I lost time stopping to check the circuit and replace the suspect part, which was a good reminder that a quick visual glance can miss a poor fit. It’s a common mistake, not a dumb one.
I wrote this to help you choose and inspect the parts that link your welder to the work, whether you’re setting up a small home shop or sorting out a machine on a job site. You’ll get practical ways to check cable size, connector fit, and clamp placement without turning setup into a guessing game.
Get these details right and you can spend less time chasing a weak arc, avoid damage from overheating, and feel more confident before striking it. Skip them, and a loose connection can interrupt a weld or create a burn hazard.
This takes about 12 minutes to read. By the end, you’ll know how to:
- Match cable size and length to your welding setup.
- Tell when connectors fit securely and need replacement.
- Position a work clamp for a steady current path.
- Spot common cable and connection problems before welding.
Welding Cables and Connectors: What They Do and How to Choose Them
Welding cables carry welding current, connectors join cable ends to equipment, and a work clamp connects the circuit to the workpiece. Choose cable size and connector style to match the machine, current, duty cycle, cable run, and equipment terminals; then keep every connection clean and tight.
The circuit starts at the power source, runs through the electrode cable to the electrode holder or torch, passes through the arc and workpiece, and returns through the work clamp and work cable. The work cable isn’t a grounding wire for the building; it’s part of the welding circuit.
Amperage is the amount of electrical current used for welding, while duty cycle describes how long a machine can weld within a set period before it needs a cooling break. A cable that handles a short weld may run too hot during a long pass, so check the machine and cable maker’s guidance rather than choosing by appearance.
Cable size is usually marked in American wire gauge, or AWG. In AWG sizing, a lower number means a thicker conductor, so a 2/0 cable is larger than a 2 AWG cable. Welding cable often has many fine copper strands under a flexible jacket, which lets you move it more easily than a stiff building wire.
| Setup factor | What to check | Why it matters |
|---|---|---|
| Machine current | Rated output and welding process | Higher current can call for larger cable |
| Duty cycle | How long you weld before cooling | Longer use can build more heat in a cable |
| Cable length | Full route from machine to holder and clamp | Longer runs can increase voltage drop |
| Cable condition | Cuts, flattening, exposed strands, or stiff spots | Damage can raise resistance or expose conductors |
| Connector fit | Matching size, style, and contact surface | A poor fit can loosen or heat up |
| Work clamp contact | Clean metal and firm spring or screw action | A weak return path can make the arc unstable |
For cable sizing, measure the actual path, including the slack needed to move around your work. A machine close to the bench may need a shorter run than one parked across a garage, and a longer run can affect performance even if the cable looks heavy. The right cable size depends on the machine’s current, duty cycle, cable length, and manufacturer’s recommendations.
For a closer look at that decision, use this guide to welding cable size and length.
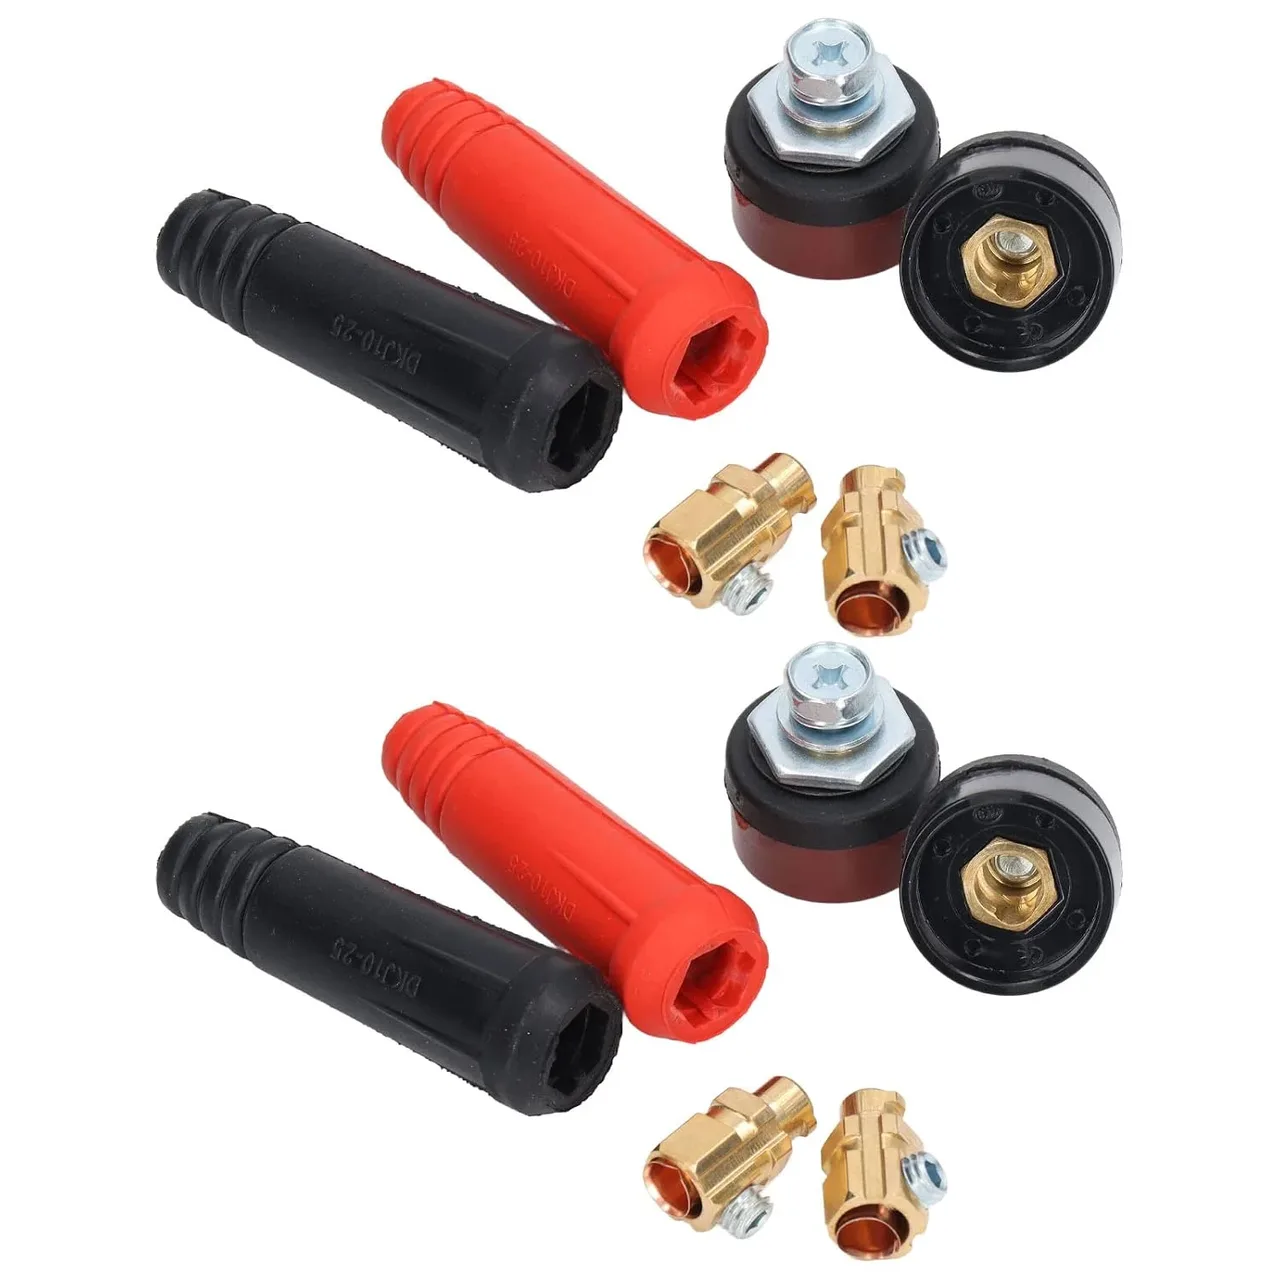
A connector has to match both the cable and the machine terminal. Common welding setups use twist-lock style connectors, including DINSE-style fittings, but similar-looking parts can differ in size or design. A connector that almost fits isn’t a fit; forcing it can damage the contact and leave you with a loose, unreliable connection.
The work clamp completes the welding circuit by gripping the workpiece or a conductive work table connected to it. It doesn’t need to bite directly on the exact spot where you’re welding, but it does need clean, firm contact with metal that conducts to the work area.
Pro Tip: If the cable’s jacket is warm after a weld, check cable length, current, duty cycle, and connection tightness before simply buying a thicker cable. Heat at one spot often points to a local connection problem.
Choosing, Fitting, and Caring for Each Part
Good cable care starts with selecting the right cable, attaching compatible connectors properly, and checking the work clamp before welding. If a part is damaged, loose, or the wrong size, fix the setup before continuing.
Cables and connectors get handled, dragged, coiled, and sometimes pinched under a cart wheel. That wear can hide in places you don’t naturally look, such as the back of a connector, the cable near a strain relief, or a section that gets bent every time the machine moves.
Use this quick check before a job:
- Turn off the welding machine and follow its manual before removing or installing cables.
- Check the full cable length for cuts, melted areas, cracked or stiff jacket, crushed spots, and exposed copper.
- Inspect each connector for a secure cable attachment, clean contact faces, and signs of heat or damage.
- Confirm that the connector matches the machine terminal and seats fully without force.
- Check the work clamp’s jaws, spring, and cable attachment, then clamp it to clean conductive metal.
- Arrange the cables so they aren’t pinched, sharply bent, or stretched tight during welding.
Connector contact resistance is the opposition to current flow where two conductive surfaces meet. Dirt, corrosion, loose fit, or damaged contacts can increase resistance, and that can create heat at the joint. A machine can still power on while a poor connection makes welding unreliable.
To install a replacement cable connector, follow the fitting maker’s directions and use parts made for the cable size and connector type. Some connectors use a mechanical fitting; others rely on a set screw, crimp, or another specified method. Don’t improvise with a clamp that wasn’t designed for the connector, and don’t guess at a tightening value if the maker provides one.
I once found a cable that had been routed so tightly around a cart that the bend pressed right behind the connector. The cable still worked, but moving the cart pulled the joint sideways and made the connection less secure. Giving the lead a relaxed curve would have saved me a second setup check.
Pro Tip: When you replace a connector, check the cable strands where they enter the fitting. If copper strands are cut, darkened, or missing, trimming and refitting may be needed, but only if enough sound cable remains and the connector instructions allow it.
Connector styles aren’t interchangeable just because the outside diameter seems close. A reliable match depends on the connector family, current rating, cable size, and how it locks to the machine. If you need to sort out styles and fit, this explanation of welding cable connectors covers common differences.
Many welders use additional leads, holders, torches, adapters, and other parts around the main cable circuit. If a setup is getting changed, compare each part with the machine manual and the accessory maker’s fit requirements; this overview of welding machine accessories and parts can help you keep the full setup straight.
A work clamp deserves the same attention as a cable connector. Its jaws need to open and close firmly, and the cable must stay securely attached to the clamp. A clamp with weak spring pressure or damaged jaws can lose contact when the cable shifts.
Where should you attach the clamp? Put it on clean, bare metal on the workpiece or on a conductive table that’s firmly connected to the work. A rusty surface, paint, mill scale, grease, or a loose piece of metal can interrupt the current path; scrape a small contact area clean if needed.
The clamp’s exact position can affect the path current takes through the workpiece. Keep the path as direct as practical, especially when welding near sensitive parts or when the work has multiple pieces joined by poor contact. A secure clamp near the weld area often gives a more predictable circuit than one attached far away through a loose joint.
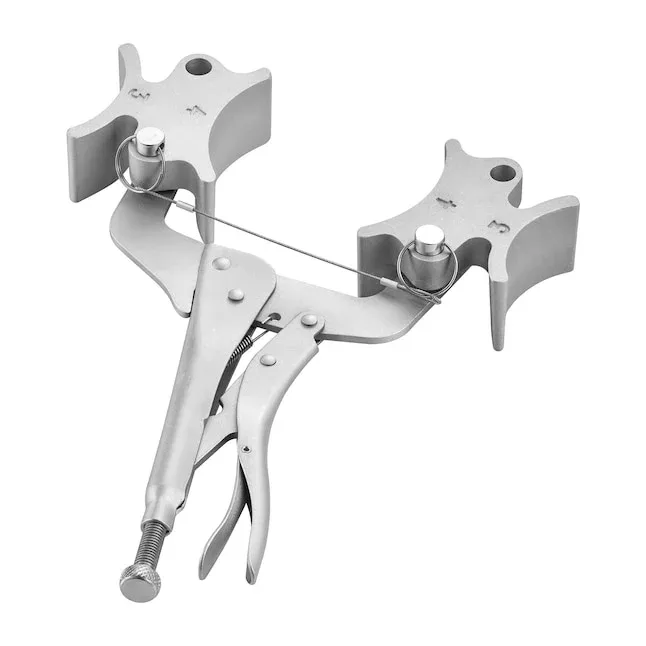
Work clamps come in different shapes and ways of gripping. Spring clamps are quick to move, while screw-style clamps can hold firmly on thicker or awkward work; the right choice depends on the job and the clamp’s rating. This guide to welding work clamps can help you compare the styles and keep the jaws in good condition.
Important Tip: Don’t use a work clamp on a painted, oily, or rusted surface and assume the teeth will sort it out. Poor contact can cause heat, interruptions, and arc behavior that looks like a machine problem.
Troubleshooting Heat, Weak Arcs, and Cable Problems
Warm connectors, inconsistent arcs, or repeated interruptions can point to a weak connection or damaged cable, though machine settings and consumables can cause similar symptoms. Turn the machine off before inspecting or changing connections, and stop welding if you find exposed copper, melting, smoke, or a burning smell.
A hot spot is more useful than a general feeling that the whole lead is warm. If the heat centers around a connector, inspect that joint first; if a long section warms, check cable size, length, current, duty cycle, and whether the cable is coiled tightly. Don’t touch a suspect connection during welding.
| Symptom | Possible cause | What to check |
|---|---|---|
| Connector becomes hot | Loose, dirty, damaged, or mismatched connection | Shut down, inspect the contact, and confirm the connector fit |
| Arc sputters or cuts out | Weak work-clamp contact or damaged cable | Check clamp bite and inspect the cable path |
| Cable jacket feels unusually warm | High current, long run, tight coil, or undersized cable | Compare the setup with the machine and cable guidance |
| Connector won’t seat fully | Wrong style, size, or damaged fitting | Don’t force it; confirm the compatible connector |
| Clamp shifts during welding | Weak spring, worn jaws, or poor placement | Clean the contact area or replace a worn clamp |
| Copper is visible | Cut or torn insulation | Stop using the cable until it’s repaired or replaced |
If the arc suddenly changes, don’t assume the welding machine has failed. A loose work clamp can make the arc erratic, and a damaged electrode lead can interrupt current as you move. Check the circuit with the power off before changing machine settings, since adjusting the machine won’t fix a bad contact.
A coiled cable can trap heat, and a sharply bent cable can strain the strands inside its jacket. Keep the lead as open and relaxed as your work area allows, while routing it away from hot metal, sparks, sharp edges, and spots where a cart or vehicle could crush it. Don’t drag connectors across the floor by their cables.
Could a slightly warm cable be normal? Some warmth can occur during use, but a connection that becomes distinctly hot, smells burned, softens its jacket, or changes color needs attention. Stop, let the equipment cool, and check the load and connection before welding again.
Repairs need to preserve the cable’s insulation, conductor, and current capacity. Tape over exposed copper may hide the damage, but it doesn’t restore a proper cable or safe connector joint. If the maker allows a repair, use the specified method and parts; if you’re unsure, have a qualified welding-equipment technician handle it.
When a cable has repeated hot spots, crushed sections, or damage close to a connector, replacement is often the safer choice than patching around the problem. Compare the replacement with the machine’s recommended cable size and connector style. A cable that fits the plug but is too small for the job can still overheat.
Keep cable care simple and regular:
- Coil cable loosely instead of wrapping it around a sharp corner.
- Store leads dry and away from oil, solvents, and heavy objects.
- Keep connectors clean and protected when they’re not connected.
- Replace worn clamps that no longer grip the work securely.
- Check the machine manual before changing cable configuration or connector type.
A clean, orderly setup is easier to inspect at a glance. If the cable path is visible and the clamp is easy to reach, you’re more likely to catch damage before it interrupts a weld.
- Match cable size to current, duty cycle, and cable length.
- A connector must fit the cable and machine terminal without force.
- Clamp to clean, conductive metal and keep the cable path in good shape.
- Stop welding if you find exposed copper, melting, smoke, or a burning smell.
FAQs About Welding Cables and Connectors
How do I know what size welding cable I need?
Choose welding cable using the machine’s output, duty cycle, total cable length, and the maker’s sizing guidance. A longer cable run can affect performance, and a cable that is too small can heat up under load. Check both the electrode lead and work lead, since both carry welding current.
Can I use a different connector on my welding machine?
Only use a connector that matches the machine terminal and cable size. Similar-looking welding connectors may differ in locking style or contact dimensions, so a near fit can loosen or damage the connection. Check the machine manual or equipment maker’s instructions before changing connector types.
Why does my welding cable get hot?
A welding cable can heat up from high current, a long cable run, a tight coil, or a cable that’s too small for the job. Heat concentrated at a connector more often points to a loose, dirty, damaged, or mismatched contact. Stop welding if the jacket softens or smells burned.
Does the work clamp need to be close to the weld?
The work clamp doesn’t have to touch the exact weld spot, but it needs a secure electrical connection to the workpiece or a conductive table connected to it. Placing the clamp on clean metal with a direct current path helps avoid unstable contact through paint, rust, or loose joints.
Can I repair damaged welding cable with electrical tape?
No, electrical tape doesn’t restore damaged welding cable or make exposed copper safe for welding. Turn off the machine and replace the cable or have it repaired using a method approved for that cable and connector. Don’t resume welding until the insulation and conductor are sound.
Set Up a Welding Circuit You Can Trust
A dependable welding circuit comes down to sound cable, compatible connectors, and a work clamp that grips clean metal. You don’t need to overcomplicate the setup, but you do need to check the parts that carry current before the first arc.
My preference is to match replacements to the machine maker’s guidance rather than trying to make almost-compatible parts work. That approach helps prevent a loose terminal, a hot connector, or a cable that struggles through a long weld.
Your next step is simple: turn off the machine, inspect both leads from end to end, and confirm the connectors and clamp fit the job. If anything is damaged or the cable sizing is unclear, pause and check the manual or ask a qualified welding-equipment technician. A few minutes spent checking the circuit is time well spent.